Posted: 1/27/11
We just received the new heavy duty machined gear sets and titanium gear shafts for the XR10 at the Axial warehouse. The new gears and shafts are CNC machined for the ultimate fit and finish, and include fresh drive pins and e-clips. These new gears and shafts are a lot stronger, and lighter, then the stock components too. Having less rolling resistance in the drive train equals more punch when trying to bump up and over an obstacle. It also equals a little more run time per battery pack too. It's a rare win, win situation in the r/c crawling world.Here is a quick step by step install of the new gears and shafts.
Start by removing your stock gearboxes from the axles.
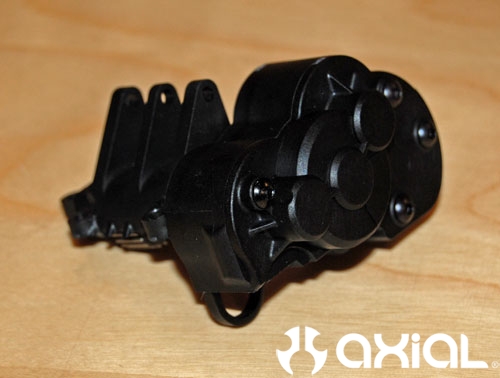
Next, remove the motors from your gearboxes. In this photo you can see the stock powder metal gears and steel transfer shaft.
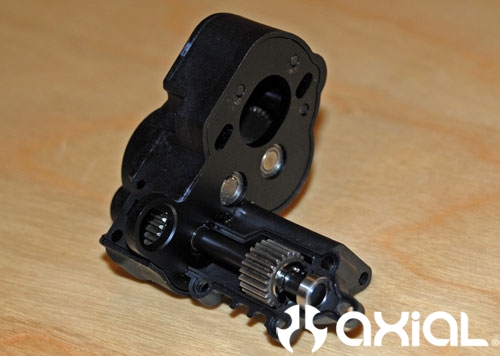
Here is a picture of the new gears and titanium shaft for the rear gearbox after removing them from their individual packaging.
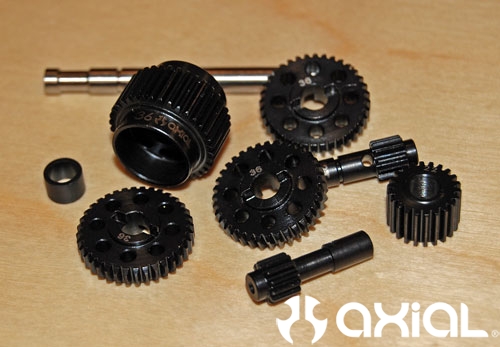
Remove the gearbox cover.
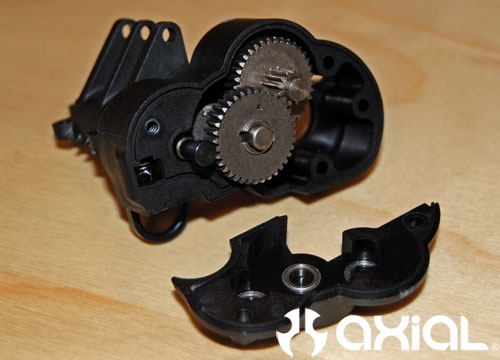
Then remove the plastic gear case from the motor plate.
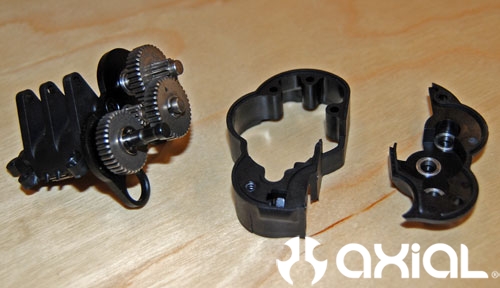
Remove the 2 stock powder metal gears that are sandwiched between the motor plate and the gear cap.
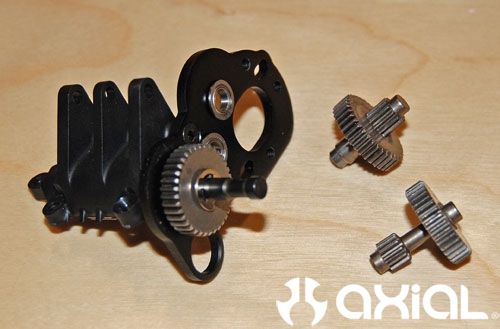
Using a sharp tool, pop the e-clip off the end of the gear shaft.
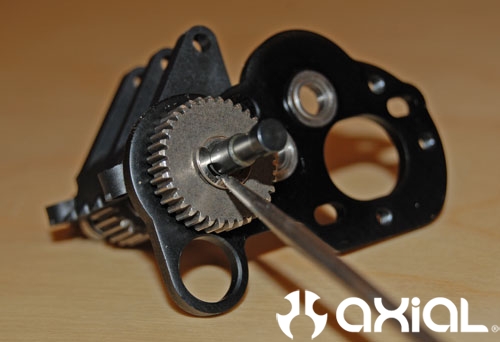
Pull the 36t gear off the end of the shaft and remove the drive pin.
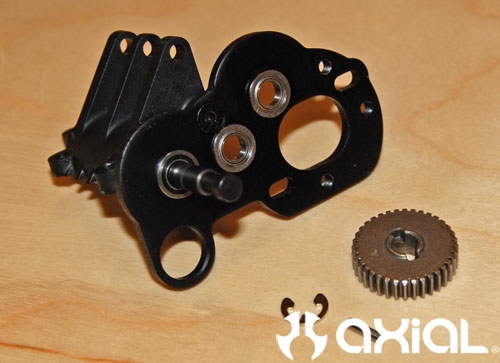
Remove the bearing on the shaft from the motor plate. Now, slide the shaft out and remove it from the gearbox.
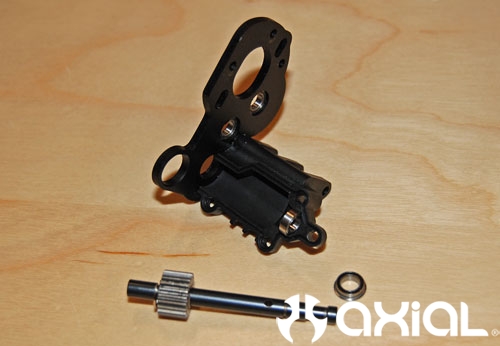
Remove the 22t drive gear from the top shaft. Again, use a sharp tool to remove the e-clip, then remove the gear and drive pin.
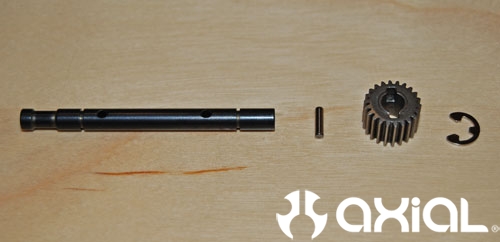
Grab the new titanium top shaft, and insert the drive pin.
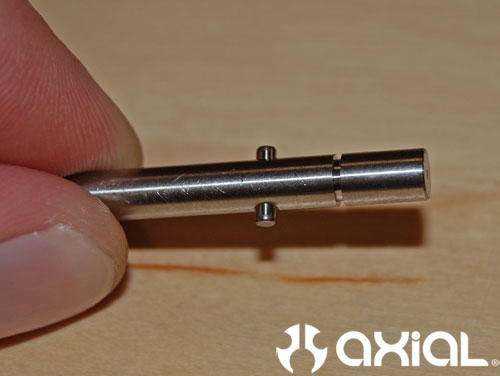
Slide the new 22t drive gear over the shaft and onto the drive pin.
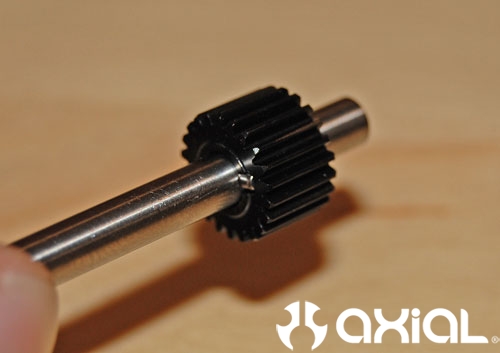
Re-install the e-clip to hold the drive gear in place.
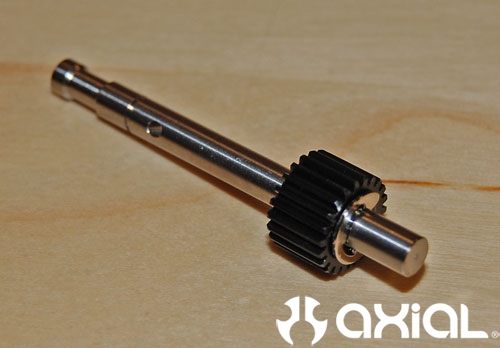
Now slide the shaft back into the gearbox.
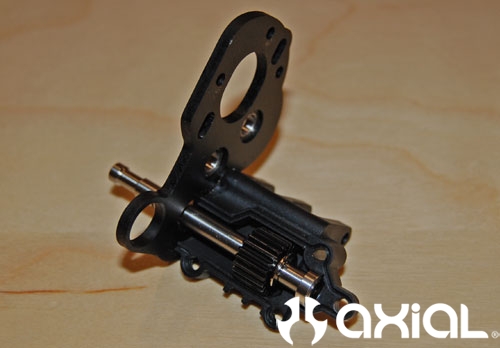
Insert the flange bearing into the motor plate, and slide the 36t drive pin into place.
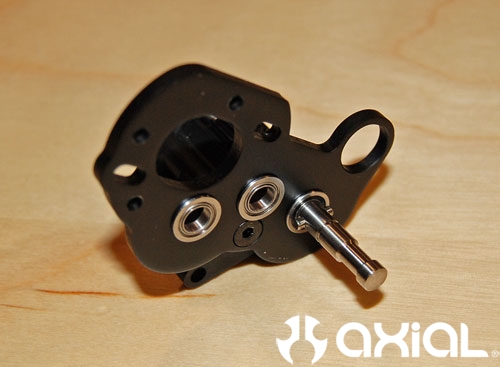
Slide the 36t gear into place and re-install the e-clip.
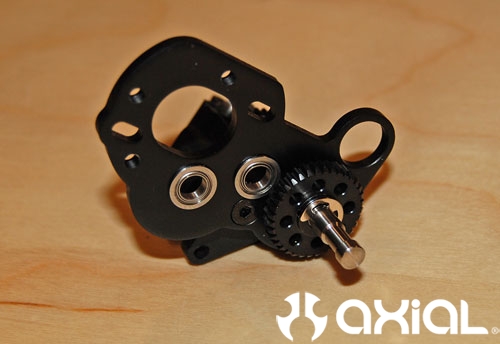
Grab the 12t gear without the snap ring grove in it, a drive pin and another 36t gear.
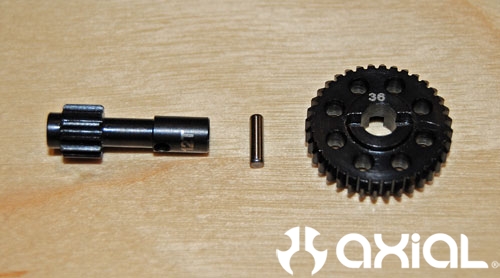
Insert the drive pin into the 12t gear's shaft, then slide the 36t gear into place over the pin.
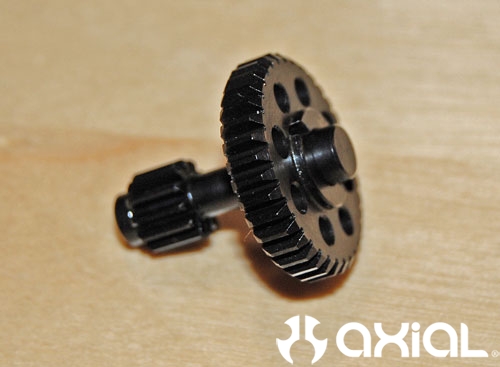
Install the gear from the previous step into the gearbox assembly as shown.
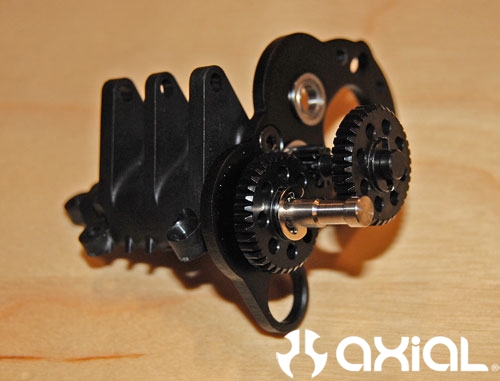
For this step we have to assemble the "step gear". Stock it is a one piece design, but the machined version is a two piece design. Grab the 12t gear with the snap ring groove in it. Install a drive pin into the shaft, and slide the last 36t gear over the pin.
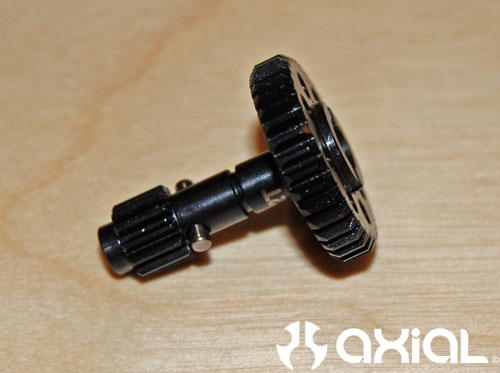
Install the e-clip and bearing spacer last.
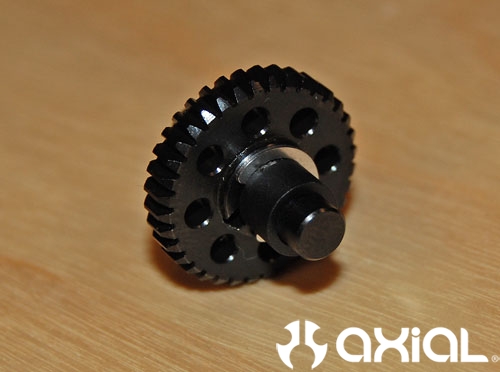
Set the stepped gear assembly into place inside the gearbox.
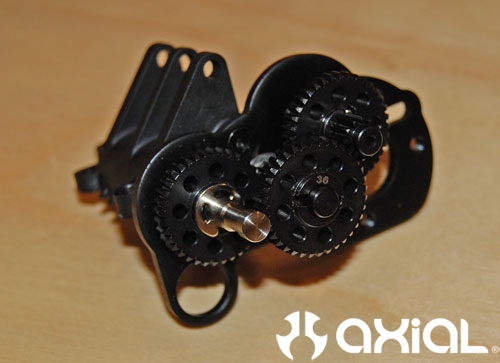
Re-install the plastic gear case over the gears. Double check to make sure the M3 Nylock nut hasn't fallen out of the case.
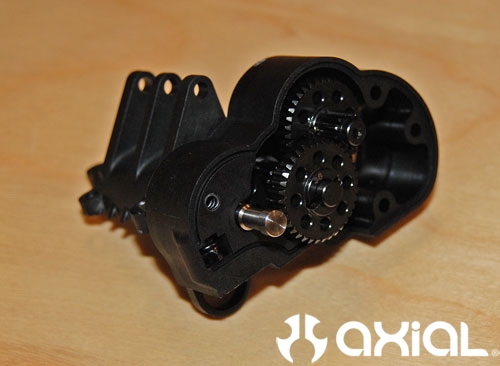
Make sure all the bearings are still in the gear case cap. Then re-install the cap onto the gearbox.
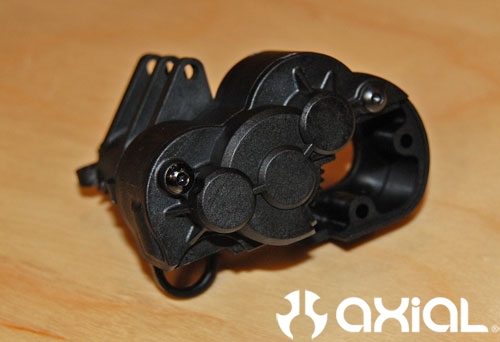
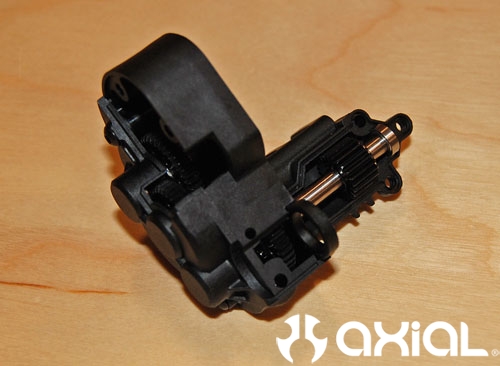
Here you can see the finished gearbox with new titanium shafts and machined gears installed.
Number of gears needed to complete both axles:
6 - AX30770
2 - AX30771
2 - AX30767
2 - AX30768
2 - AX30769
Replacing the gears is pretty straight forward. But, we wanted to show an install just to have as a tutorial on our website. Thanks!