Posted: 8/27/10
For this installment of our XR10 build, I will cover link and shock assembly.To get started we will need Bag "E", part's tree #AX80059 (2) and parts tree #AX80057.
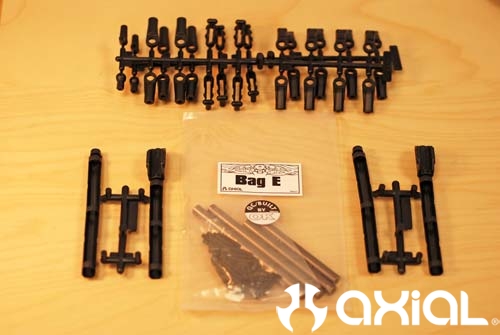
Here you can see all the parts that make up one of the front lower links.
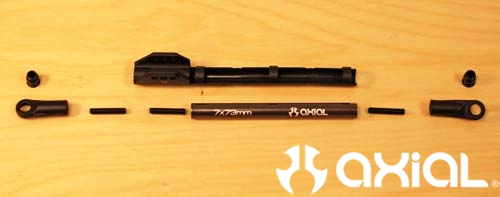
First thing we'll do is thread the long 16mm set screw into the lower link sleeve.
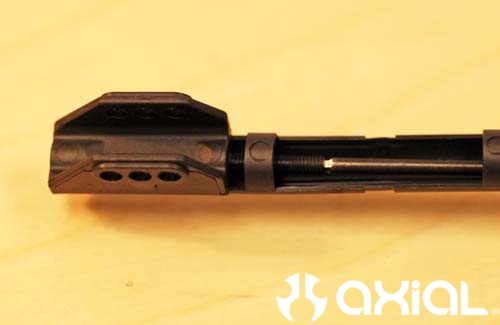
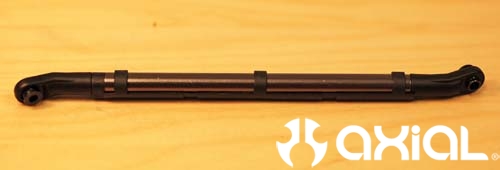
Now you can thread the second 16mm set screw into the opposite end of the lower shock mount/link sleeve. After doing so, install the 3rd 16mm set screw into the curved rod end. Slide the lower link into the sleeve and thread it onto the 16mm set screw until it's tight. Now install the rod ends to both sides of the lower links and install the flange balls. The straight rod ends go on the shock mount side of the links and the curved go on the opposite end. Here's what the finished front lower links look like.
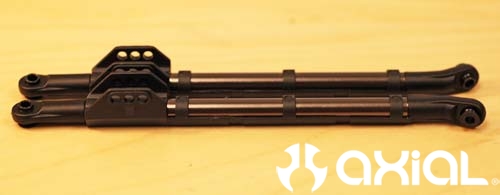
Now onto the rear lower links. Here you can see all the parts required for one rear lower link.
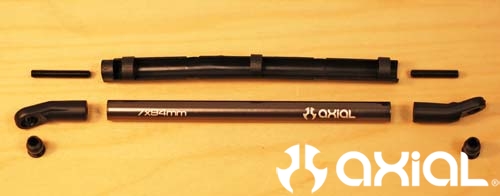
Thread the long 20mm set screw into a curved rod end. Slide the lower link into the link sleeve and install the curved rod end to pinch the sleeve between the rod end and link. Now thread the 16mm set screw into a second curved rod end and install it on the opposite end of the link. Then install the flange balls into the rod ends as required.
Time to make the upper links. Here are all the parts required for this step.
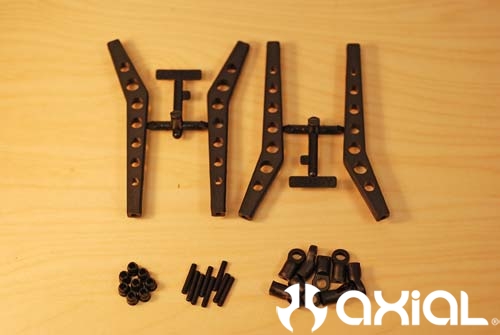
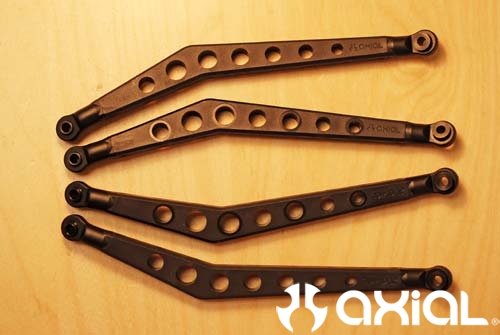
To install the plastic rod ends into the plastic links I like to run an M3X.5 tap into the ends and links to get the threads started straight. If you don't have access to a tap, you can just use one of the 16mm threaded studs and an Allen wrench to start the threads. Then thread the rod ends onto the links, and install the flange balls as needed. Here you can see the finished links ready to be installed.
Shocks are next. Grab Bag "F" and dump the contents into your parts tray.
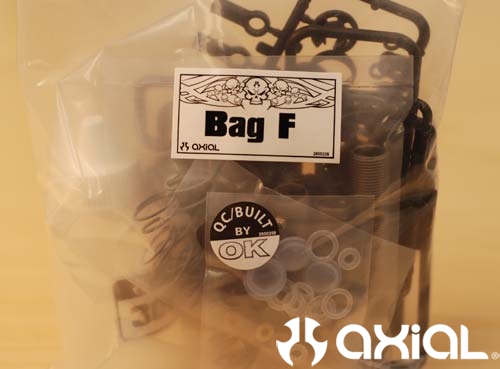
First step will be prepping the shock cartridges. Here you can see all the parts required to make a complete cartridge.
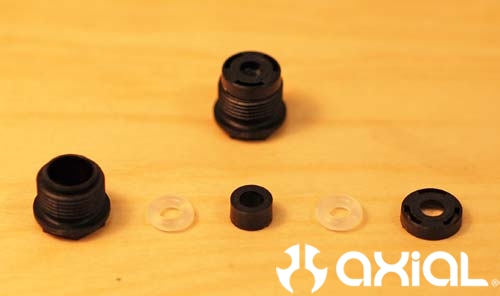
First apply a little grease to your cartridge o-rings. Put a dab of grease on your finger and work the grease all over the o-rings before dropping them into your shock cartridges. This will help prevent tearing the o-ring during assembly.
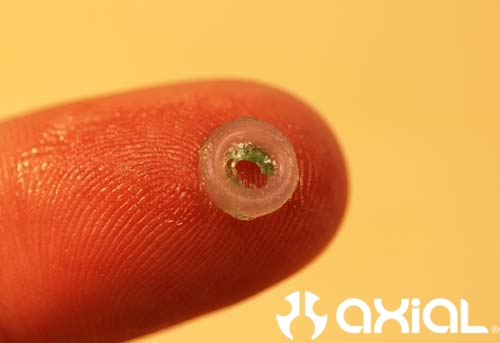
Then install the first o-ring into the shock cartridge.
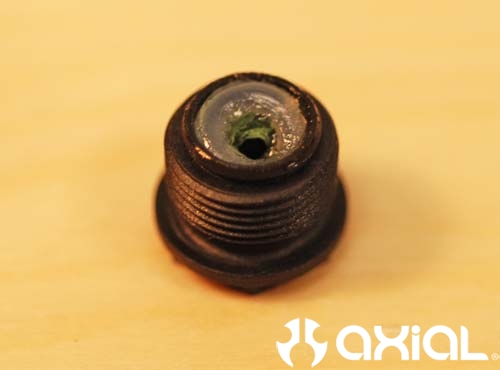
Now set the plastic spacer (part #AX80035) into place on top of the first o-ring.
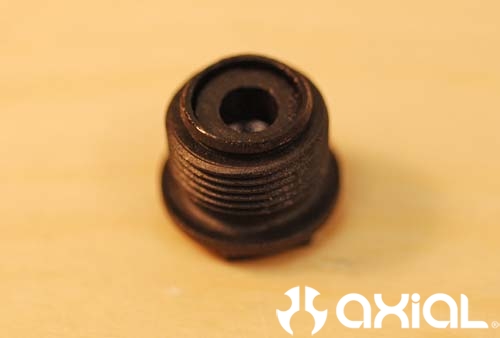
Lube up the second o-ring and install it on top of the plastic spacer.
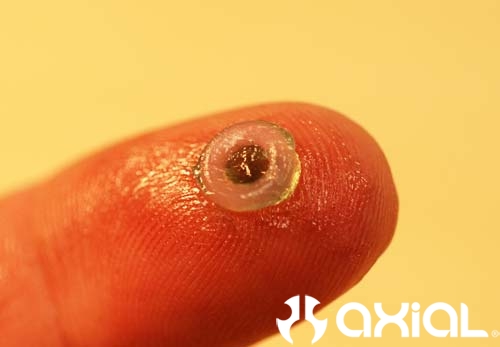
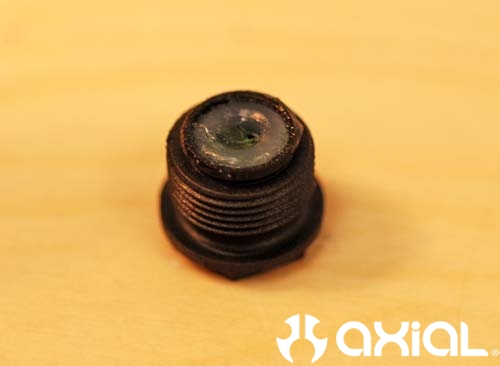
Now snap the top cap of the shock cartridge into place.
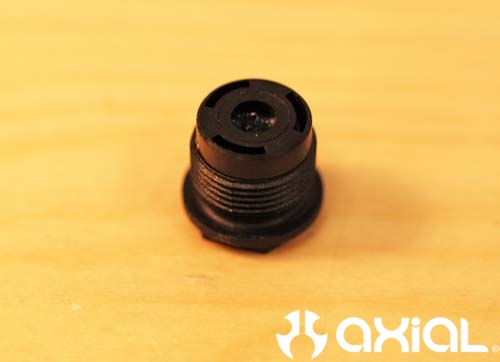
Once the shock cartridges are assembled, you can install the o-ring that goes over the cartridge.
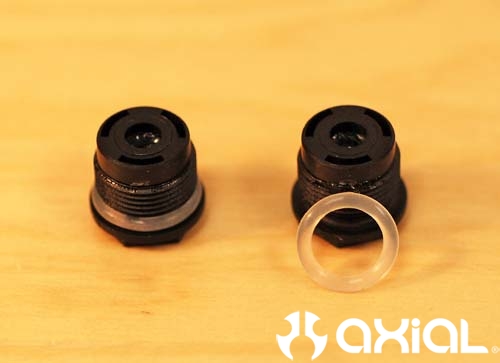
Now it's time to install the shock shafts into the shock cartridges. Slide the piston side of the shock shaft in through the hex side of the shock cartridge. You can slide the shaft through from either side, but installing the end with smaller threads first lessens your chances of tearing the o-rings. Wipe any excess grease off the shock shafts after installing them into the cartridges.
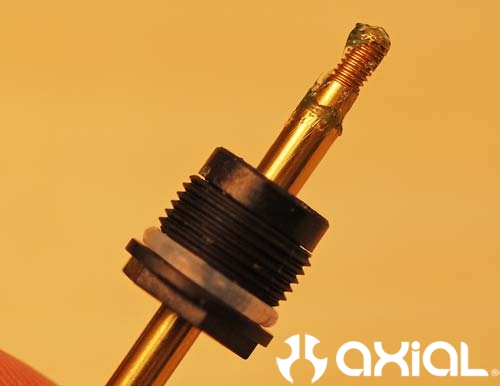
Next we can install the shock pistons. I personally use the two-holed Delrin pistons that come with the kit. Install one flat washer onto the shock shaft, slide the shock piston into place, install the second flat washer and tighten the Nylock nut down until it stops.
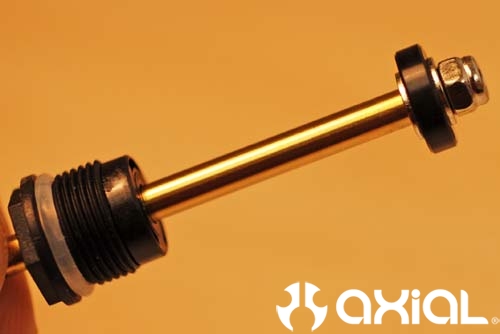
Now you can install the rubber bump stop and rod end onto the shaft.
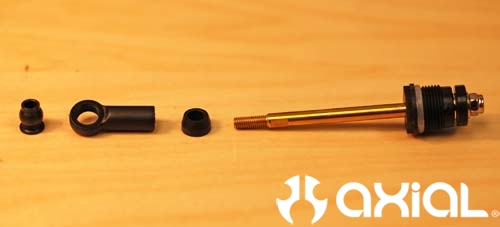
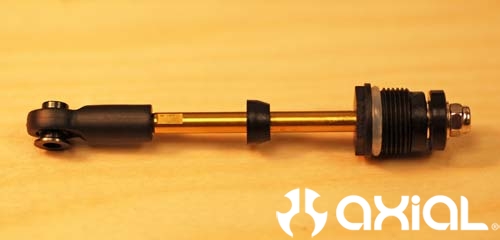
Thread the plastic spring pre-load adjuster onto the shock body.
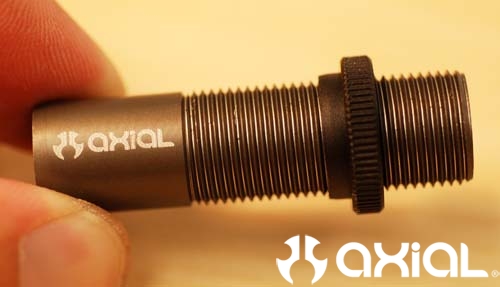
Here you can see all the components before filling the body with shock oil.

Install the shock bladder in the top cap.
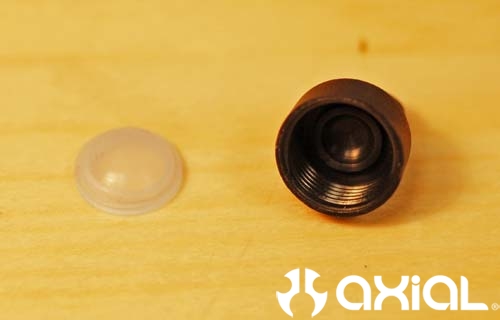
Make sure you seat the bladder down into the cap as best you can before threading it onto the shock body. This will help eliminate the bladder from distorting as you tighten the shock cap.
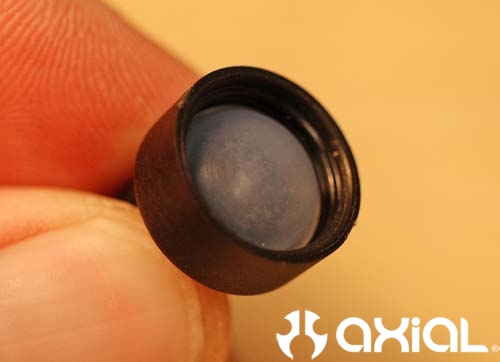
Now we can fill the shock body with oil. I am going to bleed the shocks through the shock cartridge over the shock cap, because the plastic shock caps don't have bleeder holes like the aluminum versions. Fill the body with oil until the oil just touches the shock cartridge threads inside the shock body.
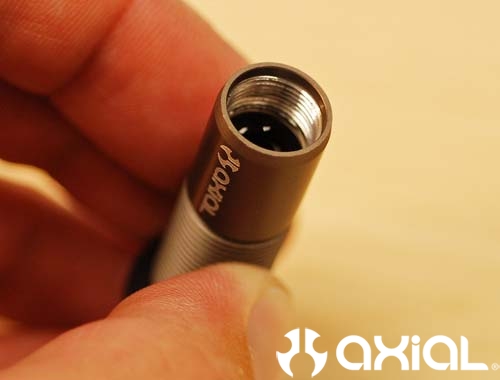
Now, with the shock shaft fully extended, set the cartridge assembly in place, and thread the cartridge into the body a turn or two only.
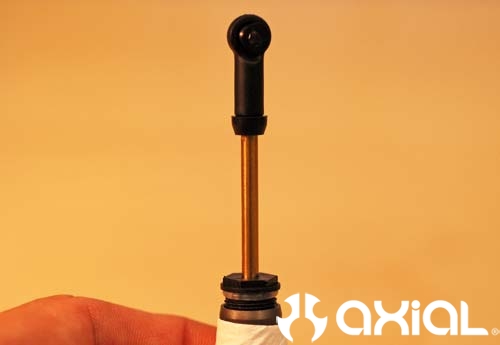
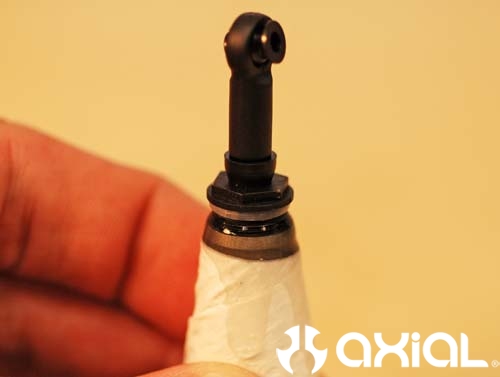
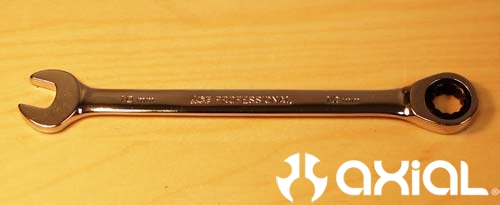
Compress the shock shaft until it bottoms out to allow any air bubbles and excess oil to escape. You can do this by holding the shock shaft in the compressed position and thread the shock cartridge all the way into the body as tight as you can with your fingers. Now grab a 10mm box wrench and tighten the cartridge down all the way. Cycle the shock a few times at this point and look for leaks between the cartridge and shock body. If you still see a little oil bleeding out, tighten the cartridge up more.
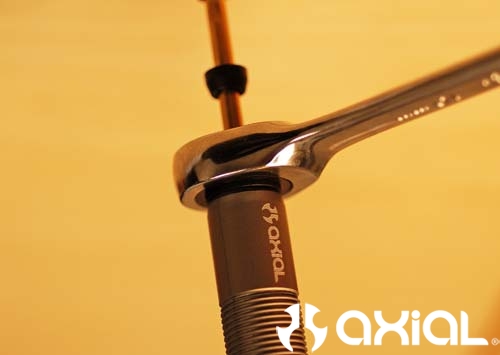
Investing in a 10mm wrench for the shocks is key in my opinion, it'll make rebuilding your shocks so much easier. I spent $7 on this wrench with a ratcheting box end at Ace Hardware. You can buy a standard 10mm wrench for about $4.
The last thing we need to do is install the springs and lower spring retainers to finish this step off.
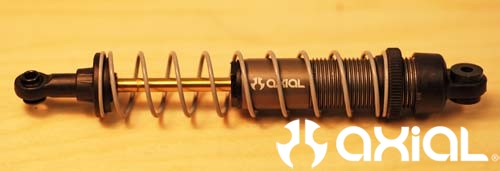
That does it for the link and shock assembly. Stay tuned for the next installment, covering link installation and chassis assembly.