Posted: 7/21/11
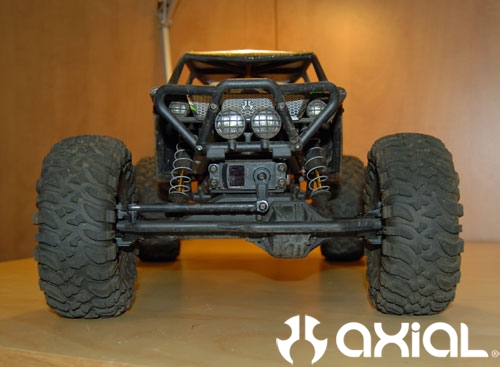
Now that the Wraith's have been out on the market for a bit. We have had a few people mention that they were getting some bind in the stock steering linkage. So, for this article I will be going over a few simple tips to help smooth out the steering on your Wraith. The biggest culprit for getting steering bind on the Wraith's is dirt. After a few battery packs off-road dust will work it's way into your steering and suspension ball studs. Ball studs are the pivot points in any steering or suspension link set-up. The ball studs press into the rod ends, and provide the links the freedom to move as the steering and suspension cycle through their travel. If dirt and debris work their way into the ball studs, it will start to cause bind. Bind in the steering can cause servos to overheat and even burn out, as well as excessive wear in the steering components.Since there are no super mini micro torque wrenches available for our niche sport, we have to be careful how much force we use to tighten up our suspension and steering links. Especially when is comes to plastic self tapping screws. The Wraith comes with plastic ball studs stock as well. If the screws that pass through them are over tightened, it will distort the ball stud and cause the steering to bind as well as limited overall movement. So, be vigilant in your maintenance schedule, but don't overdo it when you are checking the torque specs on your plastic self tapping screws. The best thing you can do to help avoid these issues is upgrading to steel ball studs, (Part # AXA1331) which are 100 times more durable then plastic. I am also going to upgrade this Wraith's steering system with an aluminum servo horn for added piece of mind and strength. Here are a few tips on the conversion.
Here you can see I removed the servo horn from the servo. At this point the linkage should move freely without bind, if it doesn't, then upgrading the ball studs will fix the issue. Here you can see this one is a little sticky.
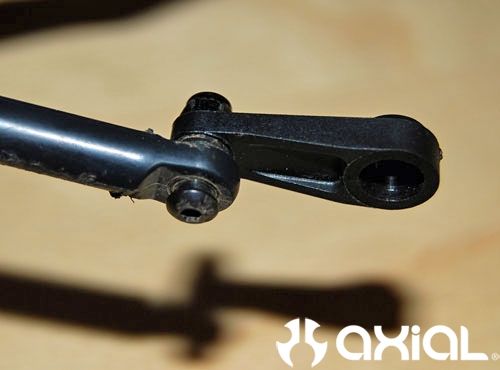
Removing the servo horn revealed that the plastic ball stud in this linkage was in fact crushed down a little.
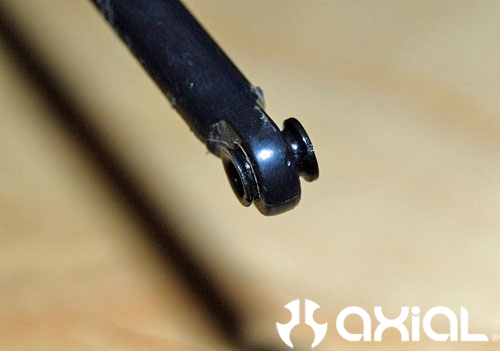
To remove the stock ball stud, I use a pair of wire cutters. Squeeze lightly around the neck of the ball stud and pop it out of the steering link.
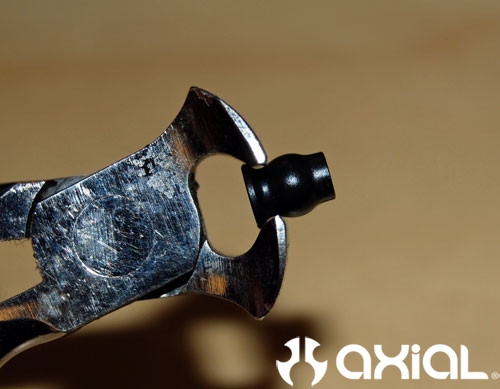
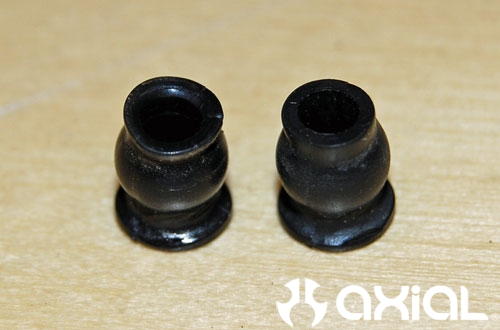
Here you can see the old damaged ball stud on the left and the new ball stud on the right.
Use a pair of pliers to install the new metal ball stud as shown.
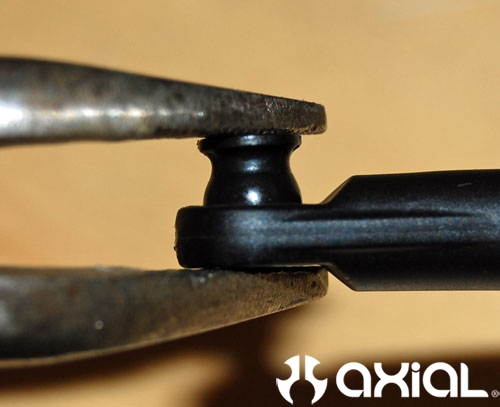
After installing a metal ball stud and aluminum servo horn, you can see the linkage will move freely now. If you still have a little bind, or sticky feel after installing the metal ball stud. Run a couple packs through your truck and everything should seat in and work smoothly after that.
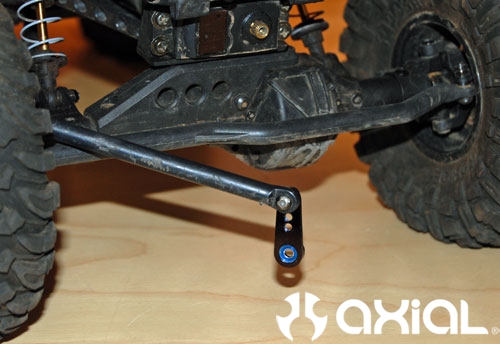
Now repeat the above steps on the other 3 points in the steering linkage locations, opposite end of the drag link and at the steering knuckles. Then, you should be back in business. Again, if the linkage still feels sticky. Run a battery or two through your truck and the linkage should free up. Sometimes dirt gets embedded in the plastic, so cleaning your steering link holes before installing the new ball studs is a good idea too.
