Posted: 1/5/12
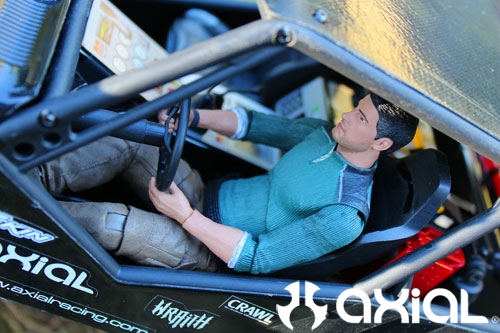
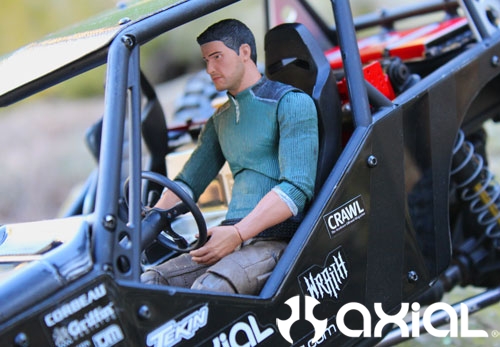
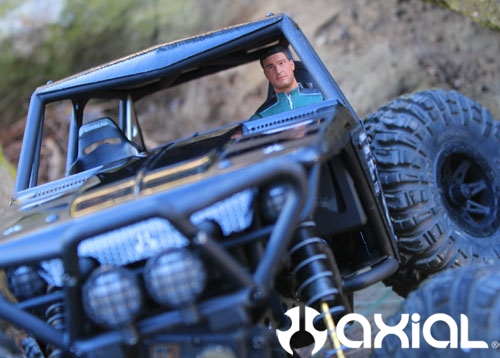
Over the holidays I found some time to start adding scale details to the step by step Wraith kit build. I still have a little more work to do, but I wanted to update the blog with what I have done so far. Most of my time was spent detailing the rear "cargo" area of the Wraith. My intent with the scale details was to give this Wraith the look that it was out for a day long trail run. So, there are no tents, kayaks, firewood, etc., just what you would see loaded up for a day trip. I also added a driver figure to the cab. After some extensive searching for a normal looking guy, that actually fit the scale of the Wraith, I ended up going with the Sam Fisher action figure from the popular "Splinter Cell" line of video games. So, when the wife asked what I wanted for X-mas, I told her Sam Fisher!! She didn't seem all that impressed, but like the wonderful wife she is, she searched it out and bought it for me. Thanks babe!On to the details.......a few shots of the rear cargo area. I added a couple Pro-line scale accessories like the Hi-lift jack, axe, cooler and gas can.
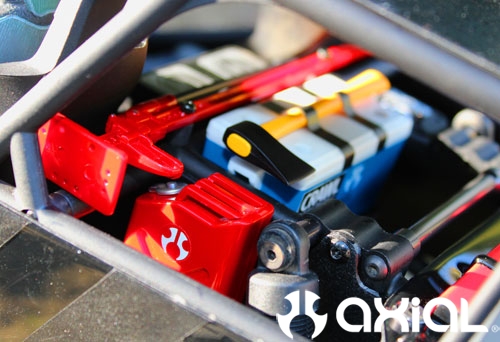
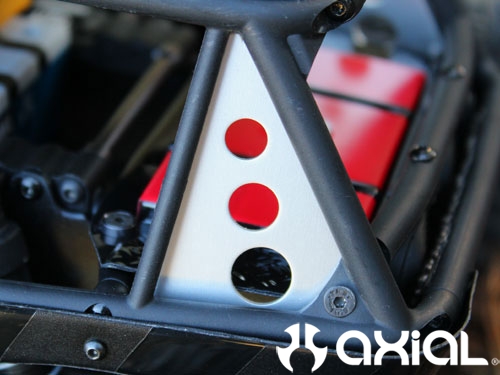
Next, I fabbed up some panels out of styrene and painted them black to box the rear lower portion of the cage in. I attached the panels to the extra holes in the rear shock tower, and added our scale battery from the EXO kit. It is sitting on a shelf for now, but I will be making a battery strap for the top, and I plan to add wires going to the terminals as well. Another thing you will see is I added aluminum panels to the rear of the cage. These are the inserts from the wings of the Honcho bumper, Part # AX30530. I held the aluminum inserts from the bumper in place on the cage, then scribed the hole location using the hole in the cage gusset as a guide. I used a punch to mark the center of the hole, then drill it out to .100 diameter. I tapped the holes for M3 screws, and attached them to the cage with M3 flathead screws. Last thing you will see is I added our Lexan gas tank from the Honcho, Part # AX80046. I cut just the gas tank portion out of the Lexan flatbed, and attached it to the shock tower/chassis brace.
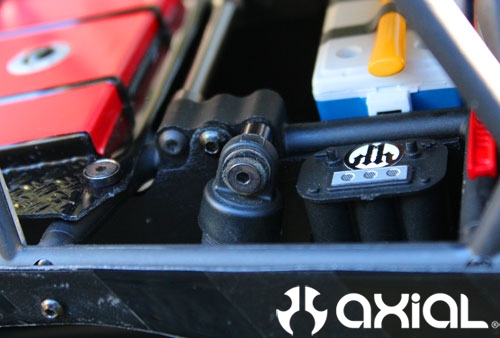
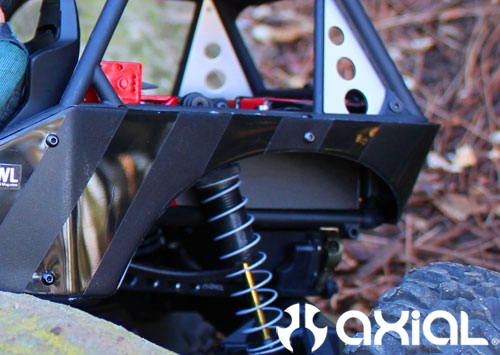
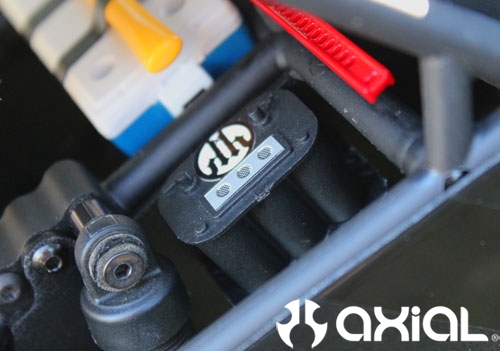
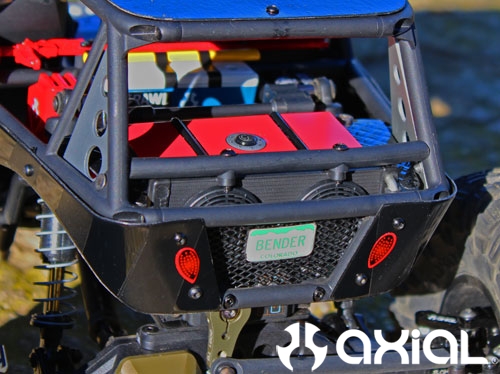
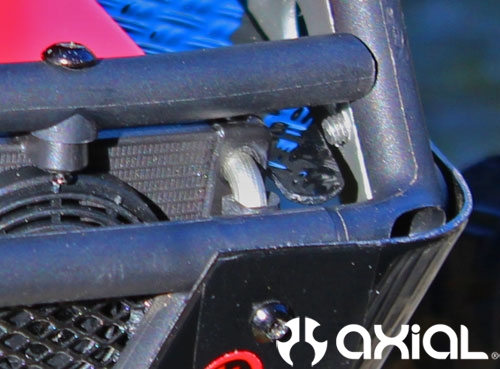
Moving on to the back of the cargo area. You can see I added the radiator from our EXO kit as well. If you remove the rear lights from the bottom of the cage, you will see the hole spacing is perfectly matched to the radiator. I used our long M3 set screws to attach the bottom of the radiator. I did drill the cage and radiator mounting holes for M3 screws though, so you may need to open them up slightly before the set screws will thread in. To cap the top of the radiator off I cut a section of Honcho cage, Part # AX80046. The piece I used butts up against the back of the Honcho cab, it is the bottom bar. You will notice the hole spacing is perfectly matched to the radiator as well. I used a couple M3 self tapping screws to tie the tube to the top of the radiator. Then bent the ends of the tube in to try and match the profile of the existing Wraith cage. One last detail on the radiator is the radiator hose. I used an 1/8" drill bit to drill a shallow hole in the top right corner of the radiator. Then, bent a small piece of 1/8" solder at 90 degrees and pressed it into the hole. Last thing needed was some black nitro fuel line, which slides over the solder perfectly. Next, I added some scale mesh to the rear tailgate area of the cage. That mesh started life as a business card holder, the scale is perfect for this application. I made a cardboard template to fit the rear first, then used that to cut the mesh to size. A little Shoe Goo is all that is needed to hold it in place. Of course, I added one of my old Colorado vanity plates to the mesh as a final touch.
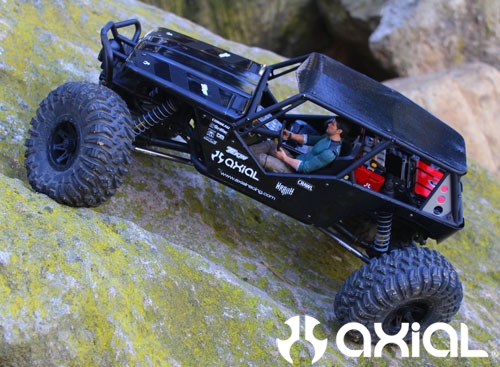
A few shots of Sam himself. In order to get him in the drivers seat without his head hitting the cage, I had to remove the lower portion of the Wraith seat. Sam is basically sitting on the Lexan floor pan of the Wraith. I drilled and tapped the back of the seat, used a little Shoe Goo, and attached it to the Lexan floor pan too. Some flat black shoe laces we used for his lap belt. Last thing needed was to lengthen the steering column. I just cut the steering column in half and found some rubber hose that fit over the OD of the steering column. I cut the hose to the length needed, and re-attached the steering wheel.
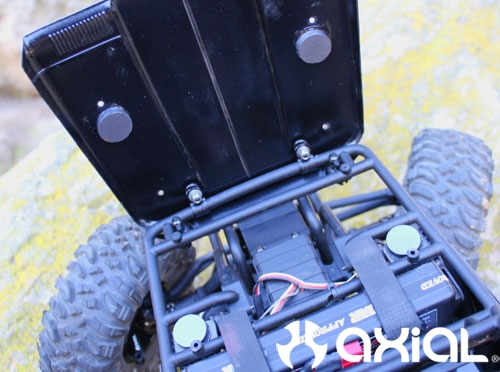
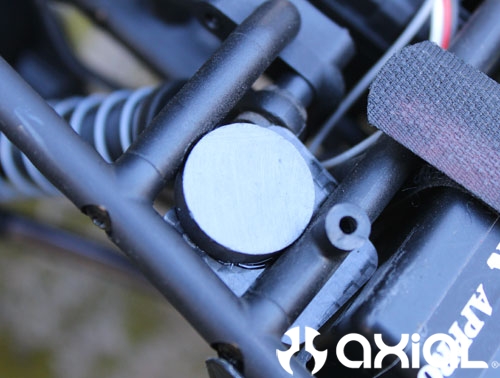
Next thing I wanted to address was the hood on the Wraith. Those that have seen this build-up know I moved the battery to the front. But, it can be a pain to change batteries when using the stock screws to hold the hood on. I have seen a few guys use the cable tie downs as hood latches, then install a couple body posts, and use standard body clips to hold the hood down. I like that idea, but wanted a more scale look. After checking out few set-ups, I got a chance to see Scott Hughes dad's set-up. He used magnets to attach the hood to the chassis. Bingo, perfect! Thanks for the idea Don. After a quick trip to Ace hardware I was on my way back home with some 3/4" round magnets and 1/4" cable tie downs. After debating for a few, I decided to hinge the hood backwards so the hood isn't in my way when making battery changes. I had to trim the lower part of the grill so it would clear the tube chassis when it was opened. Once I installed the hinges, I looked around for the best place to mount the magnets. After some measuring I found a spot for them right beside the stock hood mounts. I had to use an X-acto to trim the plastic tubing away a little so the magnets would sit properly for this application. Once I could press them in between the tube work, I need something underneath the magnets to hold them from pushing down and eventually out of the tube work. I ended up using our 2/3A cell carbon fiber battery mounts for the AX10 axles. I drilled the existing hood mount holes all the way through the tube. Using a couple flathead self tapping screws I attach the battery mounts from the bottom of the cage. For added security I used Shoe Goo again to hold the magnets in place. Next, I dropped the 2nd set of magnets in place on top of the set that is now tied to the chassis. This set will also be held in place by Shoe Goo. Once I had the hood marked where the magnets need to be, I secured them to the hood with a couple more dabs of Goo. Make sure the polarity of the magnets is correct before securing them with Shoe Goo, otherwise it'll be tough to close the hood.
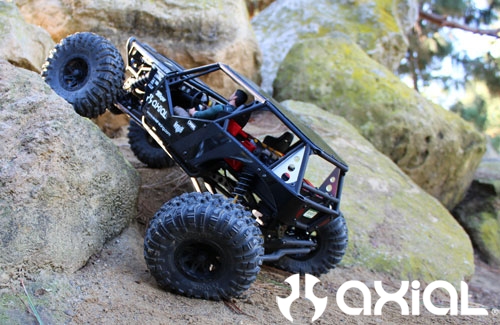
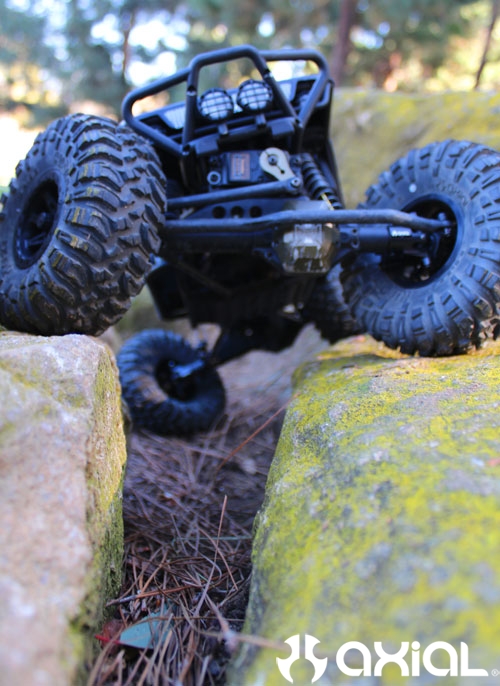
A few action shots........
I am even adding scale rock rash to my diff covers.
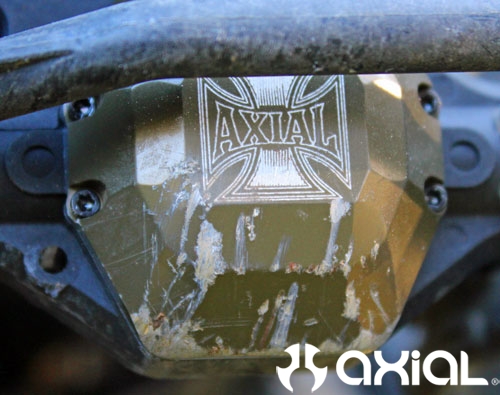
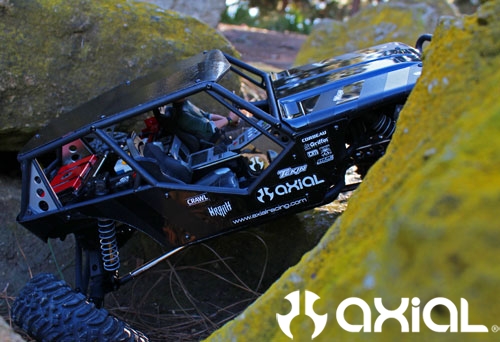
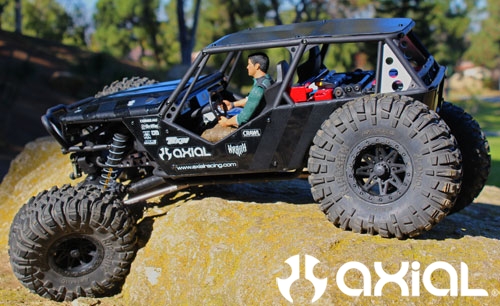
That covers this round of detailing, stay tuned for more.