Posted: 12/26/12
Have you ever done this to your WB8 driveshaft? Turned your driveshaft into a broken piece of licorice.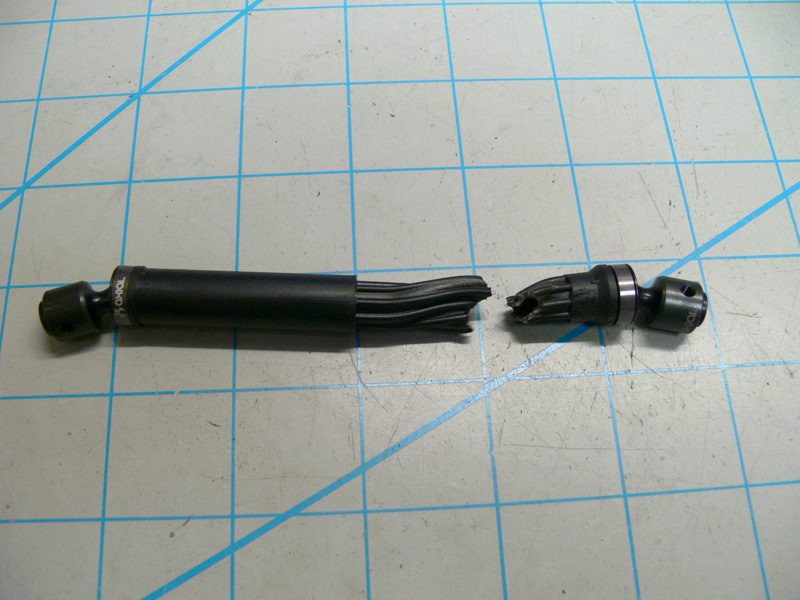
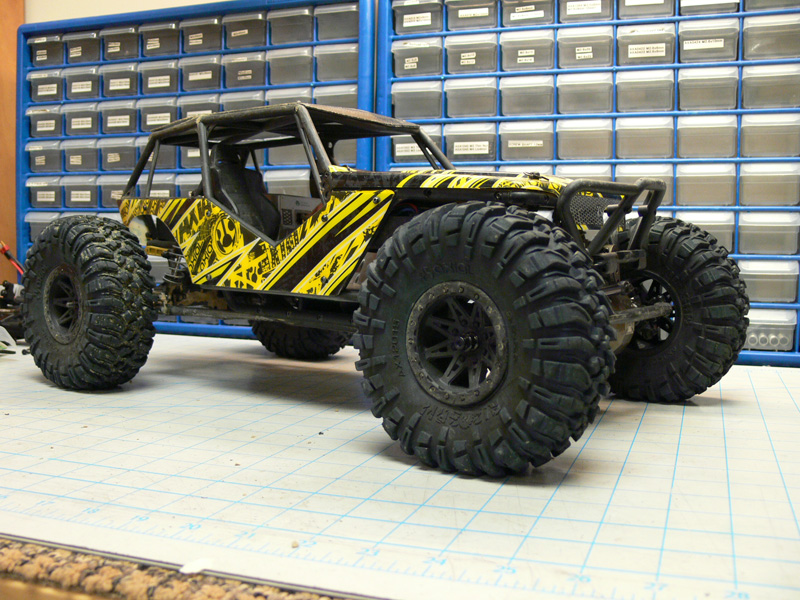
This is my high speed Wraith running a Castle Creations 5700Kv on 3S Lipo battery. This thing used to destroy plastic driveshafts.
I wanted to find an easy inexpensive fix. The weak link of the WB8 is in the male half of the driveshaft, due to it being hollow for assembly, the shaft can collapse allowing it to then twist and eventually break. So all we have to do is prevent the shaft from collapsing. The answer came in Axial threaded aluminum pipe links. Turns out the outside diameter of the threaded pipe is almost the same as the inside diameter of the driveshaft. So here are the parts used:
Axial WB8 Driveshaft Set - AX30794
Axial Threaded Aluminum Pipe 6x106mm - Grey AX30516
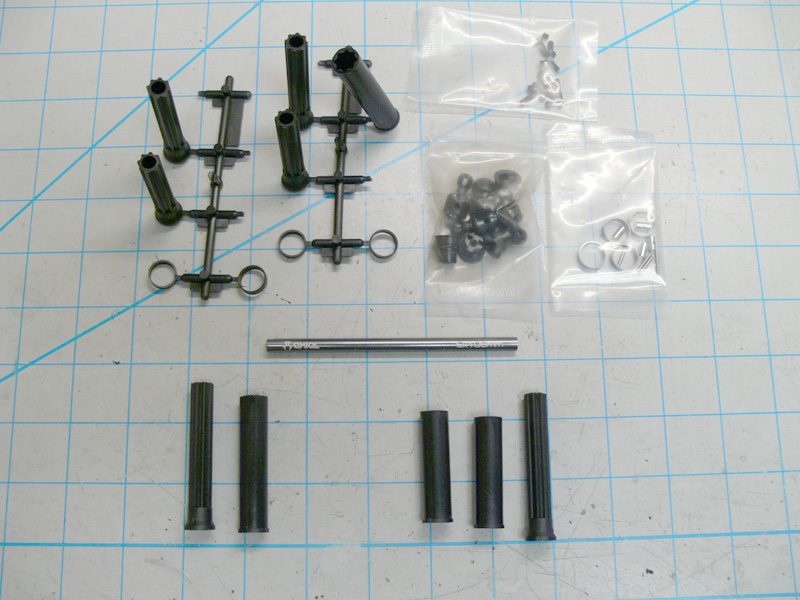
I built two driveshaft to show you two different ways. The first way is to fully assemble a female half and fully assemble a male half.
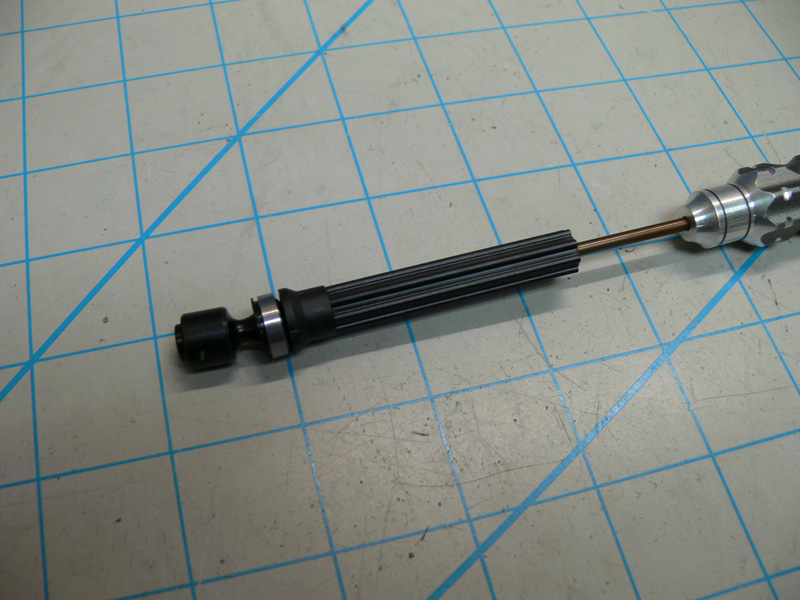
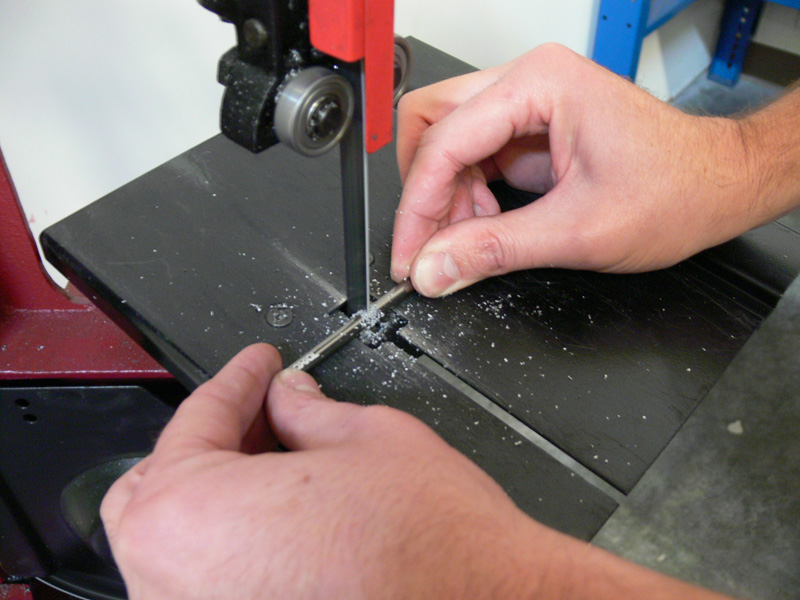
Cut the aluminum threaded pipe to about 45mm and then hammer it into the male half.
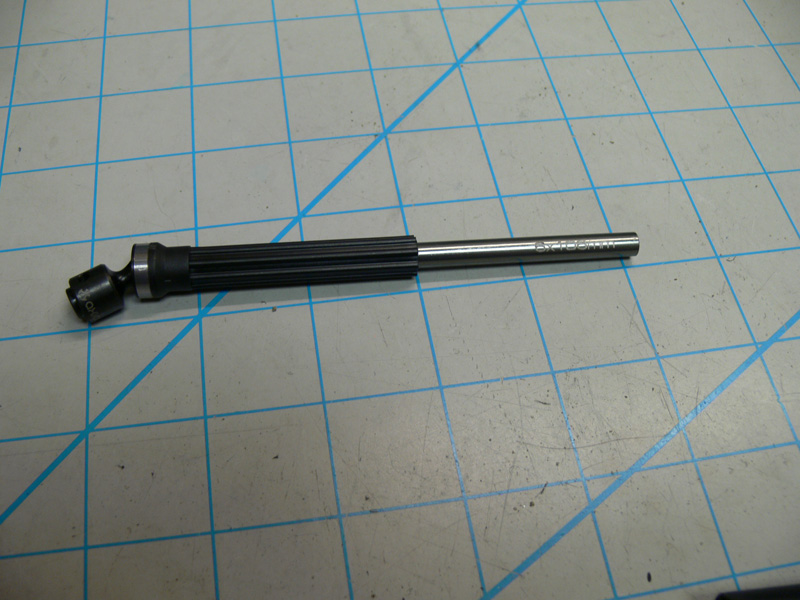
Note: Once you hammer the aluminum threaded pipe into the male half of the driveshaft, you will NOT be able to access the screw for the U-joint. Disassembly can only be done but cutting the shaft apart.
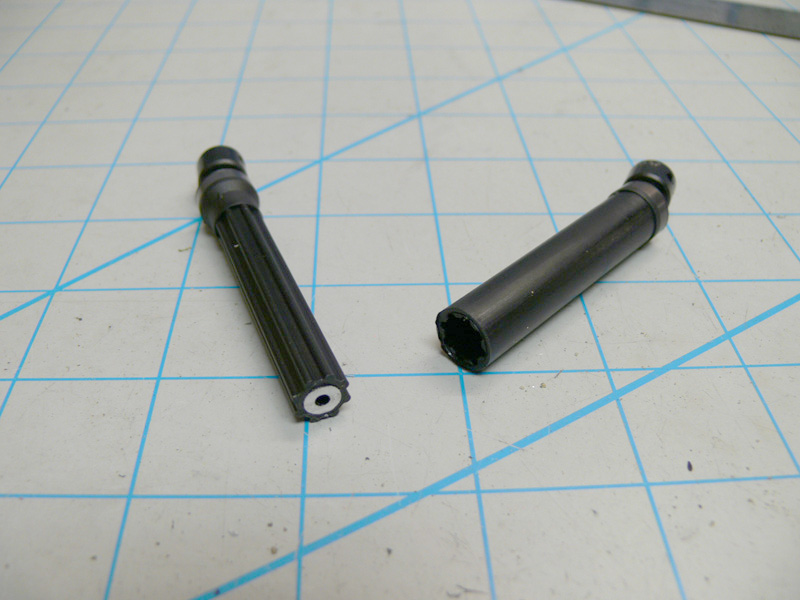
Here is the method I prefer. Assemble two female halves.
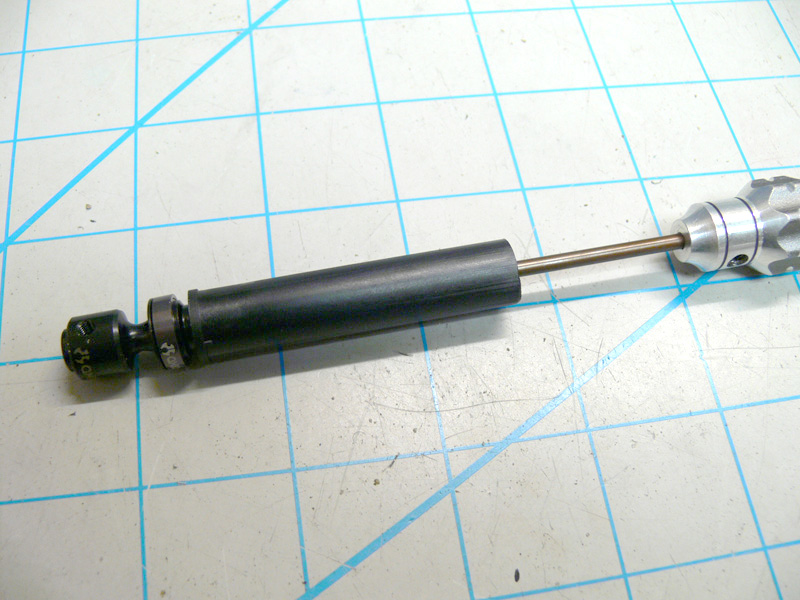
Then cut a male half to remove the coupler part of the shaft so it is now a splined insert.
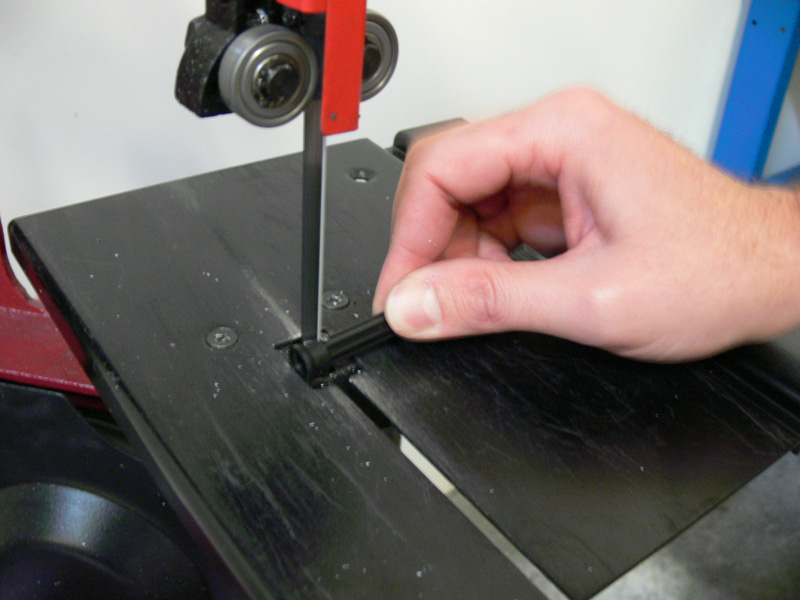
Then cut the threaded aluminum pipe to length and hammer into the plastic piece.
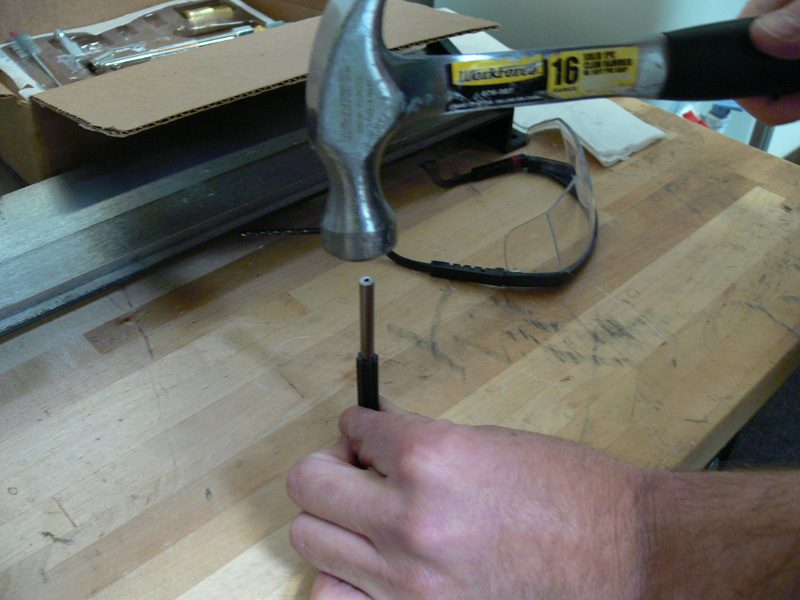
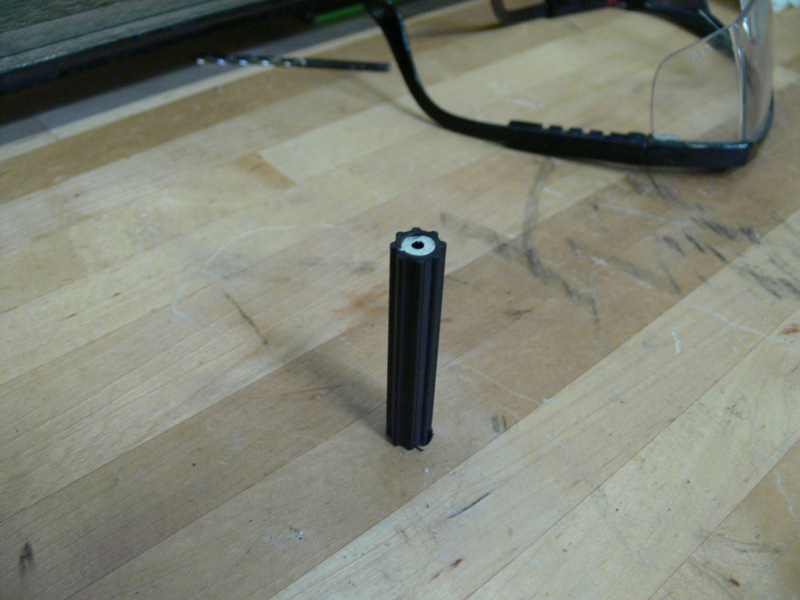
Your final product will be two female shafts connected with a floating splined insert.
Note: you may have to cut the female halves to the required length for your application.
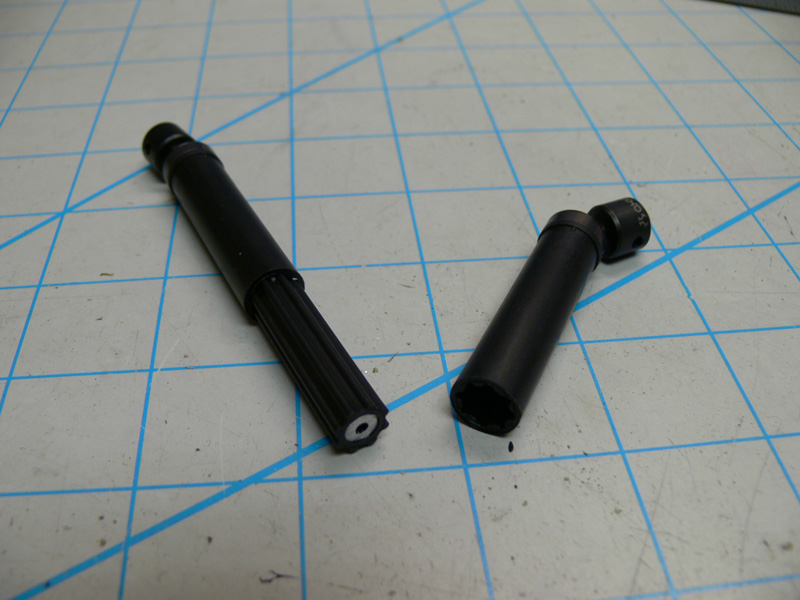
Here are the completed two options to strengthen your WB8 driveshaft.

Installed on my Wraith
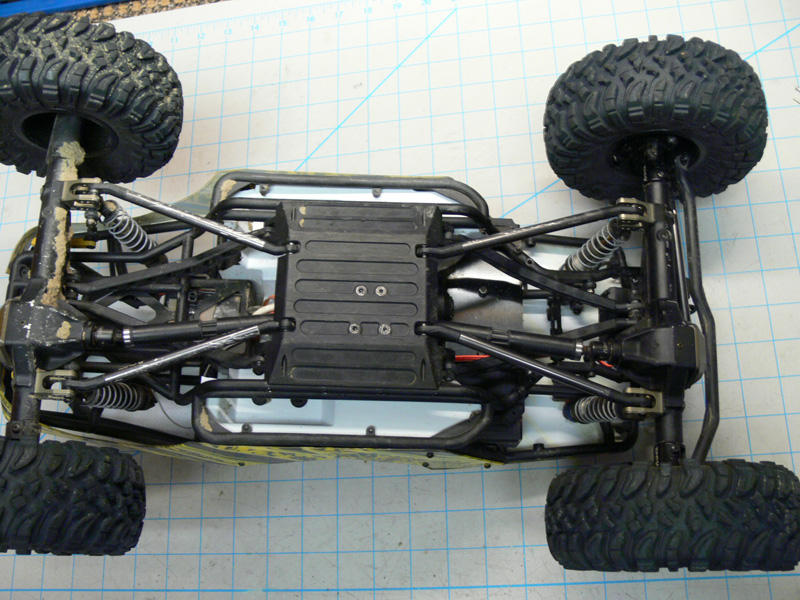
Since doing this modification I have not had a driveshaft fail. I'll keep beating this Wraith to see what breaks next so we can continue to improve our products. Thanks for reading.