Posted: 1/18/13
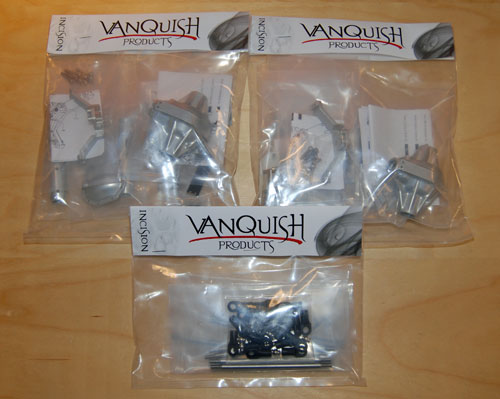
I was finally able to get my grubby hands on a set of the new Vanquish / Currie Rock Jock axle housings. These are fully licensed replicas of the custom 1 ton axles Currie Enterprises makes for 1:1 rock crawlers and King of the Hammers style vehicles. The 1:1 axles feature a high pinion center differential housing, which helps move your driveshafts up out of harms way. This feature also rotates the differential cover up to help avoid hitting the cover on rocks, and possibly damaging a ring gear. These new Vanquish axle housings have the same features as their 1:1 counter parts, and are fully machined from billet aluminum. Every part in this kit is a work of art. For those that aren't familiar with my background, I was a machinist for about 15 years before coming to work for Axial. So I really appreciate the effort Vanquish put into these, as it had to be very time consuming. Especially since these housings are compatible with all the stock Axial internals, a nice bonus for sure! The machine work is executed perfectly too, with no sharp edges or burrs to be found on any of the parts. Great quality control is key, and Vanquish has it down!! Let's get started on the conversion!A shot of the front and rear axles, as well as the link kit for the axle install.
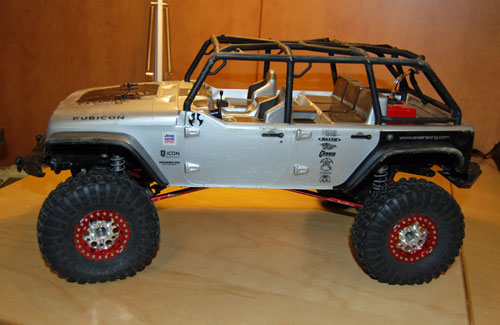
We will be performing surgery on my old Dingo which I converted into the new Jeep Wrangler Unlimited Rubicon.
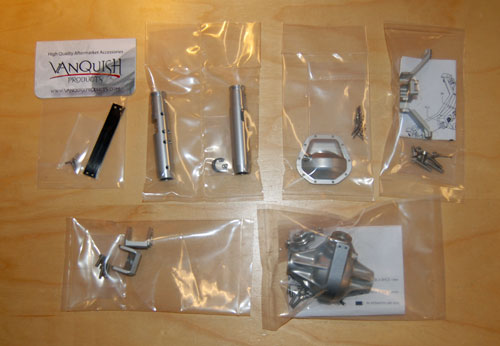
I started with the rear axle first. A shot of all the components included with the axle kit.
Start by removing the wheels and tires.
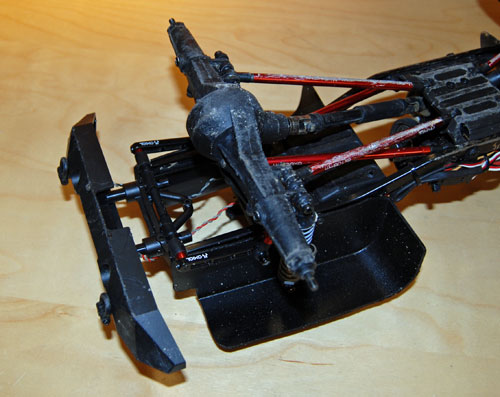
Then unbolt the upper links, lower links and shocks from the axle housing. Then remove the rear axle.
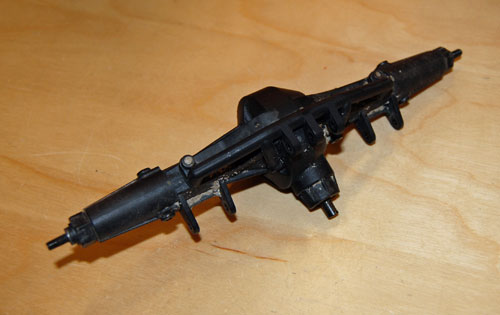
I am going to install a few upgrades while I am making the conversion too. First up is a set of HD under drive ring and pinion gears. These gears are made from hardened steel, and are helical cut for strength and durability.
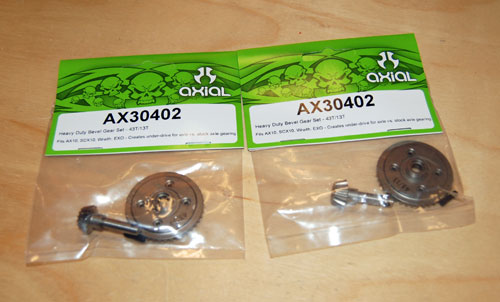
Remove the rear axle lockouts, and slide the inner axles out of the housing. I also removed the outer 5x11mm bearings as well.
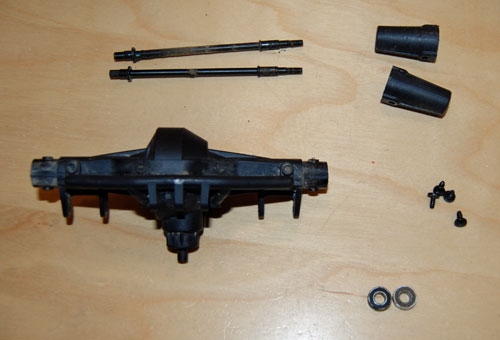
Unbolt the rear axle housing, and split the case open to gain access to the ring and pinion gears.
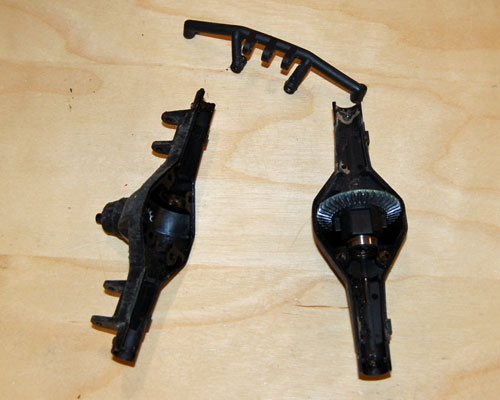
Pull the ring and pinion out of the housing and remove the ring gear from the locker assembly. Take care not to rip the gasket between the ring gear and case, as we will need to re-use it.
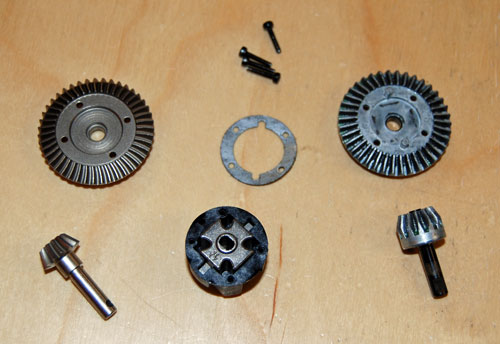
After installing the new ring gear, grab the rear center section of the housing.
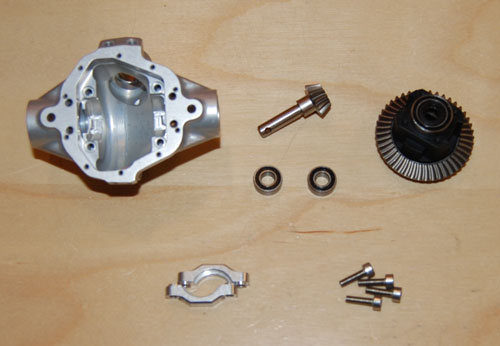
Slide one of the 5x11mm bearings onto the pinion shaft and insert it into place in the new housing. Then install the second 5x11mm bearing to support the drivesahft side of the pinion gear.
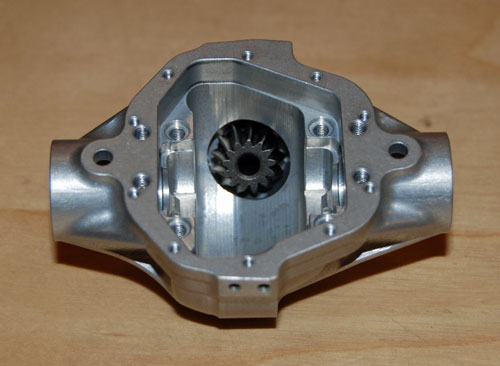
Insert the ring gear assembly into the housing next, and install the supplied bearing caps over the bearings.
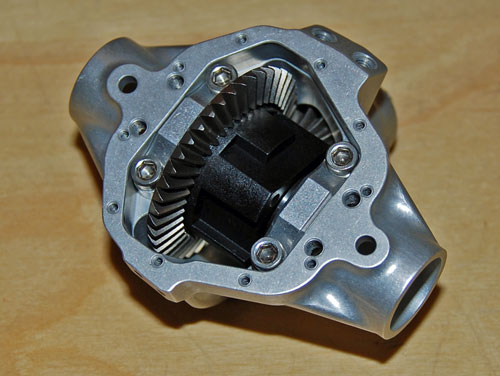
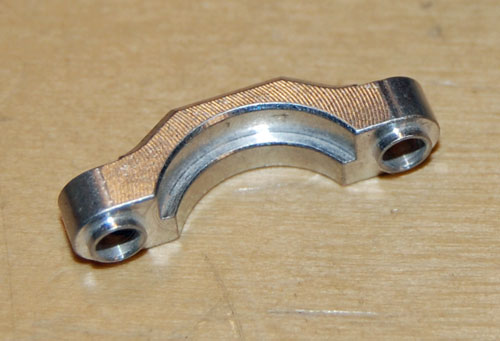
A close-up photo of the bearing caps. Notice they can only be installed one way, the bigger diameter supports the bearings on each side of the ring gear assembly.
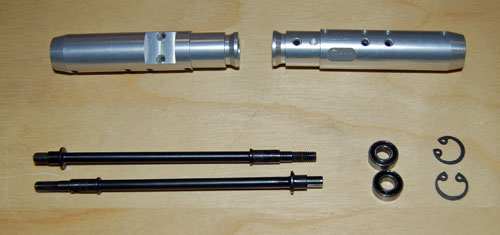
Next grab your axle tubes, inner axles, bearing and snap rings needed to complete this step.
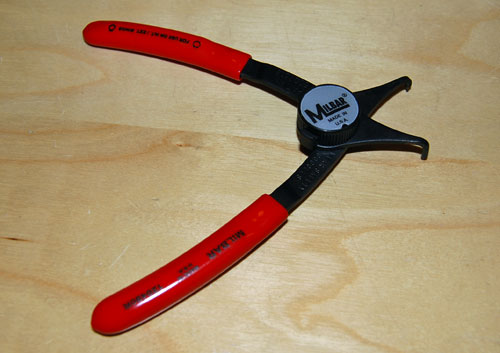
You will need a set of snap ring pliers to complete this step. They can be found at any hardware or auto parts stores. Keep in mind there are specific tools for inner and outer snap rings, so make sure what you get will work. This set of snap ring pliers can pull double duty and works for either style snap ring, which is nice.
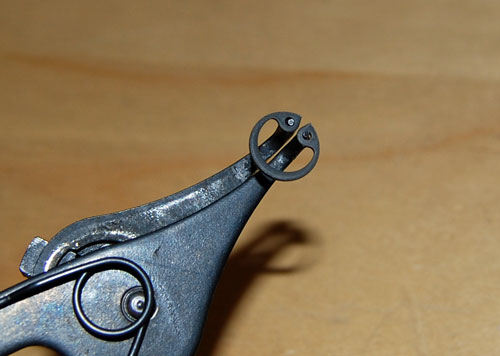
Compress the snap ring and insert it into place in the end of the axle tube.
A shot of the snap ring installed. The ring comes very close to rubbing the axle shaft, but it does clear when fully supported by all bearings.
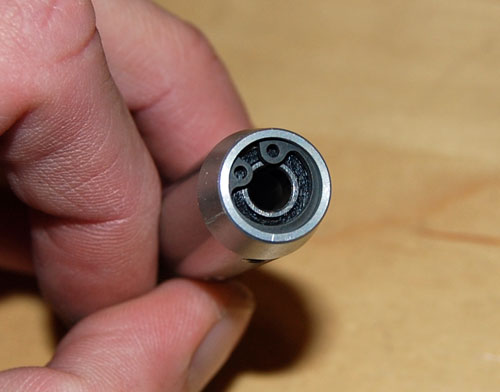
Once both axle shafts and snap rings are in place you can install the drive pins and hexes.
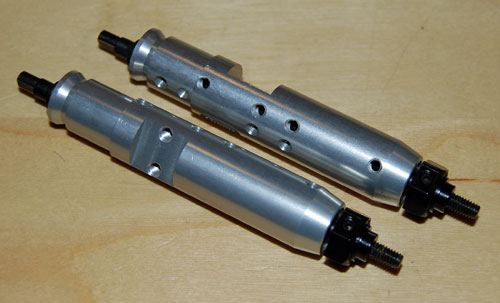
Grab some blue thread lock for the next step, which is installing the tubes into the center section.
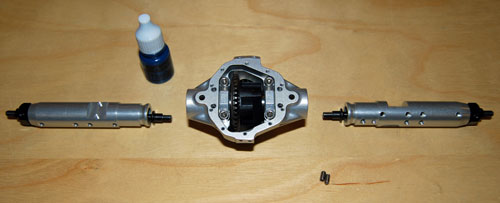
Add a dab of thread lock to the supplied M3 set screws, and insert them per the instructions to temporarily hold the tubes in place.
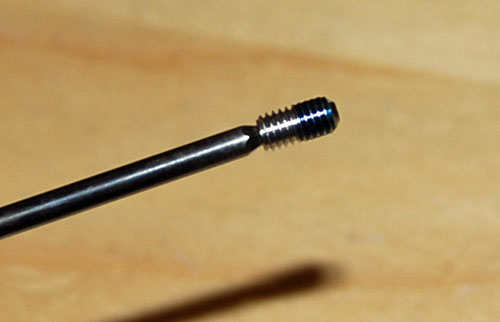
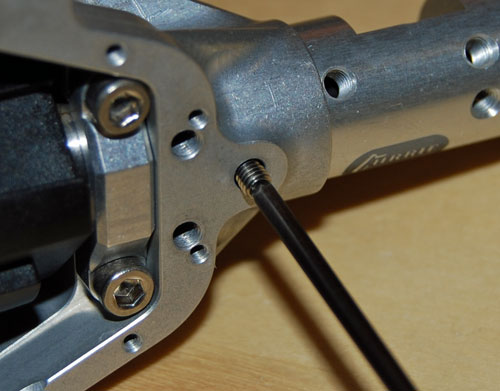
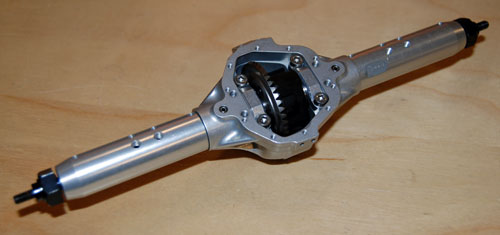
Both axle tubes in place, ready for the next step.
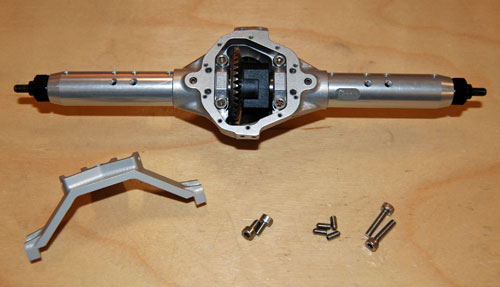
Locate the supplied axle truss and hardware.
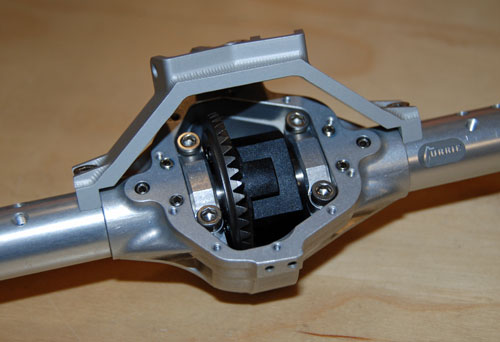
Install the axle truss to locate/time the two axle tubes to the center section. Then, per the instructions, install the four M3 set screws that secure the axle tubes to the center section. Make sure the tops of the set screws are flush, or just below flush with the center section's outer lip. The screws will go in a little tight, but they will go in.
Once the tubes are secured, remove the axle truss, and install the differential cover. Don't forget to grease the ring and pinion gears before bolting the differential cover into place.
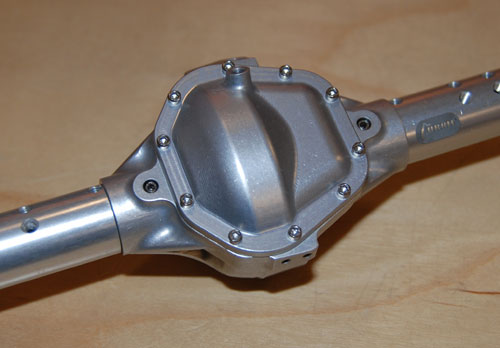
Now re-install the axle truss using blue thread lock. You can also install the link mounts at this time too.
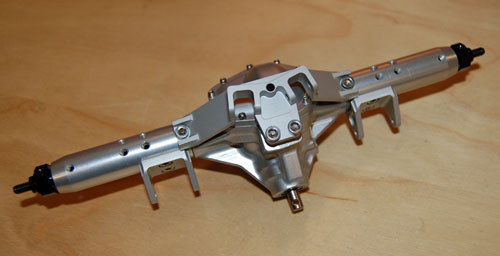
Screw the supplied plastic differential skid to the center section of the axle housing. This piece will let the axles slide over obstacles easier than if it was just the aluminum.
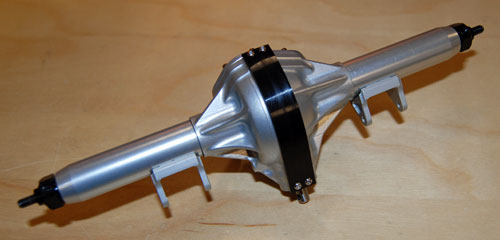
You will notice there are holes in the axle tubes that aren't utilized at this time. I installed some small M3 set screws into these holes, with a dab of blue thread lock, to keep debris out of the housings.
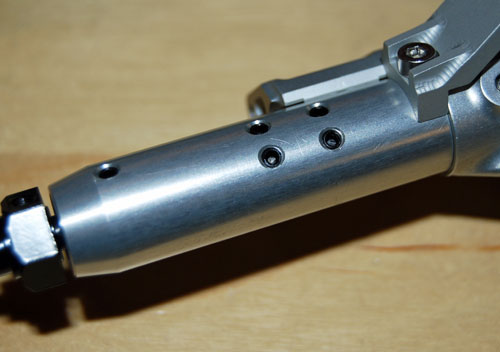
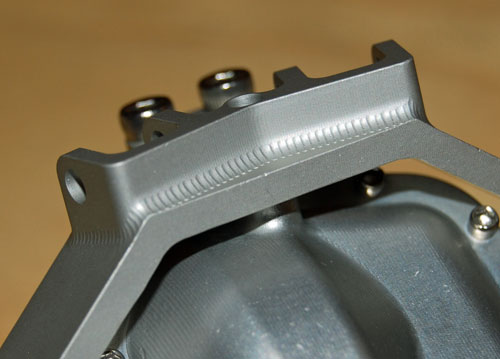
Notice the machined "weld marks" to replicate a real 1:1 axle truss. Another cool feature these axles offer to complete the scale look.
Rear axle done!!
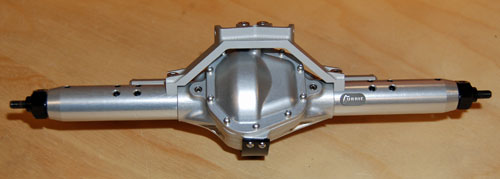
Now we will move on to the front axle.
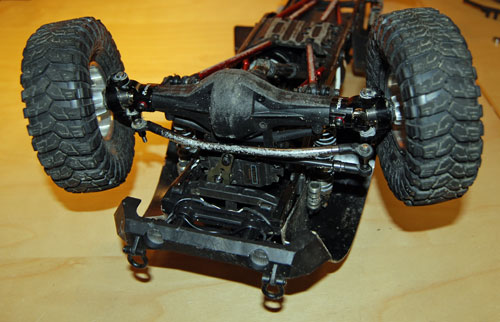
Remove the wheels, tires and all hardware that holds the front axle in place.
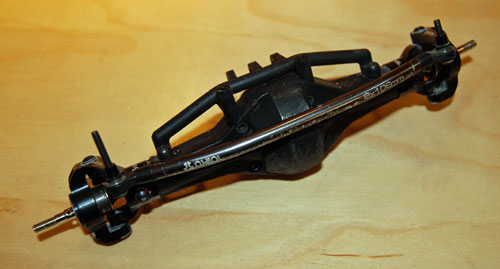
Remove the steering links, unbolt the c-hubs and remove the knuckle assembly with the inner axles intact.
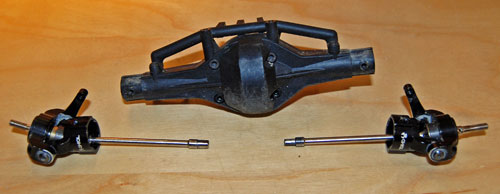
Split the axle case to gain access to the ring and pinon gears.
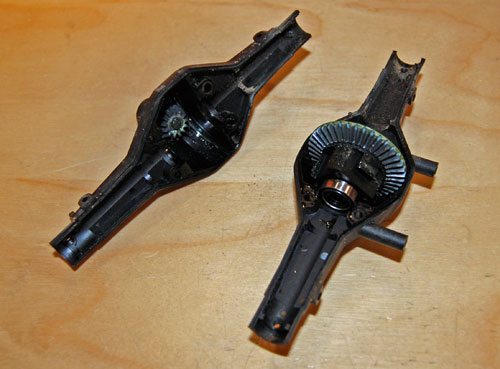
If applicable, install the new ring gear onto the locker assembly.
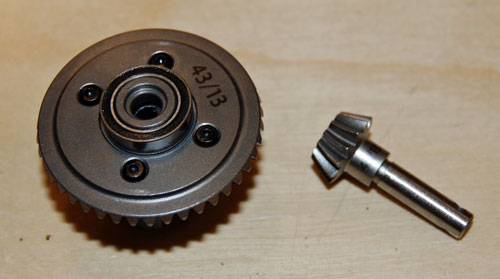
Again, slide a 5x11mm bearing over the pinion shaft and slide it into place in the housing.
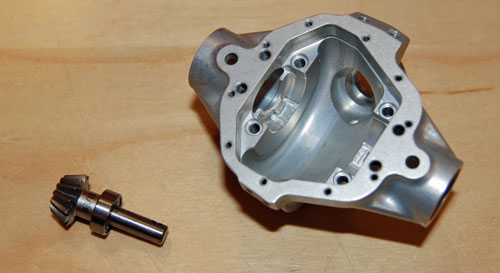
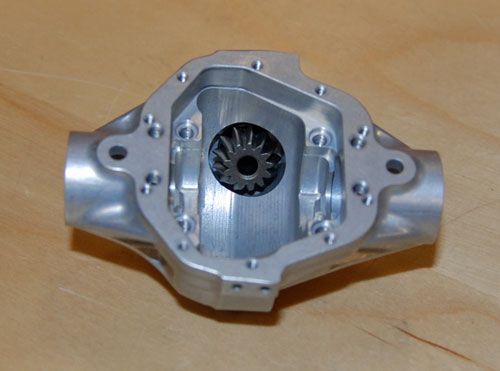
Insert the axle tubes into place per the instructions. Then install the two M3 set screws to hold the tubes in place.
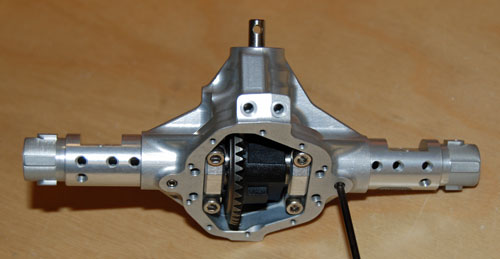
Temporarily install the axle truss to locate/time the axle tubes.
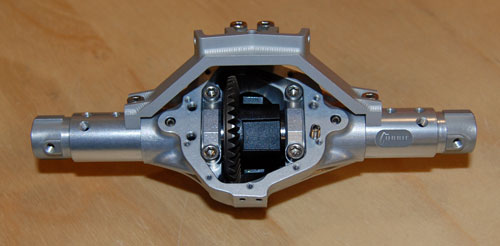
Apply a little blue thread lock to the four set screws and install them to secure the axle tubes. Then remove the axle truss.
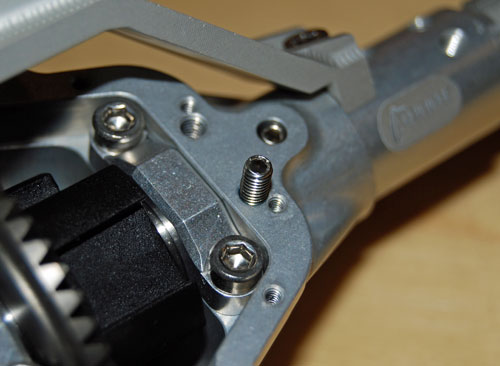
Install the four tiny set screws into the front differential cover.
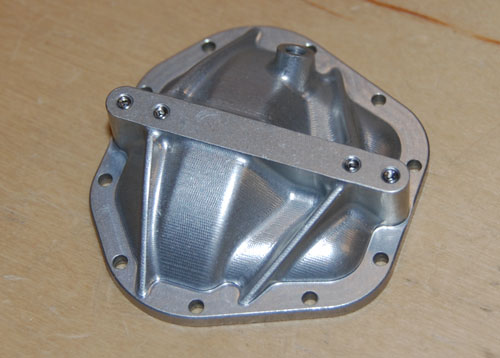
Then, bolt the differential cover into place. Again, don't forget to grease the ring and pinon gears.
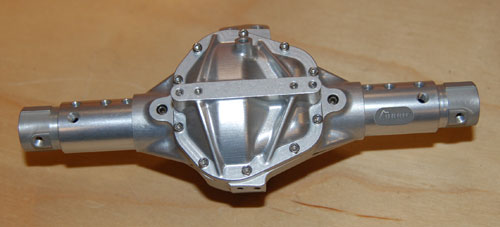
Now we can install the axle truss with blue thread lock per the instructions.
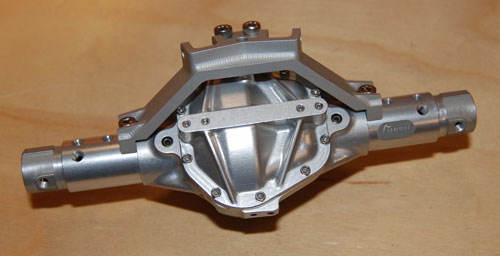
Flip the axle around and install the link mounts next.
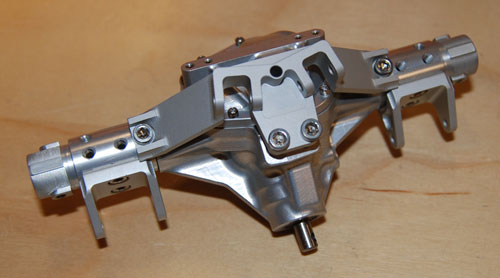
Attach the center differential skid plate with the supplied screws.
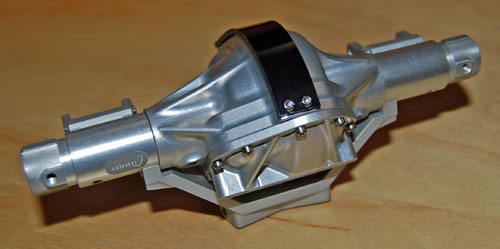
Next I installed the servo mount for the steering servo.
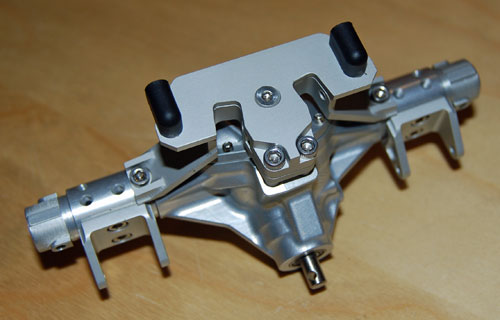
Locate your front knuckle/axle assemblies.
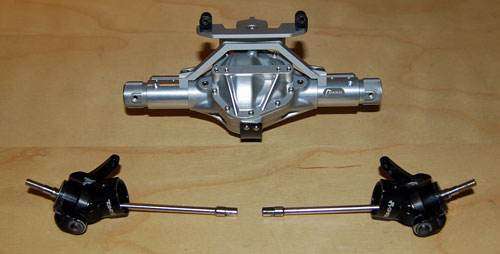
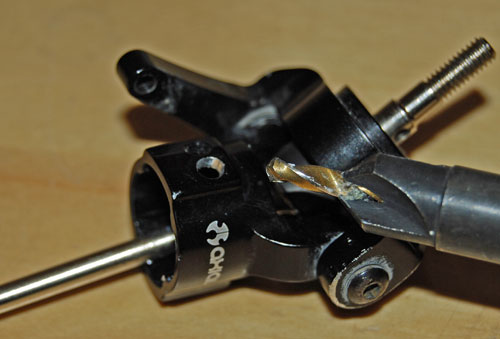
One mod I did have to make was to my aluminum c-hubs. The Axial c-hubs are threaded for use with set screws in the stock plastic housing. But, the Vanquish housing is threaded aluminum too, which just won't work together as the threads will never be timed properly. Keep in mind the stock plastic c-hubs will bolt right up with zero issues. To fix the issue I ran into I drilled the c-hub holes out to an 1/8" diameter to clear the M3 screws. You will need to drill the bottom hole out in front and the top hole out in back. You can also drill all four out too without any issues. They will still bolt back up to plastic housings if need be.
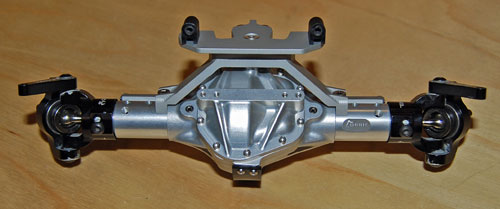
A shot of the complete front axle. I am going to try and keep my high clearance knuckles in use with these housings. Just need to sling them under my Jeep to see how it will all play out.
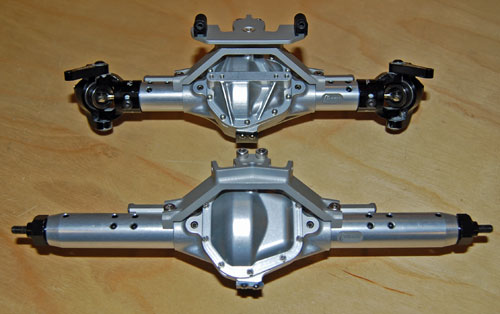
A shot of both complete axles ready to be transplanted into my SCX10. So sick!!
For more info on these housings, and a ton of other killer products, be sure to visit the Vanquish website.
https://www.vanquishproducts.com/
Keep an eye out for the next blog post that will cover installing them into my SCX10.