Posted: 9/21/18
A task simple for some can be daunting for others. Spray painting an RC bodies is one of those tasks. For those who have not painted a body before, you've found the right blog to read. We're going to show you just how to paint your first body successfully. These are simple tips and tricks that will allow you to paint your body so when you're finished, it looks like it came from the factory. Let's get started.
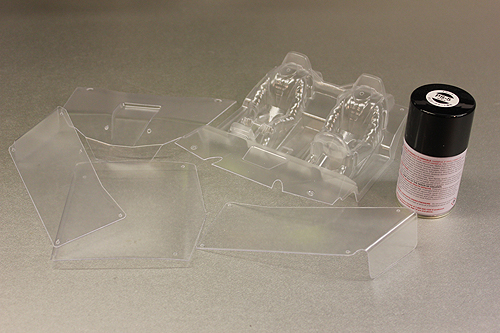
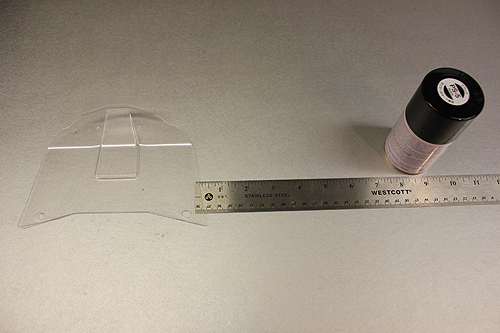
We're going to paint these RR10 Bomber panels for an upcoming project so they will be the demo pieces for this blog. Before you get started, here are a few things you'll need to have on hand to get the job done. First, you'll need spray paint of course. Make certain it is a polycarbonate compatible spray paint. This type of paint will adhere itself to the Lexan. Other paints may not adhere and flake off as soon as you roll your rig over. You'll also need some dish soap, paper towels, masking tape and some warm water.
STEP 1
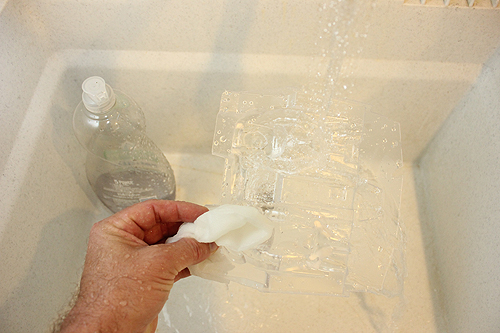
The first step is to wash your body or panels. When the body is molded at the factory, sometimes oils from the molds or even someone's hands can get on the body. Using the dish soap, a paper towel and some warm water, wash the body well and rinse out all of the soap.
STEP 2
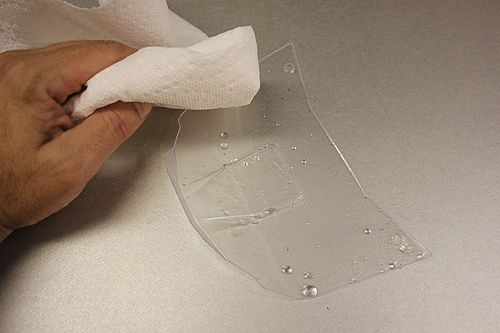
Now use some more towels to dry the body. Do not leave any water on the body. Get into all the creases with the towel to get the water out or it will deflect the paint leaving fish-eye like marks.
STEP 3
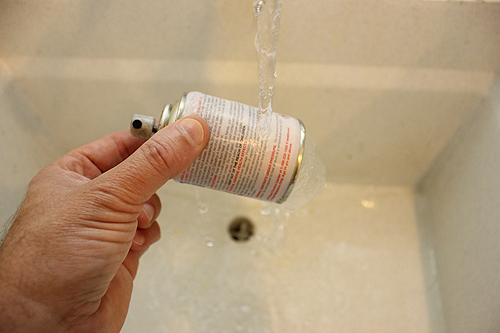
We're getting close to spraying the paint. Before you do so, you'll want to shake the can of paint for a few minutes to mix the contents as you would do with any can of paint. Now here's an additional trick some painters don't share. Run warm water over the can to help warm the contents. This will help pressurize the can and make the spray come out in a fine pattern to better coat the body.
TIP
Another tip we have is to hold the body about 8-10 inches from the spray can. Spray too close and you can get drips or uneven spray patterns. Spraying farther away will help coat the body evenly.
STEP 4
Now it's time for your first coat. In one direction, either horizontally of vertically spray the body. Don't spray the body directly. Start spraying and move the can across the body and stop spraying when the can has past the body. If you hold the can directly at the body and spray, you can't just blobbing the paint in one spot. Now for the next pass, shift the can and repeat the process until the body has a very light first coat of paint. Set the body aside and let it dry; fifteen to twenty minutes is a good drying time.
STEP 5
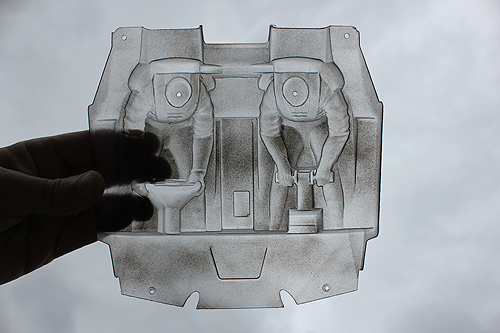
Time for the second coat. Basically repeat the steps above. Warm the can, note your spacing, start your spray before the body and stop after you've passed over the body. Hold the body up to some light to see how the coverage is. Here our second coat covered well on the right side, we're going to make one or two more passes on the left side to even up the coverage and then set it aside to dry.
STEP 6
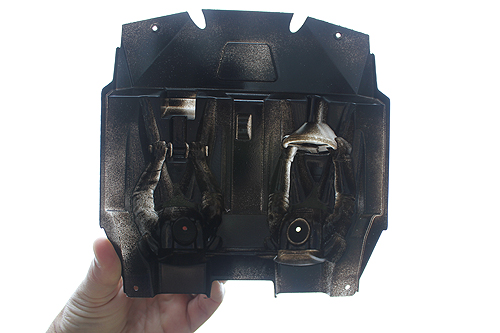
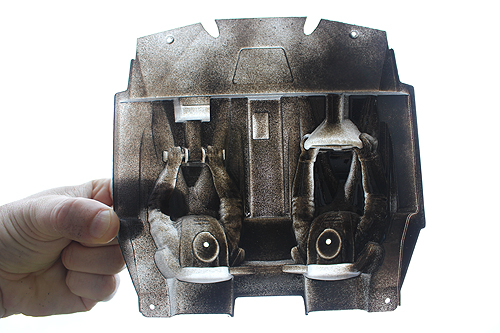
Here is the interior of our bomber after the third coat. We still have some clear spots to fill in. To do this, we'll get just a little closer with the can to get the paint into the hard to reach areas. If you are spraying flat panels, keep your distance and spray over the light areas.
TIP

Some panels can be difficult to hold. Using some tape, stick it to the panel and make a small fold in the center to hold onto.
TIP
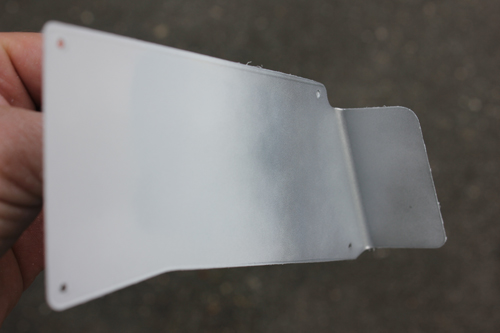
Be aware that some colors may need to be backed by another color. Fluorescent colors typically need to be backed with white. Candy colors can be backed with white, silver, gold and sometimes even black. If your solid color still seems transparent, consider backing it with white or even a silver. Keep in mind that whatever color you use to back your paint may alter the main color. So if you spray black behind red, it may turn the red dark. It may be better to back red with a silver as if the red is too transparent, a white might make it look pink. Here' we're backing this white panel with silver to give it a more opaque look.
FINISHED
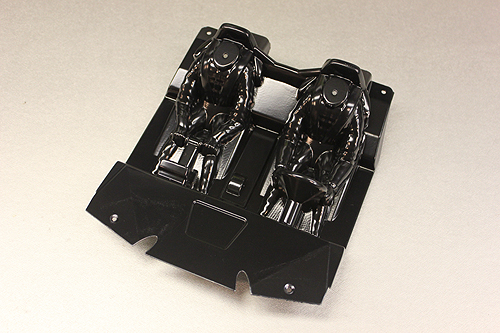
There we have it, a perfectly painted interior for our Bomber. Don't forget to pull the overspray film off of the Lexan before applying decals. The interior is now ready to be installed. We hope this simple spray painting tutorial helps you spray paint your first body shell. Make sure to check back often on the Axial Blog as we'll get into more complex paint jobs in the future.