Posted: 6/1/18
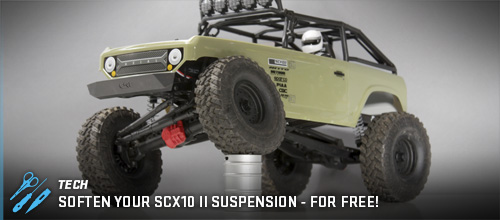
Recently we walked you through an inexpensive way to lower the CG on your SCX10 II in our SCX10 II Handling Adjustment blog. With some hardware and a little time, the rigs handling was improved for those looking to get more performance out of their trucks. Now we have another suggestion to improve handling even more and this modification is completely free, as long as you don’t charge for your shop time. This modification is to soften the suspension on the SCX10 II and it’s done by just moving parts around that are already on the truck. The rear suspension has softer springs that will be moved to the front and medium rate springs to the rear. The shock positions will then be moved in the rear to give them a softer feel. It’s pretty simple, only requires a few tools and just a little bit of time.
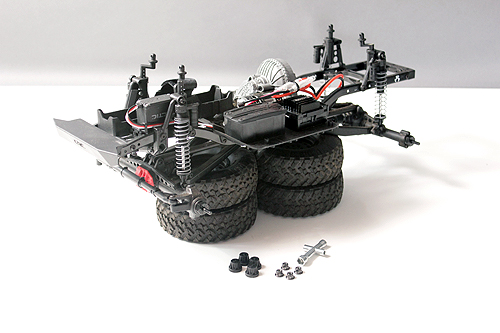
TOOLS NEEDED
Kit Box Wrench
2mm Hex Driver
STEP 1
Like many steps in customizing your rig, step one here is to remove the wheels. First unscrew the “Locker” caps, followed by the 7mm wheel nuts using your box wrench.
STEP 2
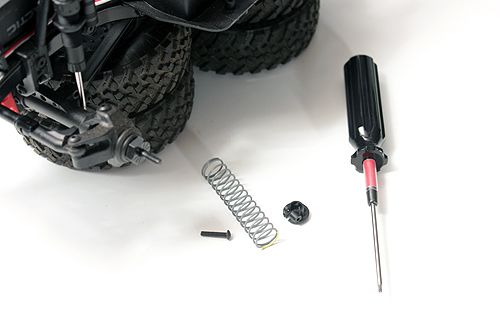
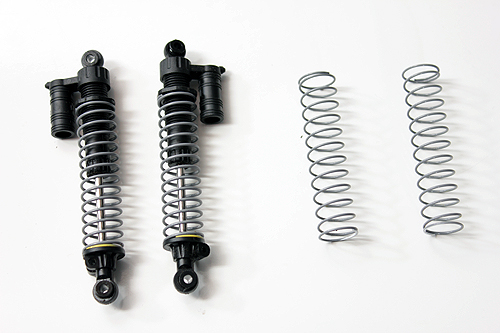
Let’s start at the front and remove the lower shock mounting screw from the AR44 axle with the 2mm hex driver. With the shock dangling, slip the spring perch off the bottom of the shock and remove the soft springs.
STEP 3
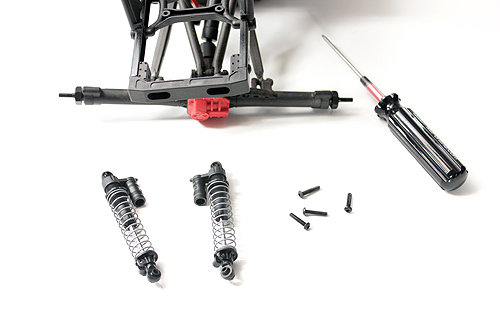
Now move to the rear of the machine and using your 2mm hex driver, remove the upper and lower shock mounting screws.
STEP 4
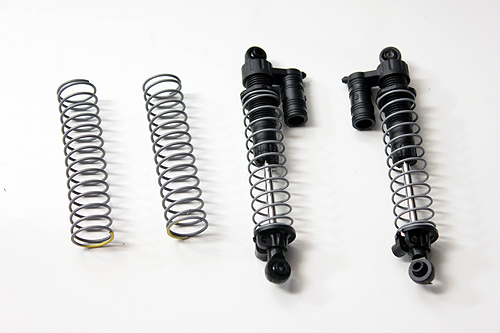
Here are the front medium rate springs next to the rear shocks. You can just see the difference in the springs thickness. You’ll want to remove the lower perches from the shocks and swap the springs.
The softer springs are now set on the rear shocks and ready for installation.
STEP 5
So the rear springs don’t roll off your workbench, now would be a great time to reinstall them back on the front shocks, slip the perches on and screw the lower shock mount back onto the AR44 axle.
STEP 6
Back to the rear of the rig. Start by removing the shock hoops front the frame. We’re going to take them off the one side and reinstall them on the opposite side in a bit.
STEP 7
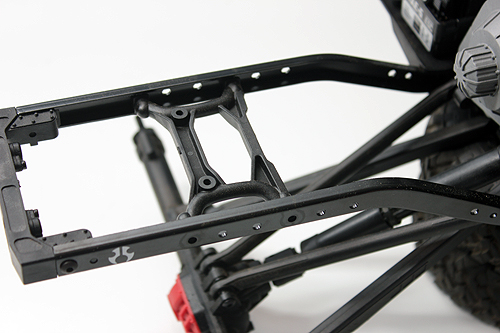
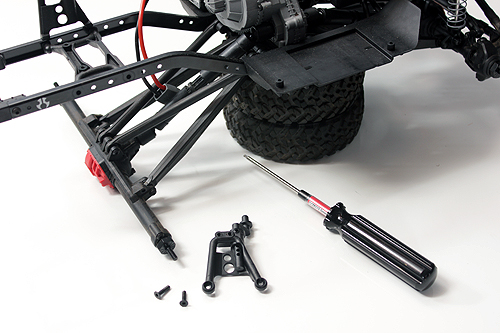
Before reinstalling the shock hoops, the center cross brace needs to be moved. Take it from its stock location and push it forward to the forwardmost holes. This is where the new hoop locations will be.
The cross brace in the new location.
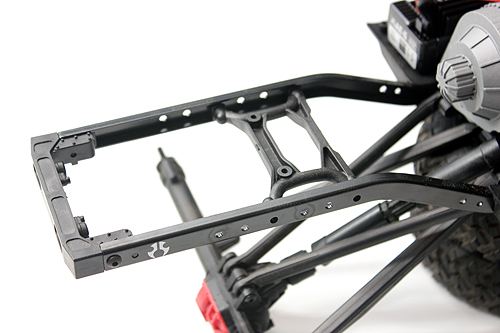
STEP 8
The shock hoops can be installed now. Remember, you have to swap the hoops from side to side.
Once the hoops are in the new position, you won’t even have to relocate the body mounts, they will be in the right factory location. Bonus!
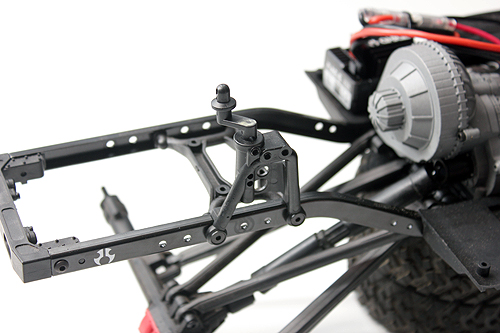
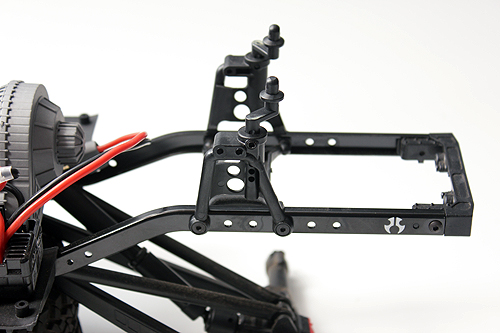
STEP 9
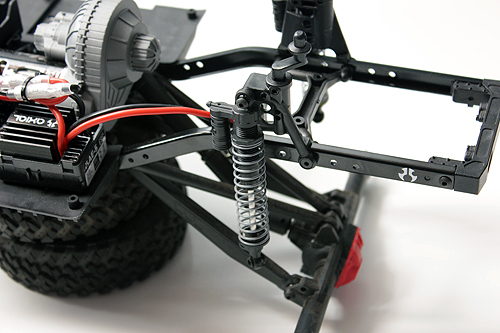
Time to bolt the shocks back in place. Screw the top of the shock into the forwardmost hole.
STEP 10
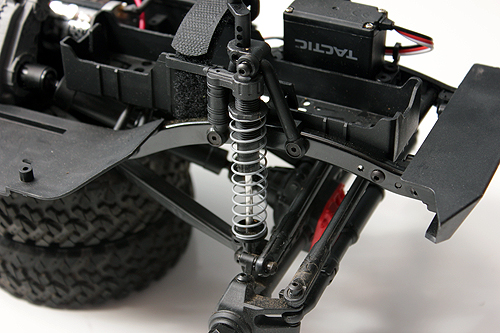
Mount the lower shock mount to the AR44 axles. The shock will now be on a “lay down” angle. The angle of the shock gives the shocks a softer feel while it’s compressing, thus making it feel like it has a softer spring.
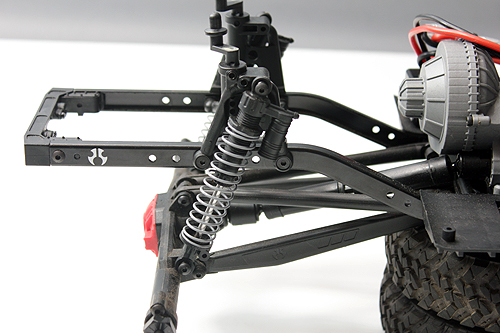
SEE THE DIFFERENCE
That modification was pretty simple and probably took you under ten minutes to complete. Now the trucks suspension will have a softer feel and allow it to compress as it goes over rocks and obstacles easier. Take a look at the difference below.
Before | Stock shock set-up
After | Springs swapped and rear shock angle change