Posted: 11/9/11
Here is the final installment of our 7 part Wraith kit build series. For this post I will cover the electronics I am using, and placement in the chassis. Wiring this truck is a little tougher then normal, because of the tube chassis and interior tray. Proper planning is needed to pull off a clean install. My first objective with this wiring job was keeping it clean. I didn't want to see a bunch of electronics or wires while the vehicle is running, it takes away from the overall scale look. The plan was to shoe-horn as much of the electronics as I could under the interior. Here is how it all played out.For the motor and speed control I went with Tekin's RS Pro ESC, and 10.5t brushless motor. This combo should give me a decent combo of wheel speed and torque with a 2S lipo. I am using my Futaba 4PK receiver and radio, as well as a Futaba S9452 servo for steering duties.
I used the ESC for mock-up to see where it would fit under the interior before I started wiring everything up. It took a few tries to get it properly positioned so it would fit without interference. I ended up using an AX10 servo mount for the ESC mount. I attached it to one of the holes in the top of the transmission. Then used double stick tape to attach the ESC. Once I finalized the ESC position, I soldered everything up as needed.
A few shots of the transmission and electronics before installing it back into my Wraith.
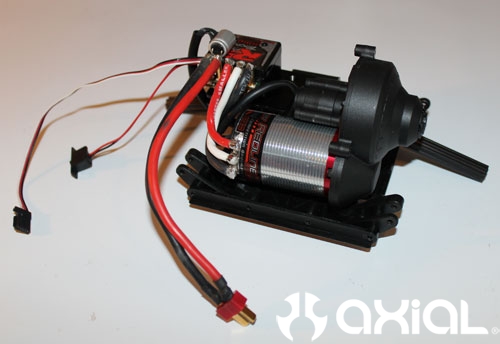
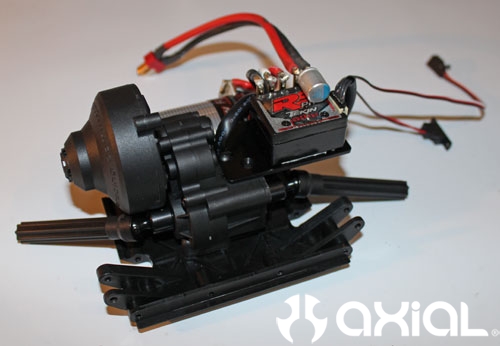
The wiring......
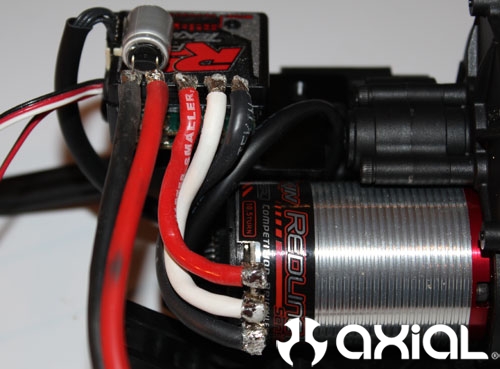
The ESC shelf......

For the receiver mount I used the stock Wraith electronics box, but modified it a little to work with my set-up. I moved the battery up front, so it is now positioned behind the dashboard. I did this to put more weight bias out front, which will help in technical rock sections. In order to mount my battery up front I knew I would have to fab a battery tray of some sort. After staring at the front of my Wraith for a while it hit me............just modify the stock battery tray instead. I basically ended up cutting the stock tray in half lengthwise, and bolting it into position where the stock ESC would normally sit in an RTR Wraith. Then added a few pieces of foam to fill any gaps between the tray and battery. I was even able to use the stock battery straps, which was a nice bonus.
A shot of the newly revised battery tray.

You will have to cut away a lot of the interior out front for the battery and tray to clear without issue.
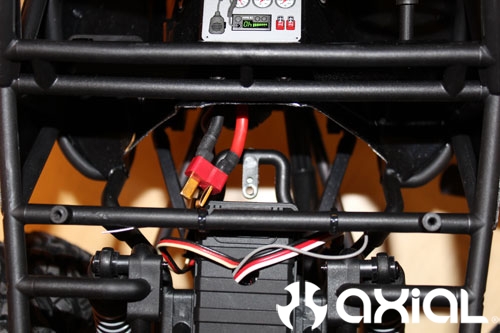
The tray installed.....
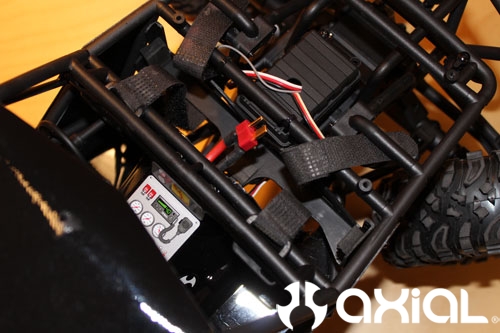
A few photos with the battery in place. You can also see the new hole I added to the lid of the receiver box, this just made the wiring job a tad easier, and it moved my servo wires away from the battery tray as well.


Time to re-install the body panels, and it's ready to go!
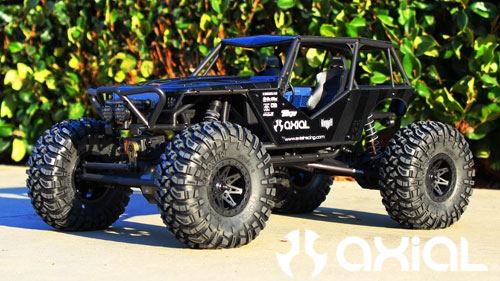
I will have action shots and video soon, so stay tuned!!
Axial Wraith Kit Build Series
Step 1
Step 2
Step 3
Step 4
Step 5
Step 6