Posted: 10/12/11
For the final installment of our Wraith kit build series we will turn this beast into a roller. We will finish the chassis assembly, marry the chassis to the transmission and axles, install the body panels, mount the tires to the wheels and bolt them up to the axles. Start on page 34 of the manual, at step 34.Find bag F in your remaining parts supply.
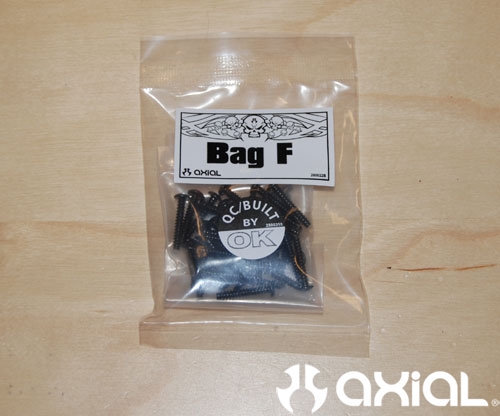
All the parts required to complete step 34.
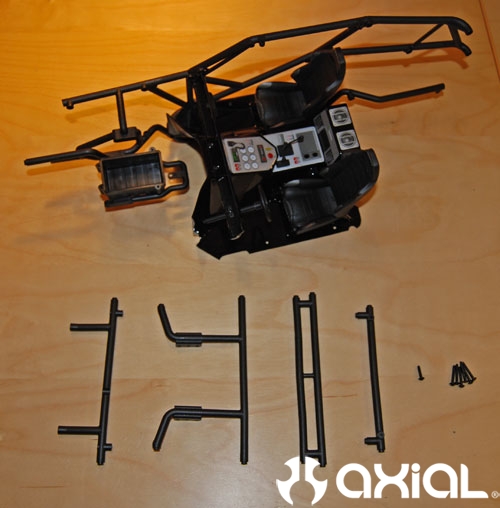
Starting with the rear shock tower, bolt it up to the left chassis plate with the supplied hardware.
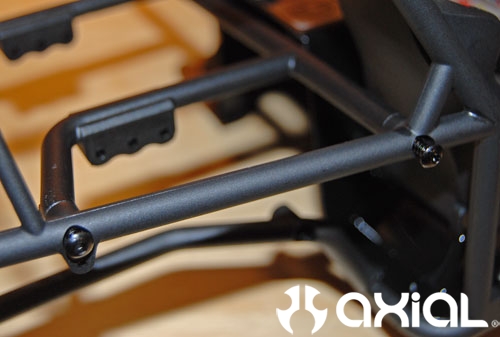
Then move forward to the lower part of what will be the windshield area.
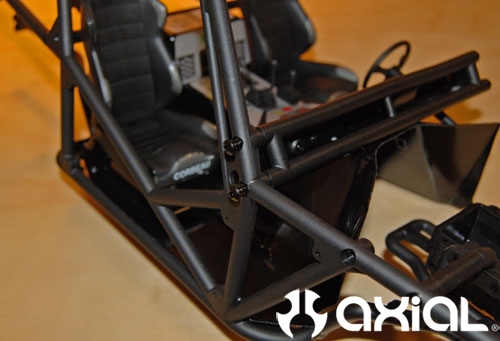
Next cross member.
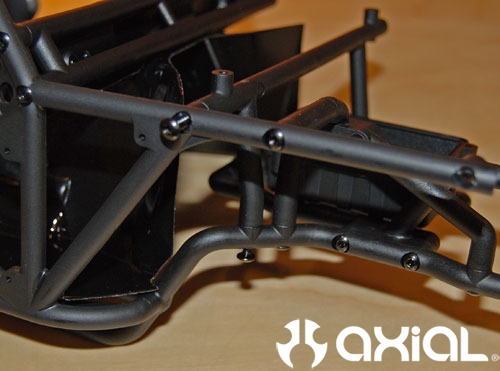
Last one at the very front.
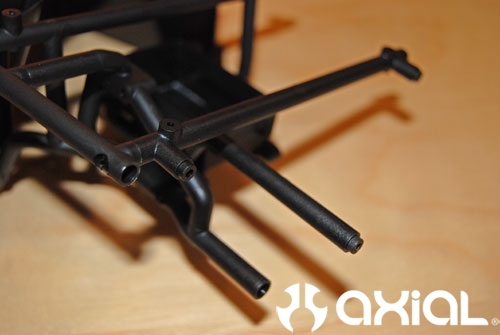
Now we can move to step 35 and install the top of the cab.
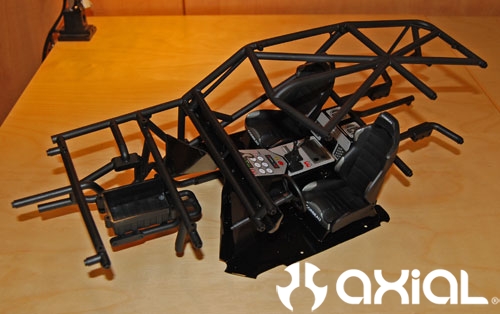
Step 36 will complete the main chassis structure. Everything needed to complete this step.
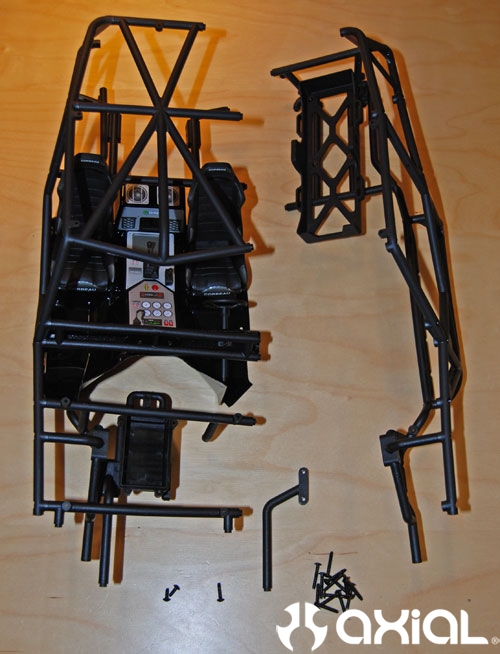
I started at the rear shock tower again, install the supplied 3x12mm self tapping screw. At this point we need to just start assembling the cage at all the points required.
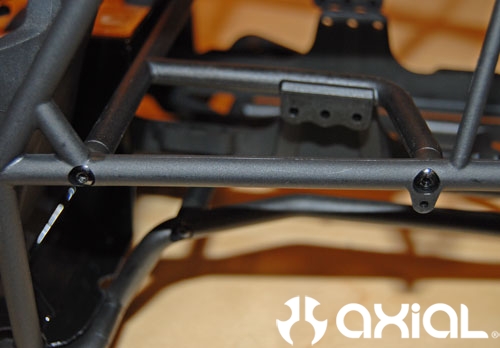
Rear frame cross member.
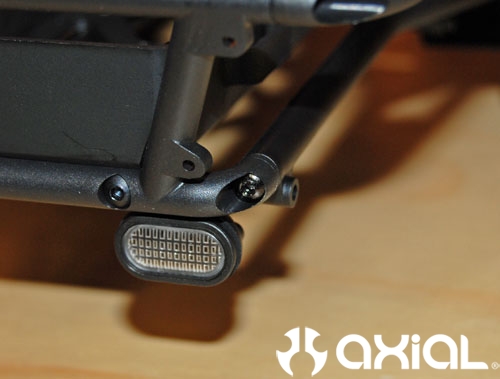
Upper cage area.
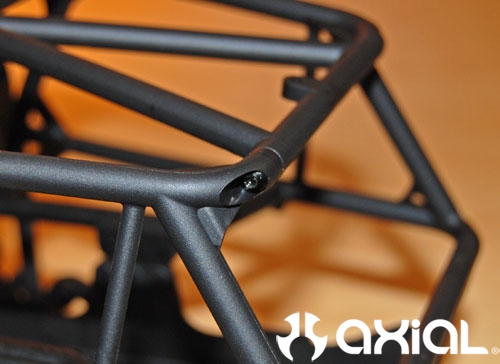
Lower cross member in the rear, under the battery tray.
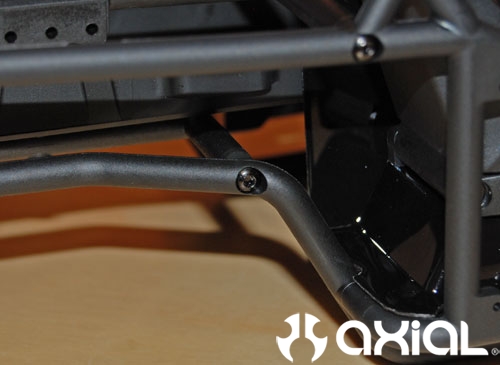
Rear cross member again.
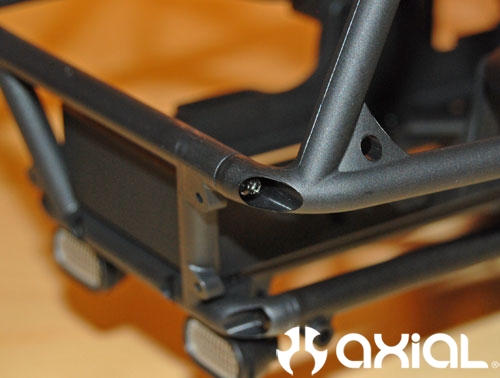
Front A-pillar area.
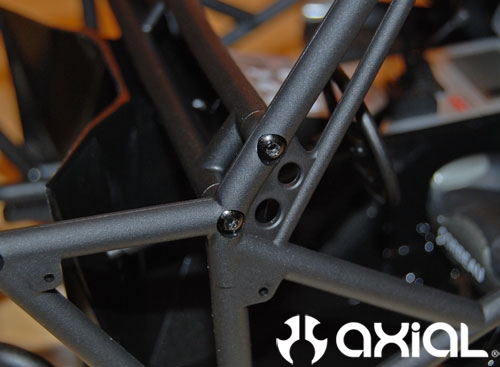
Top of the cab again.
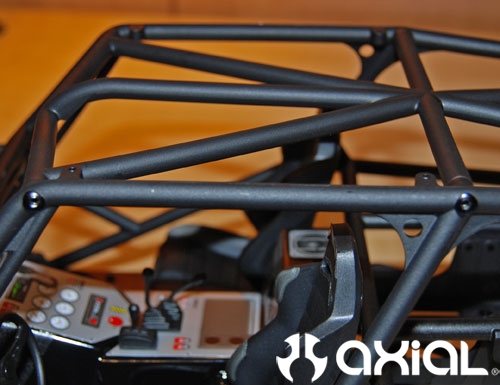
Front shock tower and cross member.
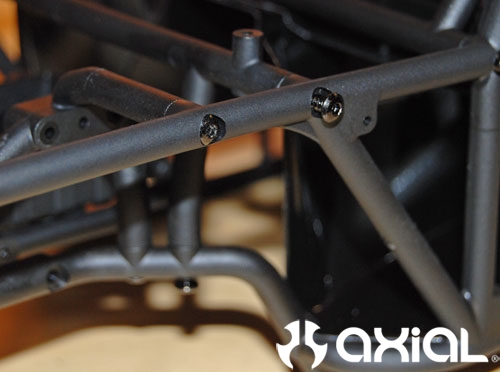
Next I installed the second support for the front bumper.
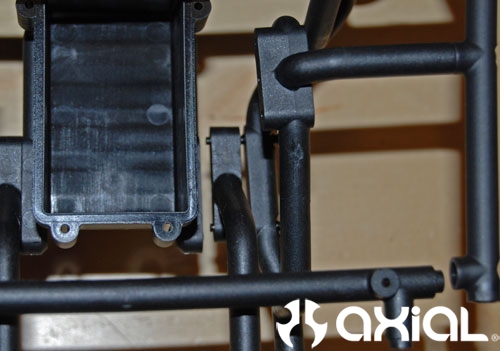
Tighten up that second bumper support, and the last frame cross member in the front.
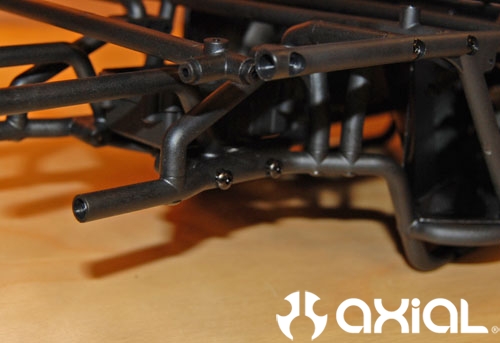
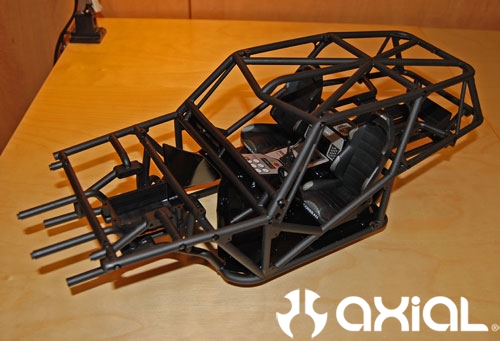
Complete chassis.
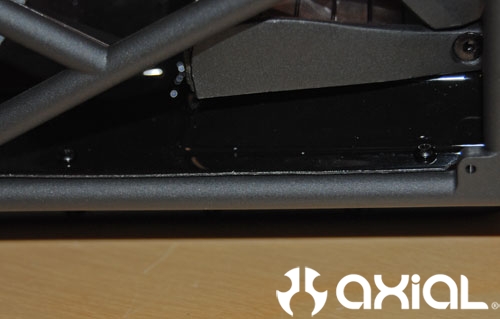
Install the last few screws to secure the interior.
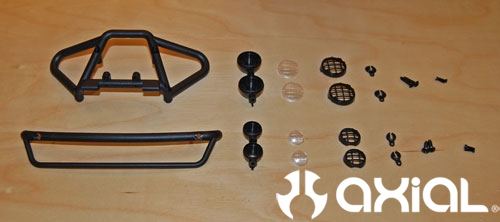
On to step 37, and page 36 in the manual. Everything needed to complete this step.
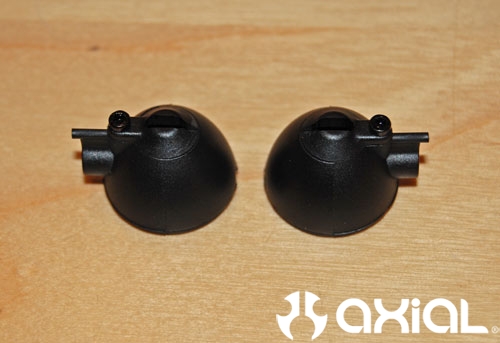
Start by installing the plastic LED retainers on the backside of the big light buckets.
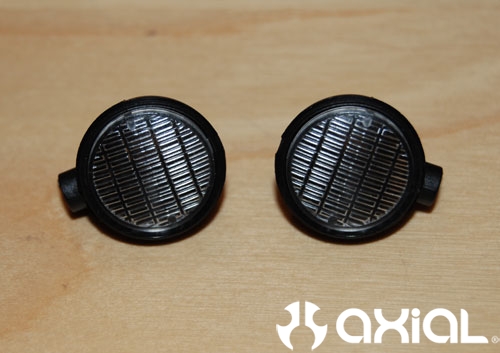
Flip the light buckets over and snap the clear lens into place.
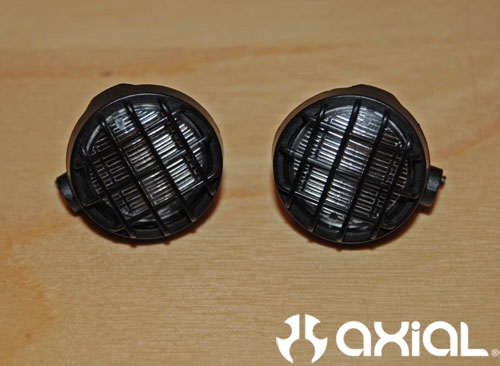
Snap the light guards into place.
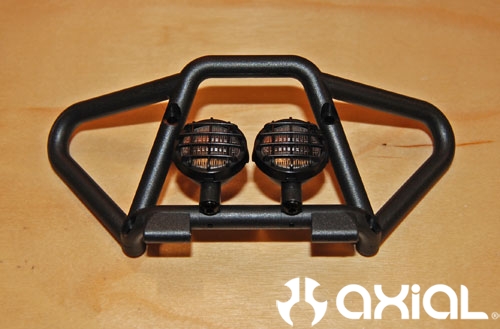
Install the light buckets into position on the front bumper.
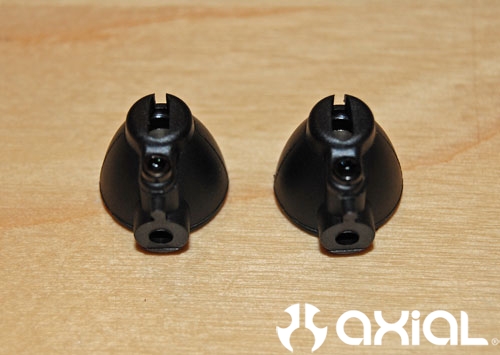
Attach the plastic LED retainers on the backside of the small round light buckets.
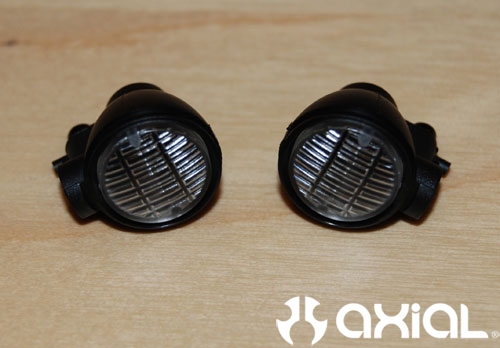
Snap the clear lens into place.
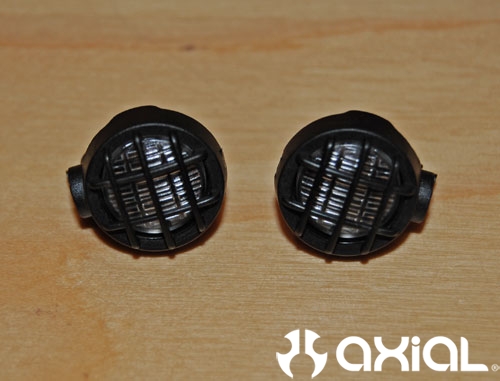
Install the light guards next.
Bolt the small light buckets up to the front grill's tube work.
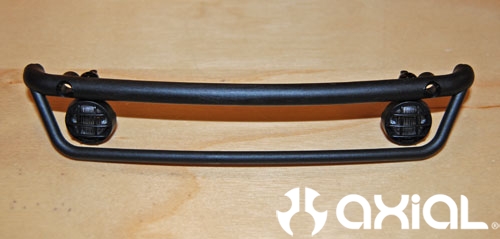
Step 38, and everything needed.
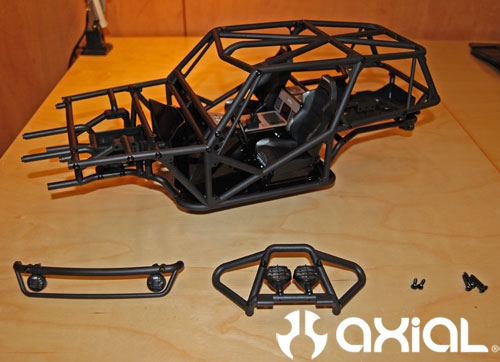
Set the front grill tube work into place, and attach using the supplied 3x12mm screws.
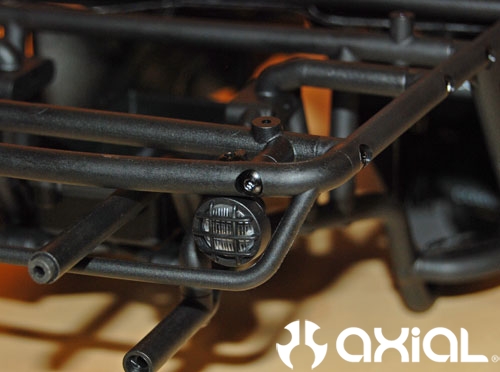
Set the front bumper into place next.
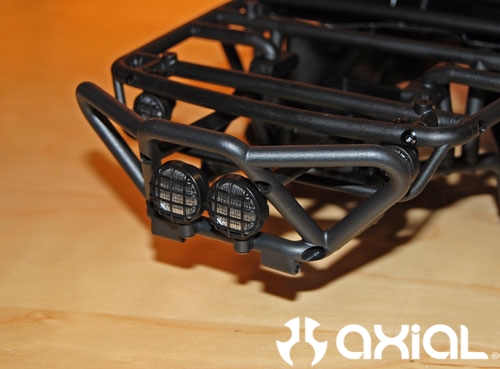
Install the supplied 3x18mm screws.
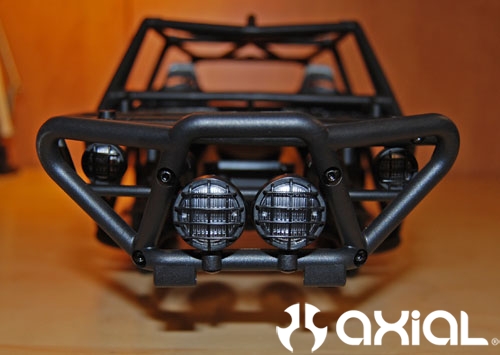
Step 39, attaching the chassis to the skid plate and axles.
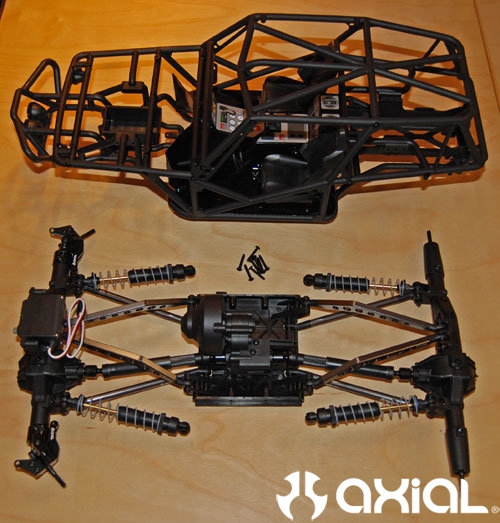
Set the chassis into place over the skid plate, and attach using the supplied hardware.
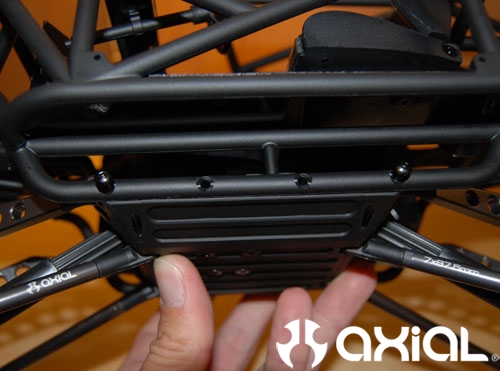
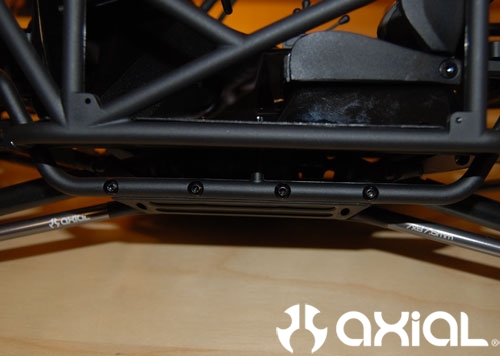
Next we will bolt the shocks up to the shock towers. I deviated from the instructions a little here too. I moved the upper shock mounts in towards the center of the Wraith. I did this to lower the ride height a little, and to soften up the shocks.
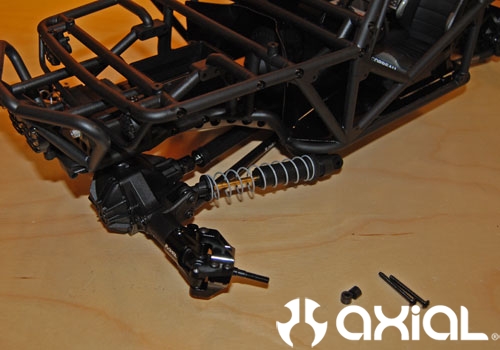
Shocks all mounted up.
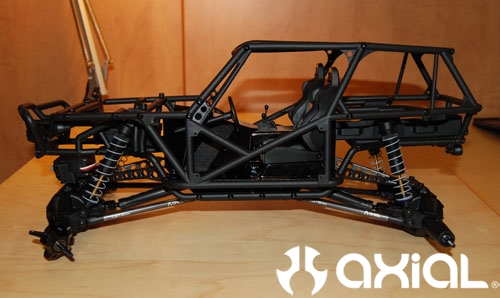
Time to move on to the tires and wheels.
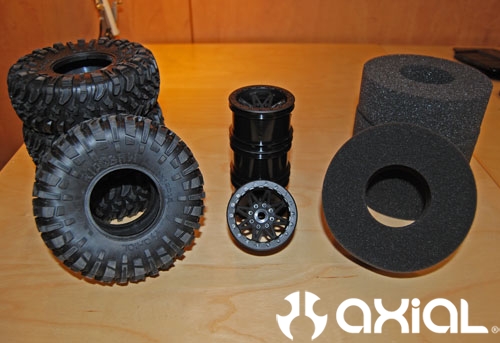
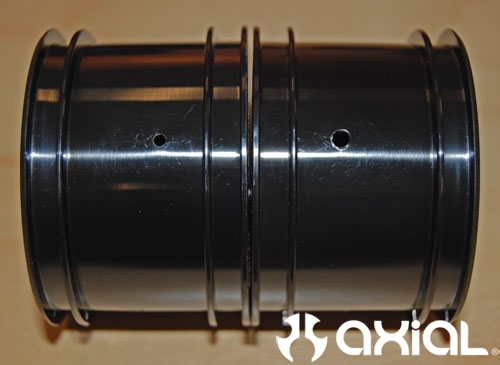
First thing I did was open up the breather holes in the wheels. I chased the existing holes with an 1/8" drill bit. This will help the tires conform to the terrain a little better. Stock on left, modified on right.
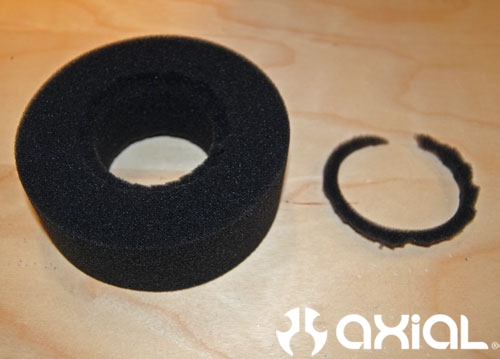
Next tuning tip I will throw out there is to trim the edges of the inner diameter on the foams. This will let the beads of the tire sit in their natural position. It also makes gluing the tires a little easier, as it stops the foam from working it's way into the bead seats while you are trying to glue your tires.
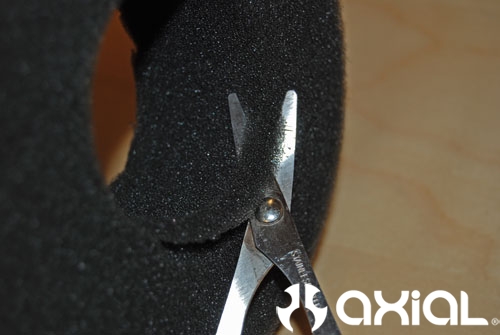
You can see here that you don't need to cut much, keep your cut about a 1/4 - 3/8" wide max.
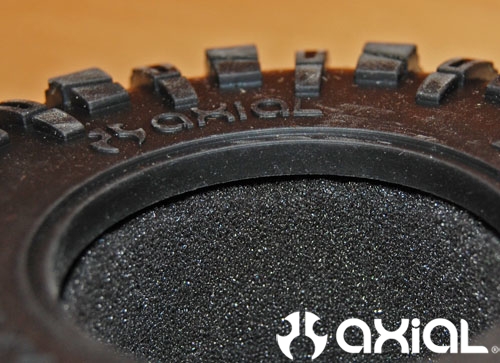
With the foam installed, you can see there is no interference between the foam and the tire's bead seat.
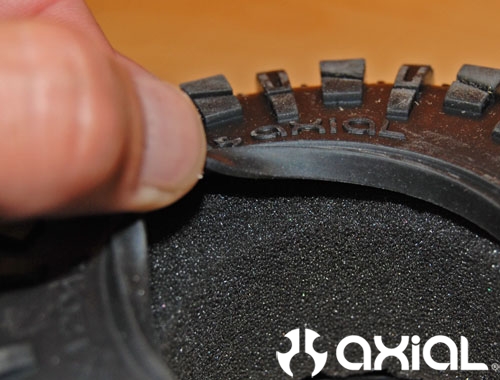
Next slide the wheel inside the tire, and seat the bead properly. I usually glue my tires little by little, with "stitches" of glue. Add a dab of CA to the bead seat, and seat the tire into place. Then spin the tire 180 degrees and add another stitch of glue, then let the tire sit for a few minutes. Then, repeat these steps until the tires are glued all the way around the inner and outer beads.
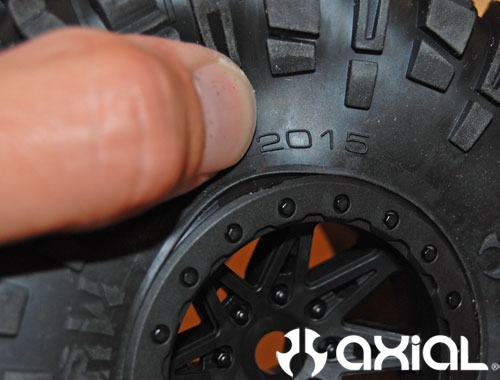
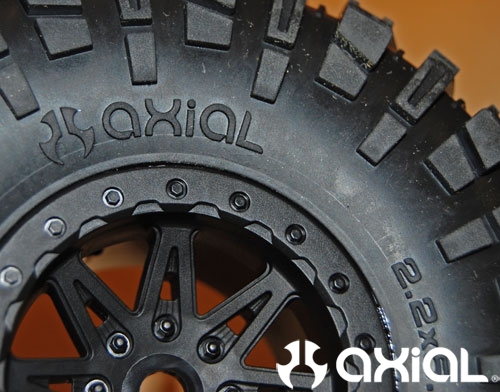
All glued up. I love the looks of these wheels in black!
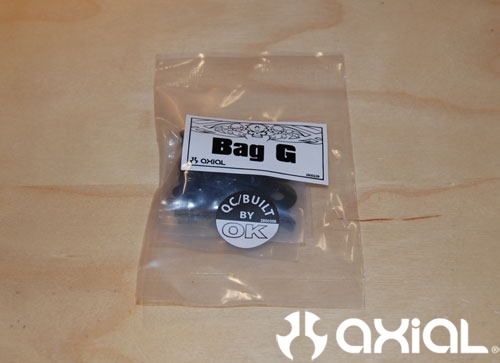
Next we will move on to step 43. Find bag G in your dwindling parts stash.
Everything needed to bolt the wheels up.
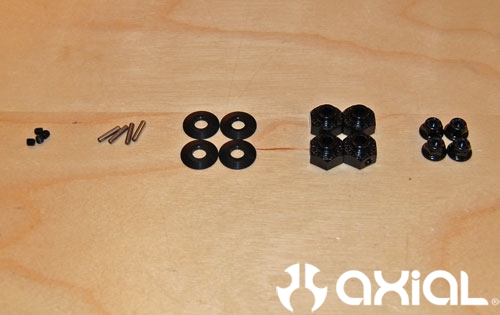
Thread the small M3 set screws into the drive hexes part way.
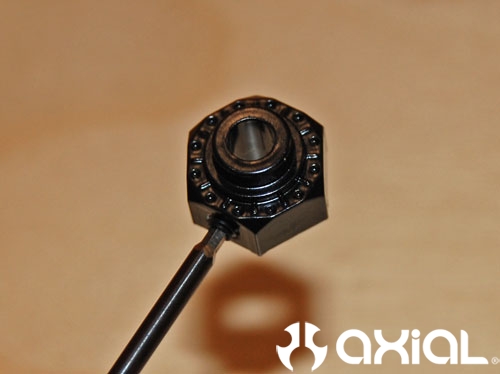
Slide the drive pins through the outer axles.
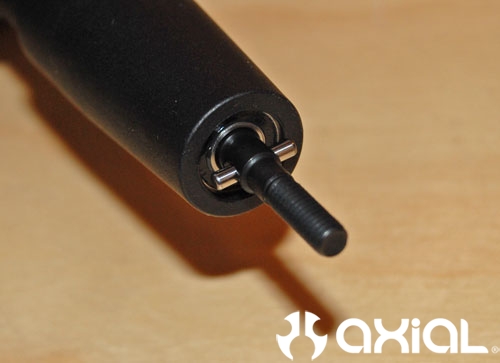
Install the hex into place over the drive pin, and tighten down the M3 set screw.
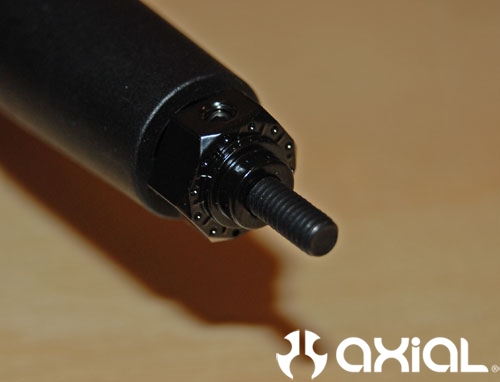
Bolt the wheels and tires up to the axles.
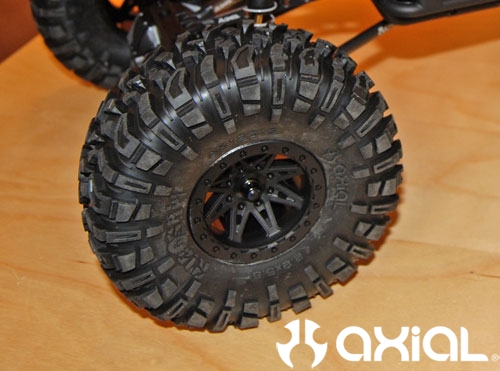
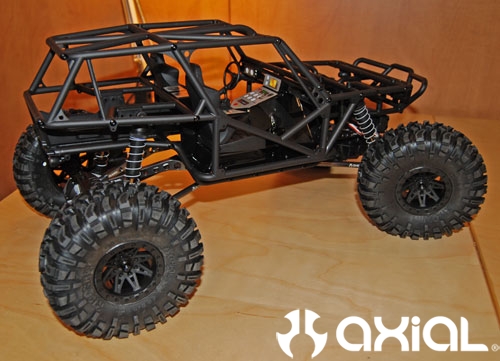
It's a roller!!
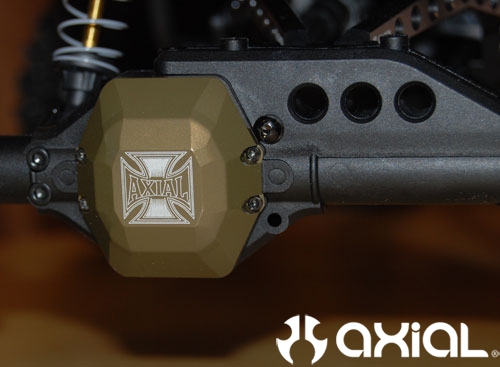
Here's a little sneak peek at a part not yet released from the Axial arsenal, aluminum diff covers. Sexy!
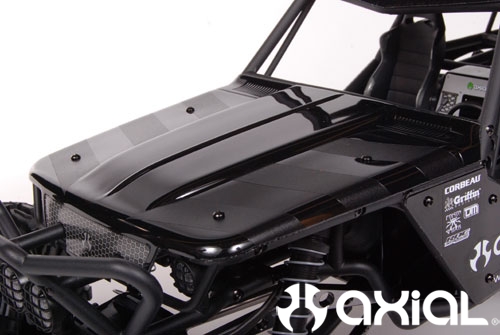
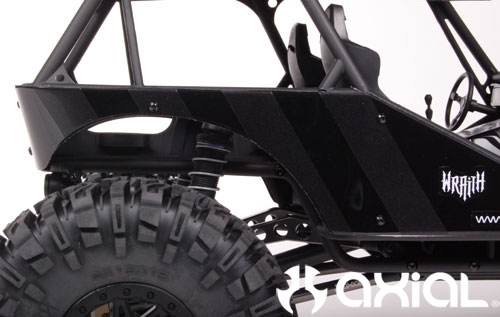
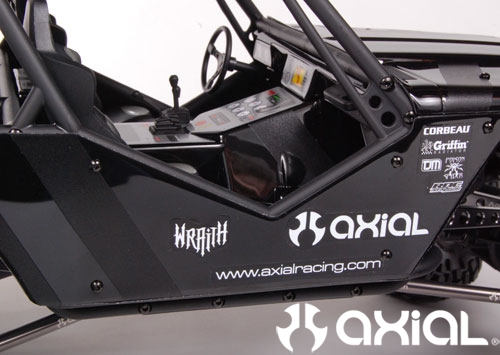
Now we can ream the holes out in the body panels and mount them. Wallah!
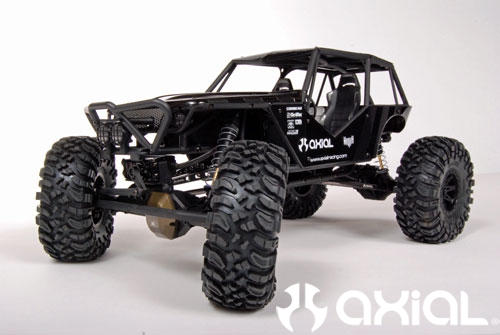
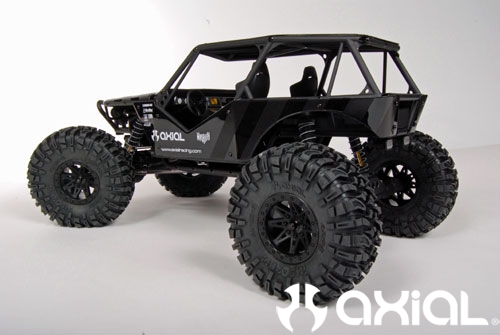
Close-up shots of the hood, side panels and interior.
Mandatory articulation shots.
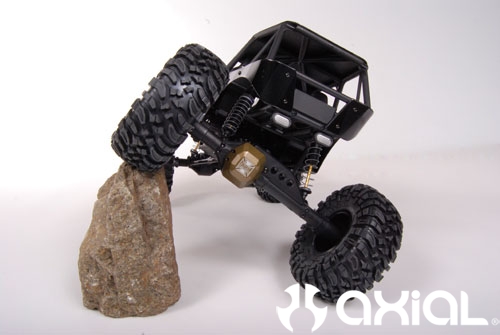
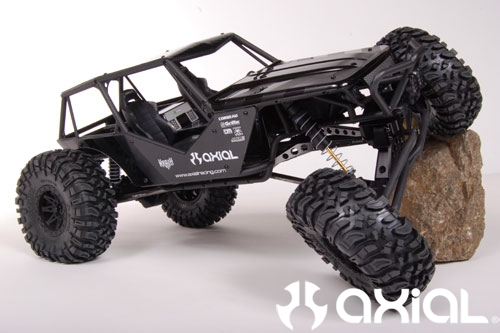
There you have it, a complete step by step build of Axial's Wraith Kit. I will be doing more articles with this particular build in the near future too, like electronics install, hop-up parts, tuning tips, etc. And of course there will be video too, so stay tuned!
Axial Wraith Kit Build Series
Step 1
Step 2
Step 3
Step 4
Step 5
Step 7