Posted: 10/11/11
Next step in our Wraith kit build is the assembly of the chassis. Flip to page 26 in the Wraith kit manual, start with step 25.Find bag E and the corresponding parts required from the various parts trees.
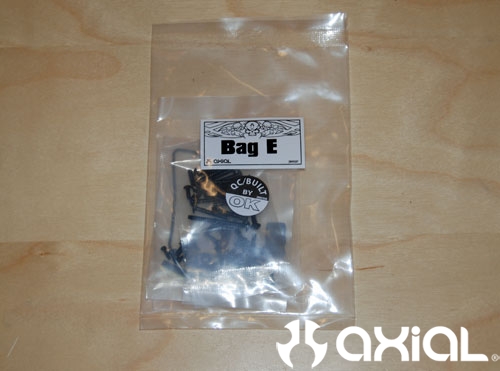
We will start with the light buckets, grab everything you will need to complete this step.
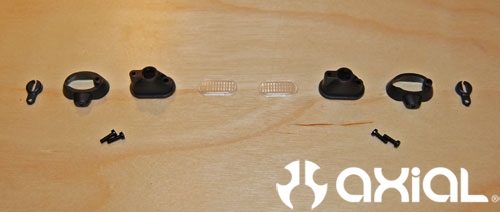
Grab the first light bucket and mounting bracket.
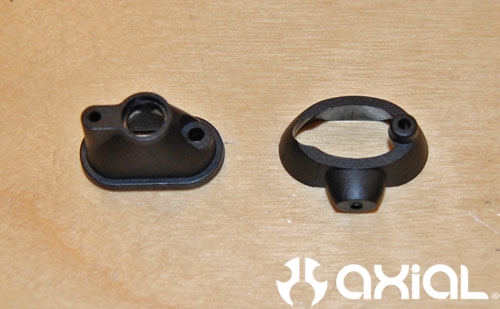
Insert the light bucket, part number AX80045B-5, inside the mounting bracket, part number AX80045B-2.
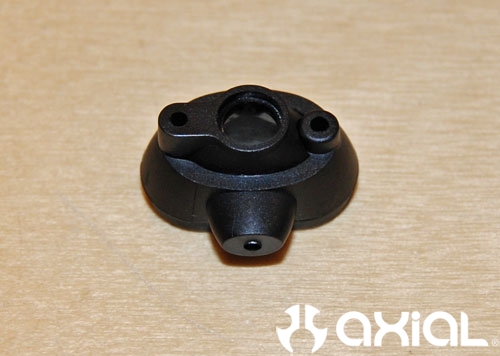
Install the LED holder, part number AX80045A-1, on the backside of the light bucket with the supplied 2x6mm screws.
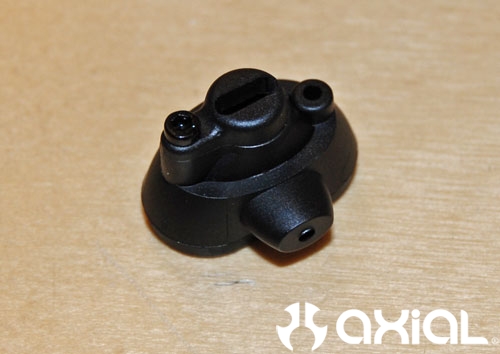
Tie the bucket and bracket together using another 2x6mm screw.
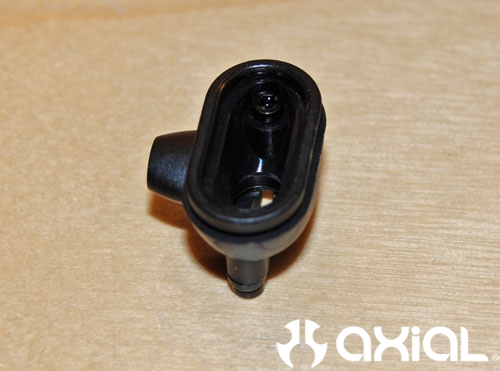
Now snap the light bucket lens into place.
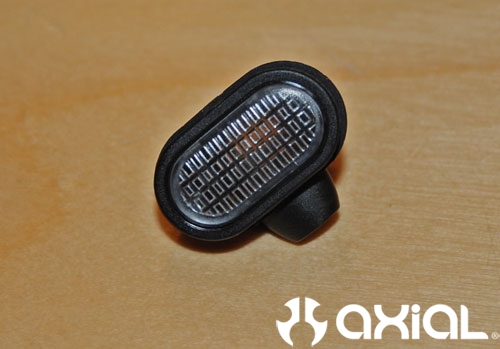
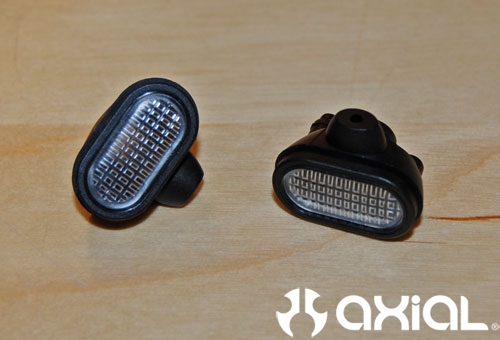
Repeat the last few steps for the second light bucket.
Grab the remaining parts needed to complete step 25.
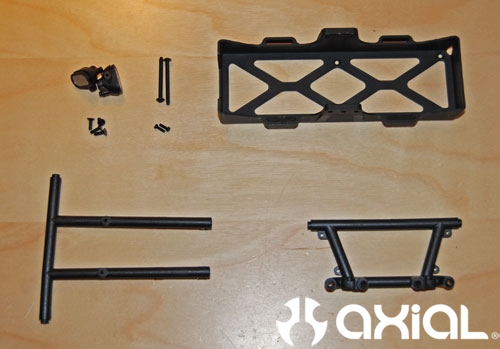
Install the light buckets to the bottom of the rear frame cross member, part number AX80077-001-2.
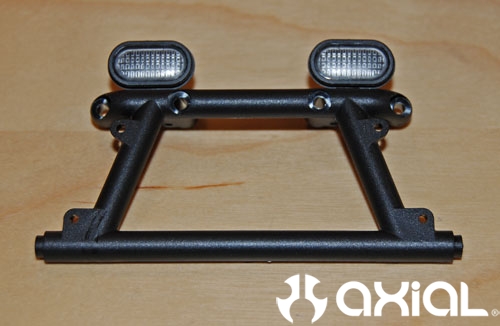
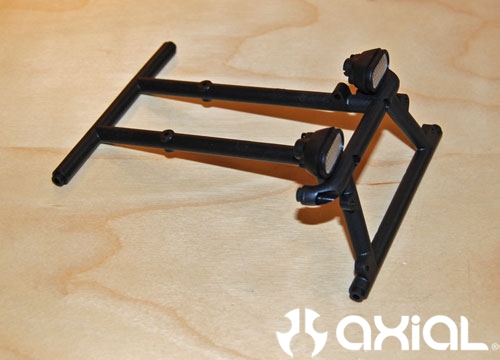
Tie part number AX80082-1 to the rear frame cross member assembly.
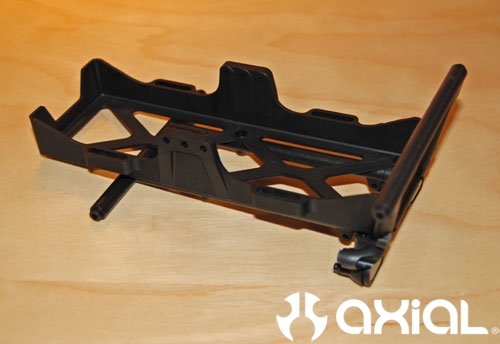
Now install the battery tray as directed with the supplied 2.6x8mm flat head screws.
Jump to page 27 and step 26. Lay everything out needed for this step.
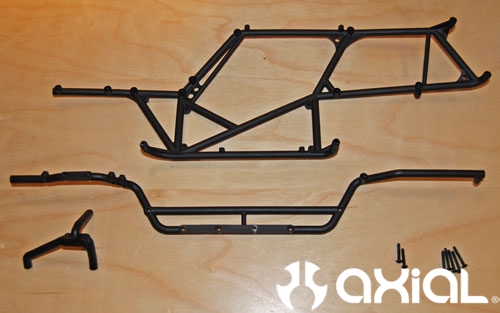
Tie the lower part of the tube frame to the upper left side of the chassis.
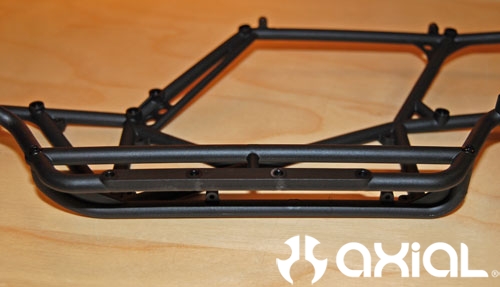
Install the left shock mount next.
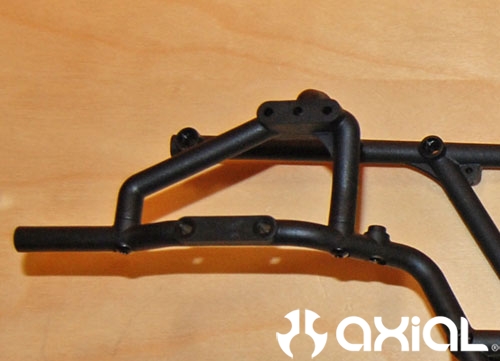
Last thing we need to do for step 26 is install the front bumper support and radio box base.
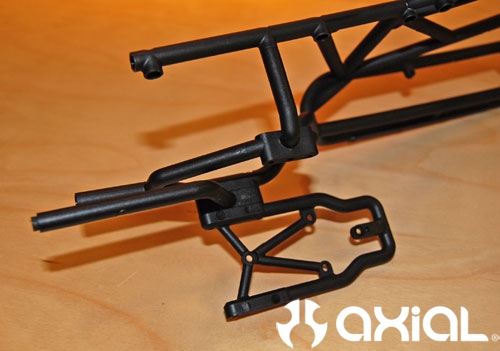
Step 27 is next, lay everything out you'll need to complete this step.
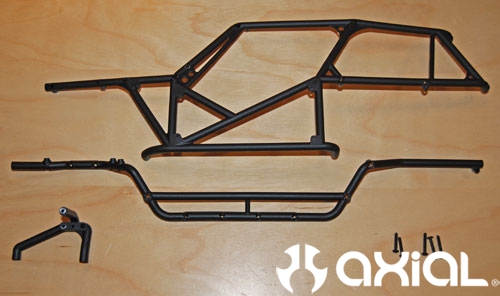
Assemble the right side just like you did the left side. At this point I installed the battery tray on the right side chassis plate, even though the instructions say to mount it to the left side chassis assembly. Either method will work fine, it has no bearing on the assembly process.
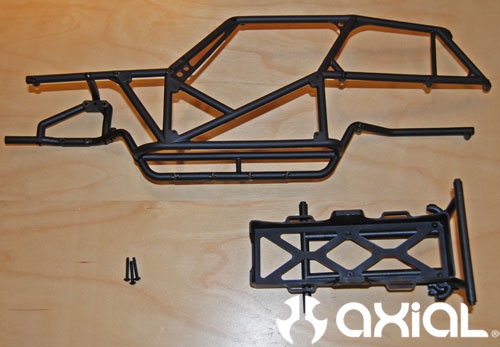
Next we will prep the radio box.
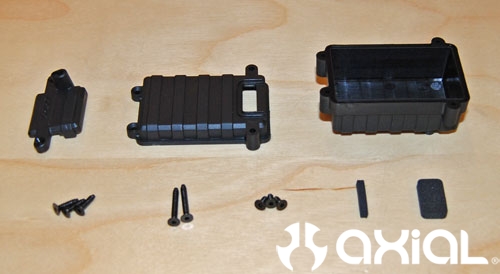
Start by applying the thin strip of foam to the top half of the radio box.
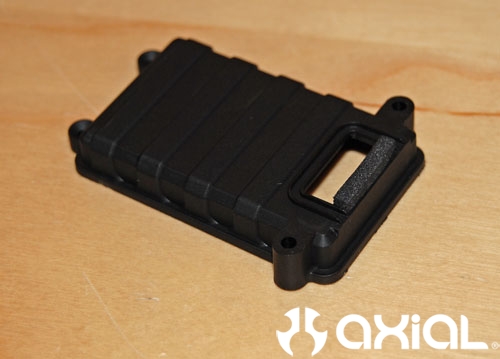
Then install the other foam strip on the top cap of the radio box.
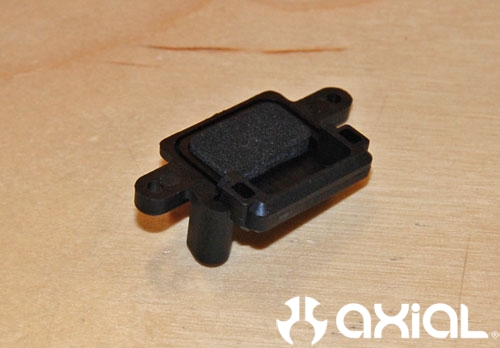
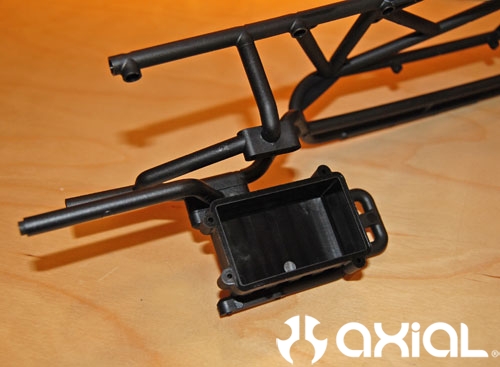
Attach the bottom half of the radio box to the frame support.
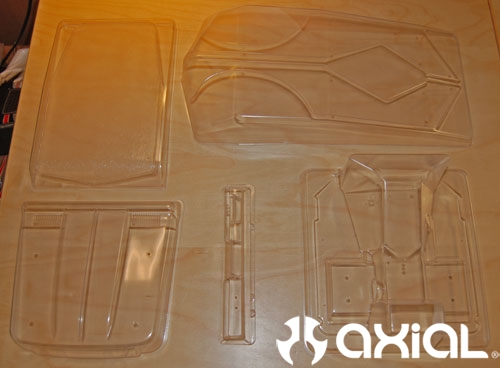
Flipping to page 30 you will see it's time to start on the body panels. All the panels laid out like a blank canvas. Make sure you wash the inside of the body panels with soap and water before painting. Regular dish detergent will work fine. This will help the paint stick to the panels properly. It's a bummer to spend time painting a body all up only to have the paint flake off during your first rollover because you skipped this step. The instructions suggest cutting the panels out first, then washing them and paint last. I washed the panels first, then paint and trim last. Again, either method works great, it's just personal preference.
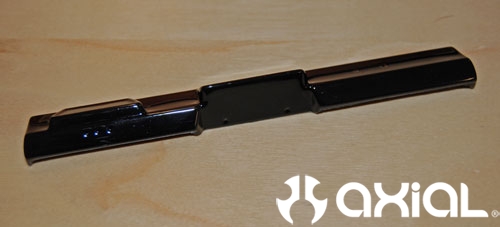
The theme for this build will be black on black!! Here you can see the painted roof and dash panels.
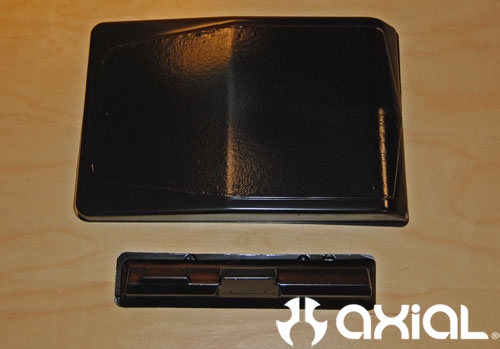
Next I trimmed the dash per the instructions.
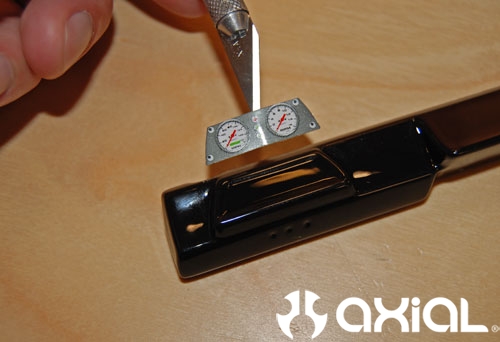
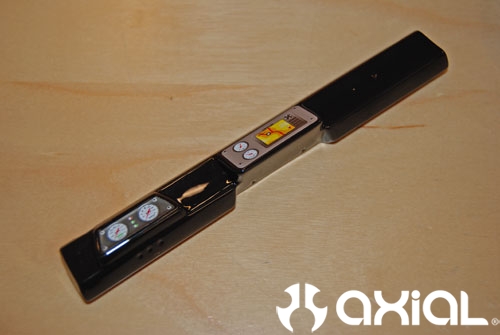
Dressing up the dash with some decals. An X-acto works great for applying small decals.
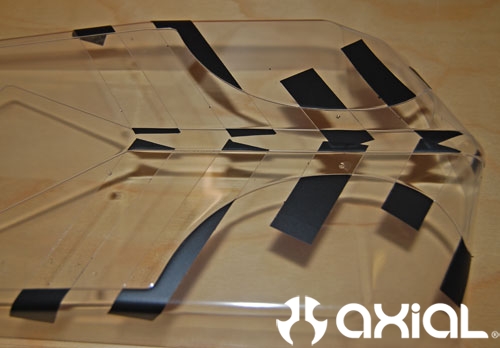
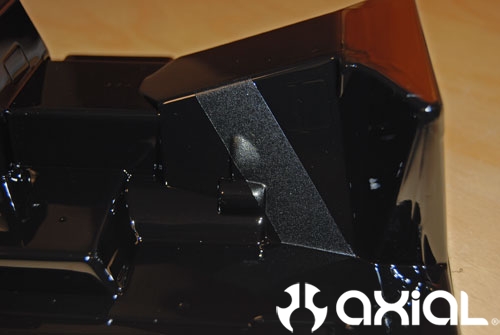
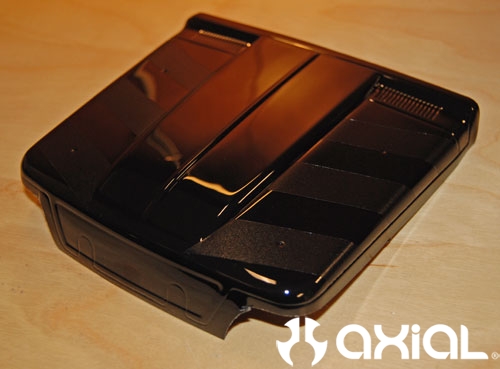
For the Wraith side panels and hood I am going to do something a little different. I am going to use the over spray film as a paint mask. I am going to paint parts of these few panels on the outside, and the inside, to get a gloss black on flat black effect. Keeping it simple I laid out the paint job as desired on the outside of the body panels with electrical tape.
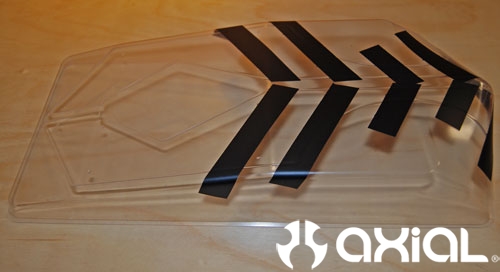
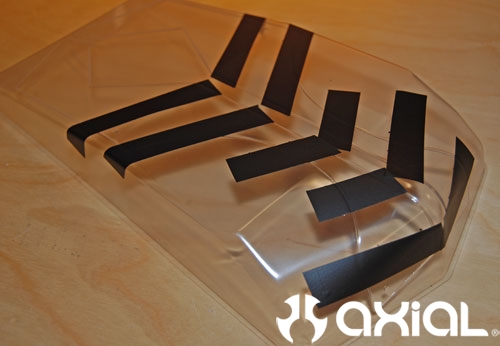
The hood.
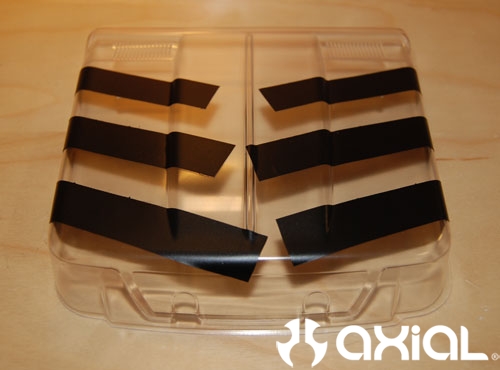
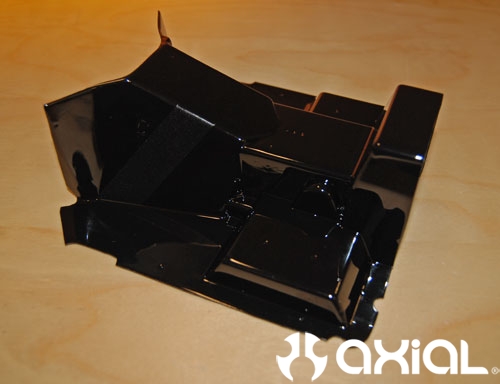
I am even going to carry the paint job into the interior a little, with one flat black strip on the transmission tunnel.
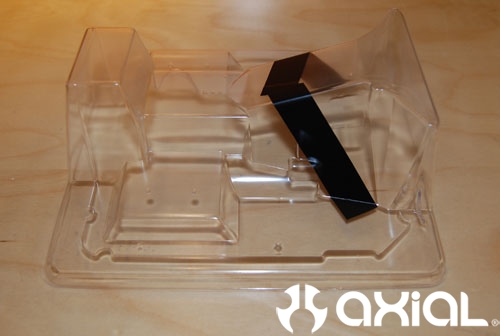
Now use your X-acto to cut the desired areas to be painted on the outside of the body away.
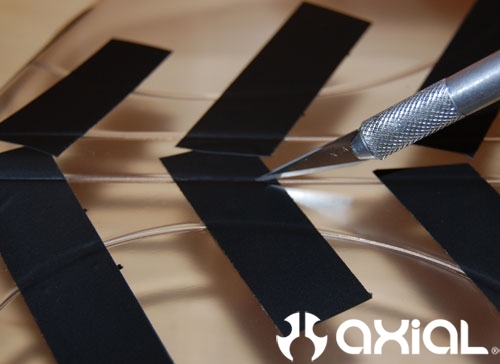
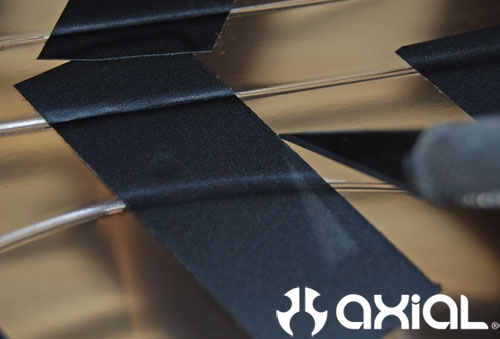
Peel your cut areas away very carefully. If your cuts aren't nice and clean, when you remove these pieces it may pull up the rest of your over spray film at the same time. Patients is key here, take your time.
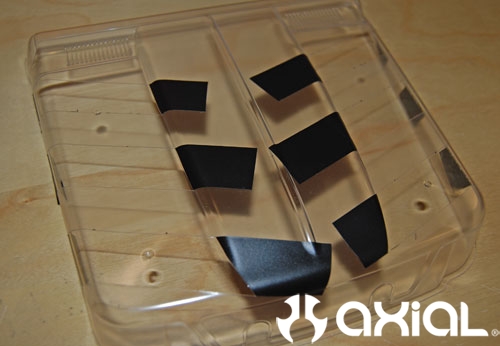
Next I painted the inside of the body panels black.
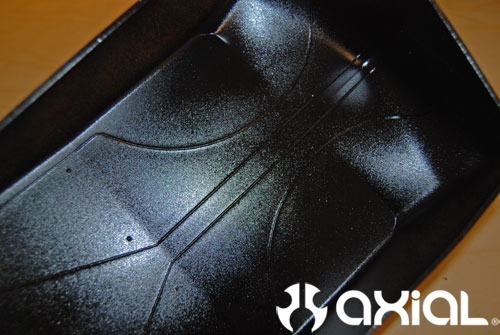
While the paint dried I moved on to assembling the Corbeau seats.
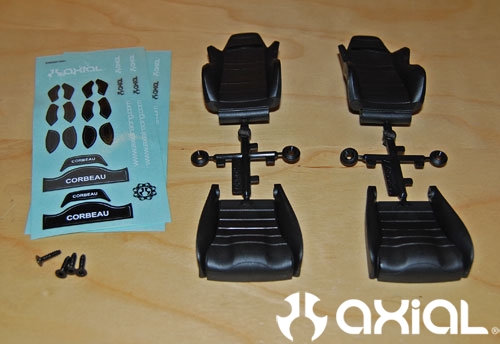
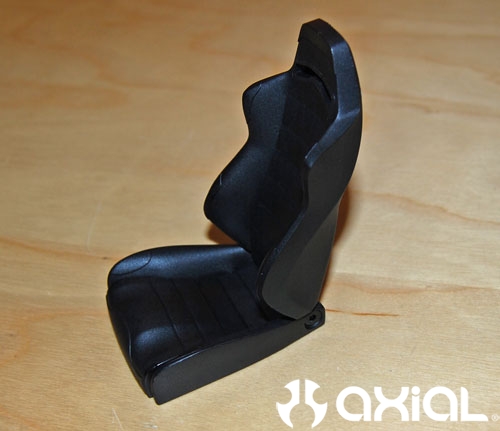
Slide the back rest of the seats into place.
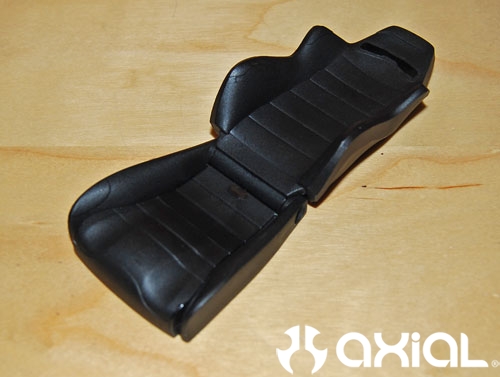
Move the seat back into position, and secure using the supplied 3x12mm self tapping screws.
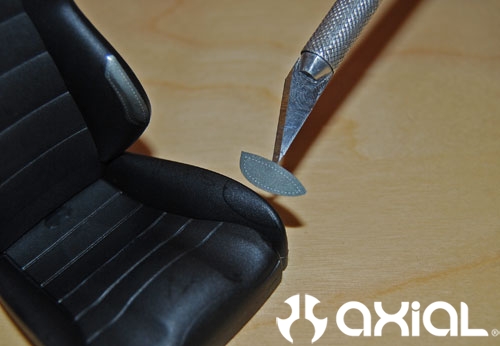
Using my X-acto knife again to position the seat detail stickers.
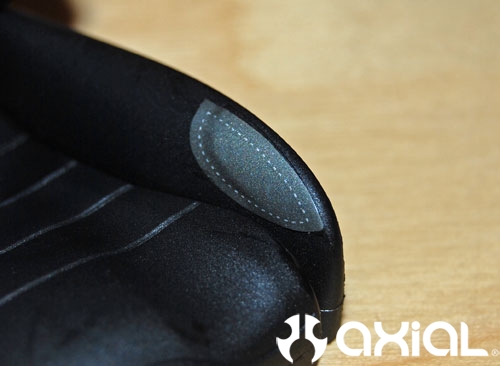
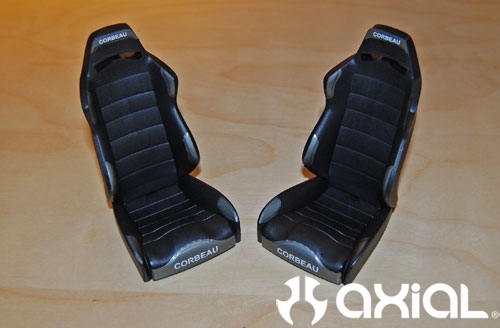
Both seats assembled and detailed.
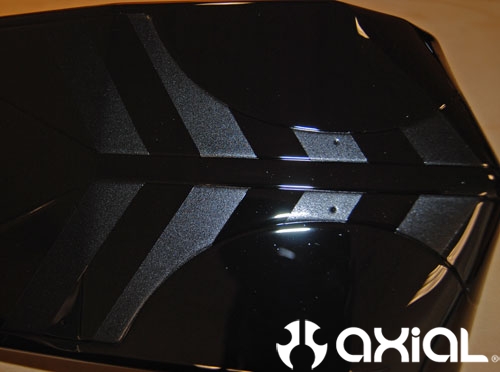
Back to the body panels. Now that the inside of the panels have been painted with a few light coats, it's time to paint the outside. Take a minute to do one last visual scan to ensure the over spray film isn't pulled up in an area it shouldn't be. Then paint the outside of the panels. I use very light coats of paint to get the desired coverage needed, and to keep the paint a consistent color. Once this coat of paint on the outside is dry, you can remove the over spray film.
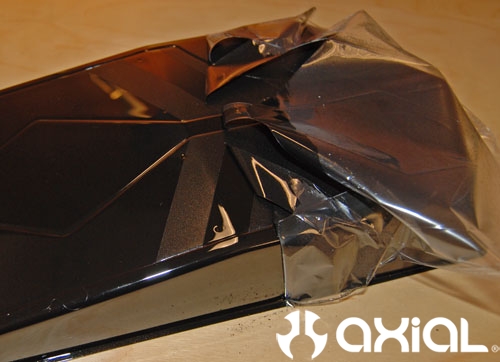
Subtle but cool!!
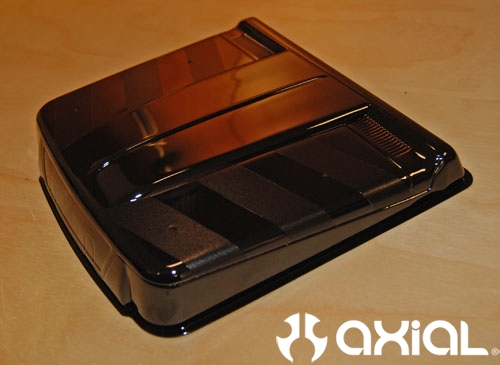
A couple shots with the flash directed at the body to show the contrast.
Interior.
Next I rough cut the panels out with Lexan scissors close to my final cut lines.
Then I go back and cut the panels to size as needed. Cutting the body twice takes a little extra time, but your body lines will be a lot cleaner using this method compared to cutting it on the body lines the first time.
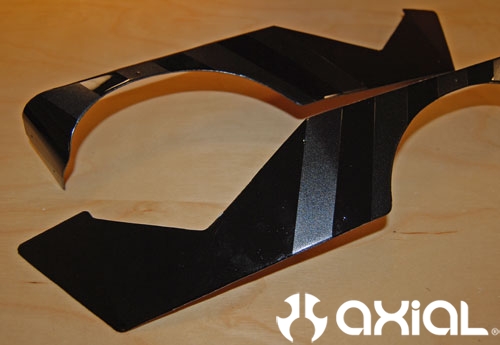
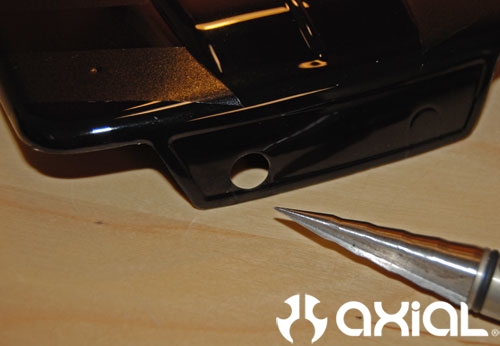
It's best to use a body reamer to cut the front grill area cleanly for the chassis tubes that will hold the front bumper. Use a reamer to punch the holes in position, then cut the remaining body out with scissors.
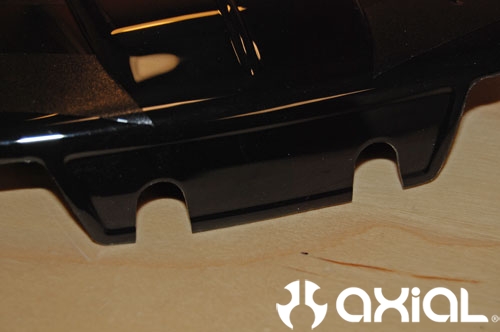
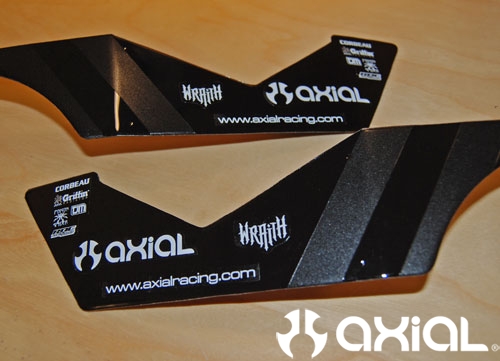
Simple sticker scheme for the side panels.
Time to add some detail to that interior. Using your body reamer, punch all the holes needed in the interior tray to finish detailing it.
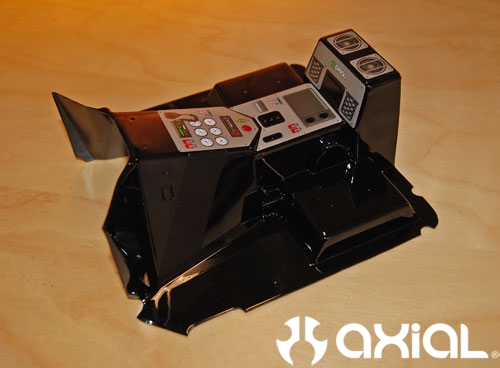
After applying the interior decals, we can add the cool scale bits into the driver's compartment.
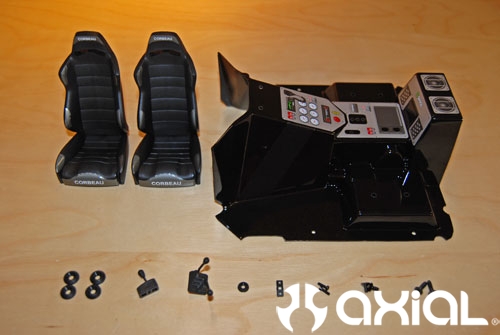
Attach the shifters to the proper spots in the interior.
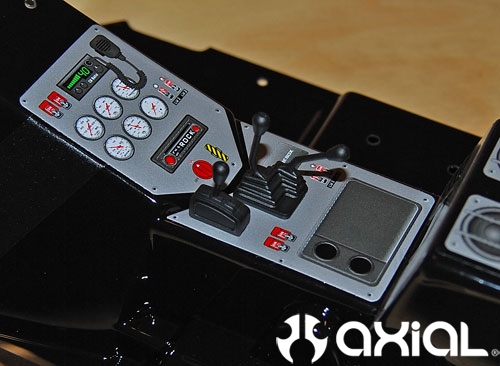
Finish building the dashboard.
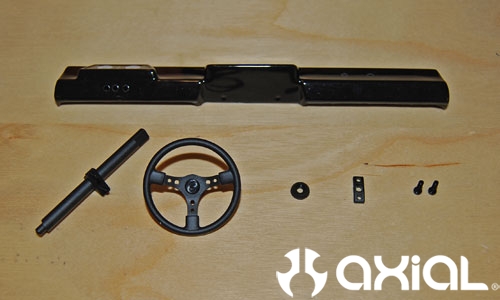
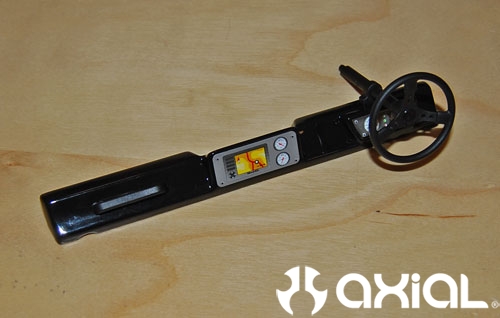
Finish the interior by bolting in the seats and dash.
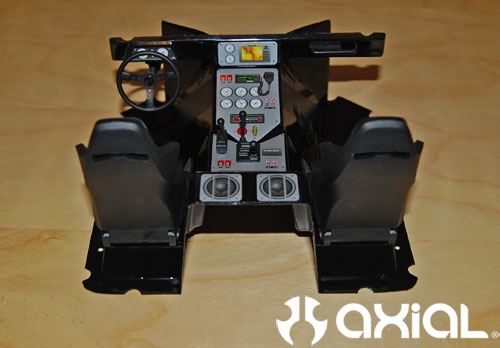
Now we will attach the interior to the left side of the chassis assembly. Once I set the interior into place I noticed that it wasn't sitting square to the chassis. Closer inspection exposed the culprit. There is a boss molded into the roll cage that allows you to bolt the body panels on. This tab was hitting the interior floor pan before I could get it into position. So, a little trimming with the body scissors was in need. I just had to elongate the scallops on the sides of the floor pan beside the seats and everything fit fine after that.
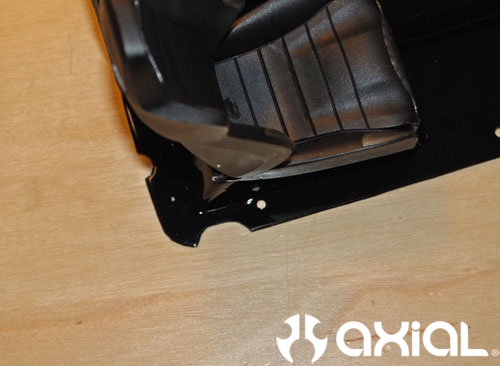
Install the supplied 2.6x6mm self tapping screws into the floor pan and roll cage.
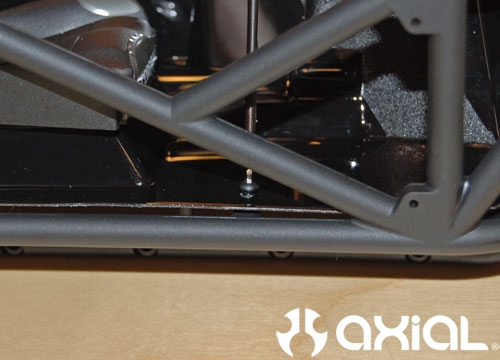
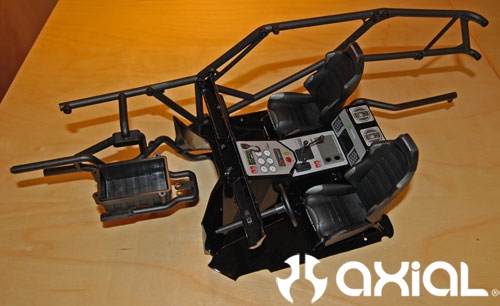
That wraps up this installment of our Wraith kit build series. Next steps will be the last to make it a complete rolling chassis. We are getting close!!
Axial Wraith Kit Build Series
Step 1
Step 2
Step 3
Step 4
Step 6
Step 7