Posted: 10/11/11
For Part IV of our Wraith kit build I will cover assembly of the transmission. The transmission for the Wraith is still based off our proven AX10 and SCX10 transmissions. Assembly is still very similar as well, with just a few minor changes. So, let's get started!Go to page 22 in the kit manual, start at step 19. Find bag D and your plastic transmission housing parts tree.
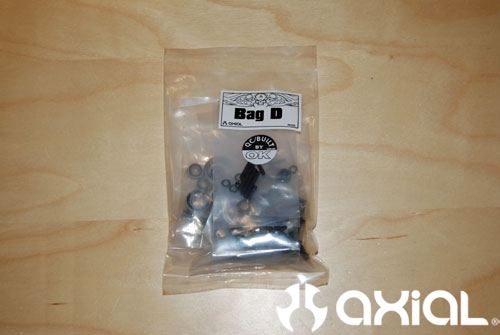
All the parts needed to complete this step.
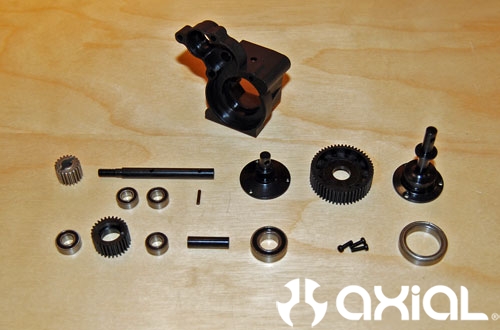
Grab your slipper drive gear shaft, 20t drive gear and 1.5x8mm cross pin. Slide the cross pin through the hole in the end of the shaft.
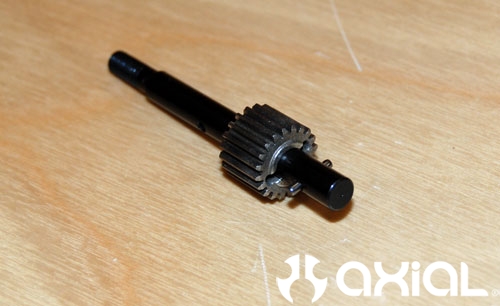
Now slide the 20t drive gear into place over the pin.
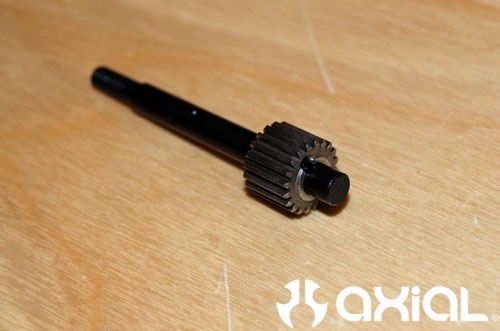
Install a 5x10mm bearing on each side of the 20t drive gear.
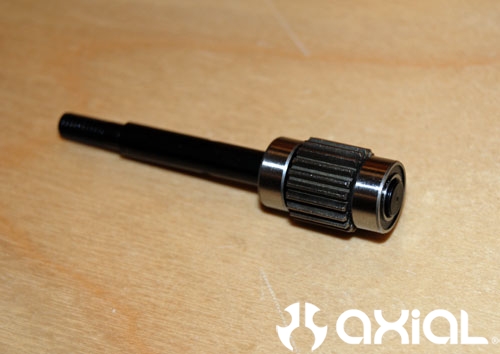
Slide the shaft into the top hole in the transmission case.
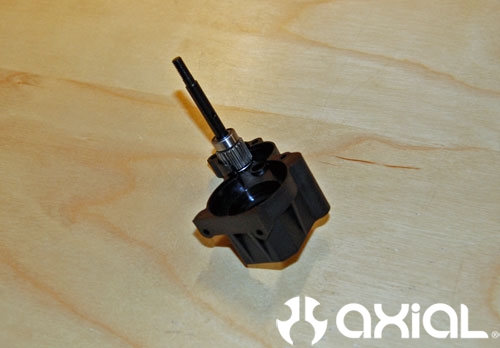
Install two more 5x10mm bearings into the small plastic idler gear, then slide the 5x18mm shaft through the bearings.
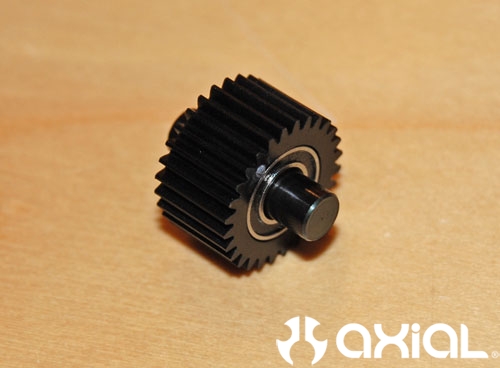
Insert the gear into the transmission case beside the first gear/shaft assembly.
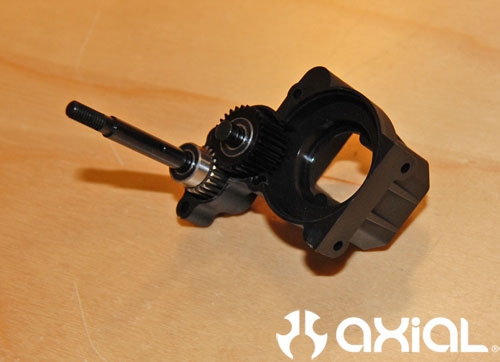
Now it's time to assemble the main spool gear. Everything needed for this step. Notice I left out the small plastic ring, labeled AX80051 in the instructions, that is suppose to be sandwiched between the transmission outputs. It's not needed, that is a misprint in the manual.
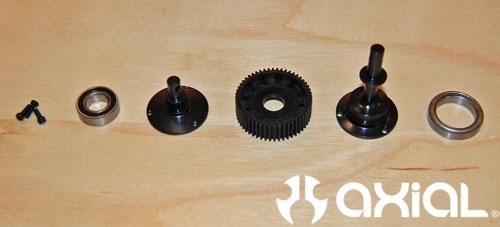
Install the main drive gear between the two transmission outputs.
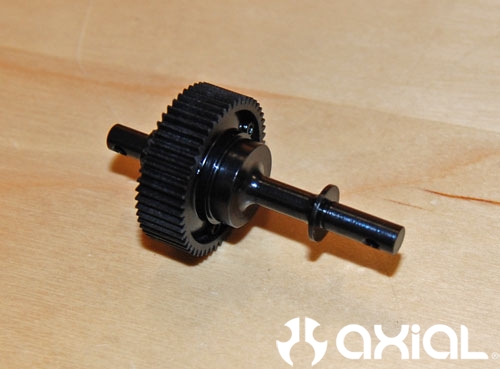
Add a dab of thread lock to the screws that will hold the main drive gear assembly together. It's not noted in the manual, but it is a good idea. These screws see a lot of stress, especially with big motors and batteries.
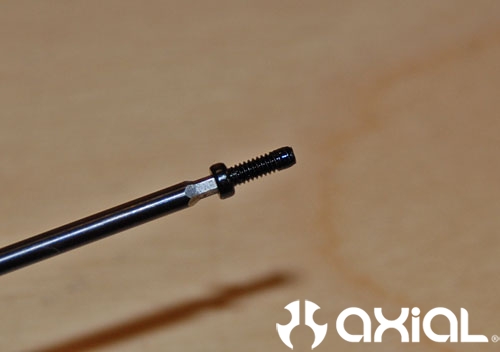
Go around the 3 screws holding the main gear assembly, and torque them down as evenly as you can. Then install the 8x16mm and 15x21mm bearings over the outputs.
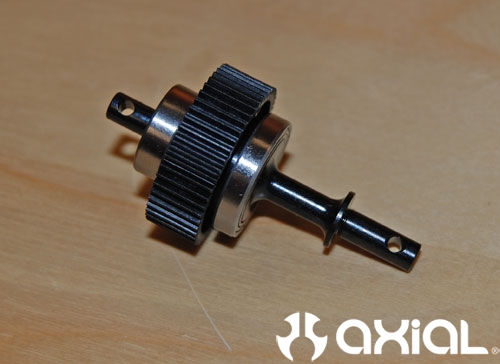
Now add a thin layer of grease the main drive gear.
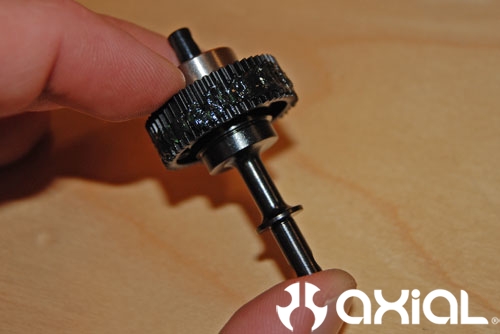
Drop the main gear into the transmission case. Give the whole assembly a spin to spread the grease evenly over the gears.
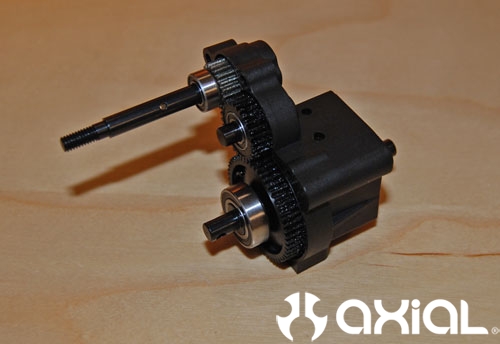
Moving on to step 20. Everything required to complete this step.
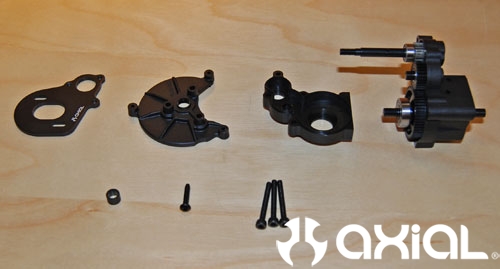
Slide the 2nd half of the transmission case into place.
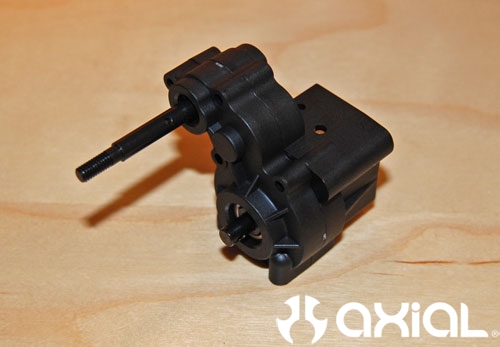
Install the small plastic spacer over the slipper clutch gear shaft, part number AX80051-8.
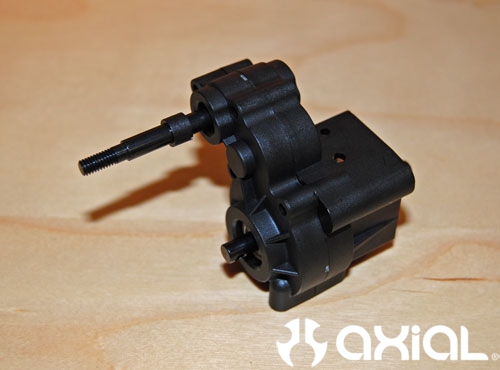
Slide the spacer into the recess in the transmission housing.
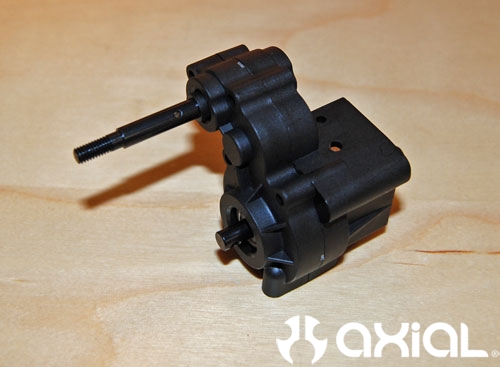
Install the backside of the spur gear cover into place over the slipper shaft.
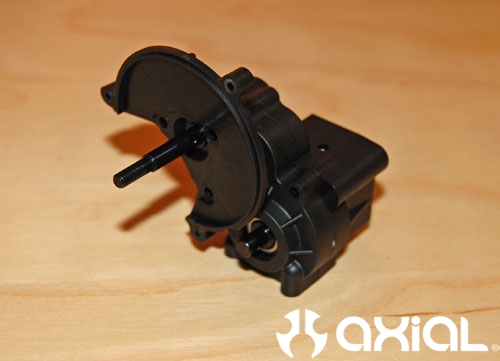
Set the motor plate into place over the spur gear cover.
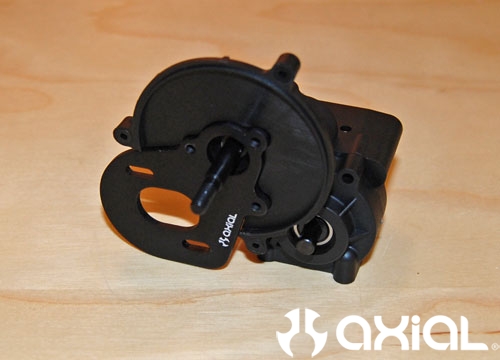
Install the 3x15mm self tapping screw into the transmission case to tie the two halves together.
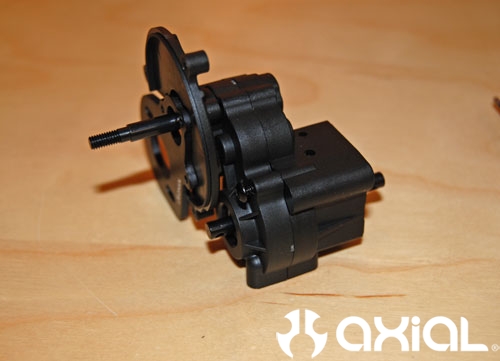
Add a dab of thread lock to the 3x25mm screws for the motor plate.
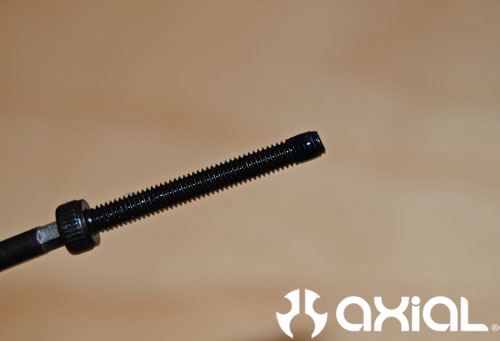
Thread the 25mm screws into the motor plate, and torque them down evenly as needed.
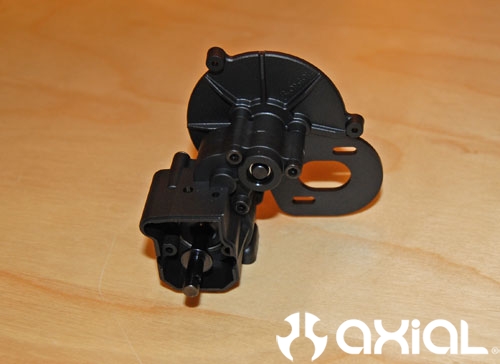
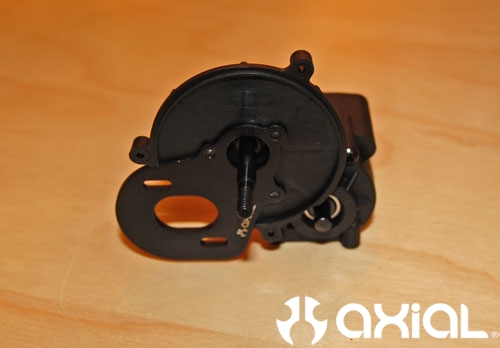
Moving on to step 21, grab everything you need to build the slipper clutch.
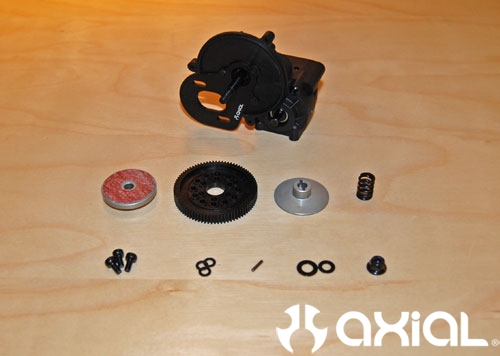
Start with assembling the spur gear. Grab the outer slipper plate, spur gear, three 3x6mm cap head screws and three flat washers.
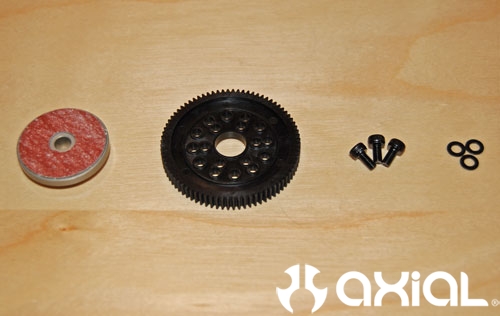
Slide the flat washers over the screws, slide the screws through the spur gear and thread them into the outer slipper plate. Torque the screws down evenly.
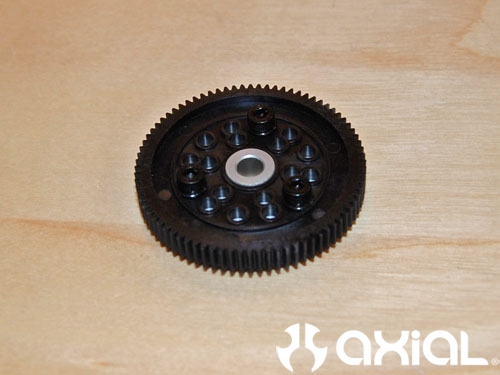
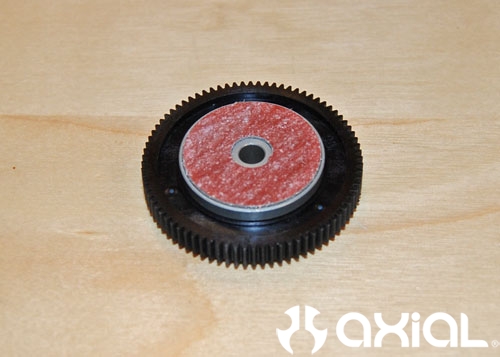
Now slide the second 1.5mm pin into place in the slipper shaft.
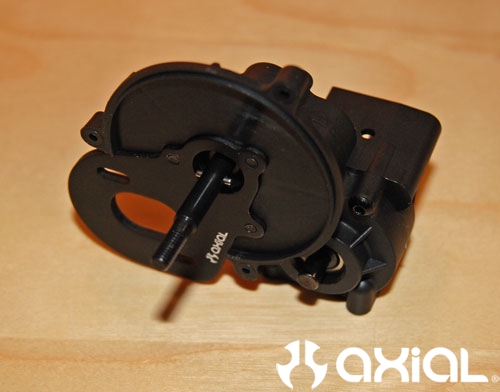
Install the inner slipper plate over the drive pin.
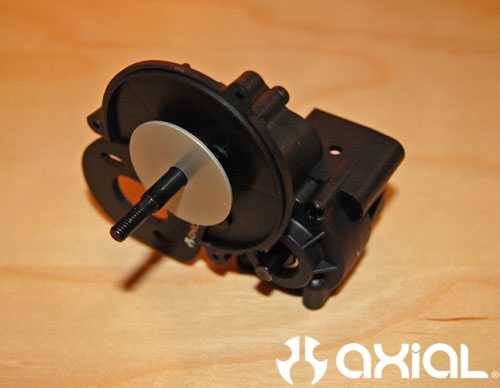
Slide the spur gear assembly into plate so the friction pad is sandwiched between the slipper plates.
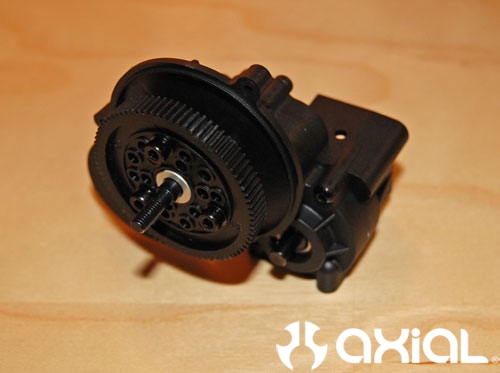
Install the biggest flat washer into place on the slipper shaft, part number AXA1091.
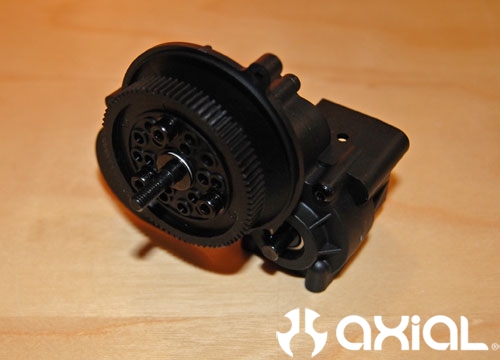
Slide the slipper spring into place next.
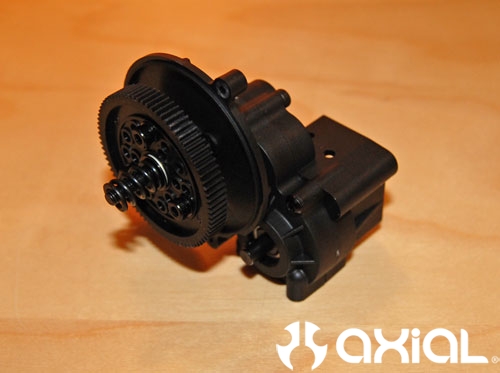
Install the smaller flat washer, part number AXA1071.
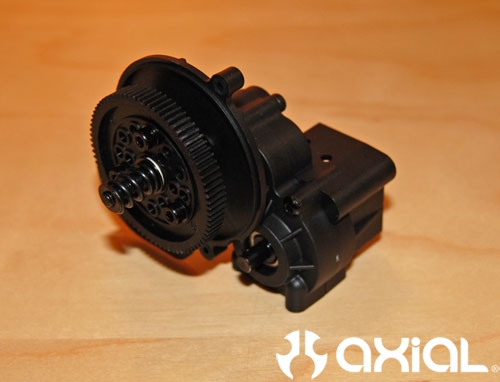
Now start the M4 Nylock screw onto the slipper shaft. You will need a way to hold the transmission outputs still while you tighten down the slipper clutch. Easiest way I found was inserting something into the transmission output holes. Then tighten down the slipper clutch as needed. I usually tighten mine all the way down until the nut stops, then back it off 1-2 full turns for a good starting point.
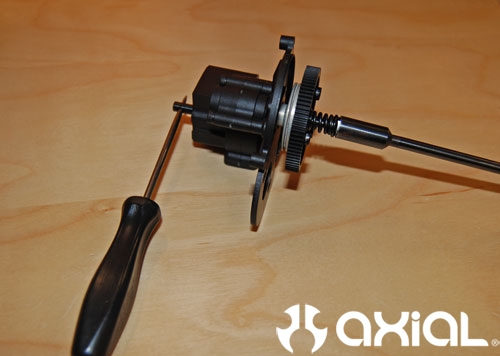
Slipper clutch complete.
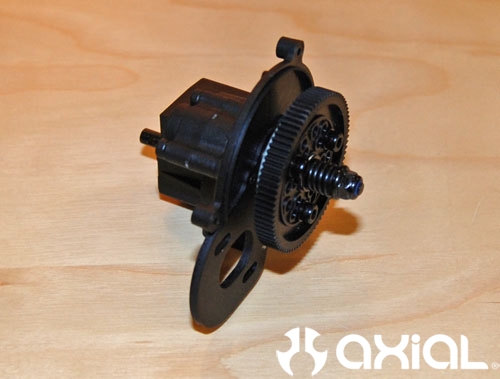
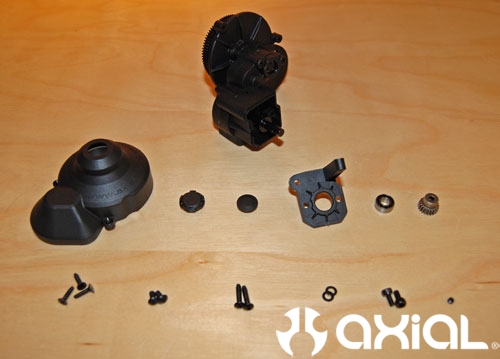
Next we will tackle the spur gear cover, and finish the transmission assembly. Everything needed to complete this step.
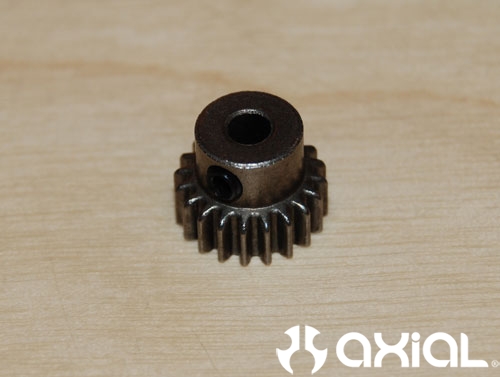
Install the short M3 set screw into the 20t pinion gear.
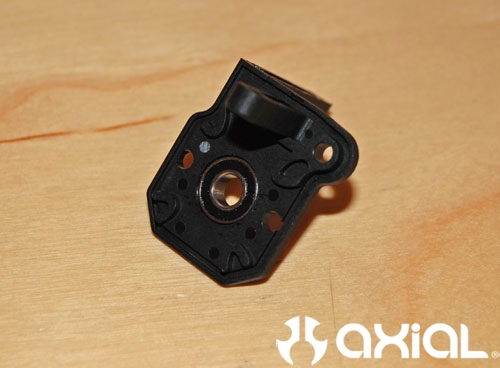
Install the single 5x11mm bearing into the backside of the transmission cover, part number AX80051-1.
Pop the small round plastic cover into place on the backside of the transmission slipper shaft, part number AX80051-7.
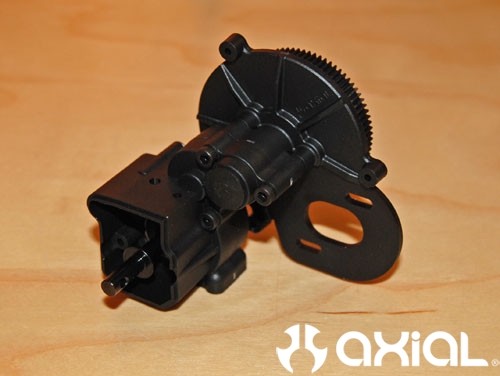
Now slide the back transmission cover into place over the rear output.
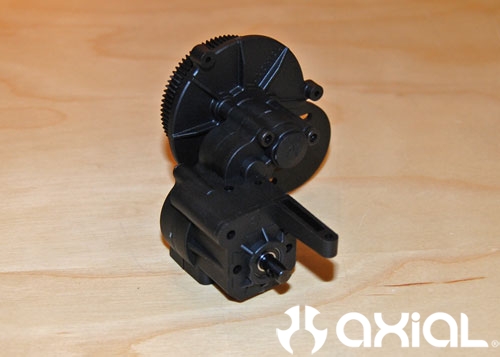
Install the 3x12mm self tapping plastic screws into the backside of the transmission cover, on each side of the transmission output.
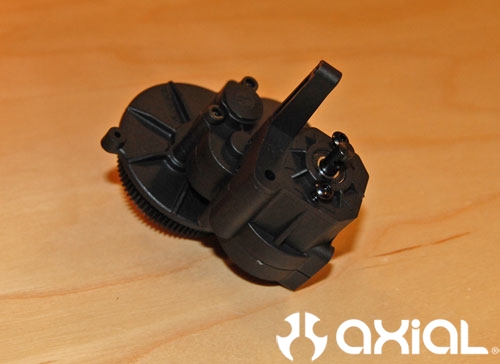
Now install the 3x6mm screws into the top of the transmission housing.
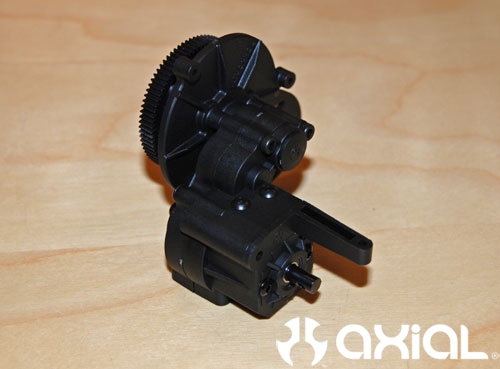
Grab the front side of your spur gear cover.
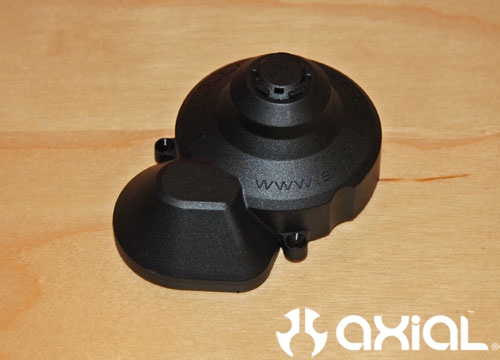
Install the spur gear cover over the spur gear.
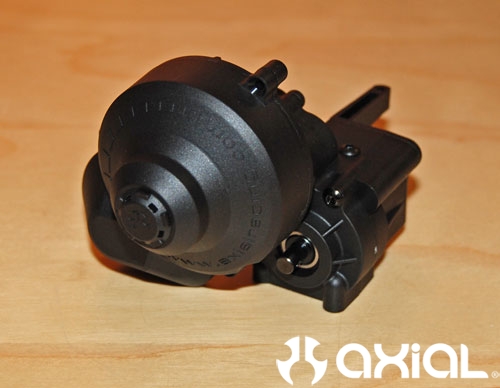
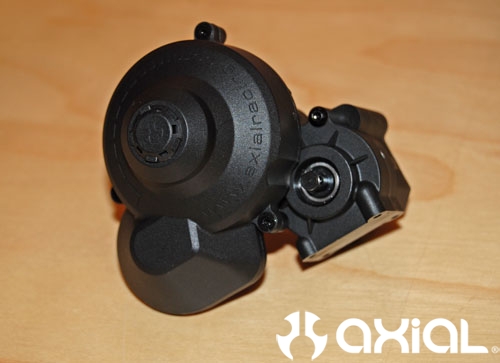
Tie the spur gear cover to the transmission using the supplied 2.6x10mm flat head self tapping screws.
Next tie the transmission to the kit's skid plate. Everything required for this step.
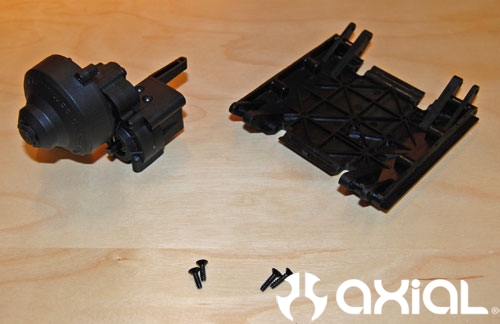
Use the four self tapping plastic screws to tie the transmission to the skid plate. Note that 2 screws are slightly shorter, make sure they go into the proper holes to avoid stripping out the transmission mounting holes.
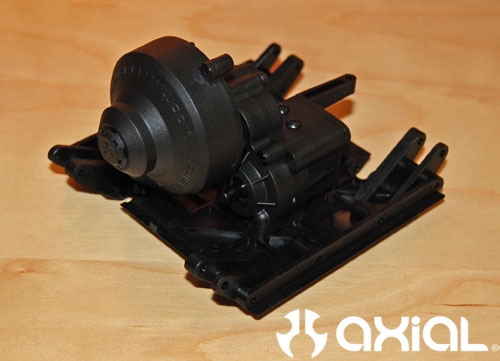
Install a male half shaft to the spur gear side of the transmission output.
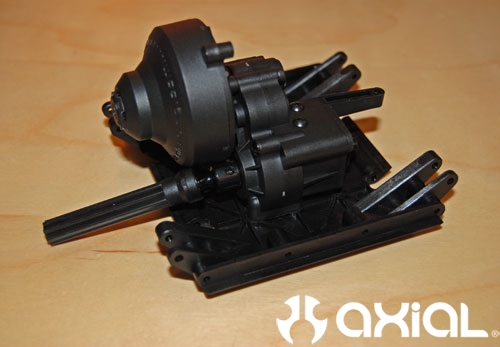
Now grab your front axle, the skid plate/transmission assembly and required screws to complete this step.
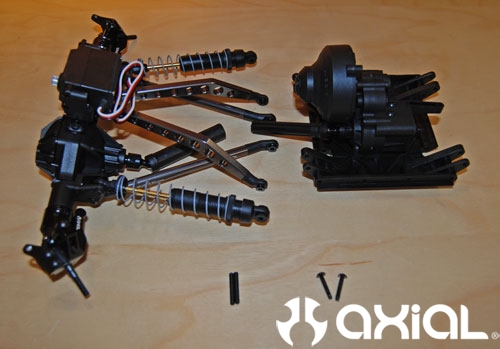
Start by mating the driveshafts, then install the upper links into position on the skid plate using the supplied 3x15mm self tapping screws. Lastly, flip the whole assembly over and install the long 3x20mm set screws through the lower links.
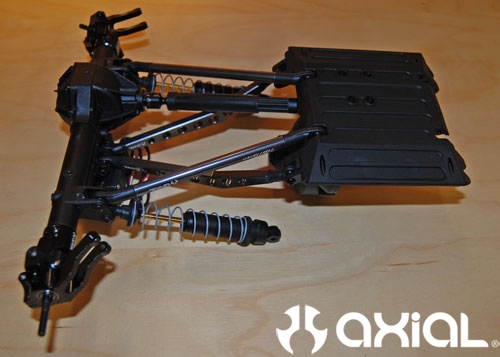
Grab your rear axle and repeat the last few steps.
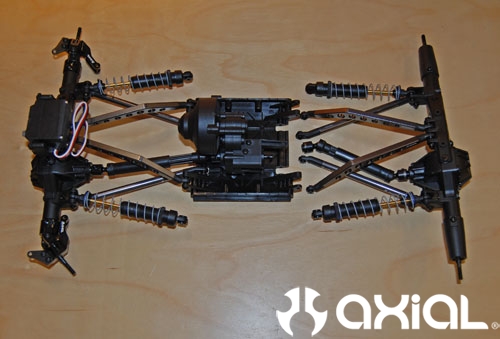
And you're done! It's really starting to take shape now.
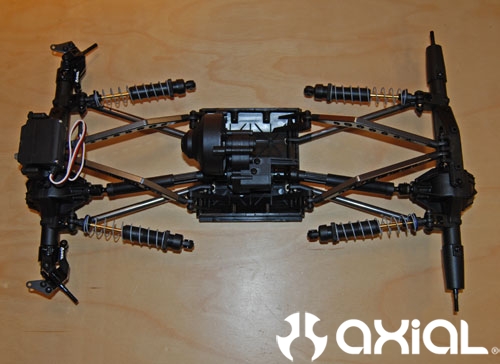
That takes care of this installment of our step by step Wraith kit build. Next up, we will start assembling the roll cage/chassis.
Axial Wraith Kit Build Series
Step 1
Step 2
Step 3
Step 5
Step 6
Step 7