Posted: 10/7/11
For part 3 of the Wraith kit build we will cover building the links. I am also going to use a few upgrade parts in this step as well. Go to page 18 in the instruction manual, start with step 11.All the parts required to build the lower links. Notice I am using the metal flange balls again for the lower links.
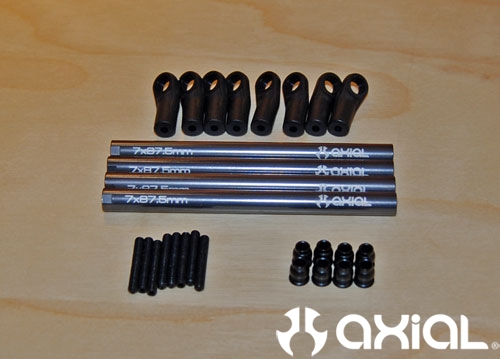
Here you can see everything needed to build a single lower link. Use a 1.5mm driver to install the M3 threaded rod half way into the rod ends.
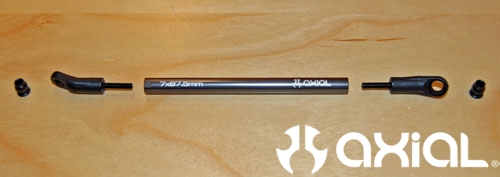
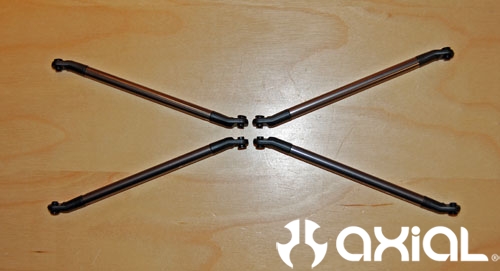
Pop the flange balls into the rod ends and screw them into the lower links. Make sure the long curved rod ends are facing opposite ways. All 4 lower links completed.
For the next step I am going to upgrade from the stock plastic upper links to our machined aluminum high clearance links in grey, part number AX30469, for extra durability. You will also need our M3 threaded studs and 2 packages of the metal flange balls I mentioned earlier. You can use the extra short curved rod ends that are included in the Wraith kit to build these links too.
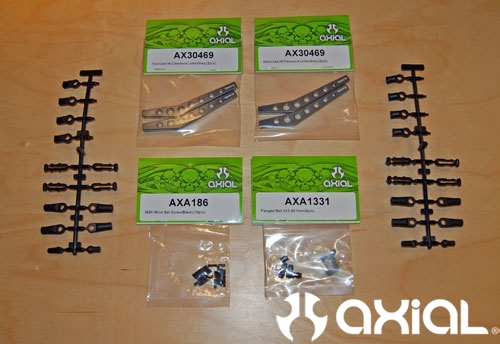
All the parts laid out to build a single upper link.
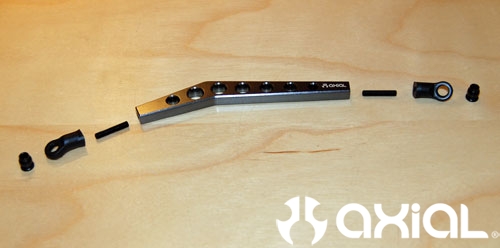
Pop the metal flange balls into the rod ends. Install the M3 threaded rod half way into the rod ends, and thread them into the upper links. Again, make sure the rod ends are facing away from each other.
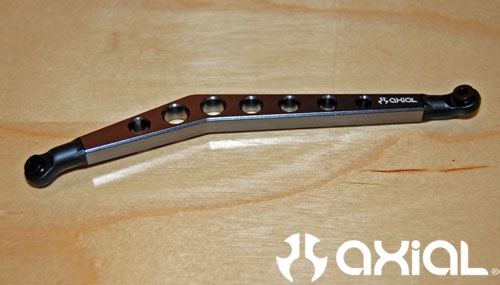
All 4 upper links completed.
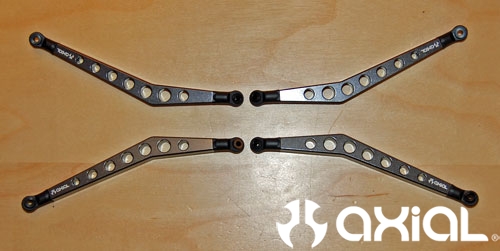
Now it's time to tie the links to the axles. Start with the front axle, then grab one driveshaft, 2 lower links and the required hardware.
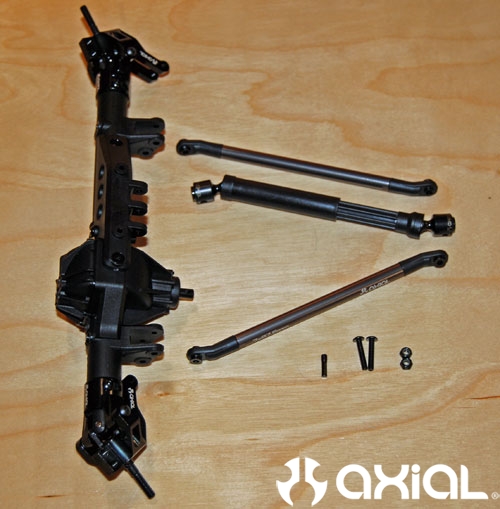
Slide the output of the driveshaft onto the pinion shaft, install the M3 screw shaft and tighten up as needed. You don't need to go overboard torquing the driveshaft screw either, just snug it up. Then tie the lower links to the lower hole in the shock/link mounts.
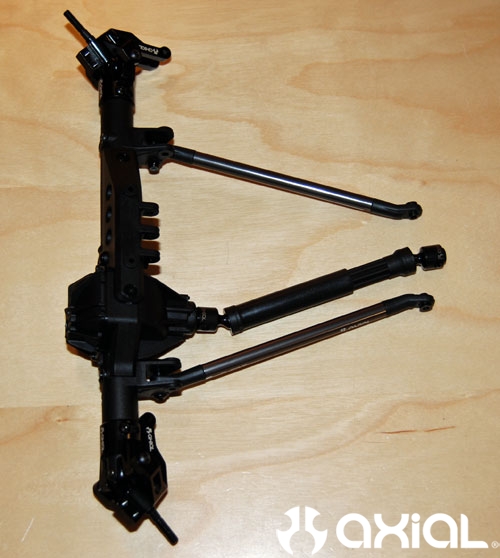
Next we will install the upper links and shocks.
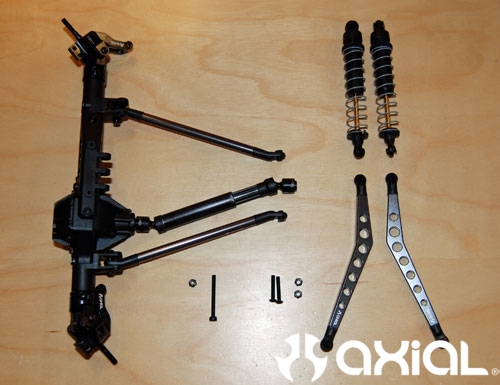
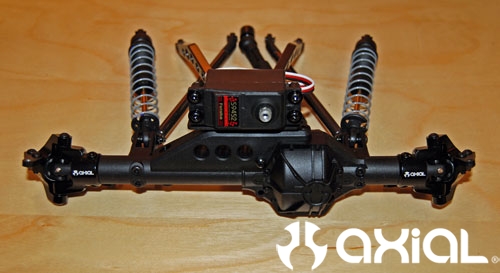
Start with the upper links, and install the long side of the links into the upper link mount on the axle. Secure the upper links to the axle with the supplied M3x30mm screw and Nylock nut. Then install the lower shock mounts into the upper hole on the link/shock mounts and secure.
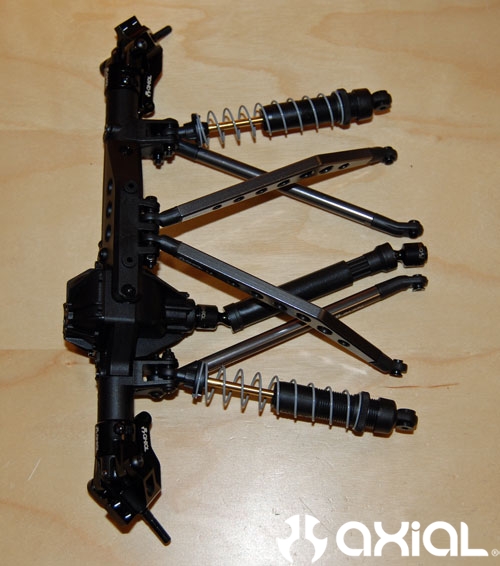
Moving on the front servo mount and steering linkage.
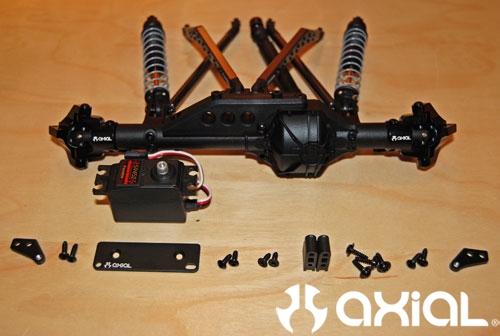
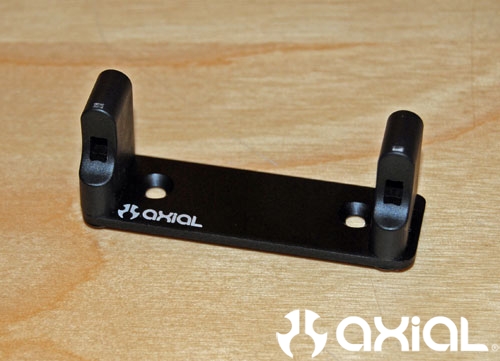
Assemble the servo mount plate and servo posts. Use your steering servo to set the width between the servo posts before tightening them down.
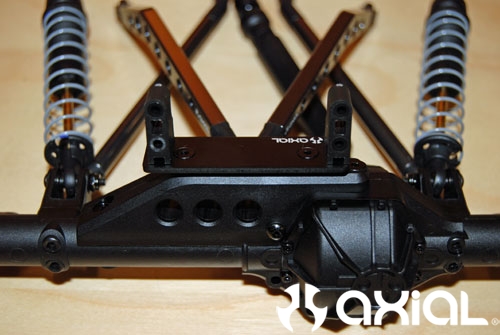
Install the servo mount onto the top of the front axle.
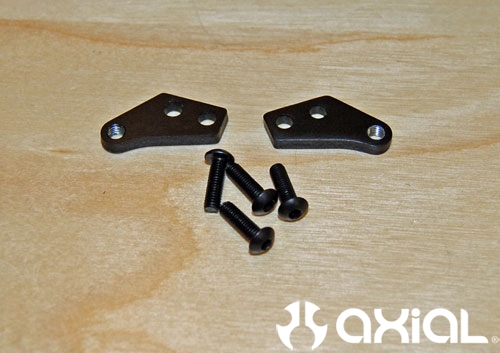
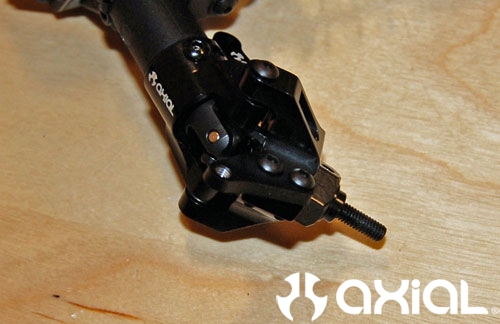
Next we will install the servo arms on the knuckles. Use the extra M3 machined screws from the first installment of this build, if you are using aluminum knuckles and C-hubs. They are the same length as the M3 screws used for the kingpins in the knuckles.
Now install your steering servo.
Find your steering links and hardware. Here are all the parts required for this step.
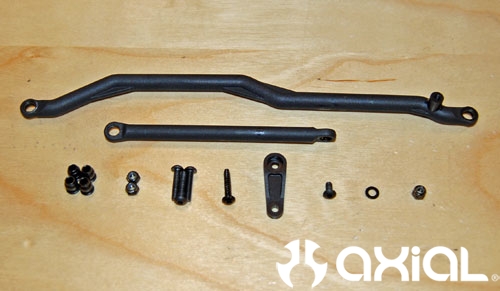
Install the flange balls into your steering linkage, I am swapping out the plastic balls for metal again in this step too.
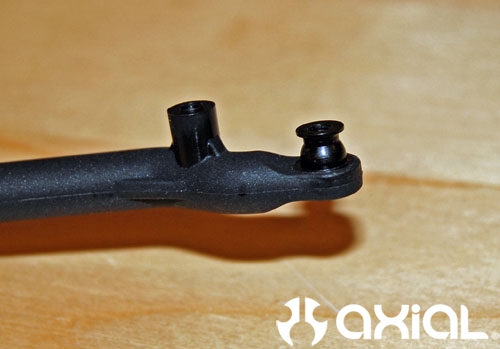
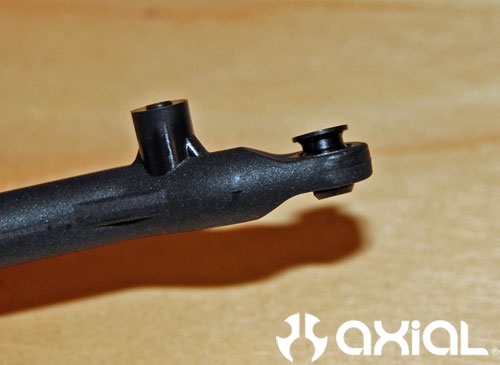
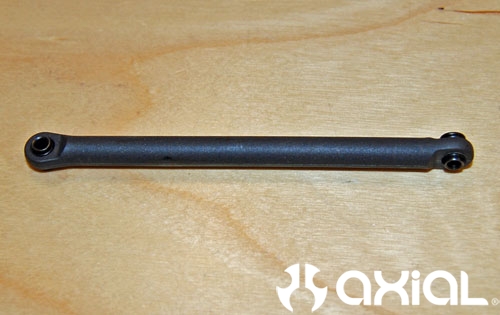
Secure the drag link to the steering tie rod using the supplied M3x12mm self tapping screw.
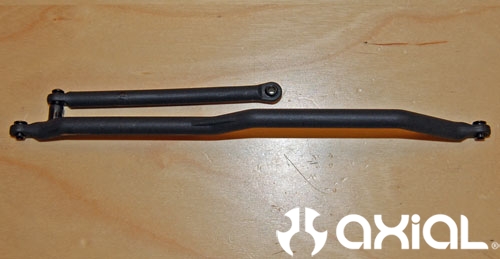
Install the servo arm onto the opposite end of the drag link.
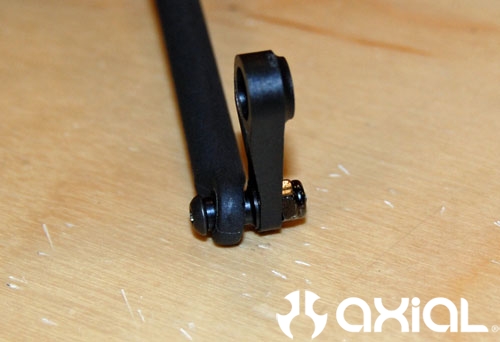
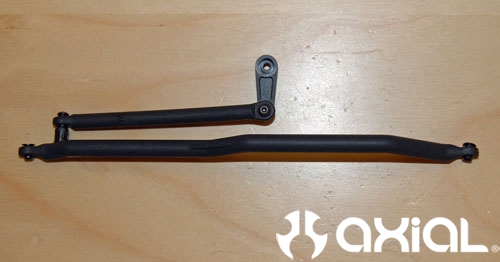
Install the supplied M3x15mm screws into the knuckle steer arms from the top.
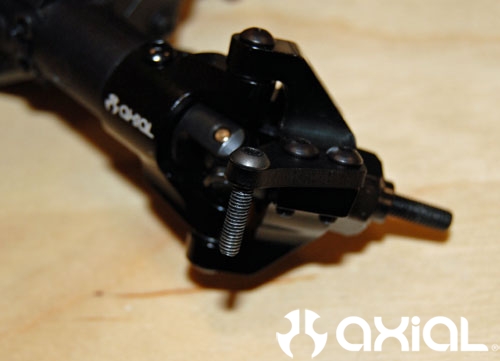
Now secure the steering tie rod to the bottom of the knuckle arms.
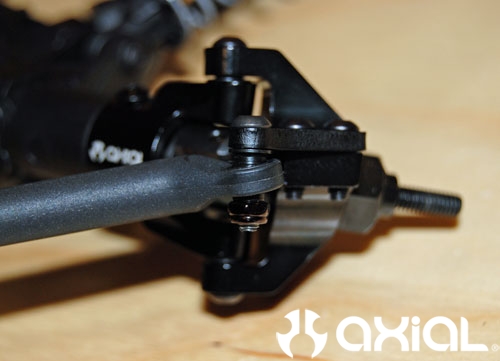
Slide the servo horn onto the output shaft of the servo, and attach using the supplied M3x6mm screw.
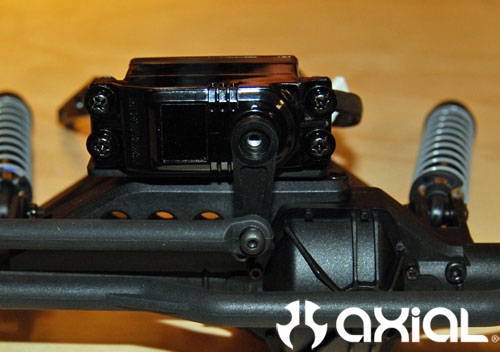
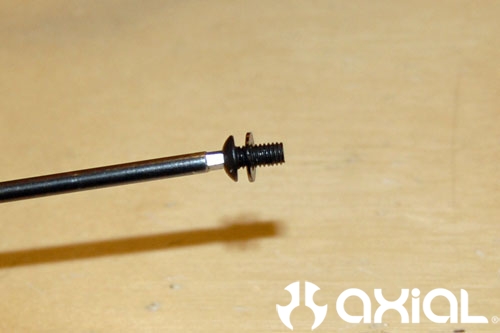
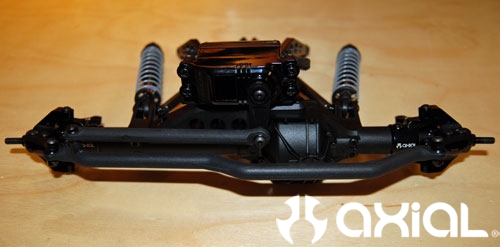
Last step for this installment is rear links and shocks. Start at step 17 in the manual. These few steps are just about identical to the front axle assembly.
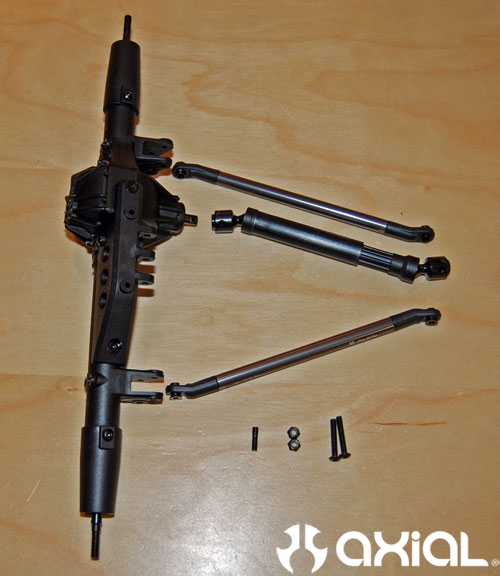
Attach the driveshaft and lower links.
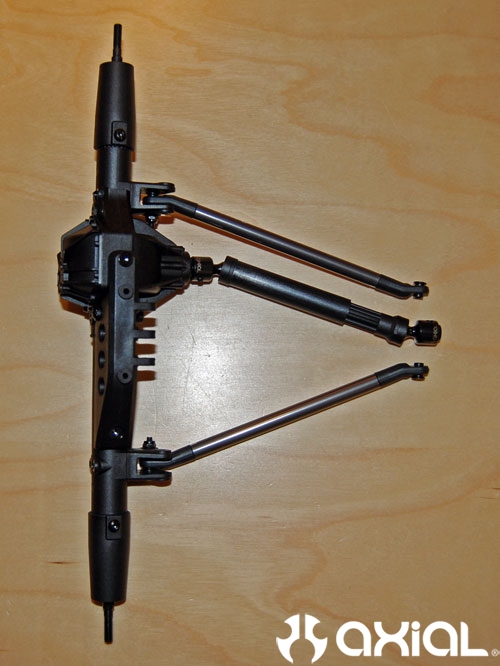
Grab your upper links and shocks, and secure them to the axle like you did for the front.
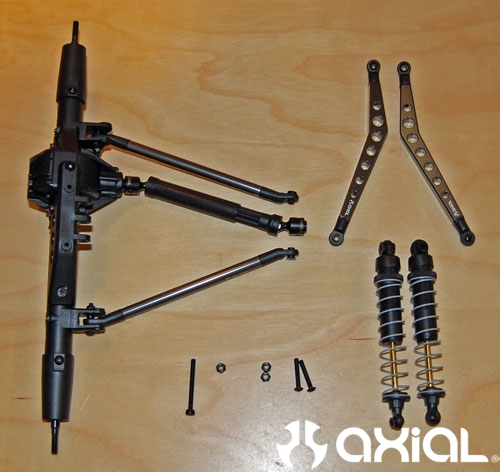
Both axles complete, with shocks, links and driveshafts installed.
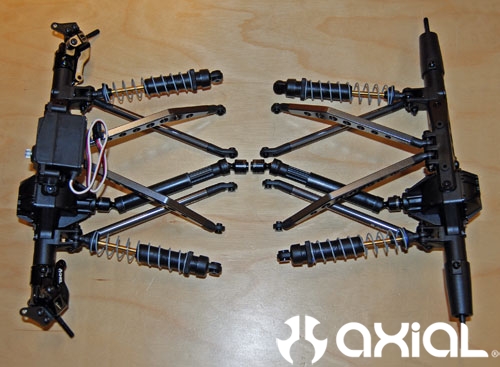
That takes care of this installment of the Wraith kit build. Up next, building the transmission.
Axial Wraith Kit Build Series
Step 1
Step 2
Step 4
Step 5
Step 6
Step 7