Posted: 10/5/11
For this installment of our Wraith kit build I will cover shock and driveshaft assembly. Start off by finding bag B.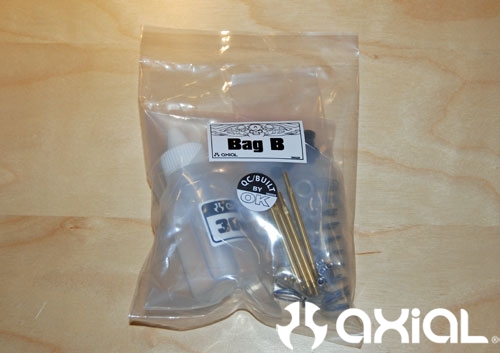
Another upgrade I am going to use on this build is metal flange balls. I will be using these in all the rod ends on this kit. They have a little smoother action then the plastic flange balls, and are a lot more durable over time.
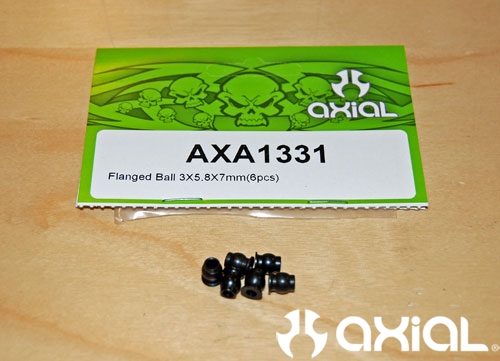
First step will be prepping the shock cartridges. Here you can see all the parts required to make a complete cartridge.
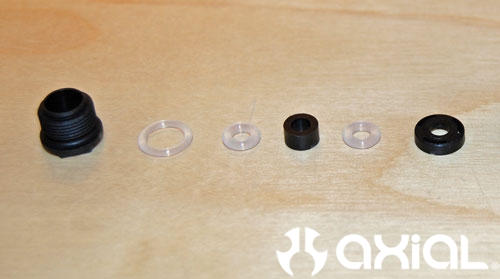
Install the bigger clear o-ring over the shock cartridge body.
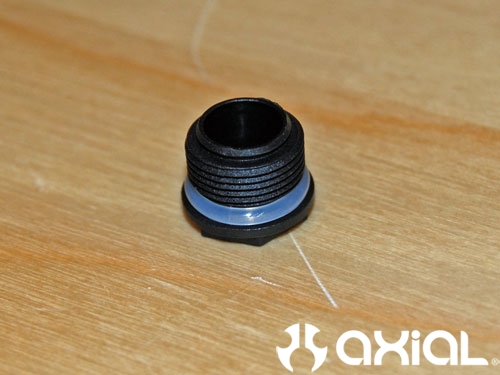
Apply a little grease to your cartridge o-rings. Put a dab of grease on your finger and work the grease all over the o-rings before dropping them into your shock cartridges. This will help prevent tearing the o-ring during assembly.
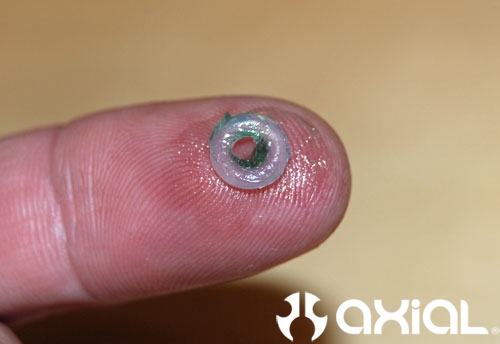
Install the first o-ring into the shock cartridge.
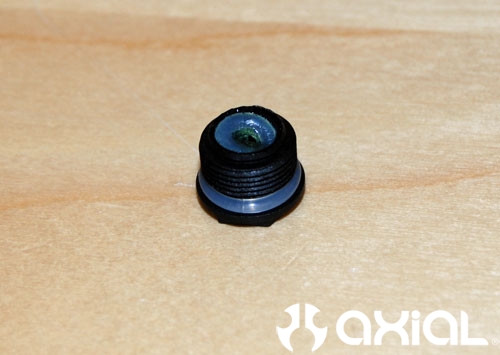
Now set the plastic spacer (Part #AX80035-4) into place on top of the first o-ring.
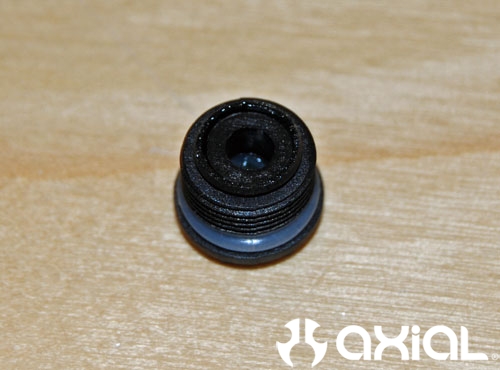
Lube up the second o-ring and install it on top of the plastic spacer.
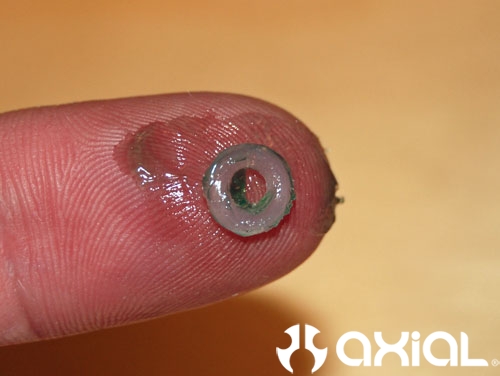
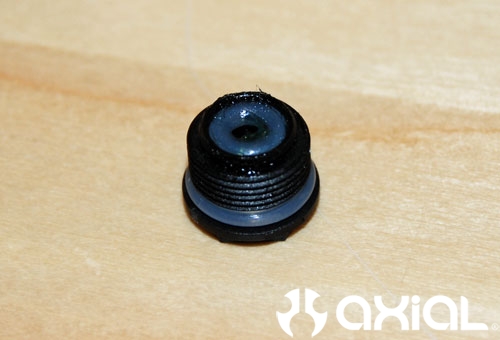
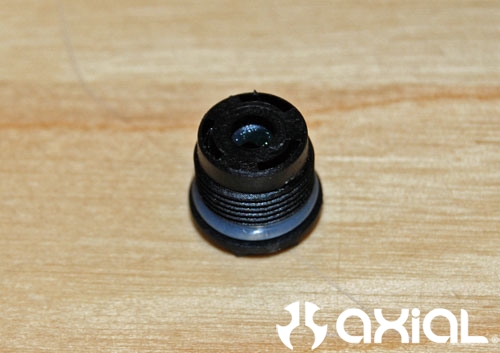
Now snap the top cap of the shock cartridge into place.
Grab your shock shafts, washers, pistons and Nylock nuts. I used the three-holed pistons for this build, to speed up the action of the shocks a little.
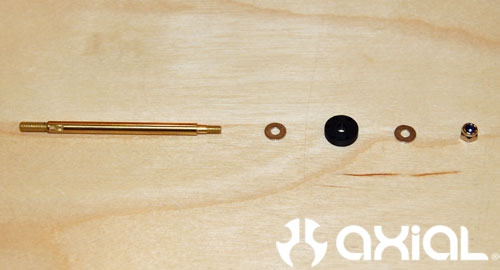
Install one flat washer onto the shock shaft, slide the shock piston into place, install the second flat washer and tighten the Nylock nut down until it stops.
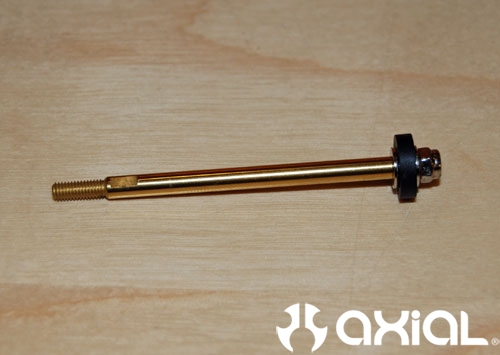
Insert the shock shaft into the shock cartridge from the top cap side, and wipe away any excess grease from the shock shaft threads.
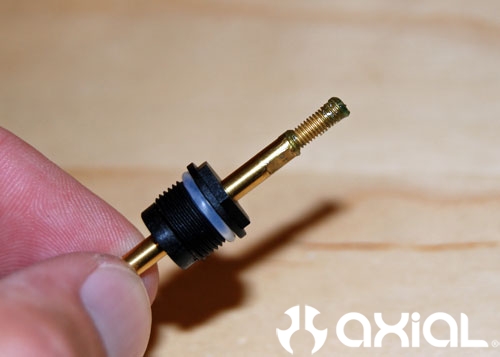
Slide the rubber bump stop over the shock shaft.
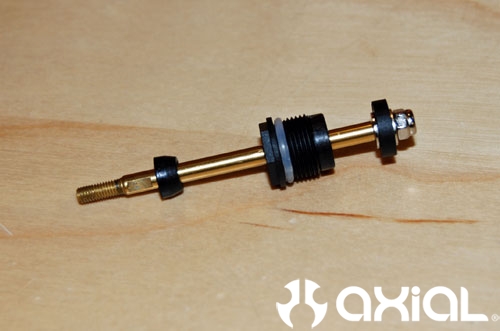
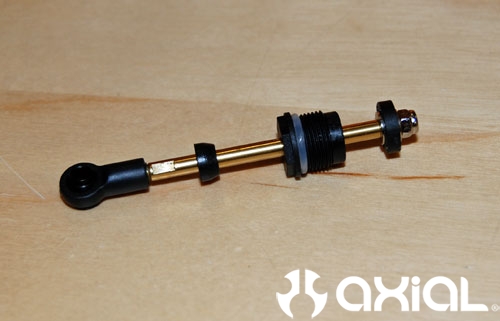
Snap the metal flange ball into the shock rod ends, and thread them onto the shock shafts.
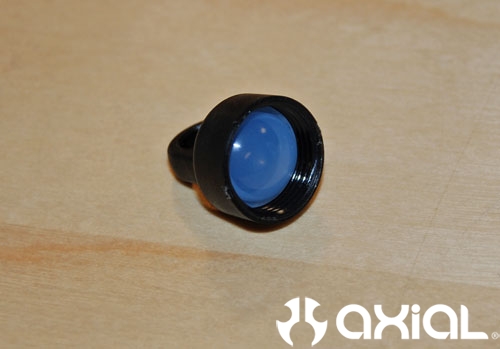
Install the shock bladders into the shock caps. Make sure the bladder is properly seated down into the cap before threading it onto the shock body. This will help keep the bladder from distorting as you tighten the shock cap, and eliminate any chance for leaks.
Install the threaded pre-load collar onto the shock body, then install the cap.
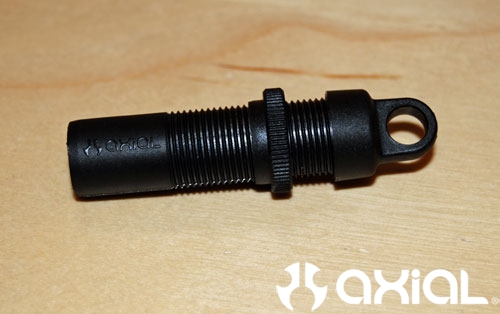
Fill the shock body up with oil until it touches the threads inside the shock body. Make sure you let all air bubbles rise to the top of the oil and dissipate before starting assembly.
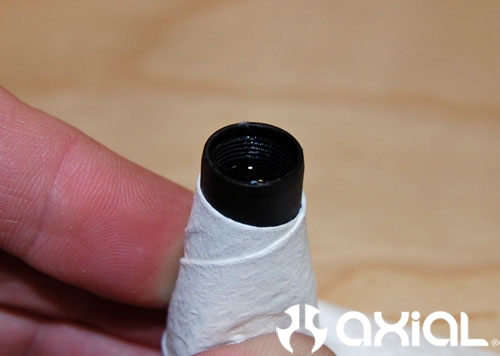
Thread the shock cartridge/shaft assembly a couple turns into the shock body, oil should start overflowing at this point. If no oil seeps out, fill the shock body with a little more oil.
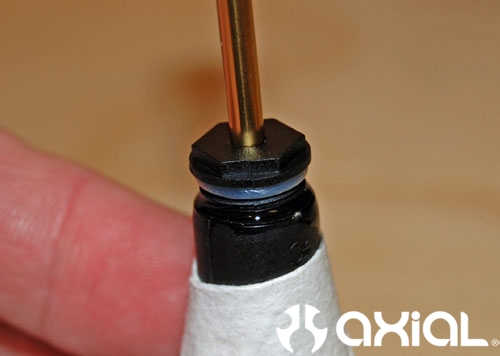
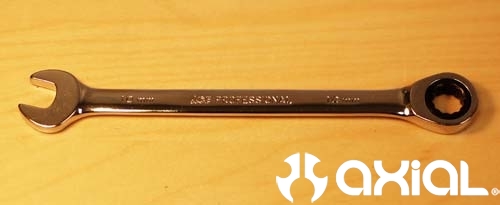
Compress the shock shaft until it bottoms out to allow any air bubbles and excess oil to escape. You can do this by holding the shock shaft in the compressed position and thread the shock cartridge all the way into the body as tight as you can with your fingers. The shaft will rebound a bit when you let go of it, which is normal. Now grab a 10mm box wrench and tighten the cartridge down all the way. Cycle the shock a few times at this point and look for leaks between the cartridge and shock body. If you still see a little oil bleeding out, tighten the cartridge up more.
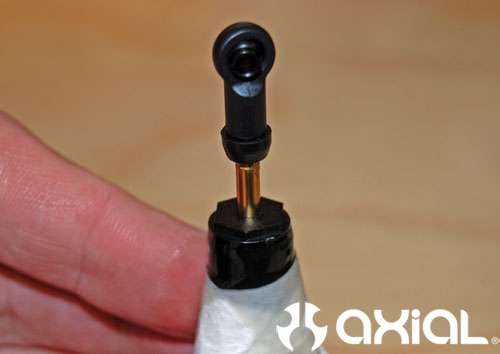
Investing in a 10mm wrench for the shock cartridges is key in my opinion, it’ll make rebuilding your shocks so much easier. I spent $7 on this wrench with a ratcheting box end at Ace Hardware. You can also just buy a standard 10mm wrench for about $4. Pliers can be used to tighten the cartridges too. But, over time the pliers can ruin the hex on the plastic cartridges, especially if the pliers slip off the hex while you are tightening everything up.
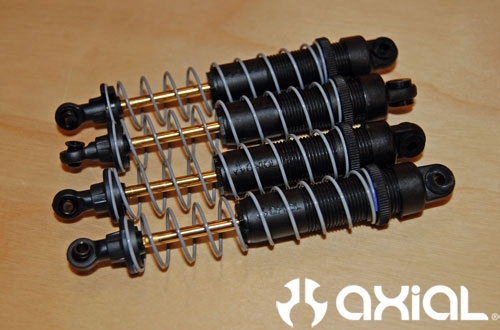
Now install the springs, lower spring cups and shock bushings. That completes the shocks.
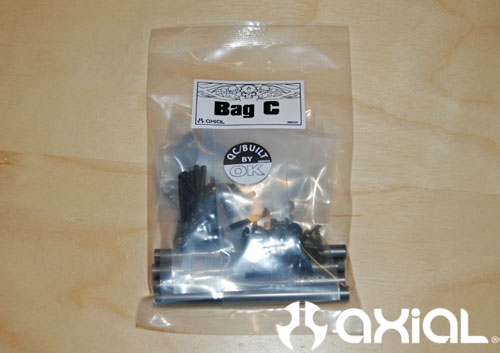
Next we will move onto the driveshafts. Go to step 10 in the manual, and find bag C.
All the parts needed to complete this step.
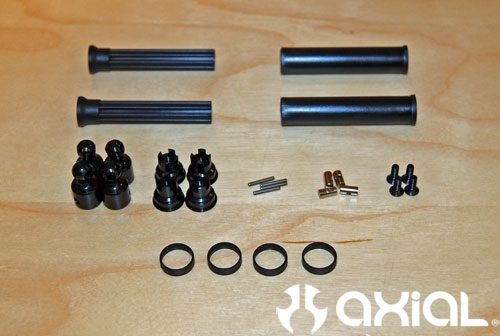
First thing we'll do is slide the u-joint axle pin holder into the driveshaft output.
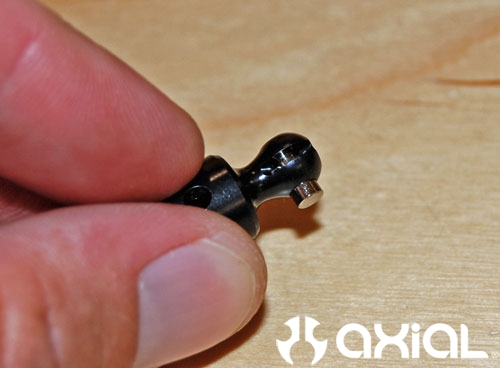
Line up the hole in the pin with the slot in the output.
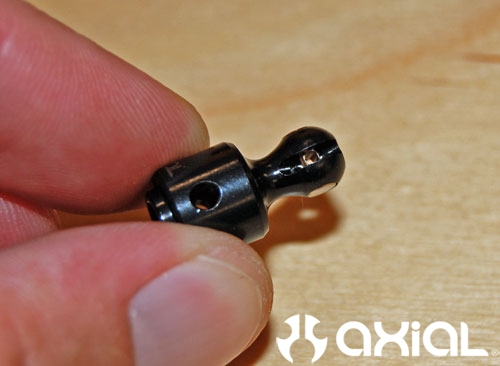
Slide the driveshaft coupler over the ball end of the output, line up the 1.5mm hole with the slot in the output, and hole in the center pin. Then, slide the 1.5x11mm pin through the whole assembly.
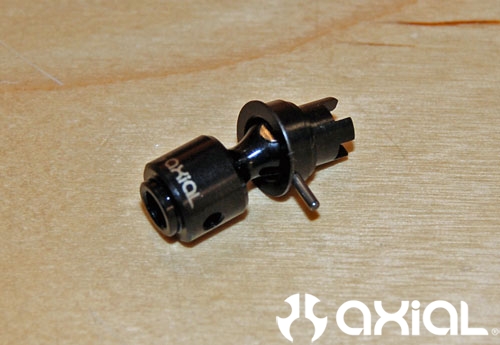
Slide the 1.5x11mm pin in until it's flush on both sides.
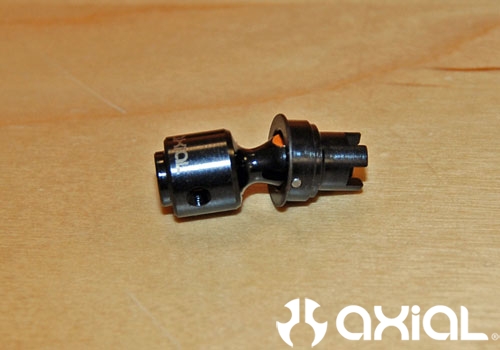
Grab the plastic driveshaft retainer ring and slide it into place.
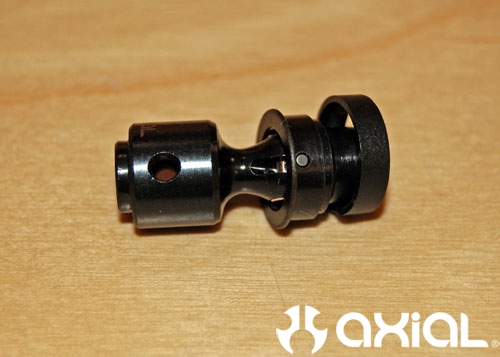
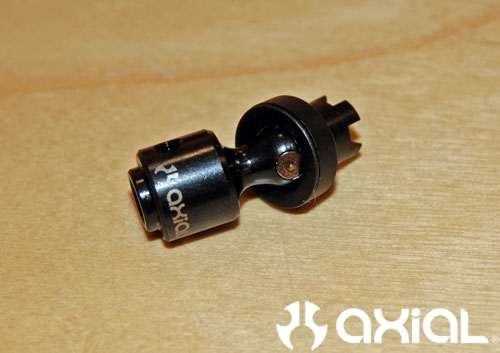
Next we will attach the metal u-joints to the plastic half shafts. Grab one of the female plastic half shafts, one of the u-joint assemblies and an M3 flat head screw.
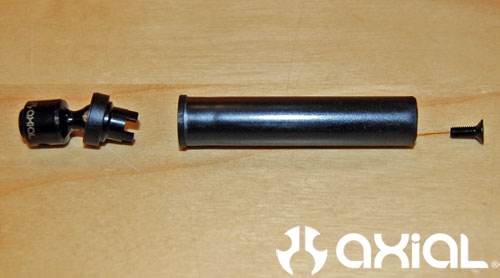
Add a dab of thread lock to the threads of the flat head screw.
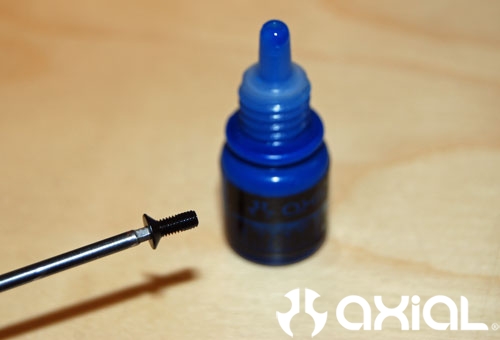
Insert the screw into the driveshaft from the splined end with a 2mm driver.
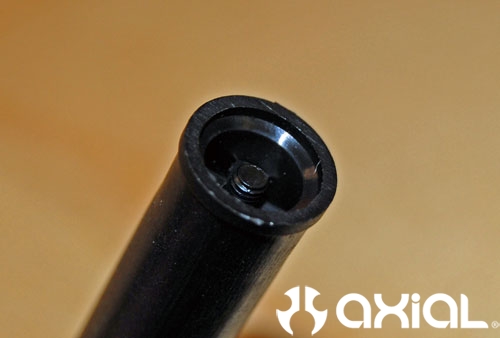
Now slide the half shaft onto the coupler, and tighten down the M3 flat head screw.
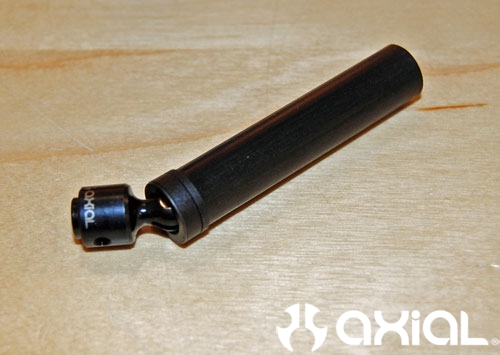
Repeat the above steps 3 more times and the driveshafts will be complete.
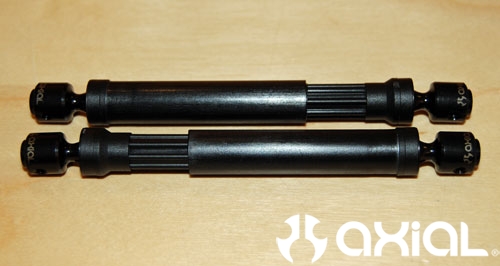
That will do it for this installment of our Wraith kit build. Next step we will tackle is the link assembly, so stay tuned!
Axial Wraith Kit Build Series
Step 1
Step 3
Step 4
Step 5
Step 6
Step 7