Posted: 11/18/17
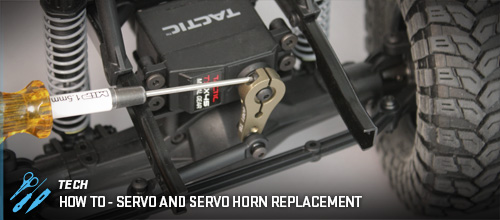
The steering system on a full-size off-road vehicle takes a lot of abuse. It is the same with RC. Whether you’re driving fast over bumps and jumps with an Yeti or crawling over rocks with an SCX10 II or doing a little of both with a Wraith, the steering is constantly taking hits. Whatever you hit, roll over or dig up onto, usually contacts the steering system first. In a similar fashion, and again just as it is in full-size off-road, one of the best ways to improve the capabilities of your RC vehicle is to make improvements its steering system. Instead of installing a hydraulic assist, in RC, we upgrade the servo. Instead of installing a custom pitman arm, in RC, we use an aluminum servo horn. These upgrades are simple tasks that can be performed by hobbyists of any experience level (if you aren’t an adult, get adult assistance and/or supervision).
Installing a New Servo Horn
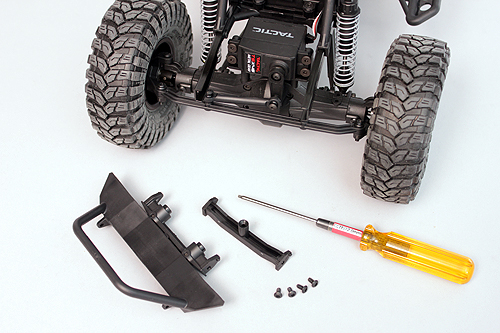
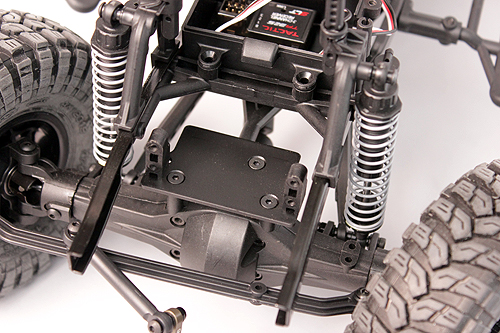
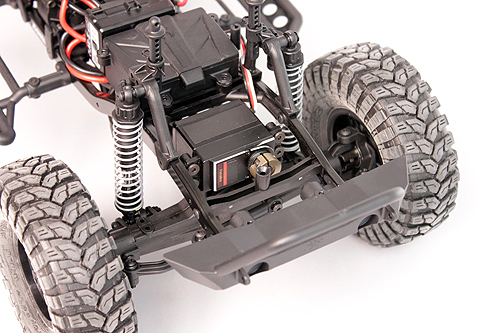
STEP 1. Depending on your model, it may be necessary to remove some components to make servo access easier. On this SCX10, the bumper and cross-member have been removed.
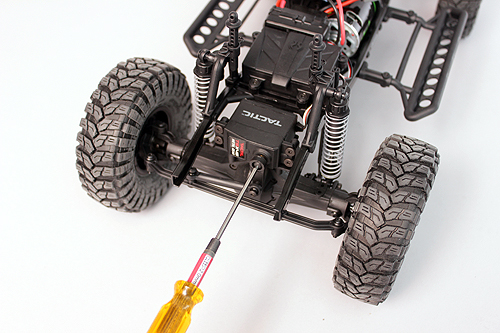
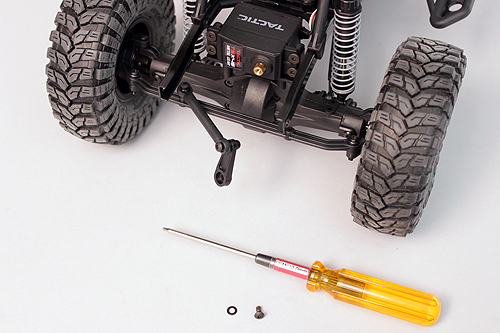
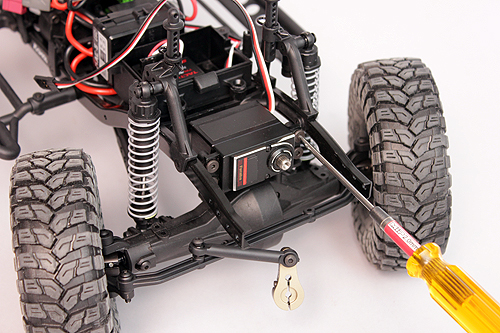
STEP 2. Remove the servo horn. The horn is most likely retained by a Phillips head screw, or a 2 mm screw. Either way, the screw is easy to access and remove. There may be a lock washer under the screw, so be careful not to lose it. Set this hardware aside. A small dish or tray is handy to prevent losing parts. Pull the servo horn off the servo.
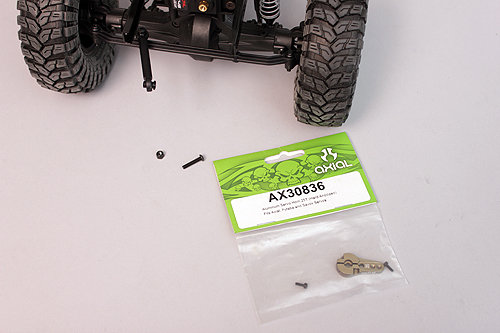
STEP 4. Select your new servo horn. Axial offers heavy aluminum servo horns that are essentially indestructible. These horns are offered in 23, 24 and 25 spline counts to fit any brand of servo. Axial servos use 25 spline count output shafts. These servo horns are highly recommended and go a long way towards improving a vehicle’s reliability. They should, however, only be used with heavy-duty metal gear servos that can withstand the forces that will be pass through the steering to the servo.
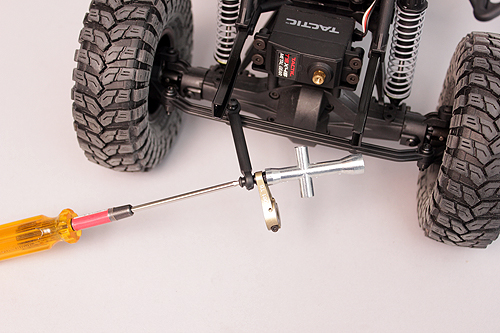
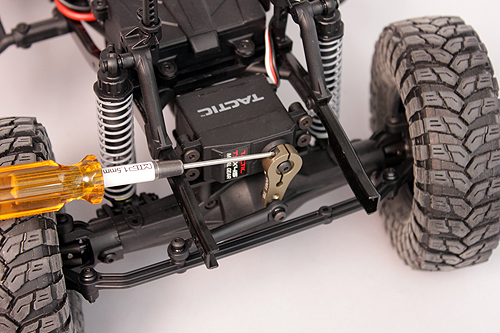
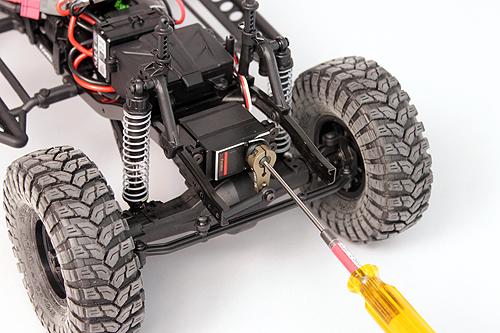
STEP 5. Attach the steering link to the servo horn. This is pretty simple. Note that even if you use a servo horn with threaded holes, you still need a locknut on the screw that attaches the link to the horn.
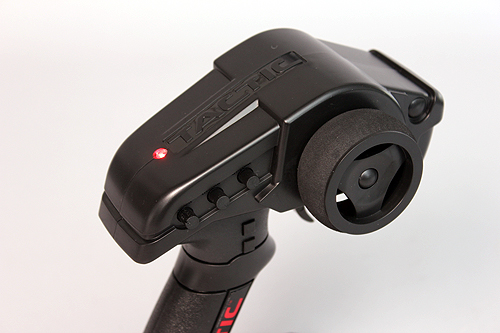
STEP 6. The vehicle must be powered up to properly install a new servo horn. Install a battery and turn on your transmitter. Plug in the battery and turn your vehicle on. Next, set your transmitter’s steering trim (channel 1) to zero. If your transmitter has sub trim, you need to also set that to zero for steering. After the trims have been set to zero, you can turn off the vehicle and then the transmitter.
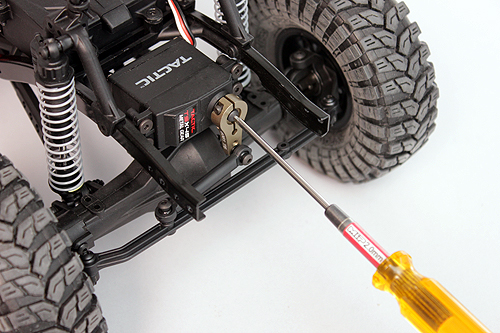
STEP 7. Slide the servo horn onto the output shaft and secure it with the main center screw. Axial’s HD servo horns are a double clamping design, so if you’re using one, you will also need to tighten the two 1.5 mm screws on the sides of the horn. Tighten all three screws down tight. Thread lock is not recommended on any of these screws. If you find, over time, that the main screw repeatable loosens and using a new screw doesn’t help, you can use a small amount of medium strength thread lock. Never use high strength thread lock.
Removing an Old Servo
Refer to Steps 1 & 2 above to remove the servo horn from the installed servo.
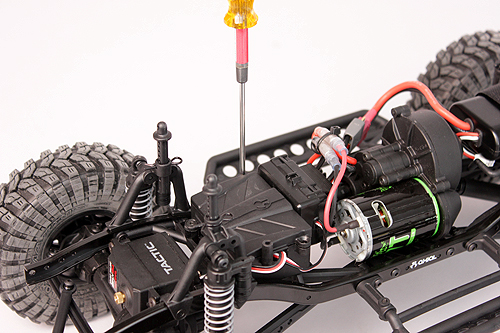
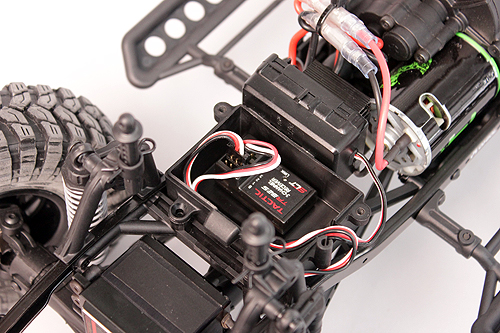
STEP 3. Open the radio box using a 2 mm wrench (it may vary by model). With the lid removed, you will be able to carefully unplug the servo lead from the receiver. Again, be careful so that you do not damage the receiver and its internal circuit board. The servo lead (wires connecting it to the receiver) may be attached to the chassis in some places with cable ties. It is essential that you be extremely careful when cutting any cable ties as you could easily damage the small wires.
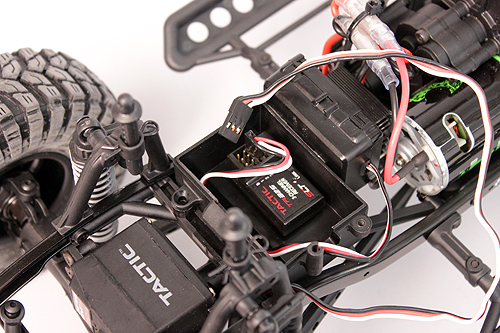
STEP 4. Before removing the servo, take note as to which side the output shaft sits. The servo itself is retained by four screws. These may be Phillips or hex. Some screws may have built-in wide shoulders and others may have washers. Either way, carefully put this hardware aside. The servo can now be removed and set aside.
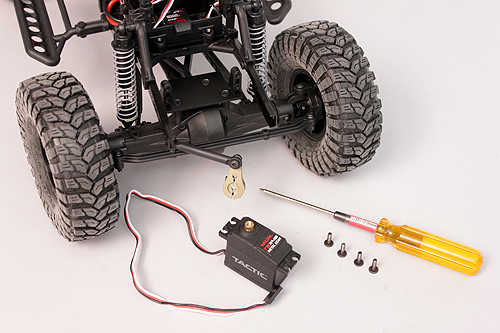
STEP 5. Place the new servo on its mounting plate. Servos can vary in size, but Axial vehicles have adjustable servo mounts. If you do need to adjust the servo mount (one is in a fixed position and one adjusts), the process is the same on SCX10 and Wraith, which all feature servos mounted directly on the front axle. On these vehicles, with the new servo set aside, remove the mounting plate from the axial. You can make this process easier by disconnecting the upper links and the upper shock mounts. This will allow the axle assembly to pivot forward and give you much better access to the screws attaching the servo mounting plate to the axle. After you remove the servo mounting plate, turn it over and locate the screw securing the adjustable mount. To identify this mount, look for the screw going into an oval shaped hole. The oval shape is what allows for the side-to-side adjustment for narrow or wide servos. Now, simply loosen the screw a small amount (usually a partial turn is all that’s needed) and test fit your new servo. Holding the servo in place, tighten the screw back down. Remove the servo and reinstall the servo mounting plate to the axle. You can now reconnect the upper links and shocks. If the male and female driveshaft pieces pulled apart, make sure it gets reconnected as well (before reconnecting the upper links).
STEP 6. Slide the new servo into the mount, paying close attention to which side the output shaft sits. When working on an SCX10 or Wraith, and when viewed from the front, the output shaft is on the right-hand side. Secure the servo with the four screws that were holding the original servo in place. If the screw holes are stripped out and the screws cannot be fully tightened, you will need to replace the plastic servo mounts.
STEP 7. The next step is routing the servo lead back to the radio box and receiver. Make sure the wires are not near any moving parts such as articulating suspension components or driveshafts. This is especially true if your Axial model has exposed gears. Small cable ties can be used to keep wires secure and out of harm’s way. Note that Axial includes provisions to secure wires on vehicles such as the SCX10 and SCX10 II. These should definitely be used to secure wiring.
Excessive wire should be neatly stored in the radio box. Do not make the wires too tight or they will get damaged as the suspension articulates. The wires should be slack enough to allow for complete suspension movement.
Once the wiring is complete, you reinstall the radio box lid. Some radio boxes are not fully sealed, but if you are using a sealed box, you should add grease to the area where the wires pass into the box.
STEP 7. Finally reinstall the servo horn on the centered servo. Refer to STEP 7 above. Your servo swap is complete! You can now power up your radio and vehicle and go out for a drive.
TIP: Radio Settings
You may need to slightly adjust your steering trim to get the vehicle to track straight with no input. If your transmitter has sub trim, this adjustment is used first.
If your transmitter has end-point adjustments, you should also use these to adjust how far the servo travels in either direction. A servo that turns farther than the steering system will allow can eventually burn out. The best tool to see if your servo is moving too far and straining is your ear. All servos, especially digital models, make an audible whine when pushing against a resistance. Bench test your steering. If you hear a whine at full lock in either direction, adjust the end points until you don’t hear a whine. If your transmitter doesn’t have end point adjustments, it may have dual rates, which also reduces steering throw, but does both sides simultaneously.