Posted: 6/7/16

Brandon's SCX10 II Nukizer Build
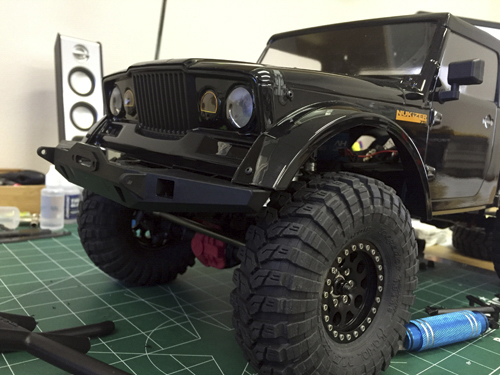
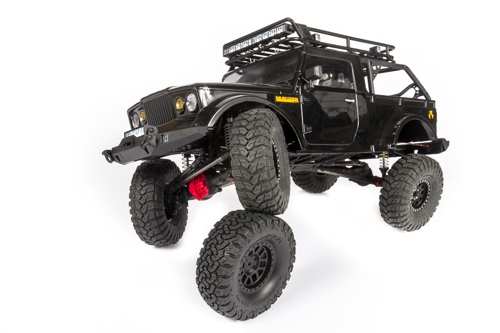
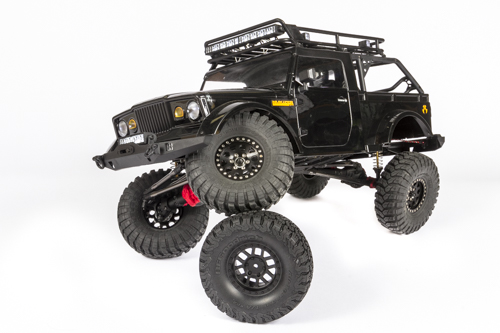
The SCX10 II brings a slew of new parts for custom builds. This is my first official build on the new chassis. As sample parts started to arrive the wheels started to spin. I was pleased to see the highly detailed JCR bumpers for the Jeep XJ body, and more pleased when I noticed how well they fit on the Jeep Nukizer body. That sealed the deal, SCX10 II Jeep Nukizer here we come! To further separate the build from a stock SCX10 II, I changed things up a bit with a set of 1.9 Maxxis Trepadors mounted on my VP KMC 1.9 beadlocks.
https://www.axialadventure.com/products/ax31267
https://www.axialadventure.com/products/ax12019
https://www.vanquishproducts.com/kmc-enduro-xd222-1-9-wheels-black-anodized/
 Let the modifications begin! Even though the JCR bumpers were the proper width they needed some massaging. I cut some material from the bumper post mount system up front to bring it closer to the Nukizer grill:
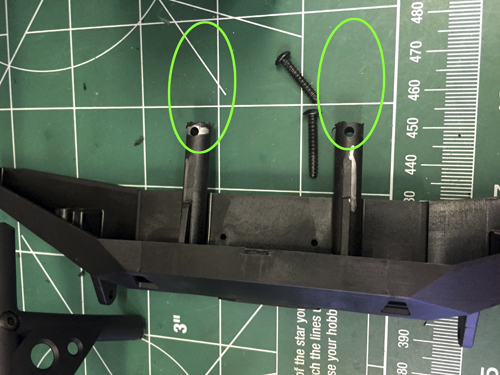
Then I sanded down the chassis brace to allow the bumper to push all the way back.
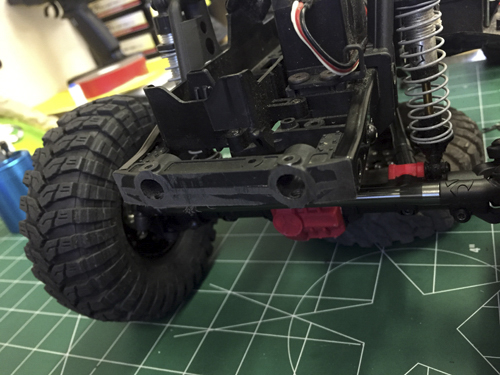 New front bumper position. Also note I removed some material for tire clearance.
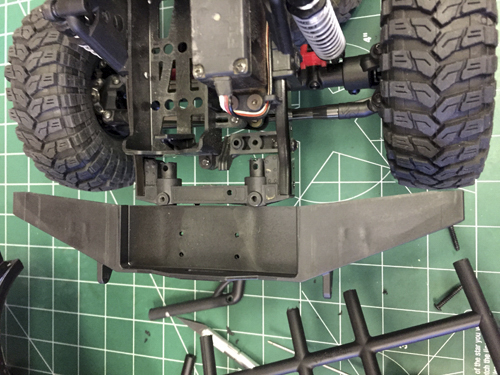
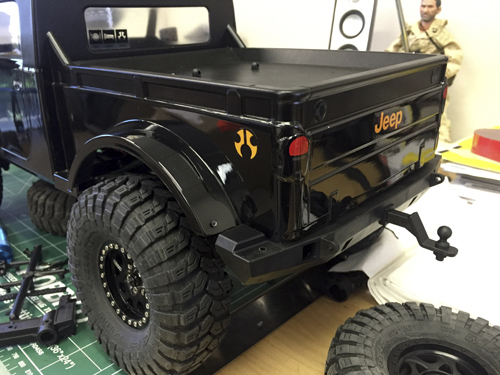
 Onto the rear, not much was needed here but I trimmed some material off the profile of the bumper to match the body.
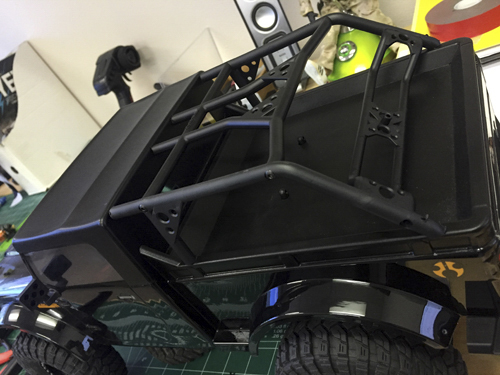
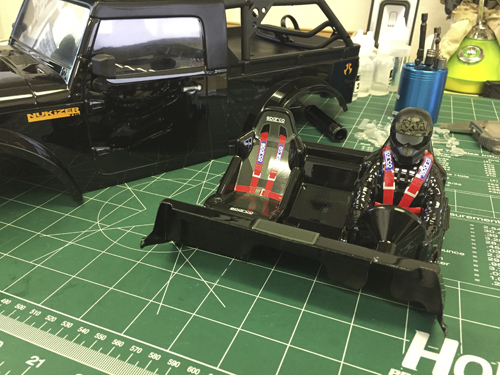
 Time to set this body apart from the other Nukizers on the trail. I dug through the stash of plastic cages in the parts bins and found that the Dingo cage width was perfect for the width of the bed rails on the Nukizer. I immediately took it to the saw and cut the A-Pillars off the cage, then removed some height to match the roofline of its new home. The end result was a customized cage ready to completely alter the Nukizers attitude.
https://www.axialadventure.com/products/ax80042
 With the cage in position I could start marking all the required holes on the body. I carefully used a body reamer to create 2.5mm holes for M2.6mm hardware.
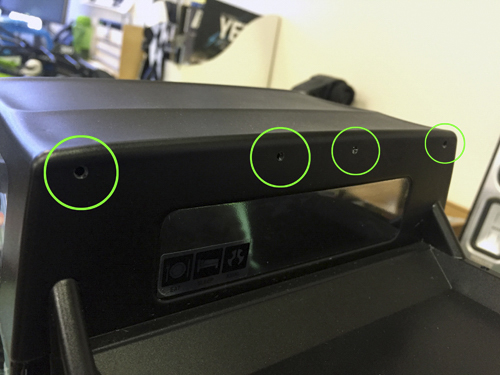
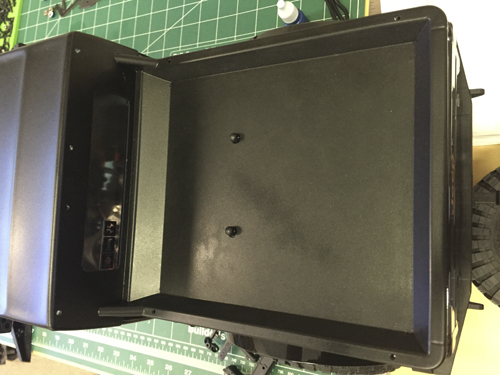 With so much material removed the cage, it required new holes for the M2.6 hardware to attach to the Nukizer body. I have an old tool handle that I use for drill bits, in this case a 2.0mm bit for the M2.6 hardware to bite into the plastic
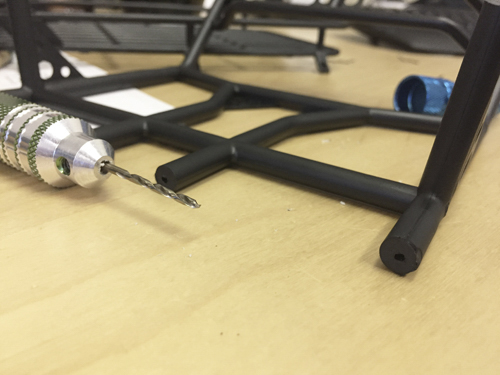 Here you can see the hardware holding the cage from inside the body.
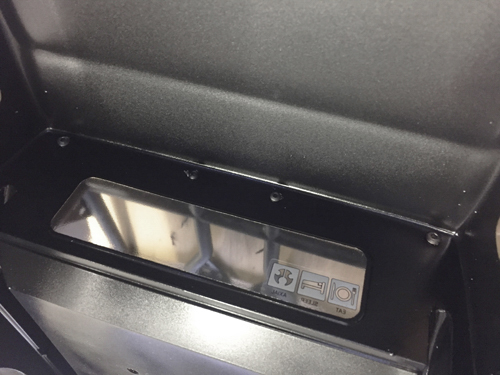
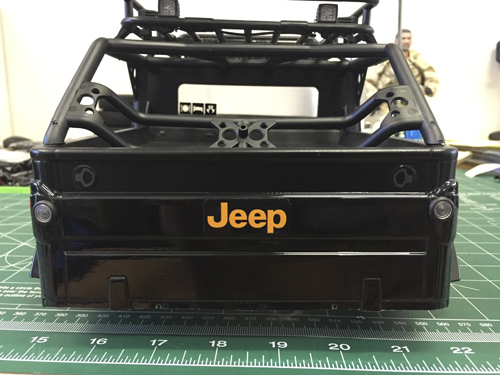
The end result of the Nukizer / Dingo splice.
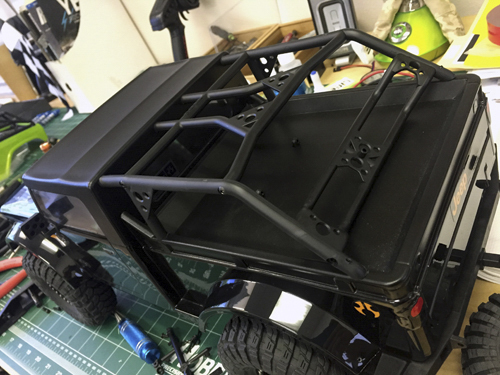
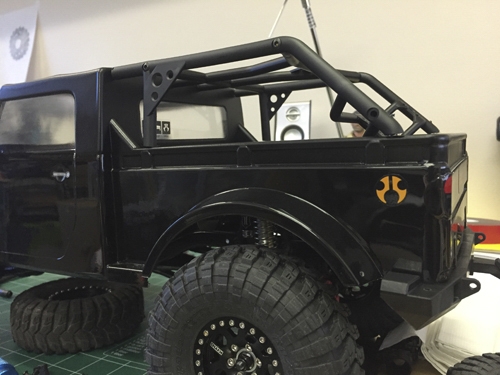
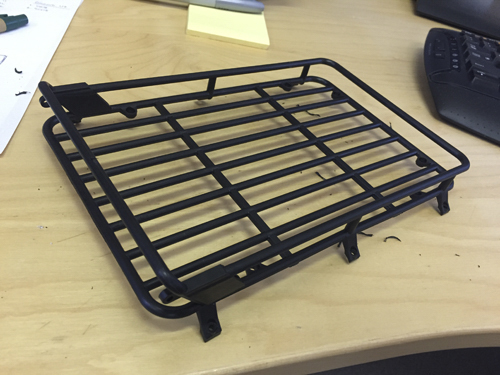
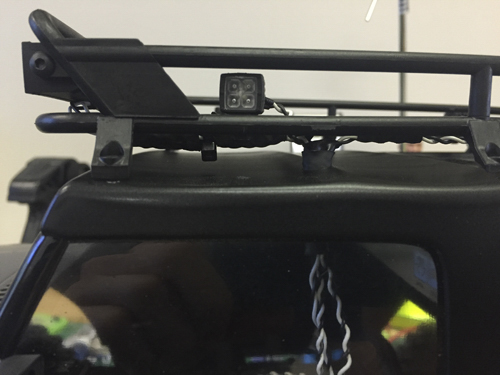
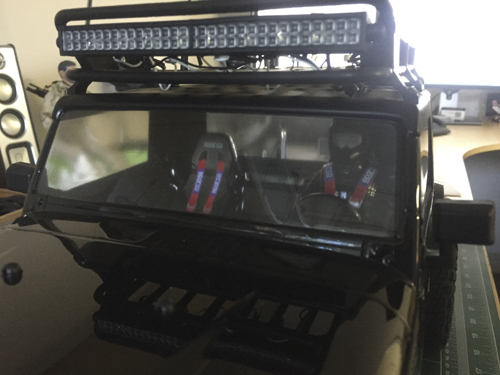
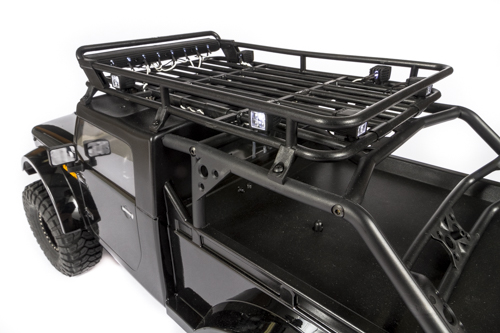
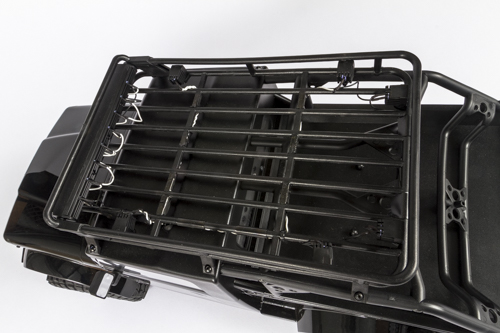
Now onto utilizing the JCR Roofrack from the XJ, it’s too perfect! The length of the roof rack ties together the cab and cage.
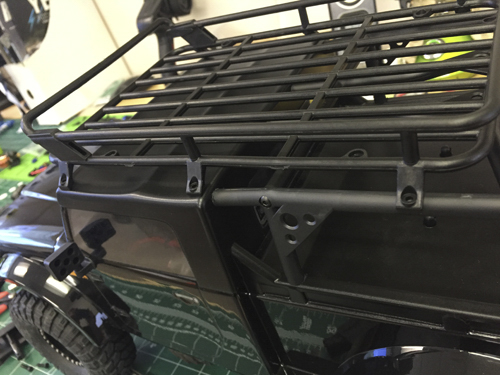
In order to mount the JCR rack I drilled some more holes and utilized M2.6 hardware again. Attaching to the cage was easy with the 2.0mm drill bit. To mount it at the cab, I used the under body mounts that required some modification. I basically cut them at the 2nd mounting boss.
Hardware installed.
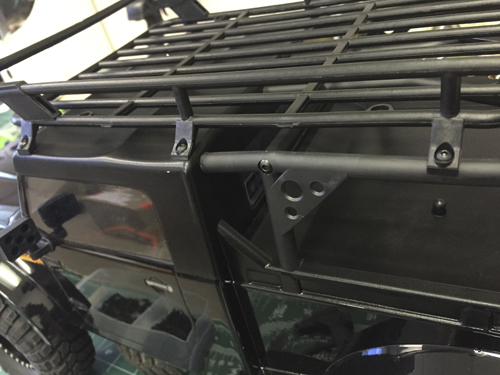
Now we’re getting somewhere!
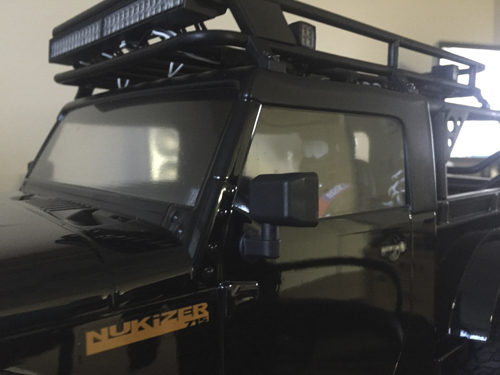
Something is missing though… How about some Rigid Industries lights?
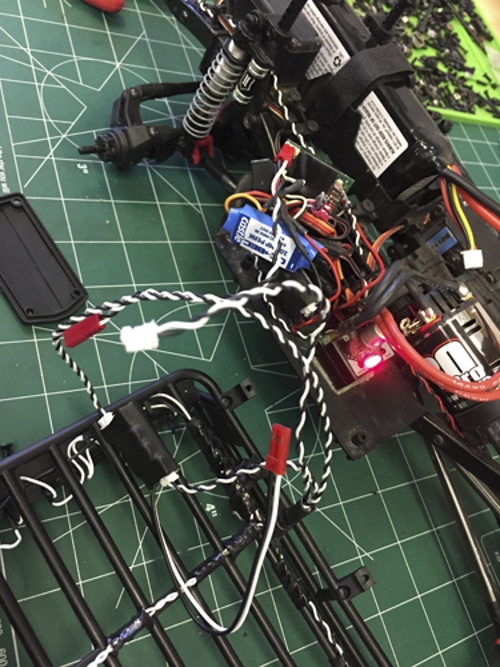
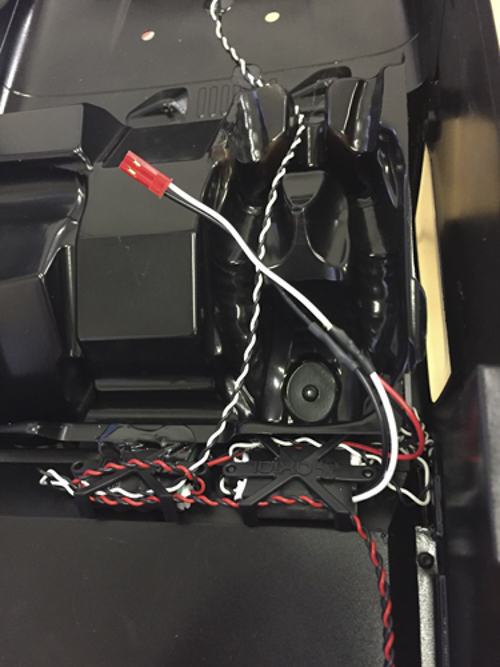
The fun part, dealing with the wiring. I used a combination of Axial LED components in addition to the Rigid Lightbar set mentioned above. Enjoy my wiring mess!
https://www.axialadventure.com/products/ax31098
https://www.axialadventure.com/products/ax24257
https://www.axialadventure.com/products/ax31097
https://www.axialadventure.com/products/ax31152
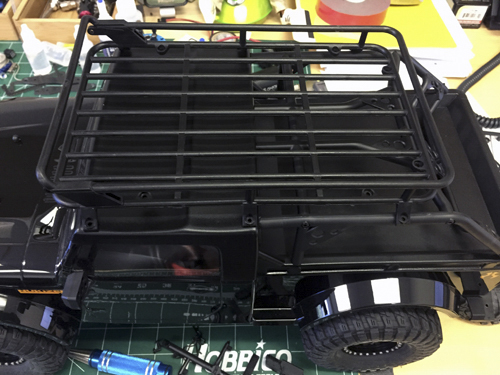
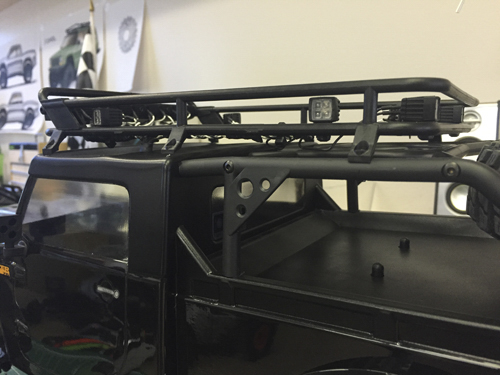
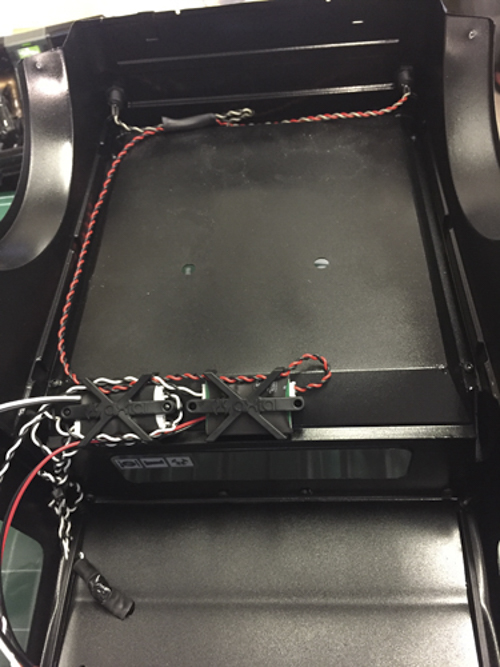
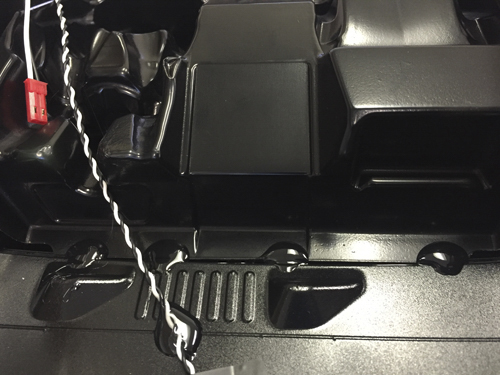
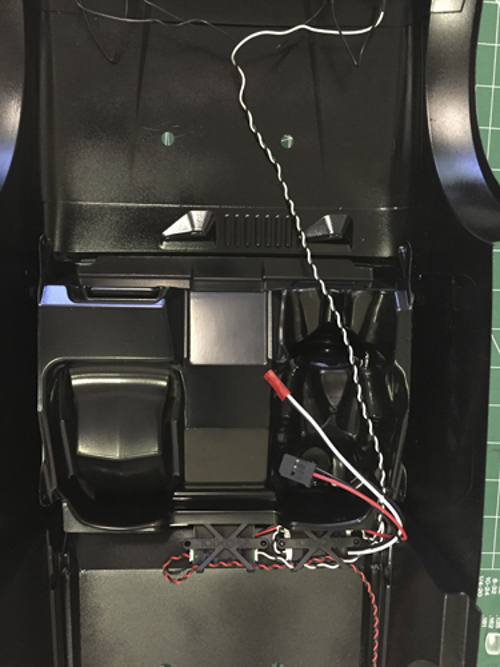
Routing all the cage lights through the roof with LED controllers mounted to the underside of the body.
Running both LED controllers on the body allowed me to also wire the headlights and taillights. I used the Axial Light Bucket Set for the tail lights. The 4 string LED up front required the center wire to extend so I cut it and soldered in the correct length. A combination of heat shrink and electrical tape tidied up the remainder of the wiring.
https://www.axialadventure.com/products/ax80045

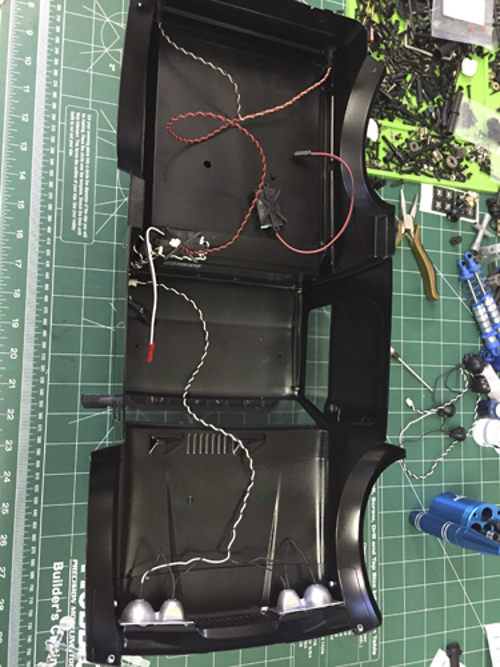
TEST! I also snuck in another LED controller mounted on the chassis for the 4 LED Rigid bar on the bumper and a set of tail lights in the rear JCR bumper. Note this was before the light buckets were installed…
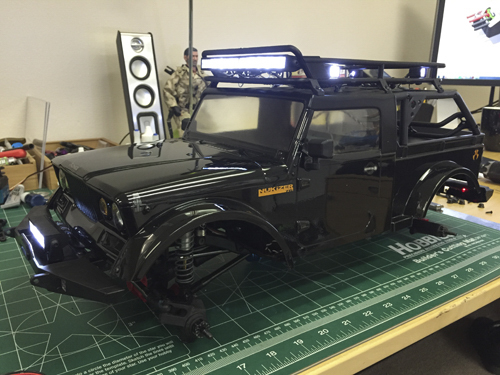


Really starting to come together. Still, there's something missing…
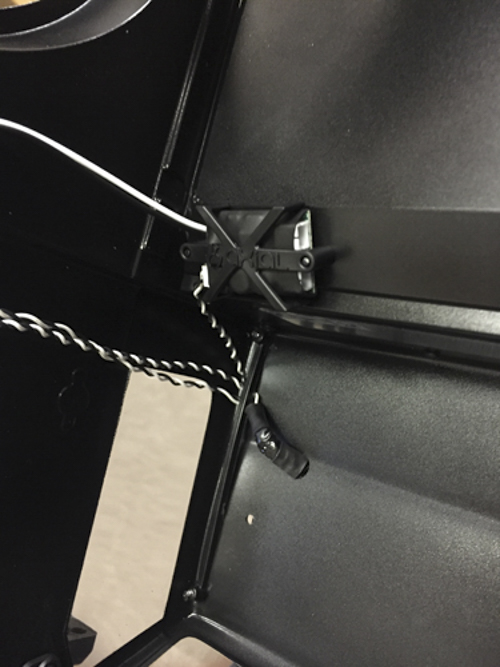
I pulled this from an AX90045 Wraith Spawn RTR. The clear version is also available.
https://www.axialadventure.com/products/ax31177
https://www.axialadventure.com/products/ax31049
A little shoo goo and we are set!
At this point I also soldered the leads from the 2 LED controllers into 1 RX plug for simplicity. I used a RX lead extension so the plug is accessible outside of the waterproof box. Something like this works: https://www3.towerhobbies.com/cgi-bin/wti0001p?&I=LXXWL0&P=7
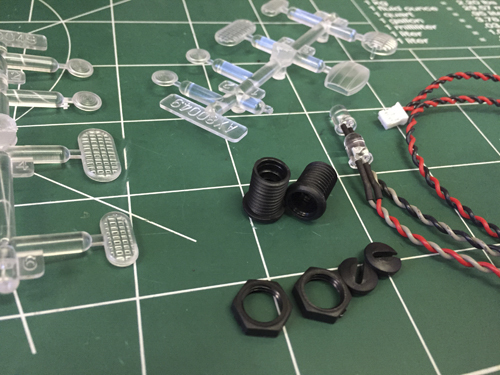
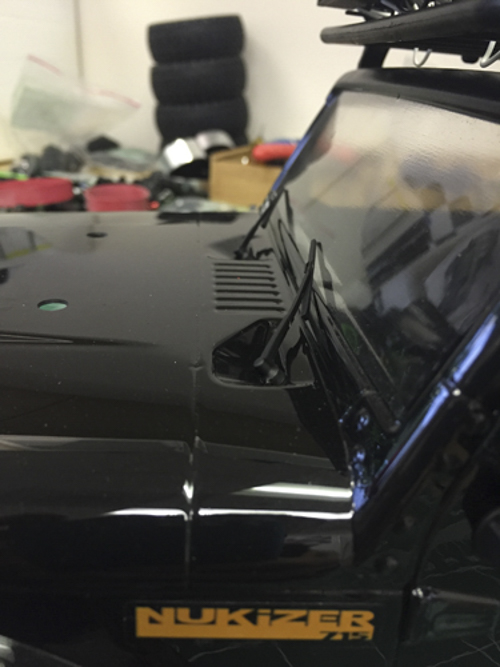
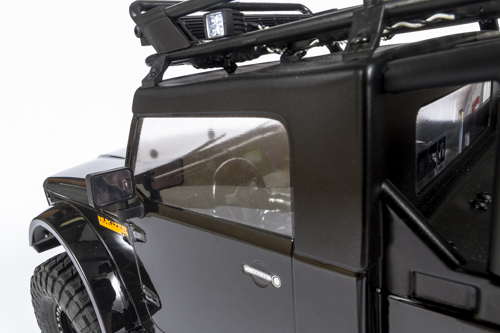
More scale accessories and wipers from the Exterior Detail Parts Tree. Lots of good stuff here, I will get to mounting the fire extinguisher later.
https://www.axialadventure.com/products/ax80038
https://www.axialadventure.com/products/ax80037
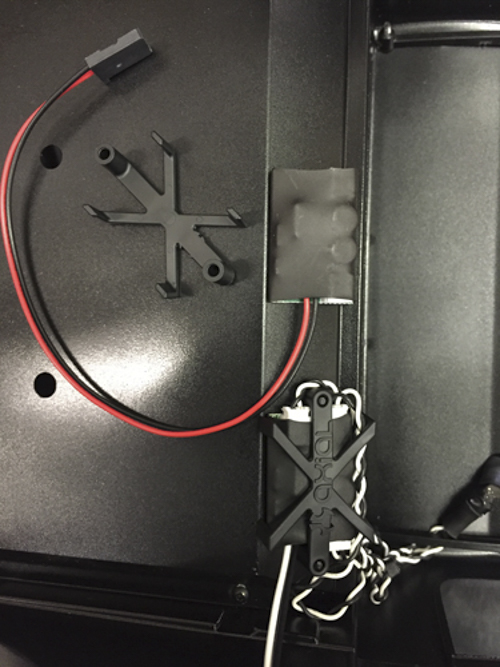
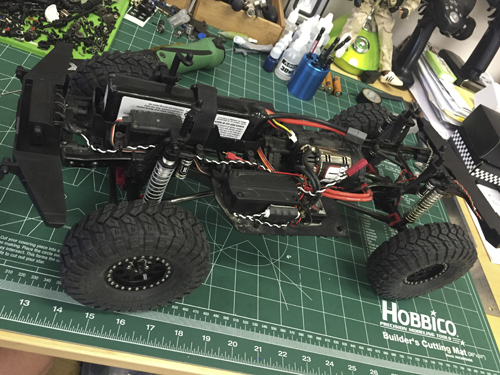
Chassis shot showing the RX extension wire to plug in the body lights and my chassis mounted LED controller for the chassis lights. This way I can easily remove the body with 1 plug.
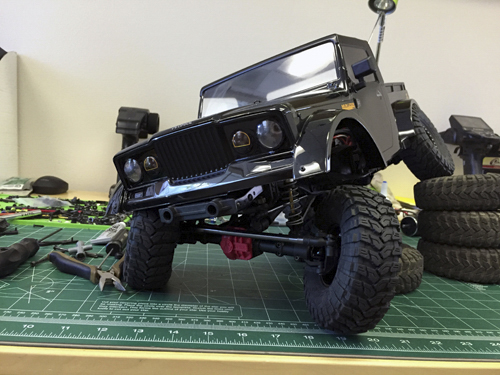
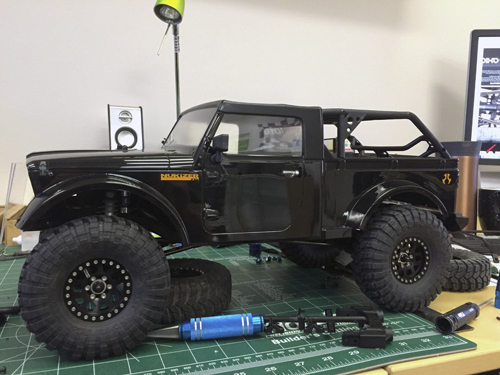
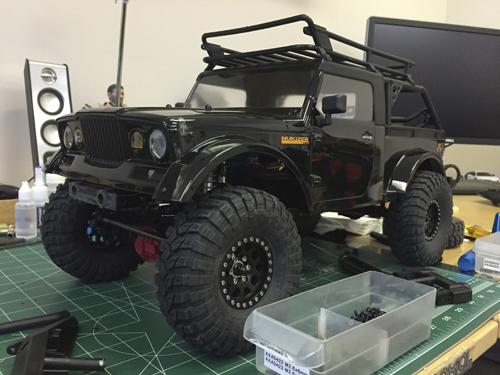
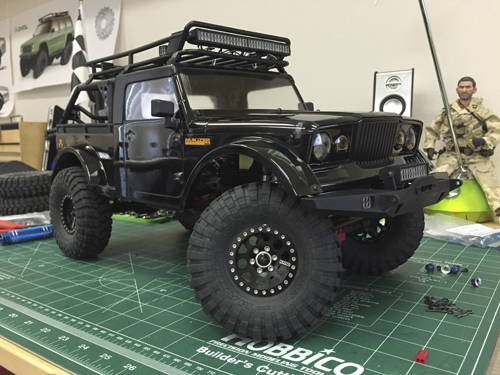
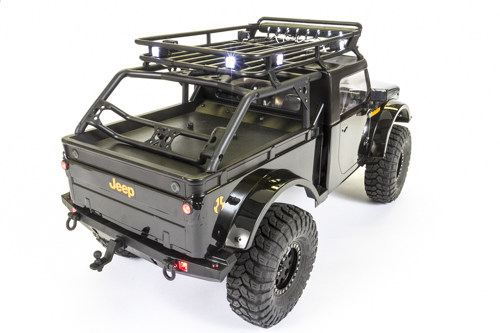
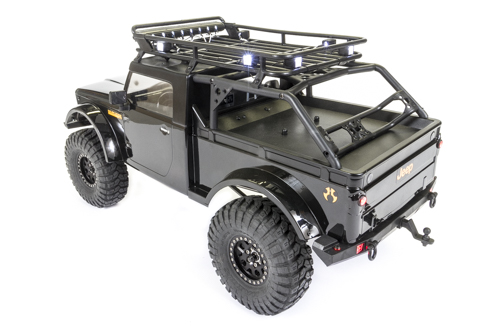
And now for the glamour shots!


Future build plans include:
• Scale accessories on the roof rack
• Spare tire mount in the rear
• Custom rock sliders
Electronics:
• Futaba 4PX
• Futaba S9157 Steering Servo
• Tekin FXR
• Tekin 30T Pro Handwound
• Castle BEC
• Duratrax 3S 4000mah Lipo