Posted: 2/19/18
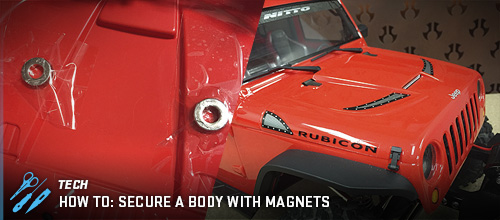
Strange things happen in the mind of John Schultz and many times there are some great results from those endless random thoughts. Sure, you may have heard of his epic trail builds at Axialfest, but a recent mind melt session in the Schultz Lab yielded a great how to on setting up your body for a super scale look using magnets to secure the shell. Photos were pinched, helpful tips jotted down and we’re going to pass along the information so you can mount your next body sans body clips.
STEP 1
First things first. Don't drill any body mounting holes in your freshly painted body. Place the body on your rig and get a feel for where it needs to be positioned.
STEP 2
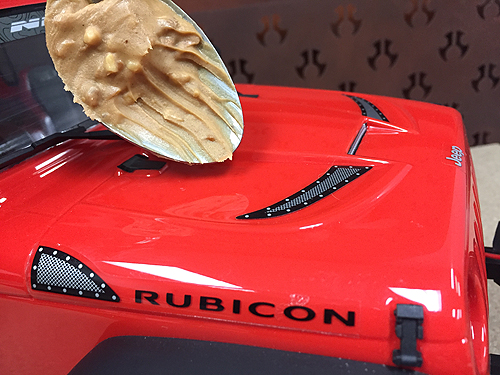
You'll need to determine where the magnets need to be placed on the inside of the body. There are several ways to do this. Some people put a small dot of paint on the top of the body posts or some black marker so it transfers to the body to designate the body mount locations. John Shultz uses a dab of peanut butter and then eats the rest of the jar. Some bodies do have dimples molded in the body to identify the mounting points and these can of course be used too.
STEP 3
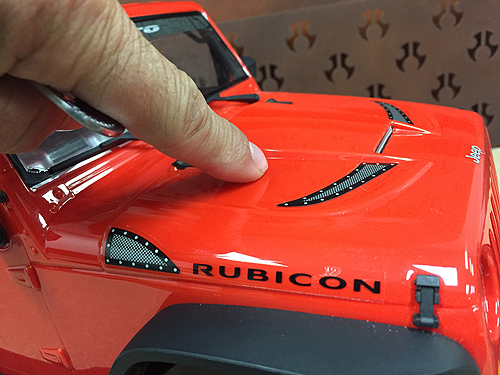
If you do use peanut butter, er um, marker to transfer your body mount points, press down firmly to transfer the "substance" to the body.
STEP 4
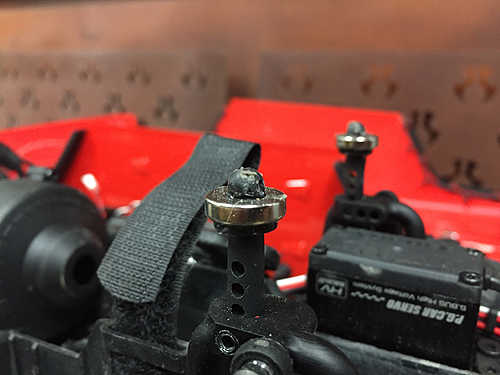
Now it's time to find some magnets that can be used to secure the body. John found these 1/2" x 1/4" x 1/8" Neodymium Ring Magnets that fit perfectly on the SCX10 II body posts.
STEP 5
Once you're satisfied with the fit of the magnets on the posts, place a small amount of 5-minute 2-part epoxy to the base of the body mounts and slide the magnets onto the posts.
STEP 6
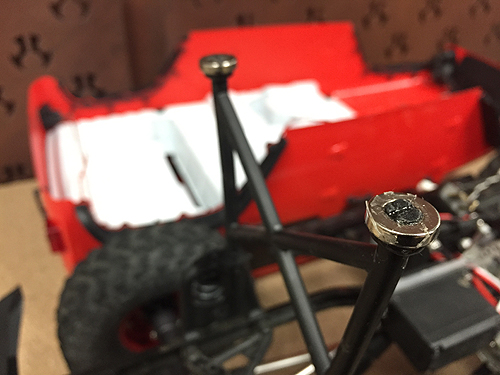
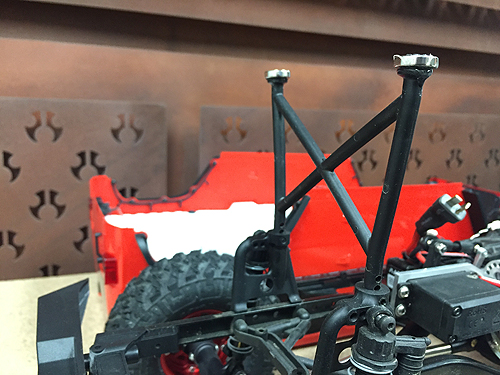
Once the epoxy has cured, use a pair of side cutters to cut the top of the post off so it will allow the magnet, that will be secured to the body, to sit on the post magnet.
STEP 7

Now it's time to secure the magnets to the body. Use the epoxy to secure the magnets to the body. Make certain that the mark you made on the body in STEPS 2 & 3 is in the center of the magnet holes. Use some packing tape to help secure the magnets while the epoxy dries. This is a critical step. You don't want the magnets to move and then the epoxy dries and you have no way to move the mount. A magnet that moves during this step will most likely result in the body not sitting properly on the chassis.
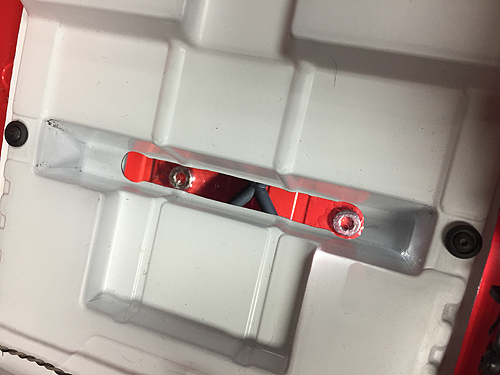
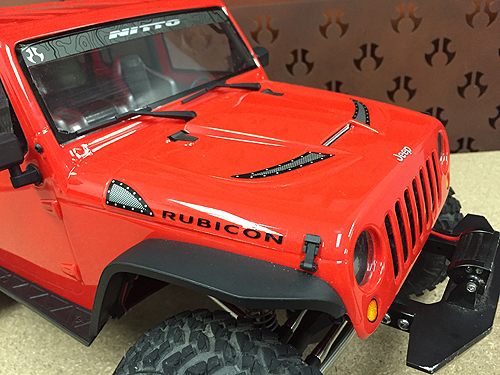
Here you can see the magnets epoxied to the roof which was done prior to John installing his interior. Once the epoxy has dried on all of the magnets, you're ready to drop the body on your chassis with the ease of magnets holding it in place. Not only will the body be held firmly in place, but it also looks much more scale without body posts and its super easy to take the body off for battery swaps or turning the truck on and off.
INTERIOR TIP
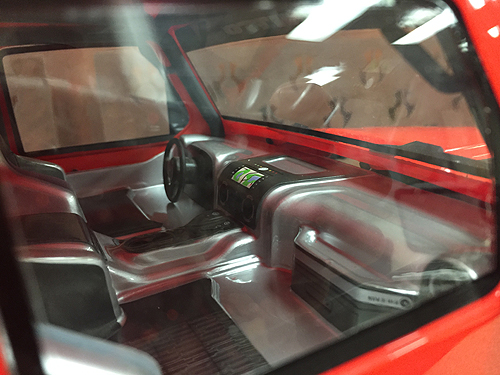
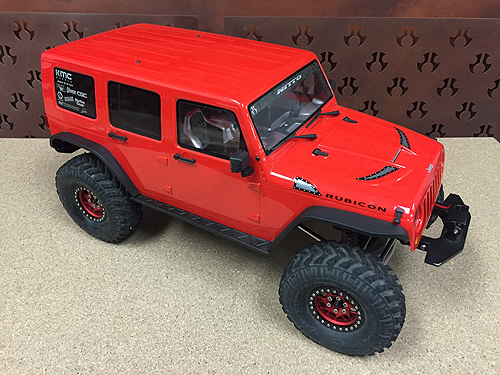
You may have noticed in some photos that an interior was installed in the 2017 Jeep® Wrangler Unlimited CRC body. To do this, John took a 2012 Jeep® Wrangler Unlimited Rubicon Body and cut the exterior off, leaving just the interior and roll cage to secure to the new Jeep Wrangler Unlimited body. The result of course is a more scale looking rig to hit the trails with.
[gallery link="file" ids="1073925655,1073925654,1073925653"]
SCALE IT UP
With just a little bit of modeling skill, some standard shop tools and some magnets that can be found anywhere online, you can increase the scale look of your machine, while making the chassis easily accessible. It might even become something you'll want to build a shrine for...