Posted: 11/29/12
Axial's latest SCX10 release is an officially licensed 2012 Jeep® Wrangler Unlimited Rubicon. It is an RTR vehicle, which means it is ready to go as soon as you remove it from the box. The detail and realism of this latest release is awesome to see in person. The molded plastic rollcage, fenders and bumpers are all realistic features you would see on any hardcore 1:1 trail rig. Also included are molded plastic tail lights, side view mirrors, steering wheel, gear shifter, D-rings and even a fuel filler assembly for the Fuel Safe fuel cell which adds even more realism to the overall look.For this article I will cover how you can add a little more detail to your new SCX10, with parts that are included in the RTR box. I will also go over a few other mods that you can make that require no out of pocket cost and really add to the overall look of your new Jeep.
One of those mods that can be done for free is cleaning up the inner fender wells front and rear. You will notice some extra Lexan around the inner fender wells, where the Poison Spyder Crusher Flares meet the Lexan Jeep body. We will trim this excess Lexan away to give the inner wheel wells a cleaner look.
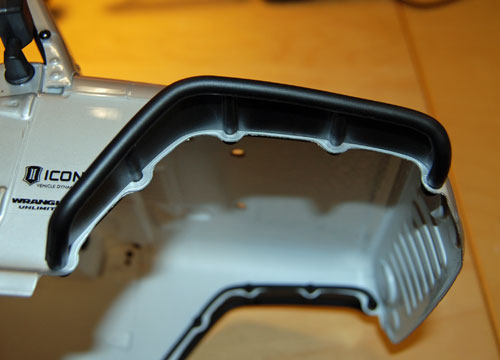
First thing we want to do is use a marker inside the body to color the excess Lexan that hangs below the Crusher Flare's inner plastic mount.
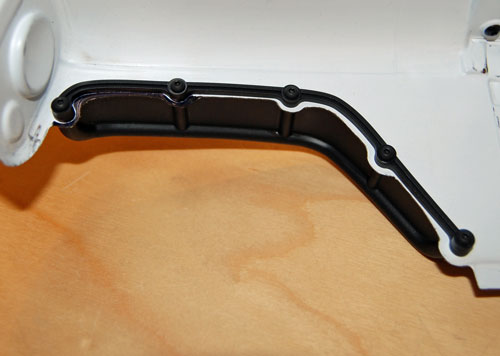
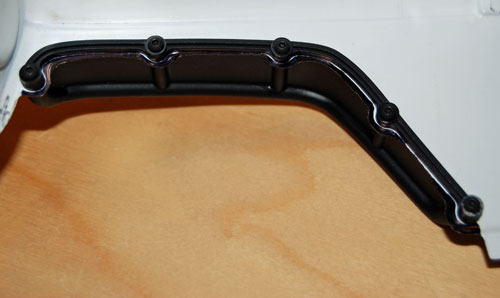
Once all 4 inner wheel wells are marked, you can remove the Crusher Flares with a 1.5mm driver.
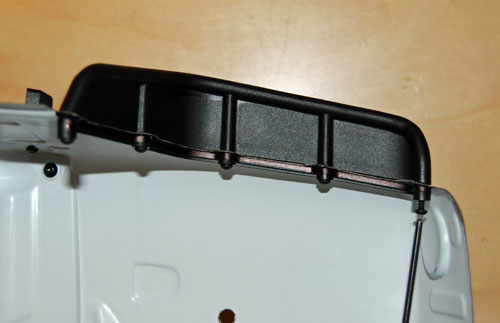
Now you can see your cut line is clearly marked on the inside of the body.
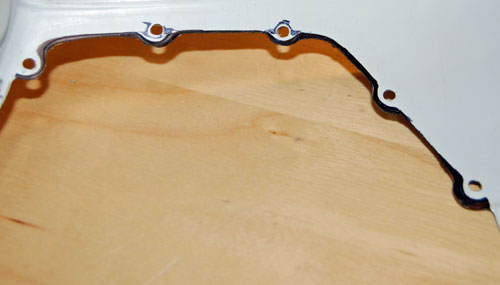
Use a pair of curved body scissors and a sharp X-acto to clean up the excess Lexan. Be sure to leave plenty of meat around the mounting holes, you will only be trimming away a small amount of excess Lexan.
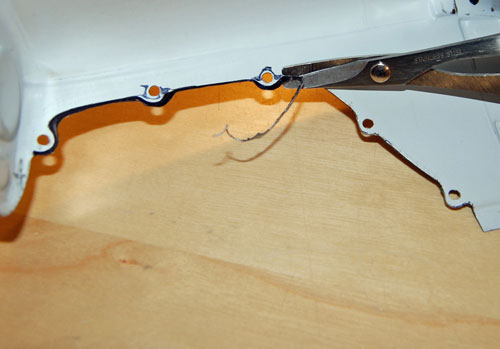
After the trim job is complete.
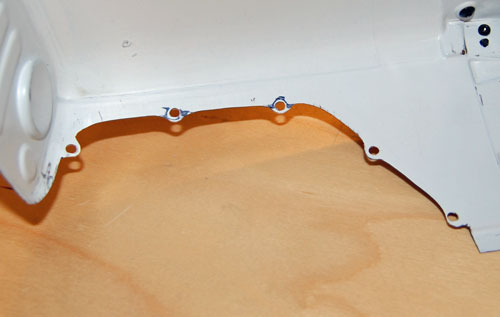
Next I used my marker again to color what little excess body still remained, and hide the silver from being seen once the flares are bolted back into place.
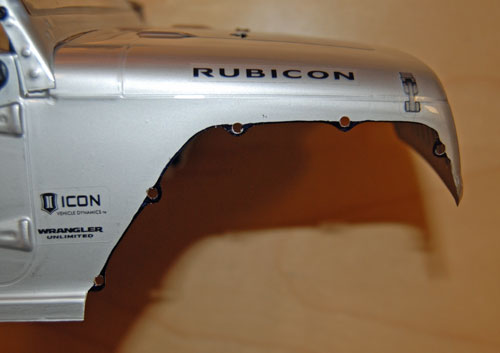
Now you can bolt your flares back up on all four corners. It looks a lot cleaner now.
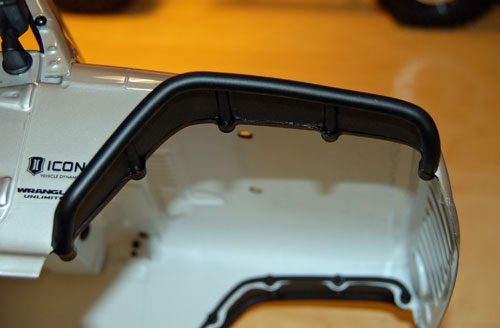
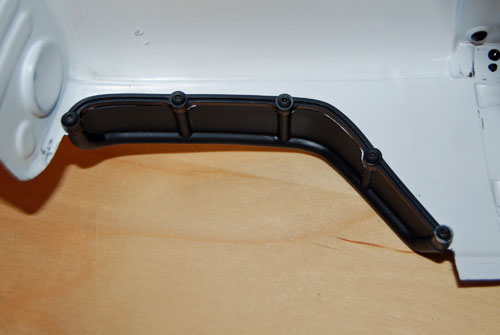
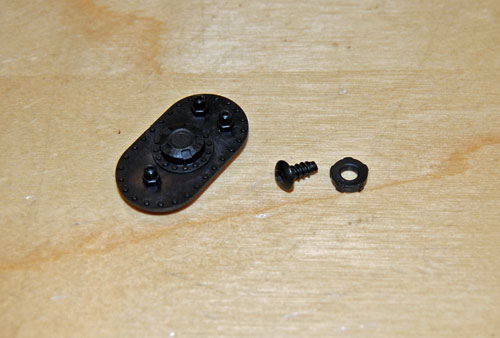
Next we will add some detail to our SCX10, with parts supplied in the RTR box. In the plastic parts bag that comes packed in the RTR box you will find a molded plastic fuel filler cap.
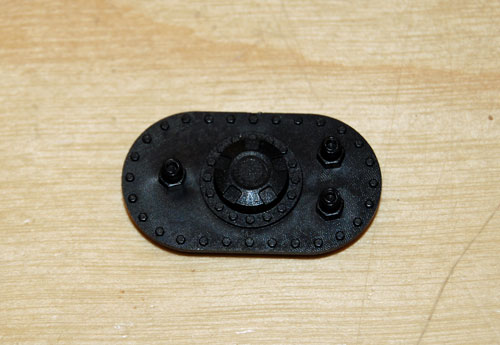
Installing the fuel cap, and other scale details, will be easier with the roll cage removed.
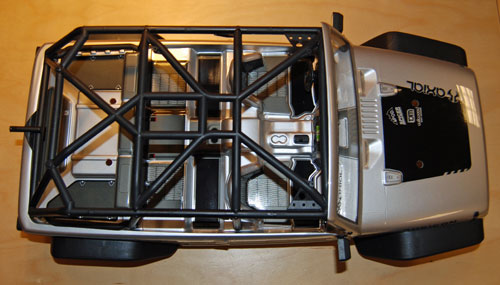
Using a 2mm driver remove the eight screws that hold the cage to the body.
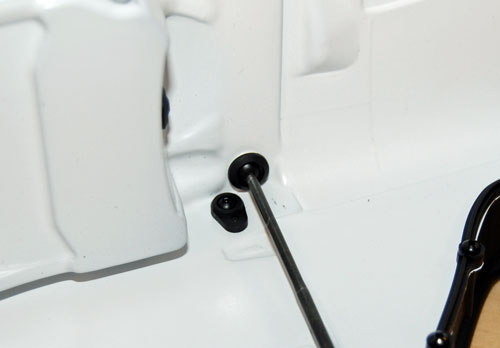
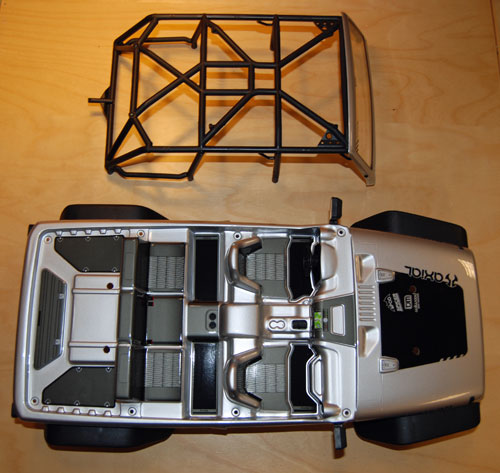
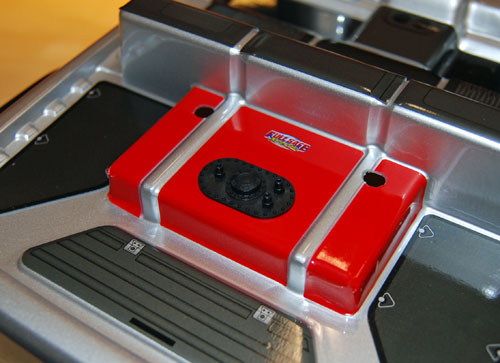
Now set the fuel cap in place on the tank to sort out exact placement. I am going to mount it centered left to right on the fuel cell, and slightly closer to the rear of the gas tank.
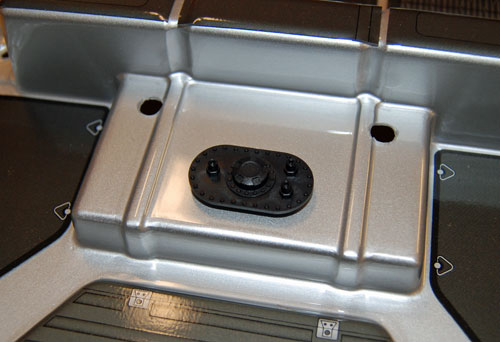
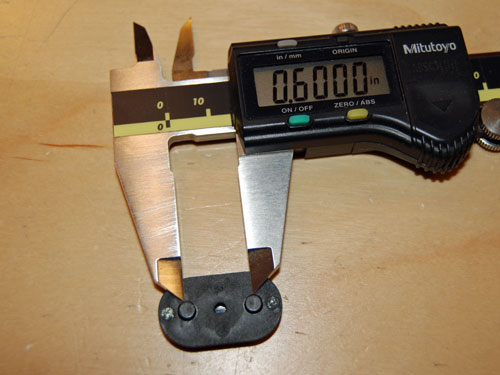
I measured the overall distance between the molded studs on the bottom of the fuel cap. These stud help hold the cap assembly in place, and you will need to drill clearance holes for them in the fuel cell.
Now, using my calipers again, I measured the overall width of the center section on the fuel cell to find center.
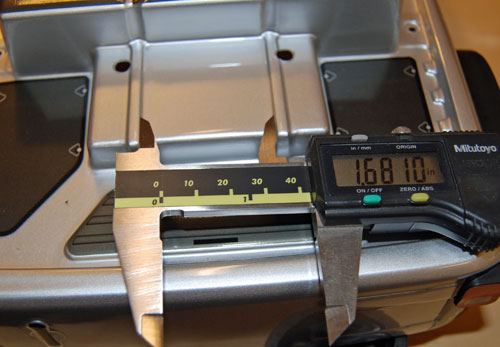
Cut your previous fuel cell dimension in half and mark the center point with a marker.
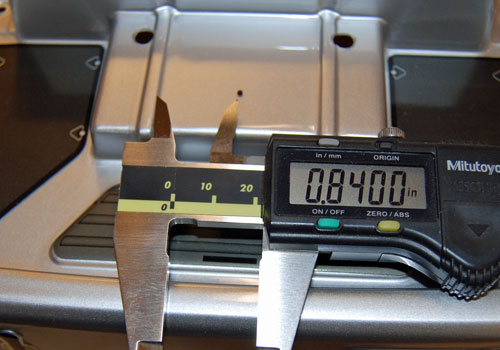
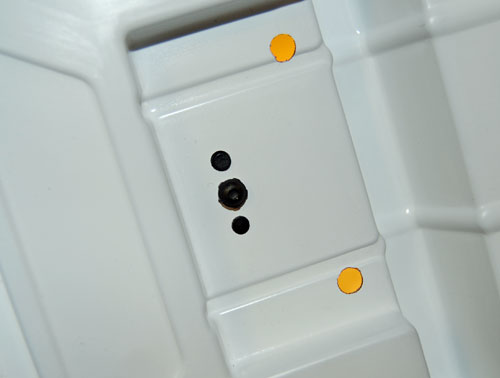
Our spread on the molded studs from the fuel cap assembly was about .600 of an inch. Cut that in half and you get .300 of an inch from the stud to the mounting hole in the center of the fuel cap. Measure .300 out from the mark on the center of your fuel cell to get your drill points. Mark those points with a marker and drill them out with a body reamer.
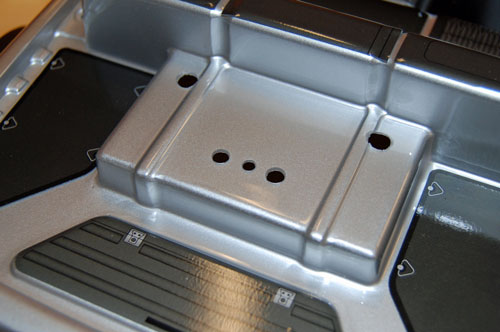
Take your time when drilling / reaming the holes. Make sure you test fit the fuel cap assembly as you go. Once everything fits properly, you can move on to the next step.
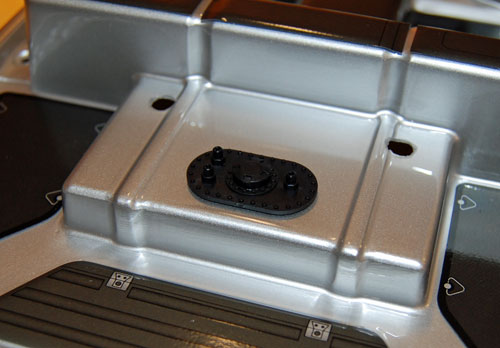
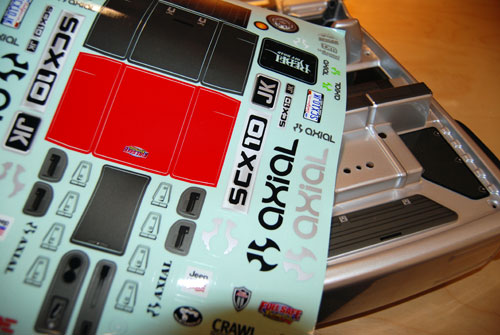
Before we bolt the cap assembly into place, I will add the officially licensed Fuel Safe fuel cell sticker included in the RTR box.
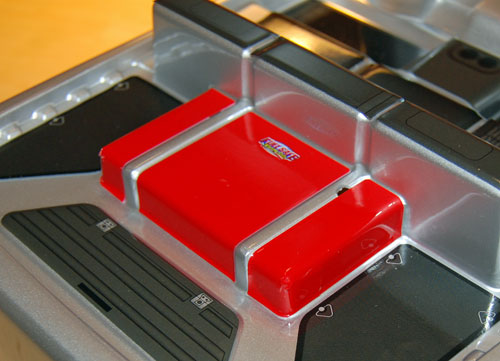
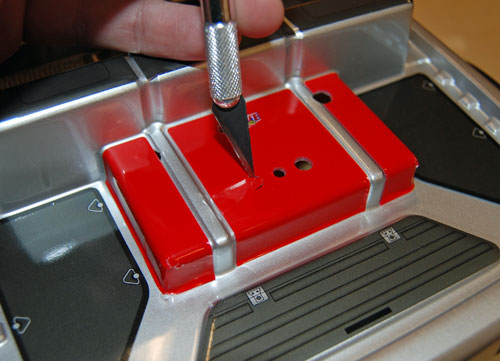
Using an X-acto gently trim away the small pieces of the fuel cell sticker covering the body mounting, and fuel cap mounting holes.
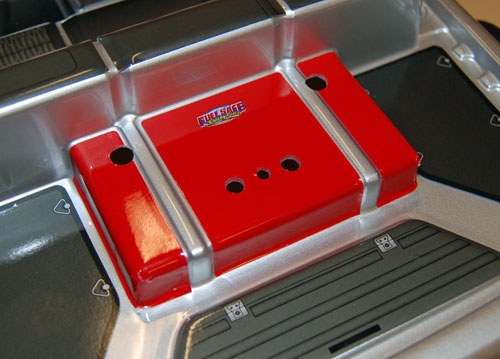
Insert the fuel cap assembly into place on the fuel cell and secure with a short M3 screw. I used a shorty plastic self tapping screw to tie the cap to the tank. If you don't have a really short screw, you can use something longer if you have a spacers to take up the extra slack. The screw I found was slightly longer than needed, so I used an old SCX10 shock piston as a spacer.
All done!
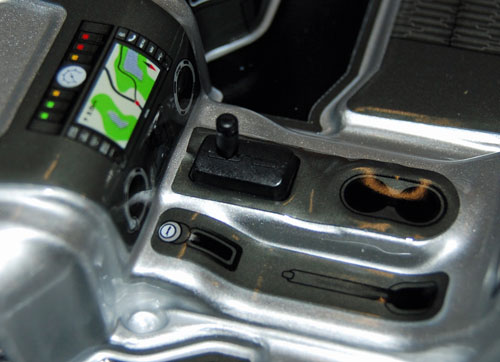
Next we will add a few more interior details, with decals that are supplied with the RTR. Remove the molded plastic gear shifter located between the front seats.
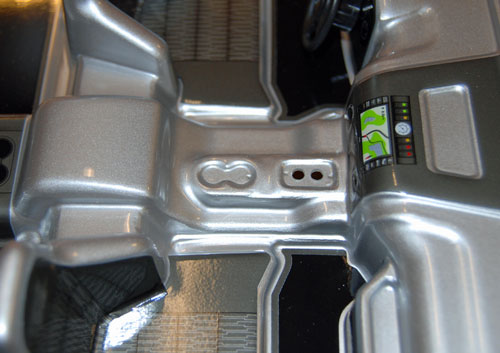
Located the interior decals on the sticker sheet.
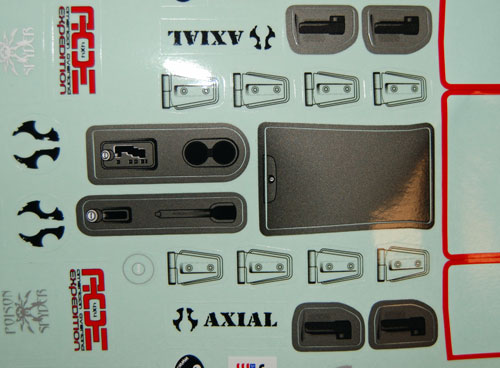
Apply the decals to the center console and arm rest.
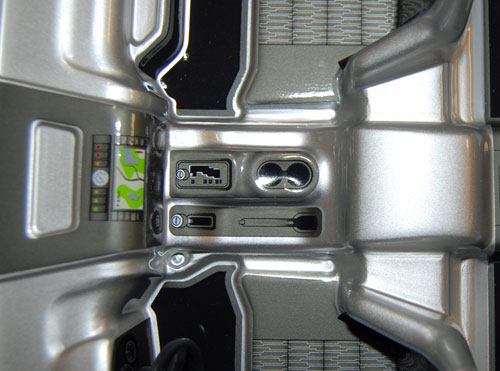
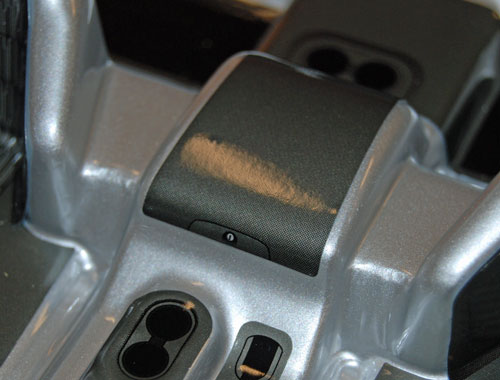
Use an X-acto to cut the mounting holes for the shifter.
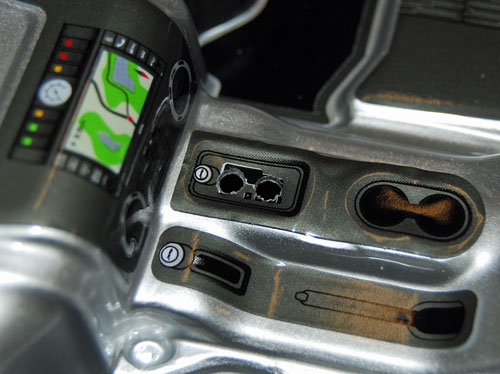
Bolt the shifter back in place.
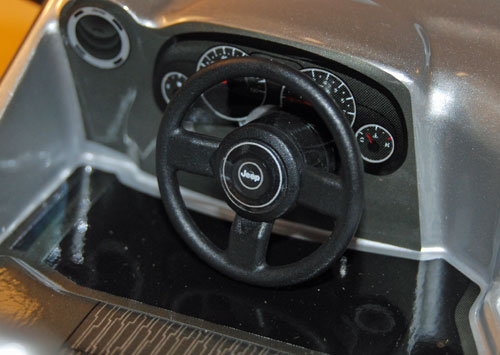
The sticker sheet even includes a Jeep decal for the center of the steering wheel.
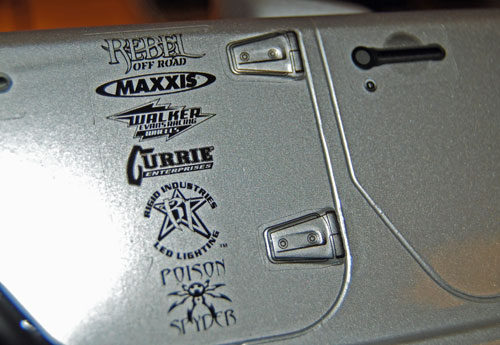
Last thing we will add is the exterior hinge stickers for the doors and the rear tailgate.
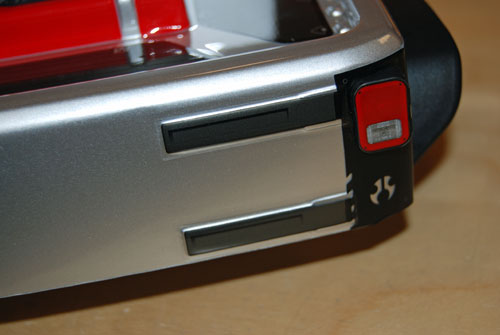
Now we can bolt the roll cage back onto the body.
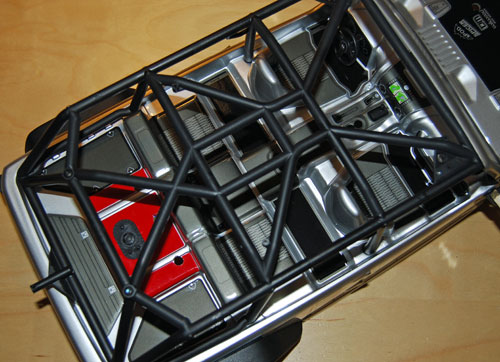
Close-up shots of added details.
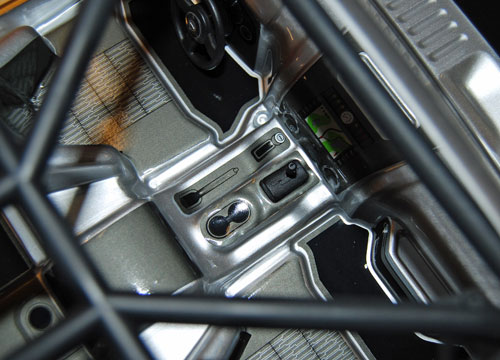
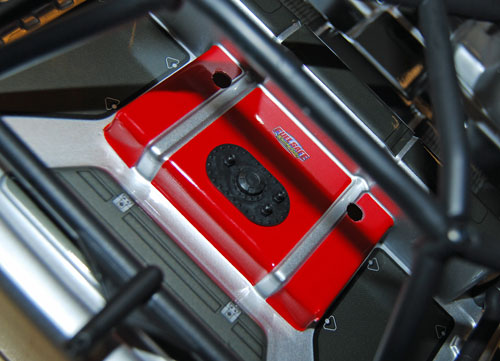
Stay tuned for more......