Posted: 10/5/16

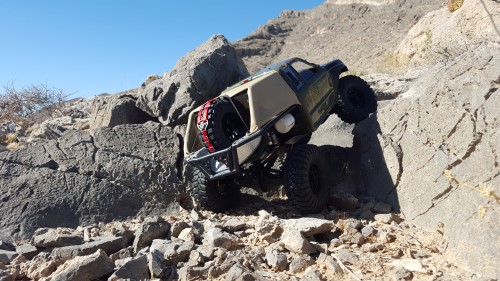
The last time you saw this Honcho RTR, it had some noticeable changes to the exterior. If you missed the first part of this blog, you can check it out here. If you added those details on your vehicle, hopefully yours now stands apart from the rest. Now its time to add an interior and a few other details to complete the look.

This was my Axial Dingo I ran for a while, I keep some of my old bodies for this exact reason. What reason you ask? Well, myself and I'm sure hundreds of others do this.
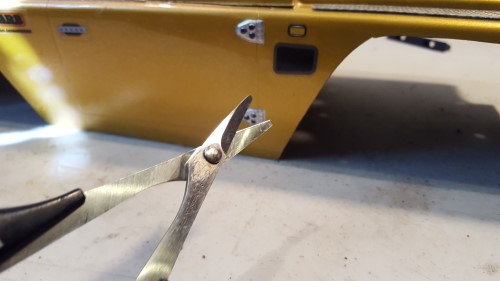
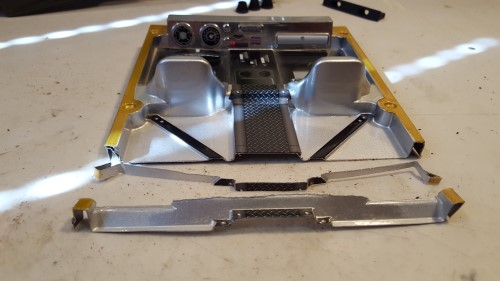
Some of our RC bodies go under the knife, well body scissors actually. One of the coolest things about Axial bodies is that they have an interior that can easily be put into another body.
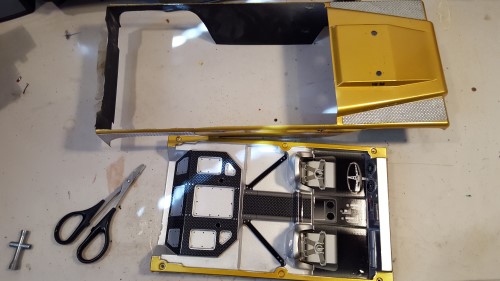

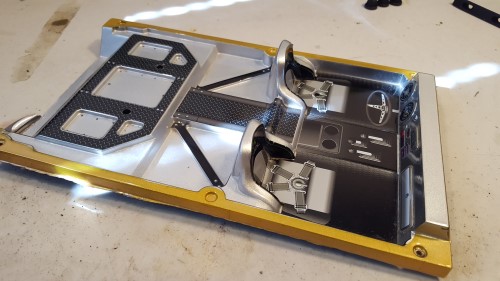
This Axial Dingo is the donor for the Honcho RTR project. This is where you can really get creative. You have almost limitless options, I am just going to show you a basic way to get started. You can paint this to match or make it custom. I would suggest painting it with a matte or satin, doing this helps sell the overall look in my opinion. The silver works for this project so I am not going to paint it.

Obviously you will need to make it fit. My starting point is always the dash, as most people will notice the dash before they notice the extra cab.
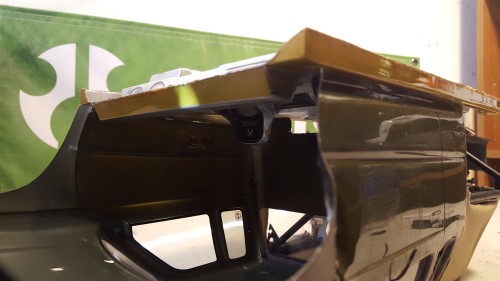
I always trim the interior to be bigger at first, then I'll start fine tuning it on the fitment.
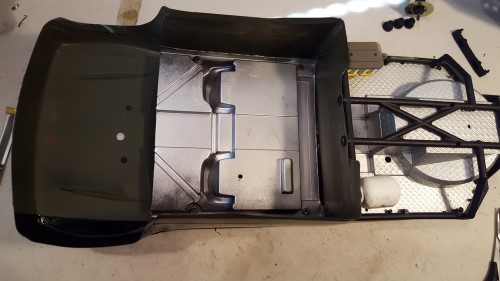
These interiors always seem to fit so well, like I said, myself and others have been doing this for years. If you're not a scratch building styrene expert yet, I wouldn't worry too much. You can still be scale on the trail with this. Don't go right to installing it just yet, this is where you get to be creative.
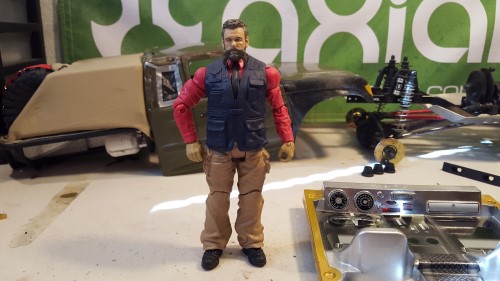
I am going to add a driver. There are a number of places you can get a driver. Expect to pay $10 to $30 dollars, possibly more if you want a seriously scale action figure. Things to know: some guys will skip this all together because they want a serious performance crawling RC. This is definitely a scale feature, but that's what this project is about. Doing this will affect your COG (Center Of Gravity), and that's why some do not do this. I however like the look and drive scale, so you are not likely to see me climbing a 3 foot vertical rock anytime soon. I drove competitively back in the 2.2 comp days and now I find more fun in this style. To each their own and do what you enjoy because this hobby should always be fun.

After you have spent your hard earned paycheck or allowance, break out the dremel and cut your new driver in half. You can also use a saw for this. There is not really a wrong way to do this, just keep test fitting him so he fits in the interior while inside the truck.
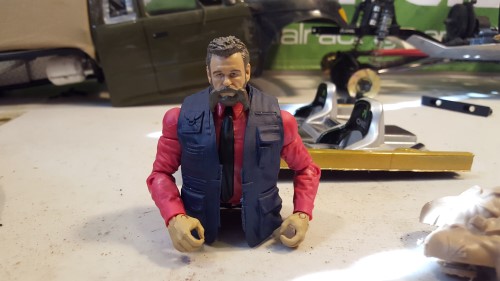
Here is my driver cut in half. Notice how much shorter he is in the picture below, so you may have to do some more trimming.

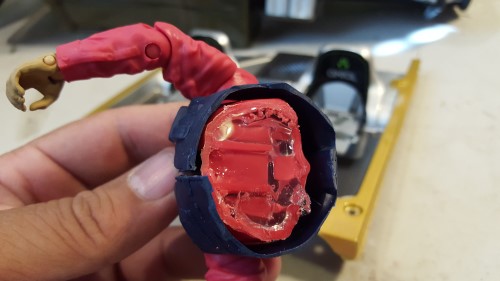
Smear some trusty shoe goo on it (or whatever you like to use) and install your new driver.

I always like to add the steering wheel, so it has that scale appearance. It's nice to have a few AXIAL AX80037 parts trees on hand; they have some cool extras on there like a choice of steering wheels, rifles, and mirrors. You can add anything you can think of, shifters, CB radio, GPS units etc.
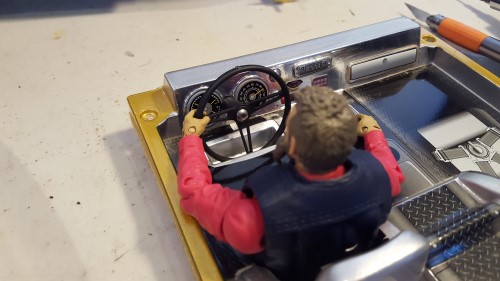
I add some Shoe Goo on the dash and use the screws for middle of the Honcho cage pictured below to support the rear of interior.
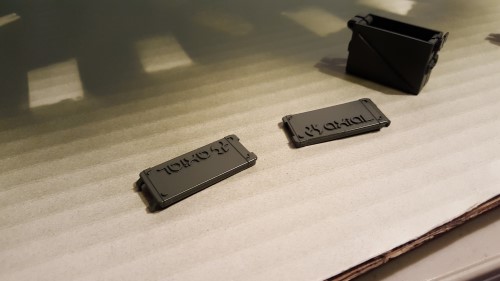
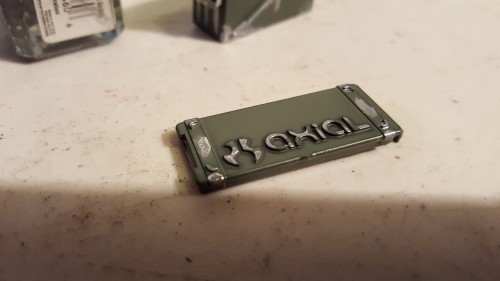
Another cool Axial parts tree to check out is this one, AX31186. This parts tree has some Axial Ammo Cans. Who doesn't want a scale Ammo Can? If you want to learn more about all the cool stuff you can find on Axial parts trees, check out this blog: Cool Bonus Accessories on Axial Parts Trees
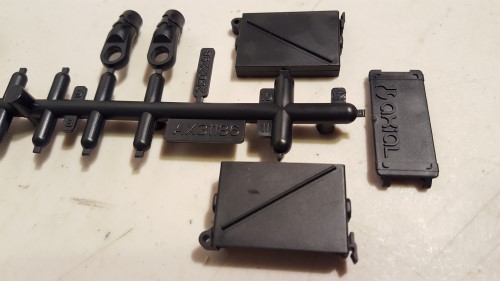
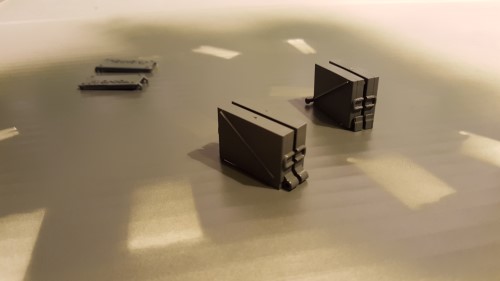
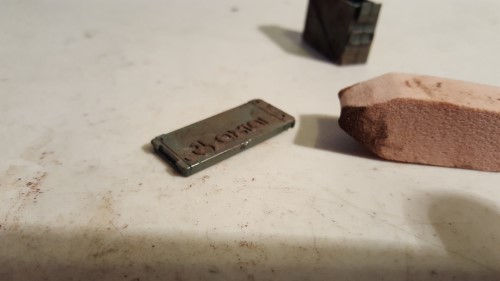
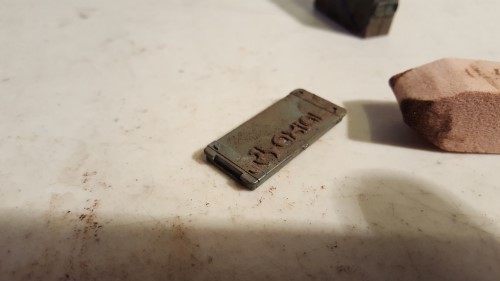
Here are the 3 pieces to Axial Ammo Cans, and on the other end you can find these Long Horns.


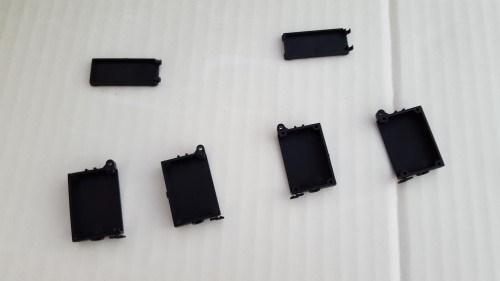
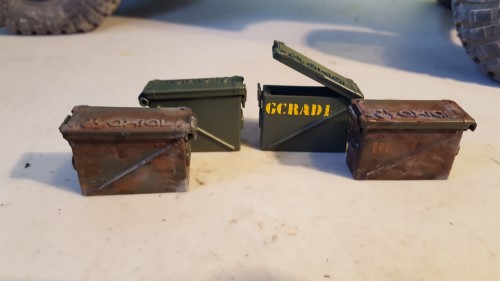
I am going to make 2 Ammo Cans to go on the bed of the Honcho RTR.
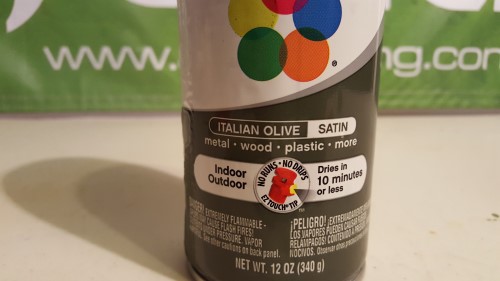
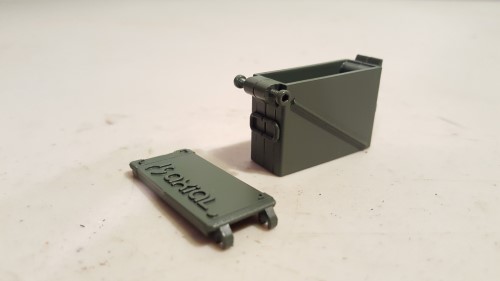
I am going use this quick drying paint. It is Italian Olive with a satin finish. I couldn't find it in a matte finish or I would have used it.
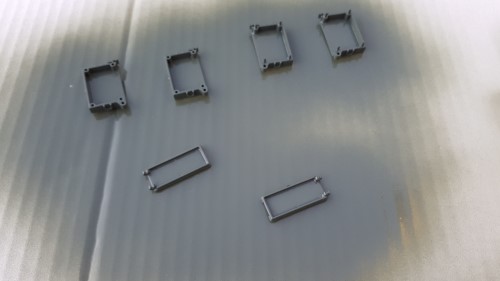
I am shooting it in pieces so I get a good coat of paint on the inside too. Once I get on a few good layers and it dries, I will partially assemble it.
I'll do a few more layers while its partially assembled. Then I add the screws I am using and partially screw them in.


I partially screwed them in so I could hit them with some paint. Most Ammo Cans are all one color of military green. Don't forget to paint the lid, top and bottom as well.
The picture below is my end product, well sort of.

Now I am going to use the PanPastel Weathering Kit. Used mostly on models and dioramas, it will also work perfectly for this project. You can also use paint, but this will be much easier.
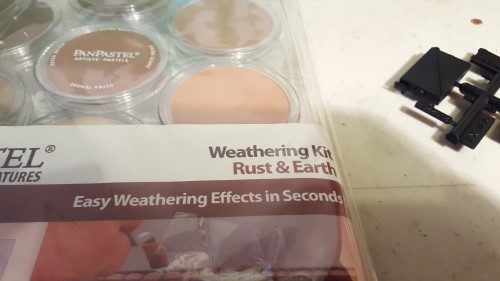
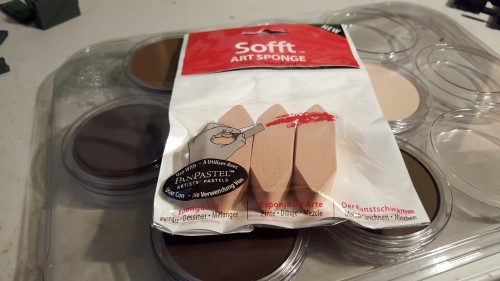
I am using the PanPastel art sponges to apply my weathering. This is a kit that has everything available. So let me show you how it works. Here is one pallet of colors pictured below and there are several different pallets of color available.

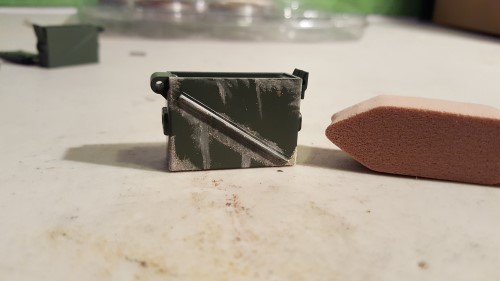
I am going to start with the white, imagine how rusted items look, if they are worn they tend to go to the metal, so that's where I will start.

Next I am going to go to a darker color. When doing rust like this, layers works best. Don't be afraid or intimidated, you may surprise yourself.
I'll actually use lighter browns over the dark I have applied. You can see the results so far.

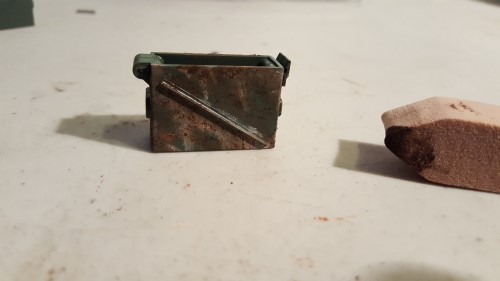
Next I will do the lid. Use the same technique with layers.
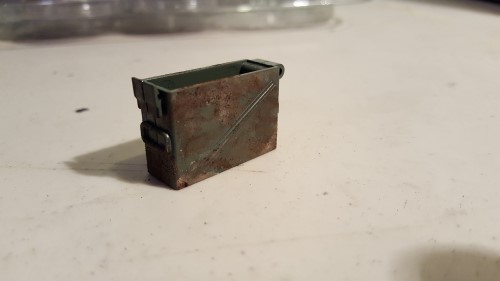
Once you have what you think resembles rust, you are done. I am calling it good with this look. Results are pictured below.


I'll do another one using paint. I am using the military paints in matte finish from a local Hobby store.
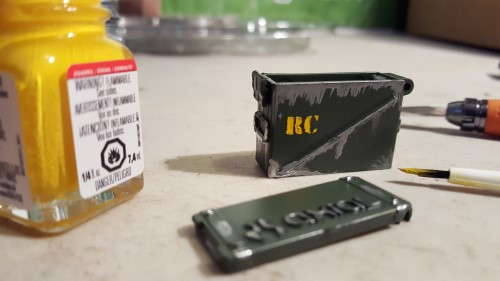
Just this bit of flat yellow helps add to the look as well. I am doing a new looking can as well. Here are the ammo cans I did pictured below. A new look, a military look, a rusted can with PanPastel, and a rusted can with modeling paints. The paint colors are brown, light brown, rust and silver. I also diluted the browns with paint thinner so its transparent. Expect a lot of wait time on paints drying, a day is optimal, especially using thinner.
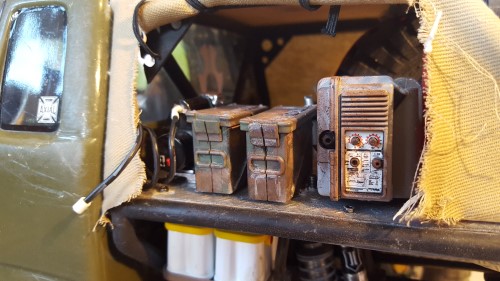
Here are the ammo cans on the RTR Honcho project. Not done yet though, I'm am going to add another small detail while I have the paints out.
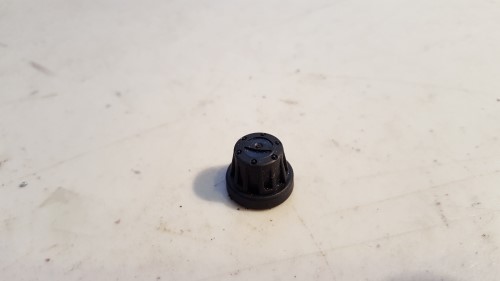
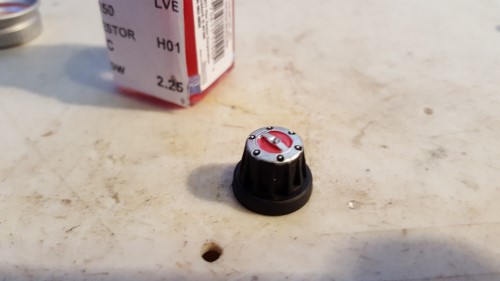
I am going to use the stock Axial wheel caps, these work with quite a few wheels.
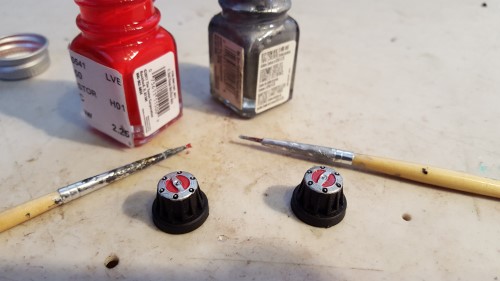
Here I am using model paints in silver and red. You can make some scale hubs for under $10.
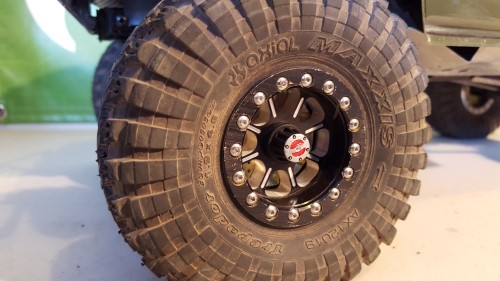
Paints are still out, so I'm also going to hit the rear with a few dots of silver on the bolts. Pretty good look if you ask me. Yes there are aluminum hubs out there available. I even have some, but I love to see people create and use their imagination.

Hopefully you found this inspiring and got some ideas of things you may want to do on your scale rig. One of the best parts of the hobby is making it your own, the other part to that, is for all of us to see it.
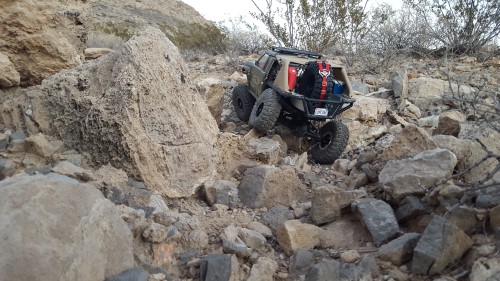
Maybe I will get to see your scale rig out on a trail. If not make sure you share your pics and builds on Axial's Facebook. I am always a fan, so I'll be surfing the page for your cool builds. Thanks for checking out the RTR Project and scale on!