Posted: 7/23/12
It's time for Part 2 of our Ridgecrest crawler build. For those that missed Stage 1, here is a link to that article in order to bring you up to speed.Stage 1 Ridgecrest crawler build
Out of the box the Ridgecrest is meant to be more of a basher, rather then a full on crawler. So, for Stage 2 of this build we will cover more tips, and option parts, to improve upon its crawling capabilities.
First thing we will work on for this installment is the steering. Out of the box the Ridgecrest comes equipped with a plastic servo horn, which works fine with the stock steering links. But, I want piece of mind when out crawling and don't like making repairs in the field. So, I am going to install an aluminum servo horn, and upgrade the plastic ball studs to steel for a little smoother steering action. Some may think that upgrading the plastic steering links at this time is a more worthy modification. But, I actually like a little flex in my steering set-up on my crawlers. Some of you may recall I ran Delrin steering links on my competition crawler for years with good success. It's really personal preference at this point.
Start by removing both front tires.
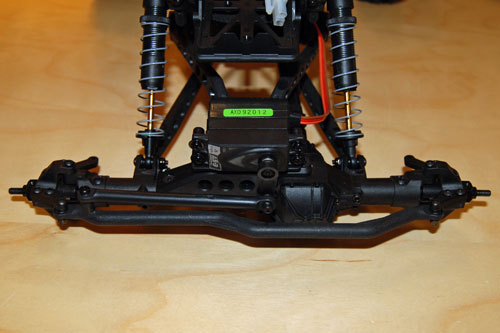
Use a 2mm driver and remove the button head screw from the servo output.
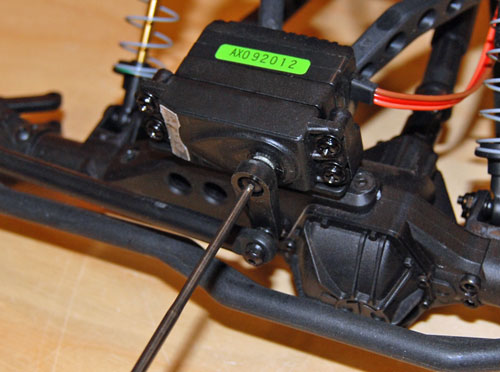
After removing the screw, slide the servo horn off the splines.
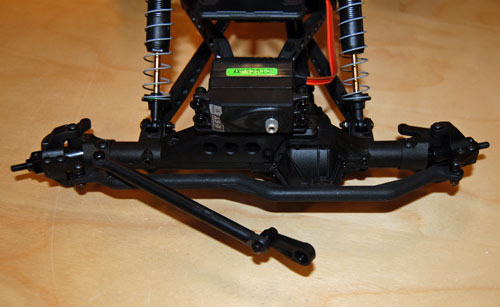
Now remove the plastic servo horn from the steering drag link.
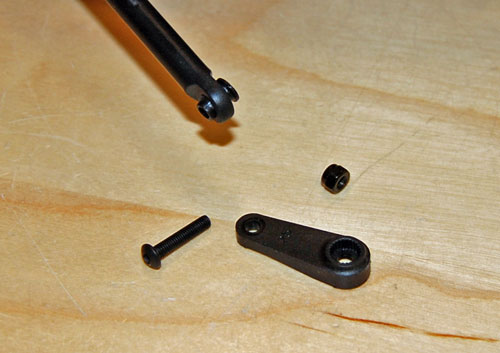
Using a pair of wire cutters remove the plastic ball stud from the steering drag link.
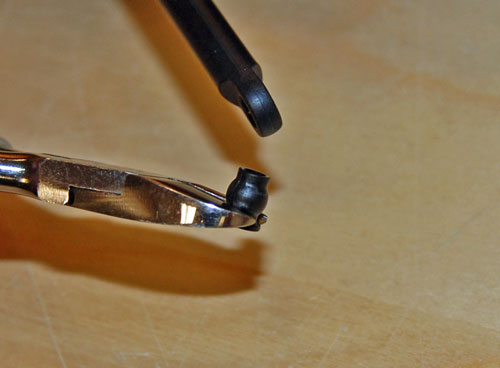
Now we will replace the plastic ball stud with a steel stud.
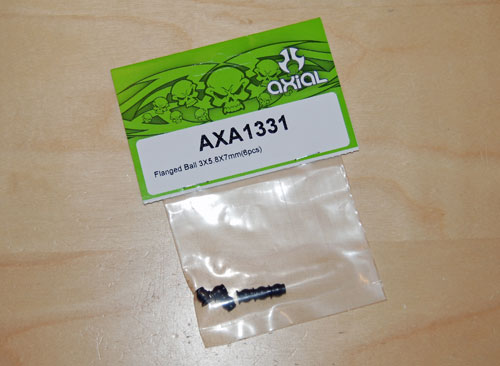
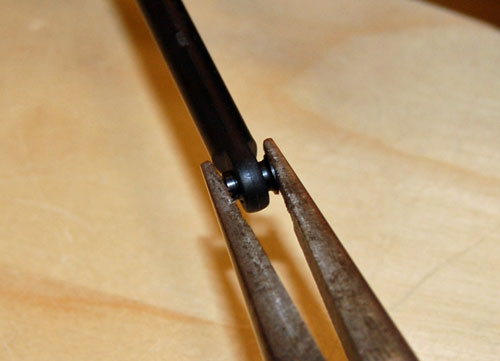
Use a pair of pliers to pop the new steel stud into place.
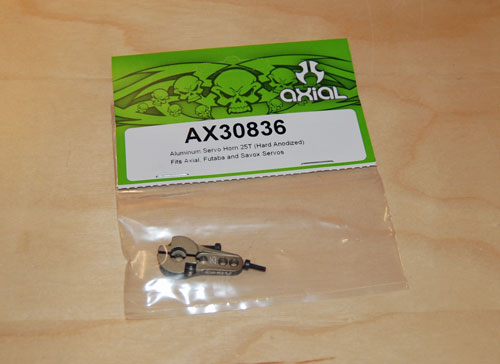
The new replacement servo horn. There are a few different spline counts for the various servos that are available on the market. For RTR Axial vehicles you will need a 25 spline servo horn, which is compatible with Futaba and Savox servos as well.
Install the servo horn onto the drag link.
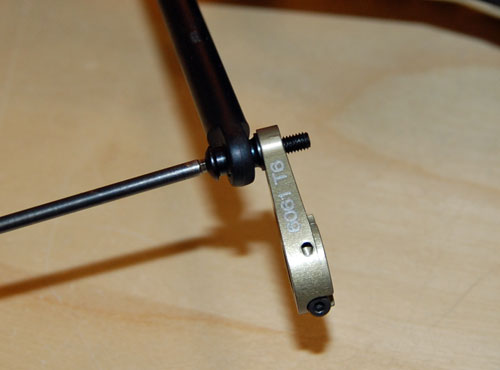
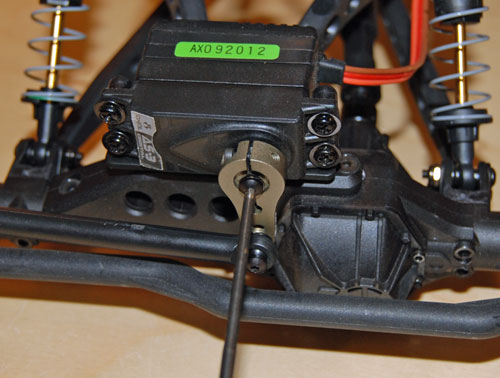
Now slide the servo horn into place on the servo output. Make sure your servo is centered before tightening everything up. Reinstall the button head screw to hold the new servo horn in place.
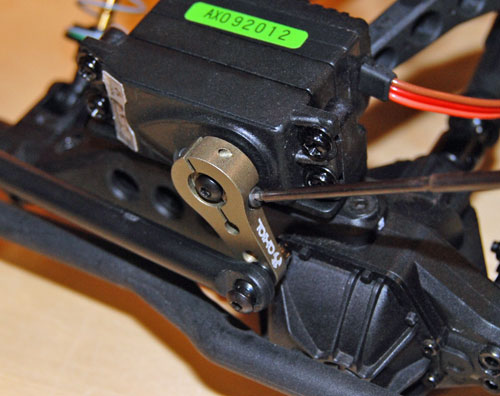
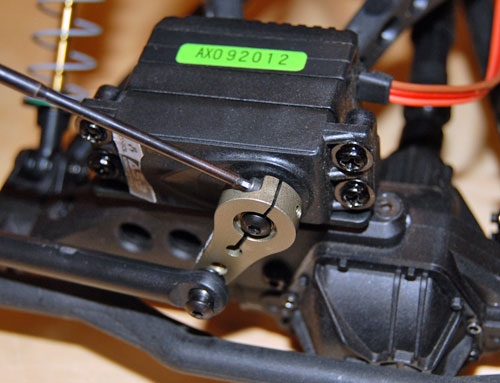
These new servo horns have small screws on each side of the head. When these screws are tightened down the servo horn actually clamps onto the servo's output splines like a piranha. A must have for harsh conditions. Use a 1.5mm driver and gently tighten up both screws evenly.
Next we will pop a new steel stud into place at the opposite end of the drag link. Remove the self tapping screw that ties the drag link to the tie rod.
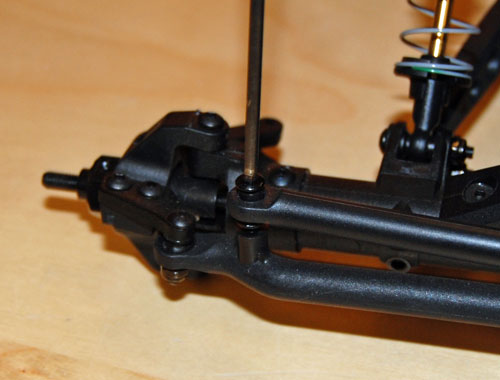
Pop the old stud out and replace with a steel ball stud.
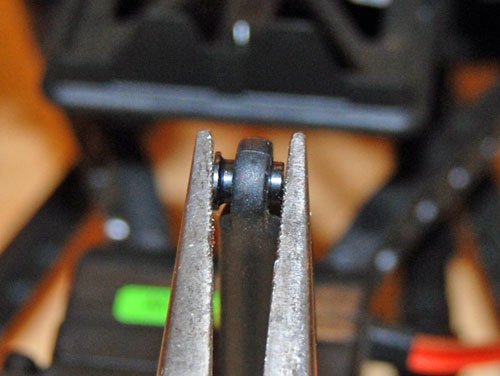
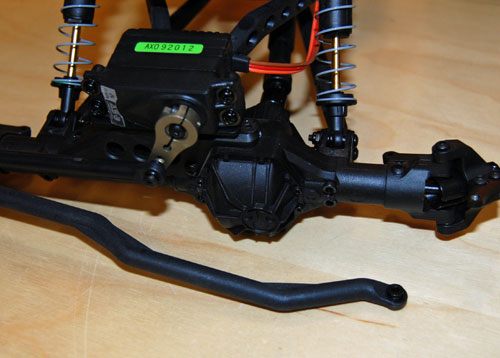
Now remove the tie rod from the steering knuckles and replace the plastic ball studs there too.
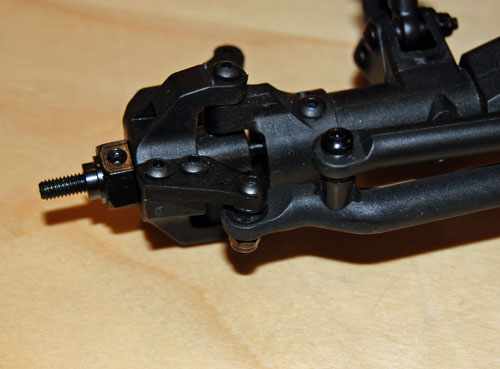
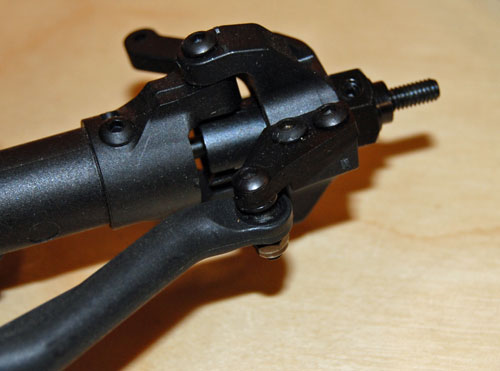
After replacing the ball studs I left one end of the tie rod off the knuckle to access the differential cover. This is for my next modification.
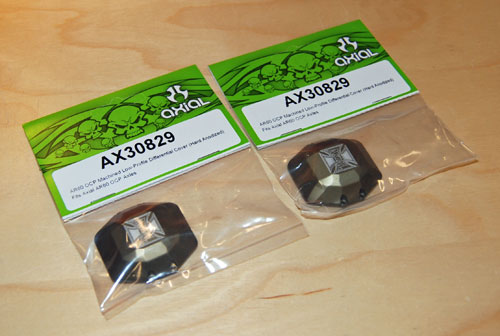
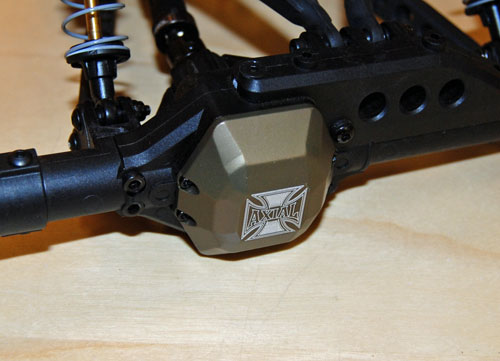
Next we will install Axial's HD diff covers to add some style, and even more beef, to those AR60 axles.
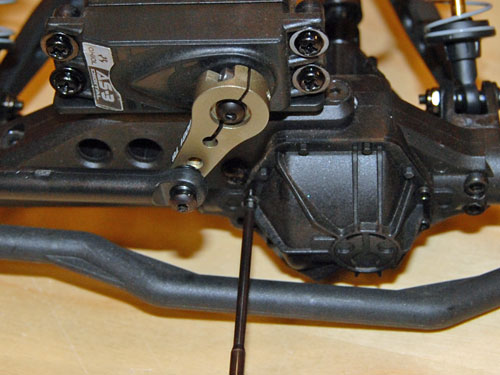
Use a 1.5mm driver and remove the 4 screws on each side of the stock plastic diff cover.
Remove the cover.
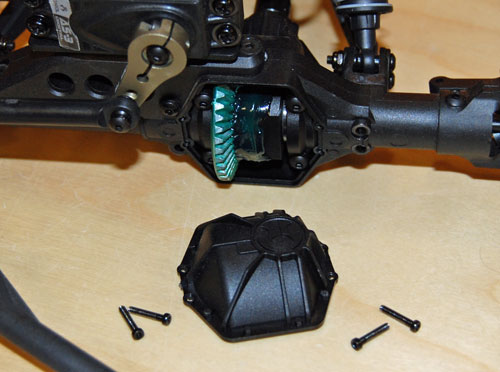
Insert the new diff cover and re-install the diff cover screws. Re-attach the steering tie rod to the knuckle when finished.
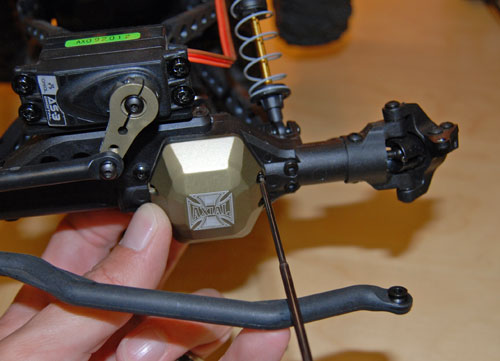
Now swap the rear cover out.
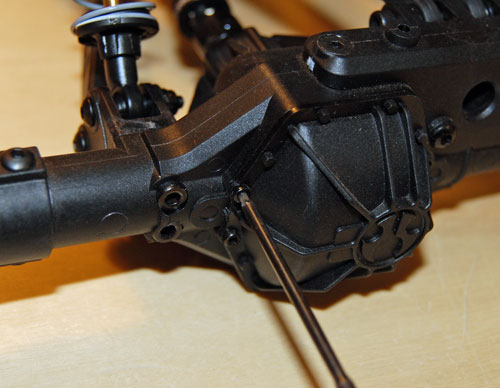
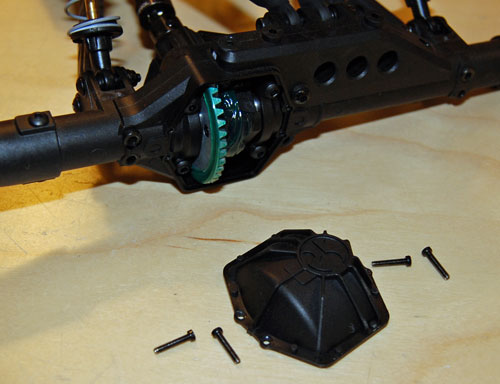
Styling!
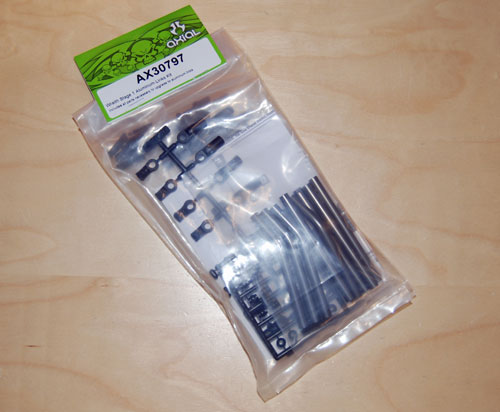
Next I am going to swap the stock plastic suspension links out for aluminum using our Wraith Stage 1 links kit.
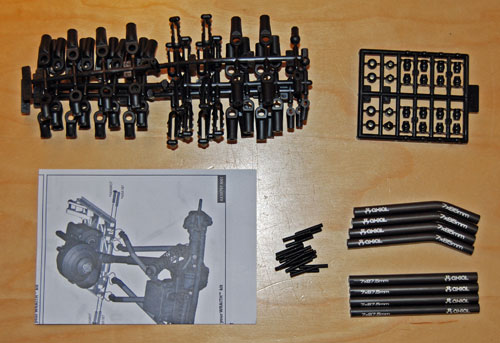
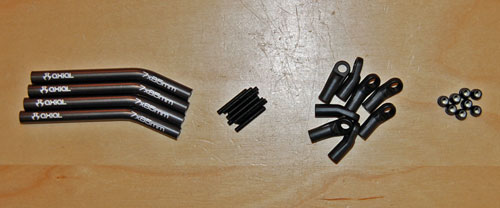
Contents of the links pack laid out.
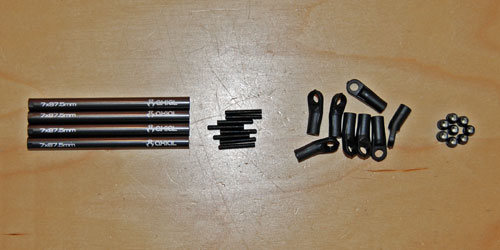
Start by assembling the 4 lower links.
Using a 1.5mm driver screw the threaded studs into the rod ends.
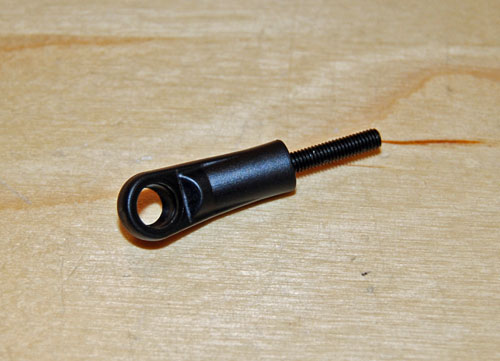
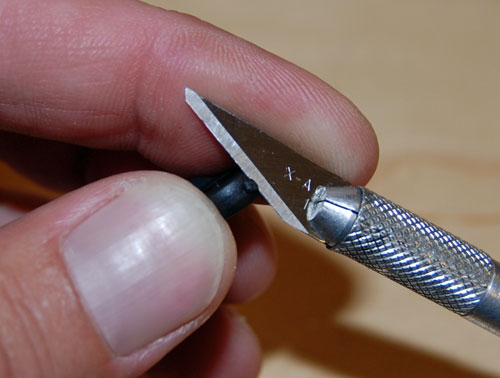
Make sure to trim any excess flashing away with an X-acto knife. This has no performance gain, it just makes for a cleaner install.
Once you have the threaded studs installed, assemble the lower links. Make sure the rod ends as facing opposite ways as shown in this photo. Pops the ball studs into place last.
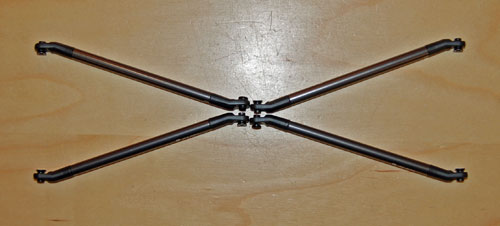
Now move on to the upper links.
Repeat the same steps for the upper links. All 4 upper links assembled. Again make sure the rod ends are facing opposite each other.
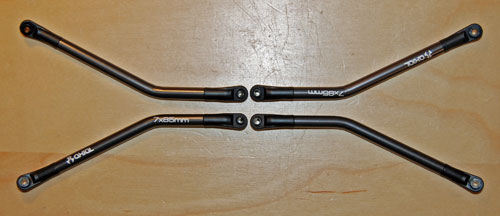
Remove the lower links and swap them out for the new aluminum lowers.
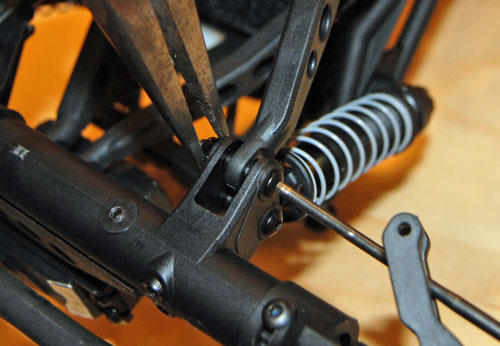
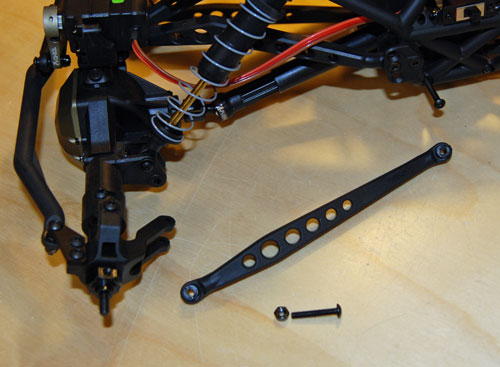
Now swap the upper links out as well. Pay attention to the orientation of the upper links during assembly so all four are installed the same way.
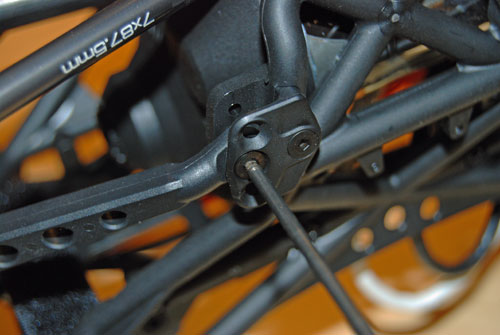
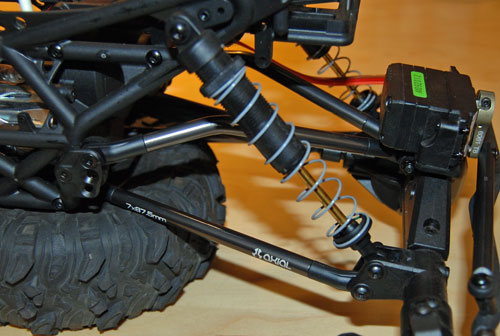
Here you can see the front after completing the conversion to aluminum links. The aluminum will eliminate any link flex in hard binds, which makes for a more predictable vehicle.
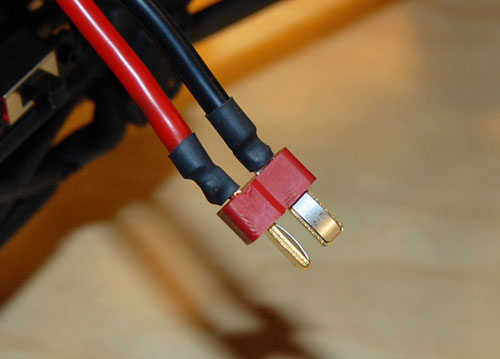
Another mod I want to make for this Stage 2 build is the jump from Tamiya battery connectors to Dean's Ultra Plugs. I plan on running small lipo packs in this build from here on out, and all my small packs have Dean's plugs. So, the Tamiya plug had to go.
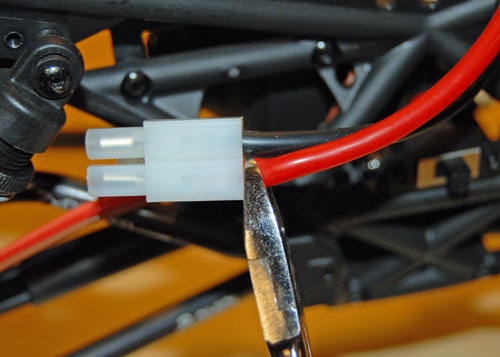
Snip, Snip!!
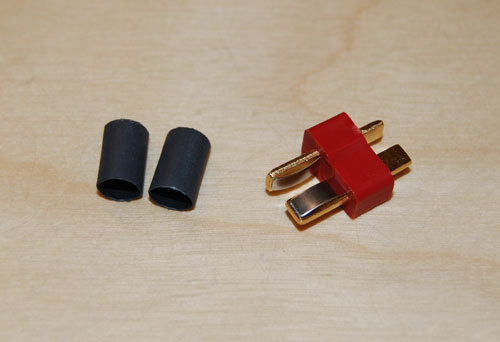
First thing I do after cutting the old plug off is to slide the heat shrink tubing for the Ultra Plug into place. Nothing is worse then installing new battery connectors and putting your soldering iron away, only to realize you forgot the slide the heat shrink on first. Doh!!
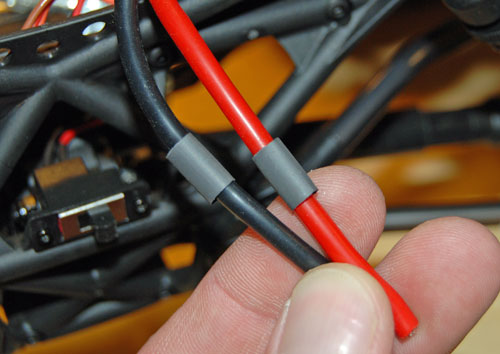
Strip a little of the wire's insulation off the ends to be soldered, and twist the ends of the wire to prevent fraying.
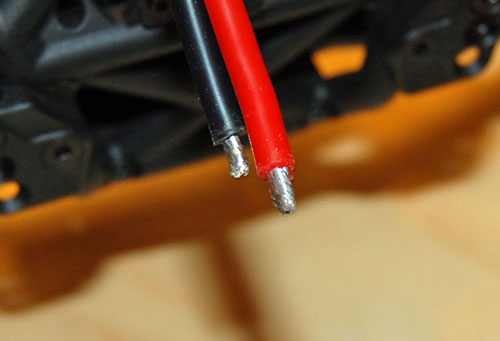
Using your soldering iron, tin the ends of the wires a little with solder. Do the same to the tabs on the Dean's plug as well.
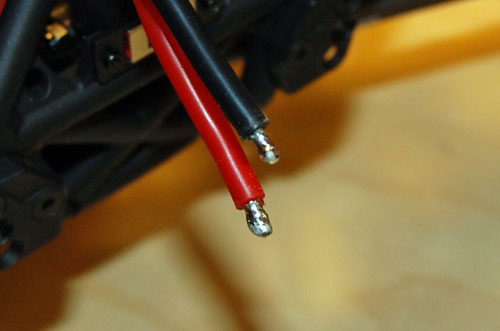
Solder the new connector into place, make sure to double check the polarity is correct before plugging a battery in. Now slide the heat shrink tubing down over the terminals and heat them up with a lighter to seat/shrink them.
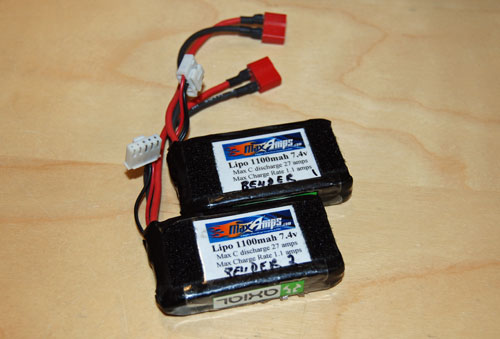
Here you can see I have a few older small 2S lipo packs that I will be using for this stage of this build.
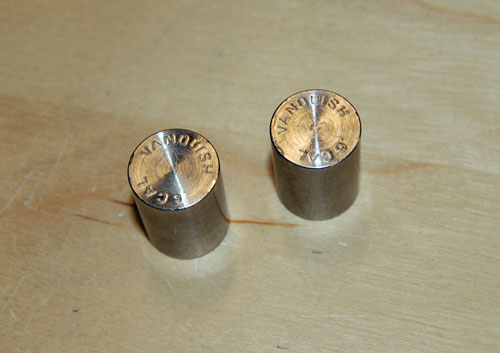
Next modification I made was the jump to XR10 beadlock wheels and our sticky R35 compound Ripsaw tires. The difference in traction between these tires and the stock tires is unreal. I couldn't scrape up a new set for this build so I borrowed my old set off the Project Backyard Basher Ridgecrest build. I also added some weight to the front wheels. This helps keep the front tires planted on steep climbs.
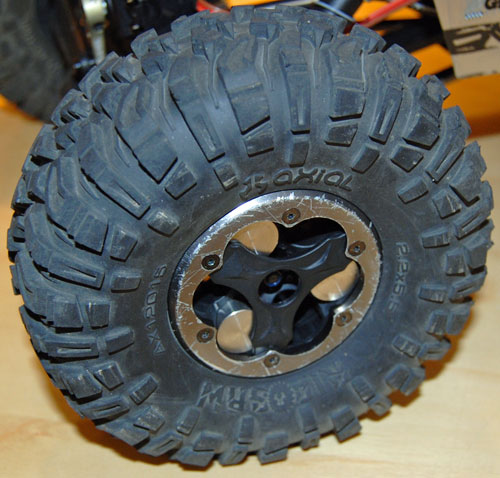
The Vanquish wheel weights slide right into the stock XR10 wheels.
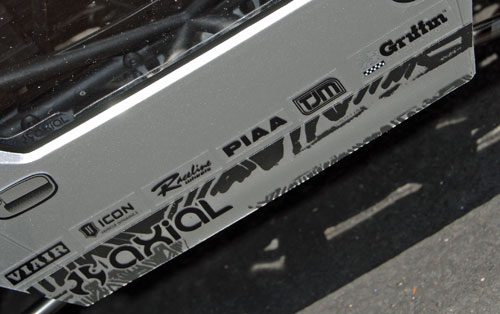
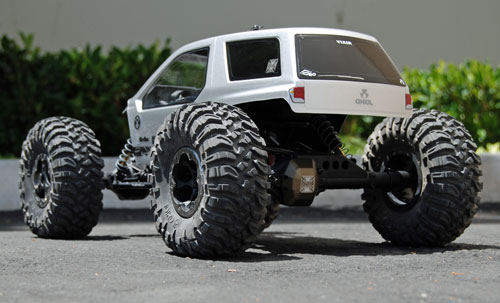
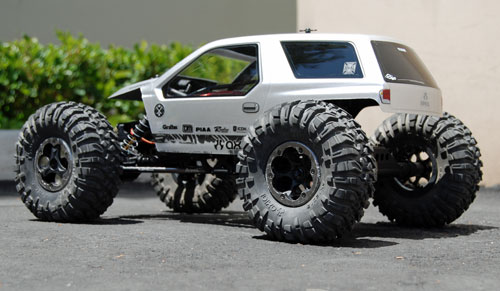
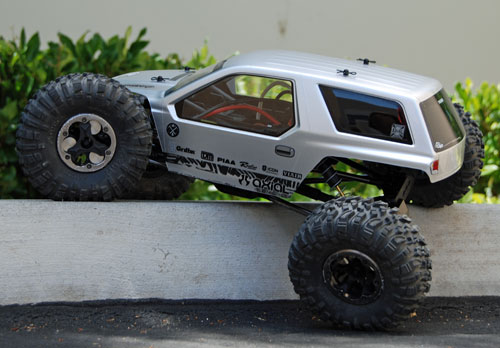
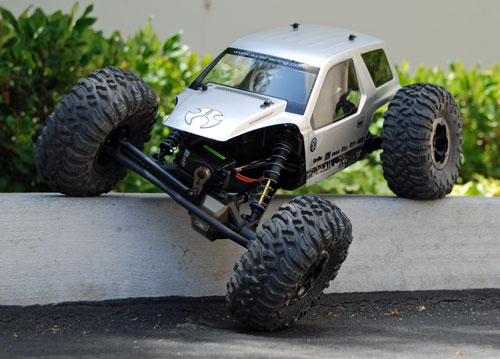
Last modification for this round was a fresh new Ridgecrest body. I kept the paint job simple to show off the body lines a little better. A few shots of this build in it's current state.
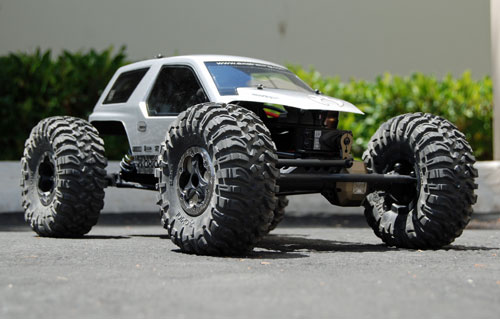
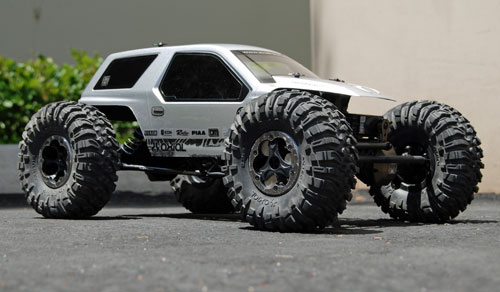
That takes care of Stage 2. I will try to shoot some video of this build as it sits now, before I move on to Stage 3. Stay tuned!!
Link - Stage One Ridgecrest Build
Link - Stage Three Ridgecrest Build
The video is up!!