Posted: 7/11/12
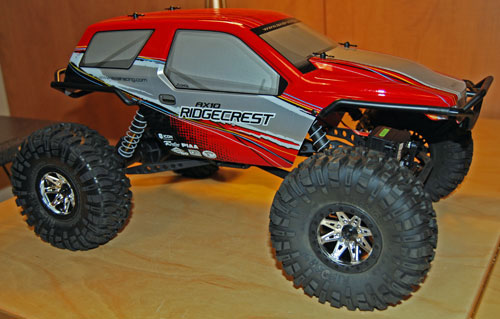
As some of you may have seen I recently built up a new Axial Ridgecrest dubbed "Project Backyard Basher". It was built for all around bashing, trail running and a little light duty crawling without adhering to any rules or specifications. I have been having a lot of fun with it in it's current state. But, I also wanted to build another one up for entry level competitions. These competitions require your rig to fit certain criteria, like having a maximum wheelbase of 12 1/2" for the 2.2 comp class. I wanted to do this build in a few different stages starting with some very basic mods and eventually evolve that into a hardcore crawler, with durability in mind. While the Ridgecrest is pretty stout right out of the box, I want to take it even further with vital option parts in key areas. Those modifications will come later though. For now, I want to see how capable I make this rig just spending a little time at the workbench. So, let's get started!The new Ridgecrest that was recently liberated from it's box.
First thing I wanted to do was get as much weight over the front axle as possible. To do that I swapped the battery tray and electronics tray around so the battery will be in front. Start be removing the four screws that hold the battery tray in place.
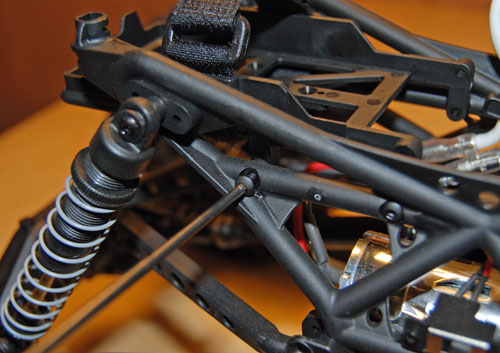
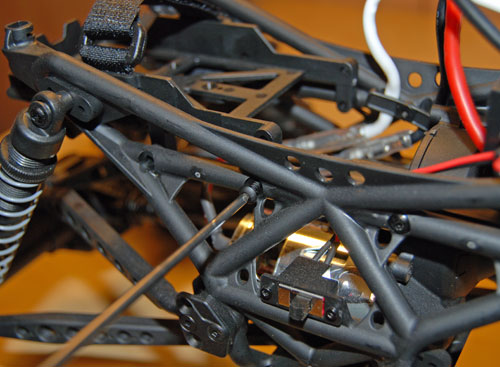
Once all four screws have been removed, pull the battery tray out of the chassis.
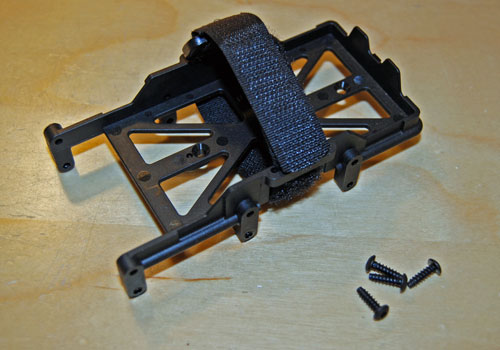
A shot of the chassis after removing the battery tray.
Next we will have to remove the electronics tray. Start by unscrewing the top cap on the radio box.
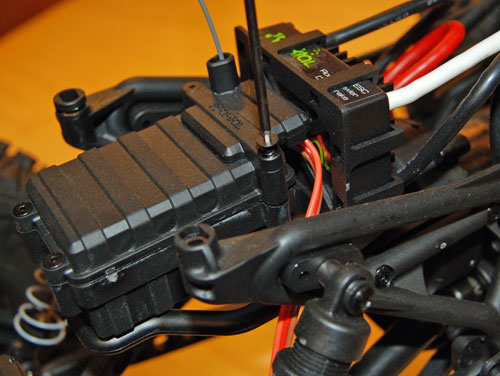
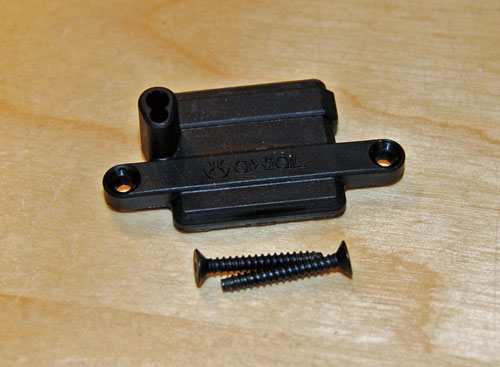
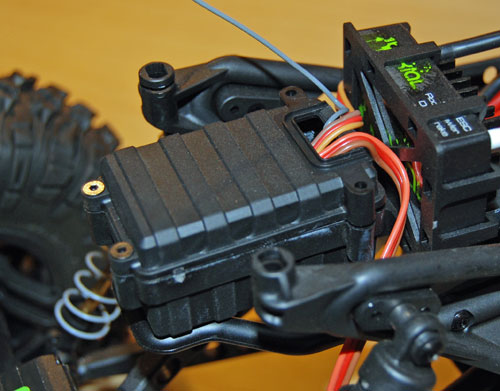
Now remove the last two screws that hold the top half of the radio box in place.
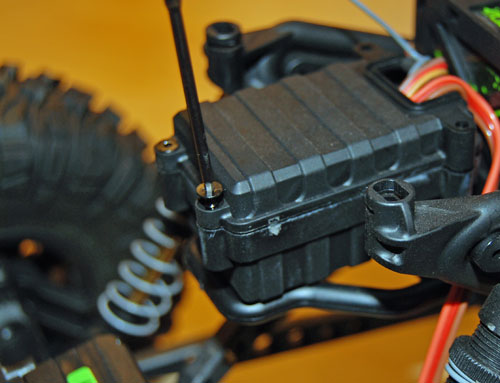
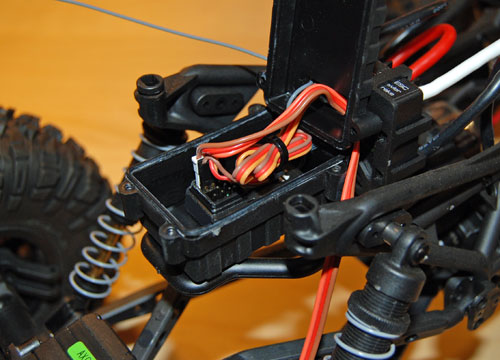
Flip the top half of the radio box up and unplug the ESC and servo. It is important to pay attention when you unplug everything so you know how it goes back together.
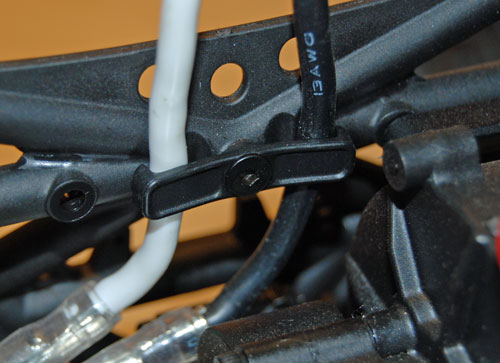
Remove the wire routing tab from the motor wires.
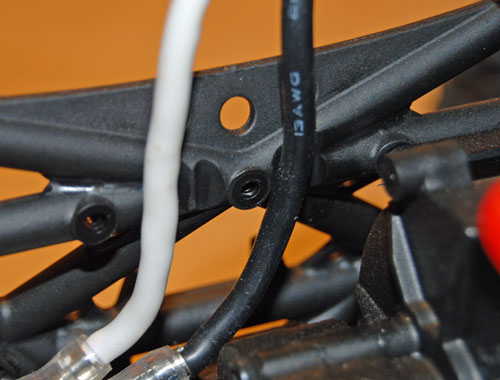
Unplug the motor wires.
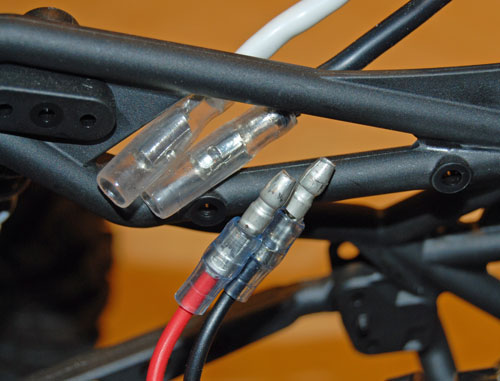
Then remove the wire routing tab for the on/off switch.
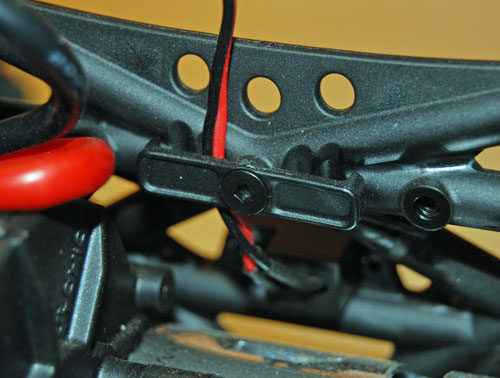
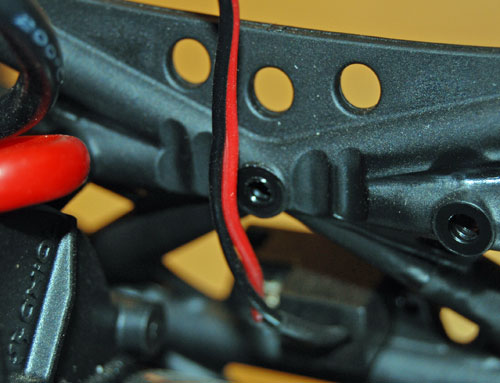
Remove the power switch.
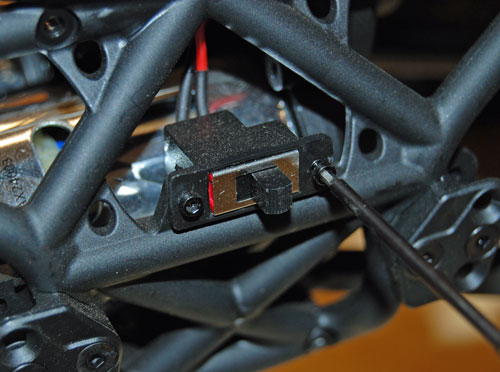
Then remove the 4 screws holding the electronics tray in place, and remove the electronics tray.
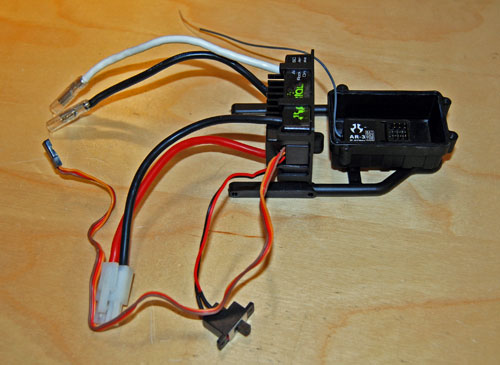
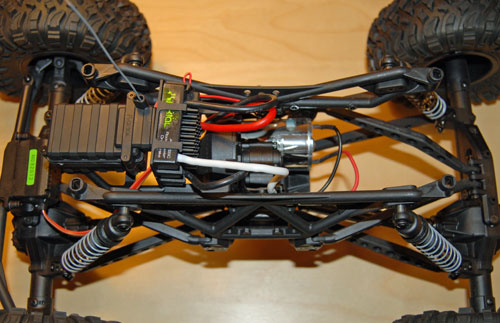
An overall shot of the chassis with both trays removed.
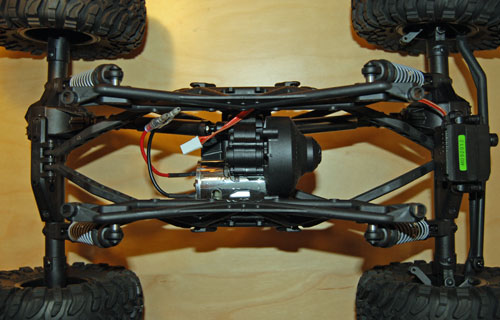
Time to re-assemble. Start with the battery tray and bolt it into place out front where the electronics tray was located.
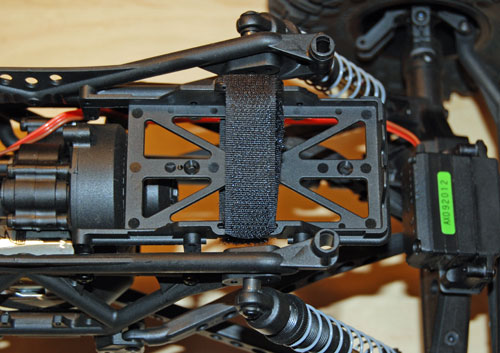
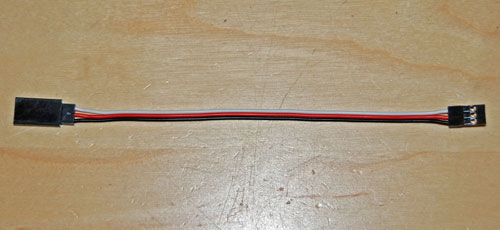
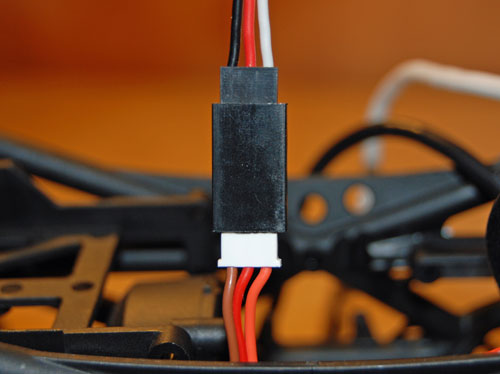
Re-install the electronics tray next. You will notice the servo wire lead is probably too short to plug back into the receiver now. No big deal, you will just need to spend a few bucks for a servo extension wire. This is basically an extension cord for your servo wire. Plug the servo lead into the female end of the extension, plug the other end into your receiver and you are ready to go. Notice I have already plugged everything back into it's required place. Route the antenna wire out the top half of the radio box, and run the servo and ESC wires in from the top.
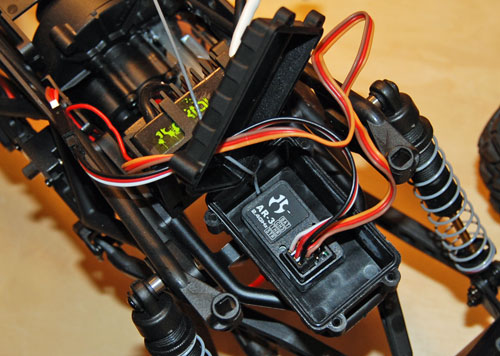
Here's a shot of the servo extension I used.
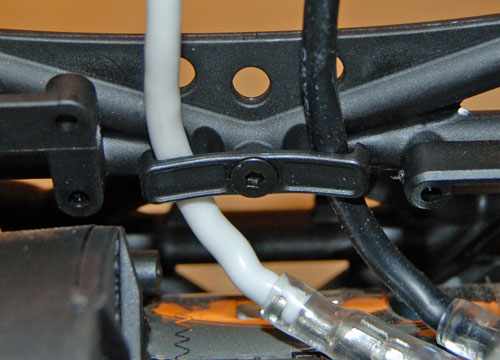
I also moved the power switch to the opposite side of the chassis from the stock location, just to keep wires neatly routed along the chassis plates. Use the wire routing tab for the on/off switch and the steering servo wire.
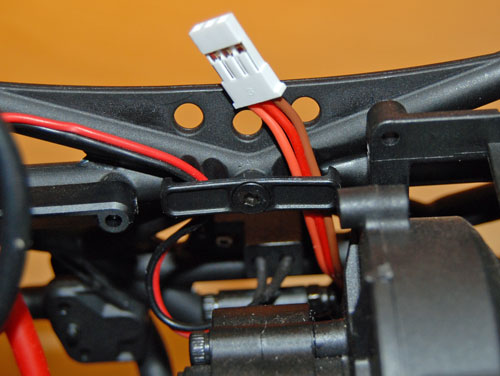
The servo extension plugged into the steering servo.
Now install the first two screws that hold the top half of the radio box. Make sure your wires are neatly tucked in and clear of being pinched between the two halves of the box.
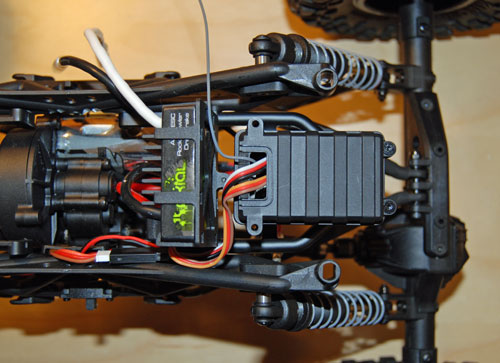
Grab the top cap for the radio box and route the antenna wire through the cap from the bottom.
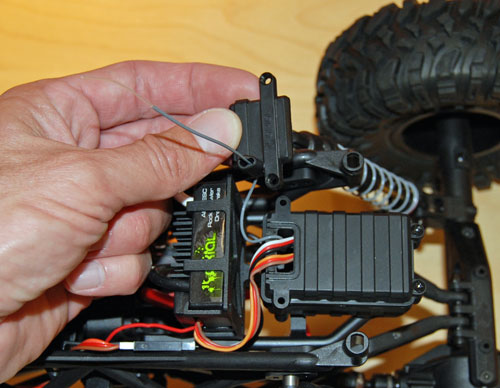
Secure the top cap with the last two screws.
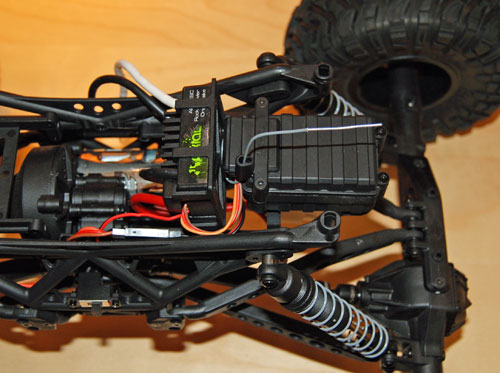
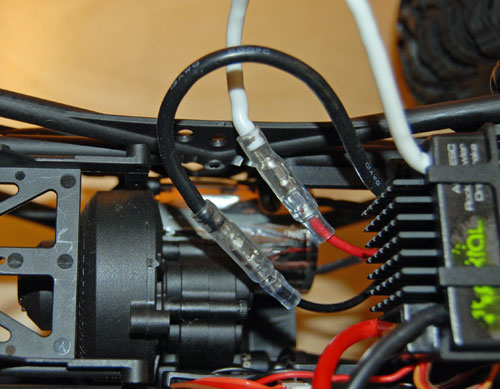
Plug the motor wires back together and secure them to the chassis plate with the wire routing tab.
Another overall shot of the chassis now that the battery tray is out front.
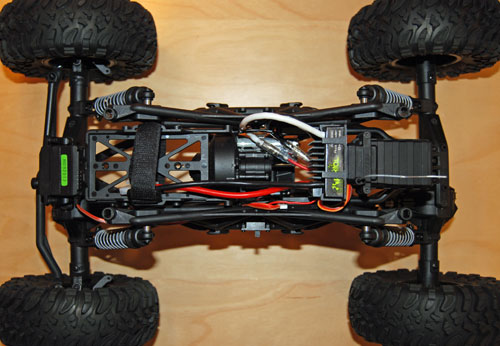
Next thing I wanted to improve upon is the ride height. I wanted to lower the overall stance of this Ridgecrest to help with off camber obstacles. This was also a simple no cost modification because you can flip the lower link mount/lower shock mounts on the axles to lower your ride height a little. First, remove your wheel and tire from the corner of the truck you are working on. Now you can clearly see the lower link/shock mount.
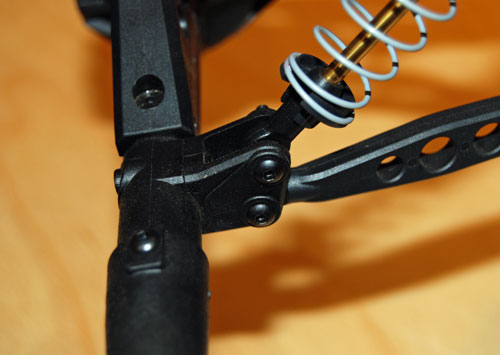
Remove the screws holding the lower link and shock to the axle bracket.
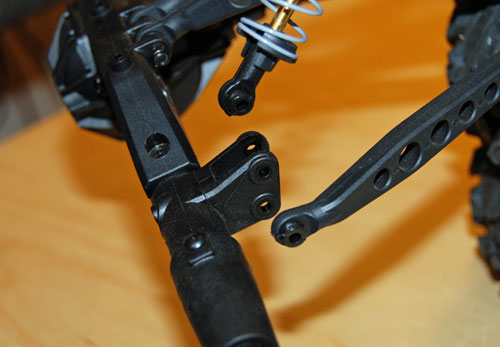
Using a 2.5mm driver, remove the screws that hold the bracket into place on the axle.
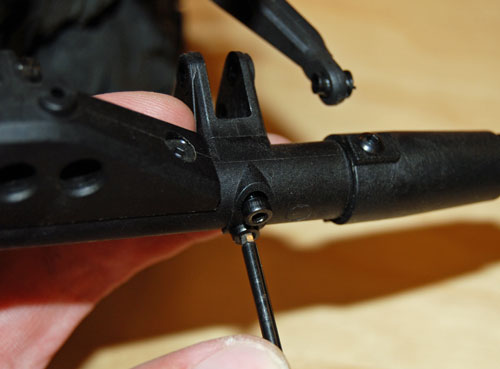
Flip the bracket 180 degrees and re-install on the axle.
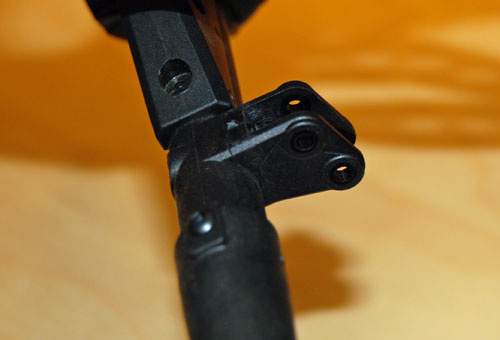
Re-attach your lower link and shock to the bracket.
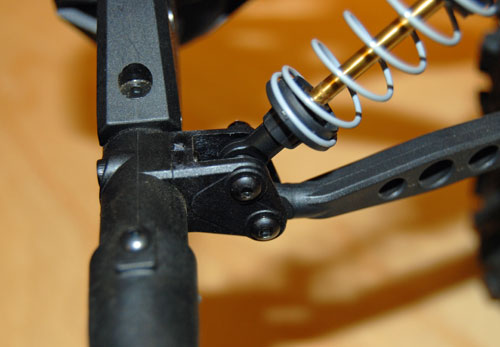
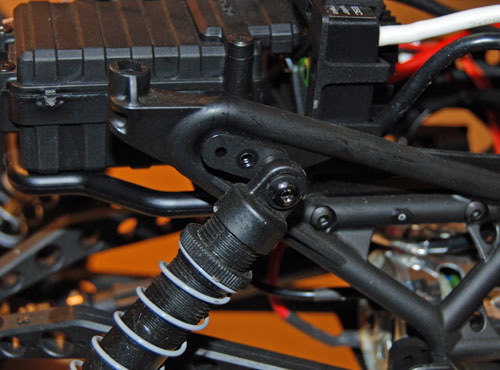
In an effort to lower the ride height even more, I moved the upper shock mounts to the inner most hole on the side plates.
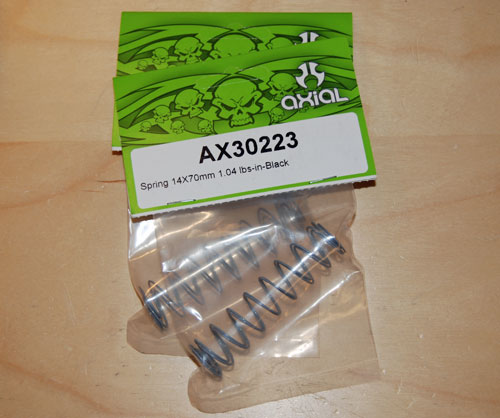
Another inexpensive modification I made was going to softer shock springs. I installed our "Black" comp springs which are the softest we make. This will help the suspension conform to the terrain better.
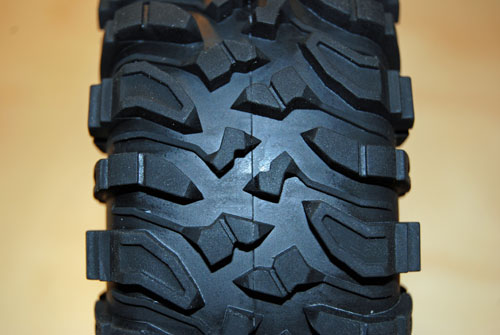
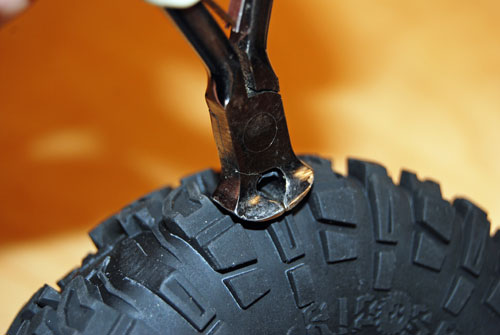
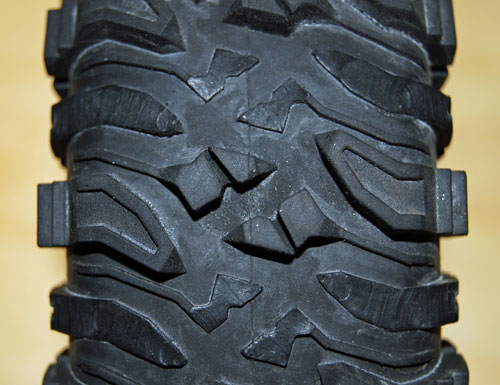
Last thing I am going to do for this installment is cut the stock tires for better forward bite. The stock RTR Ripsaw tires are quite a bit harder than our soft R35 compound Ripsaw tires. So, cutting the stock tires is an inexpensive way to get a little better performance. I went around all 4 tires and cut the smallest row of lugs out using a pair of wire cutters. A shot of the stock Ripsaw tread pattern.
Use the wire cutters to cut the small center row of lugs away from the tire.
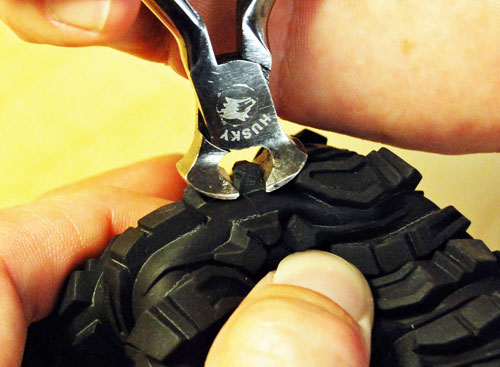
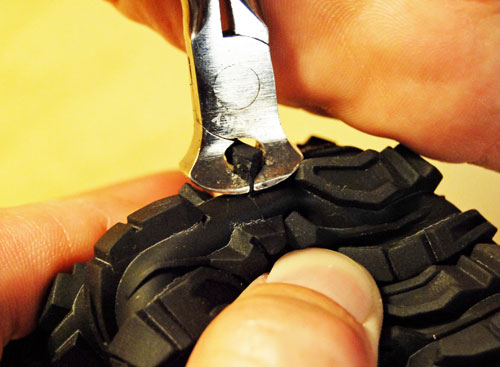
Now do the same for the small outer lugs.
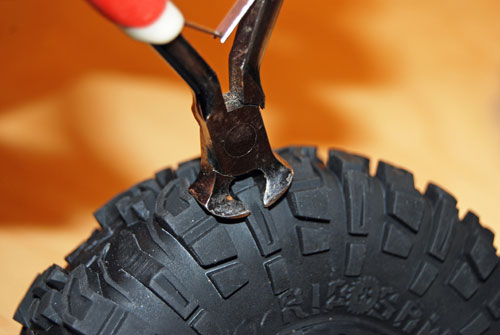
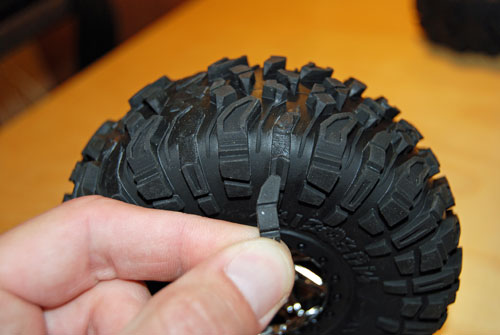
A shot of the tire tread after removing the tread blocks.
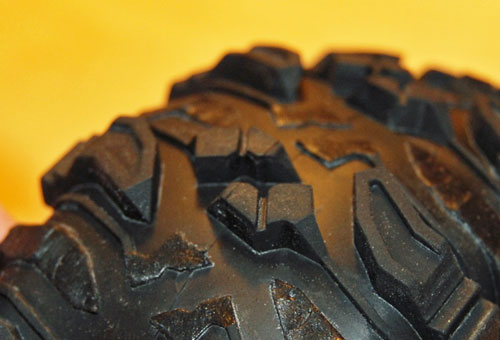
You can also cut the existing sipes/grooves in the center lugs deeper with a Dremel and cutoff wheel for better off camber performance.
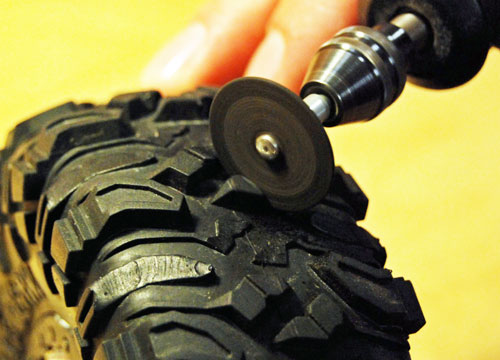
A shot of the finished tire. Another mod you can make to soften the stock tires is to open up the breather holes in the wheels. I used a 1/4" drill bit and open up the existing holes to help the tires breath better and conform to the rocks.
Here's how the stance on this rig sits now.
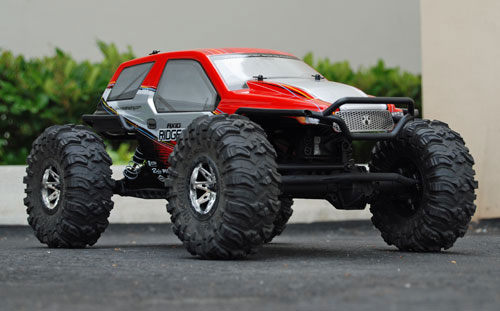
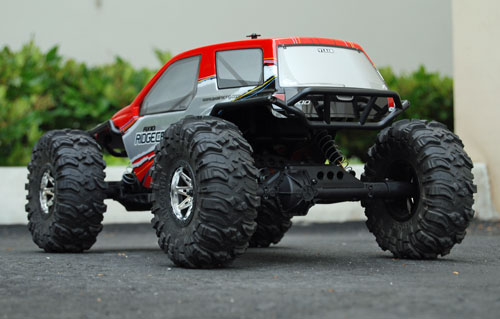
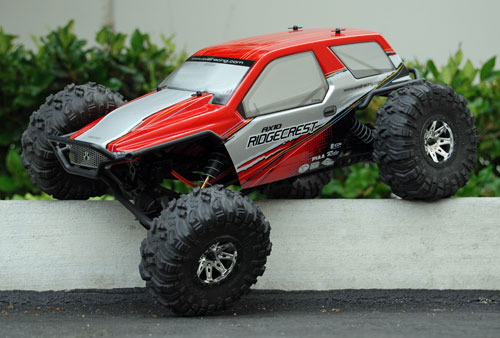
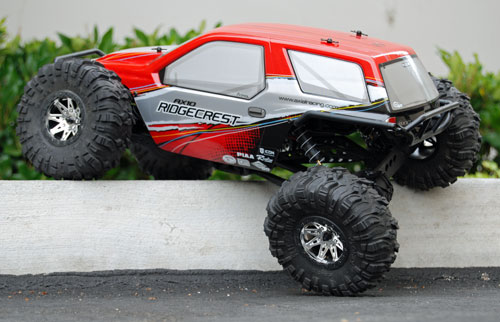
That does it for Stage 1 of this build. These few mods will help the overall crawling capability of a Ridgecrest right out of the box. Stay tuned for Stage 2 which will be coming soon!!
Link - Stage Two Ridgecrest Build
Link - Stage Three Ridgecrest Build