Posted: 3/1/12
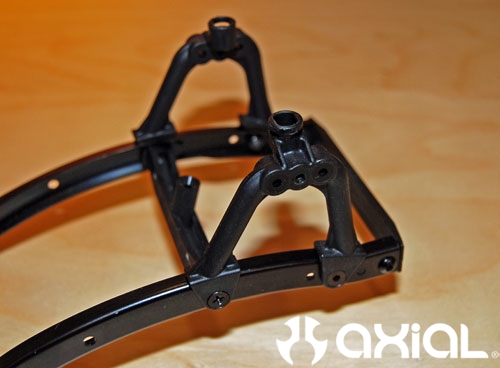
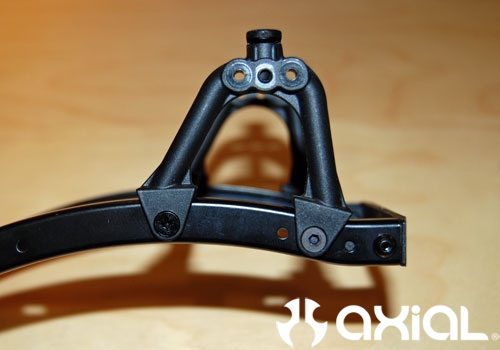
A little update on this Rat Rod FOFF build that was featured in the 100th issue of RC Driver. Now that the 100th issue has been out for a few weeks I figured it was a good time to show some detailed chassis shots. Like my last FOFF build it began life as an SCX10 Honcho. I started off by stripping the donor Honcho down to the bare frame rails. I had a certain look that I wanted to achieve with this build, which was kind of an "old school hot rod" feel. I knew that the Rat Rod body was going to be blacked out by painting it on the outside for a "flat black" look. I also knew I was going to paint the rock rings white to kind of give the wheels and tires that "white wall" look. I also knew I wanted the suspension and steering links to be colored to set them off from the rest of the build. After debating for about 3 seconds what color to go with on the links, I knew that the old school Axial green would fit the bill perfectly. Here's a few highlights from the build process.A few photos of the front shock towers. I moved them forward on the chassis, flipped them 180* and swapped the left and right sides to match the contour of the chassis rails. The stock frame cross member between the shock towers in these photos is for mock-up only. I ended up using the stock frame cross member that ties the radio box to the frame rails and the stock rear cross member to cap the front of the frame rails.
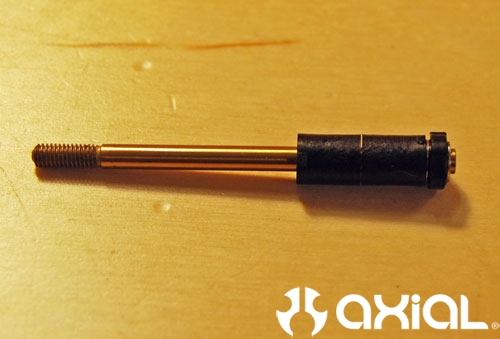
I upgraded to aluminum SCX10 shock bodies, and used the stock plastic motor plate spacers for the transmission to limit the travel internally, 2 per shock shaft gave me the desired ride height and shock travel I needed. Overall length on the shocks is now 80mm. For springs I used 2 short soft springs (Part #AX30200) back to back on each shock.
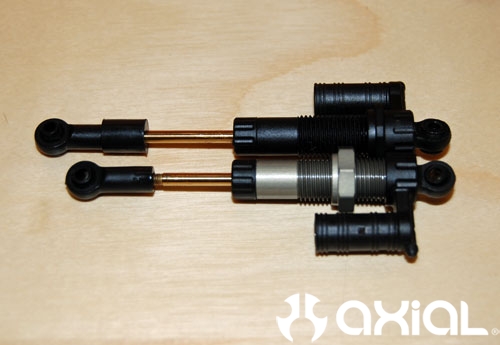
Here you can see the motor plate spacers on the shock shaft.
A shot of the front link set-up. Lower links are 106mm (Part #AX30441) plus a 15mm standoff (Part #AXA1311) with long straight XR10 rod ends (Part #AX80057). The uppers are 70mm threaded standoffs (Part #AXA1322) with 3mm spacers (Part #AXA1303) and long straight XR10 rod ends. The front axle will also use our plastic upper 4 link mount (Part #AX80043). Notice I also moved the upper link mounts on the chassis from the stock location. The holes are already in the frame rails, but they need to be drilled out to an 1/8" for M3 hardware.
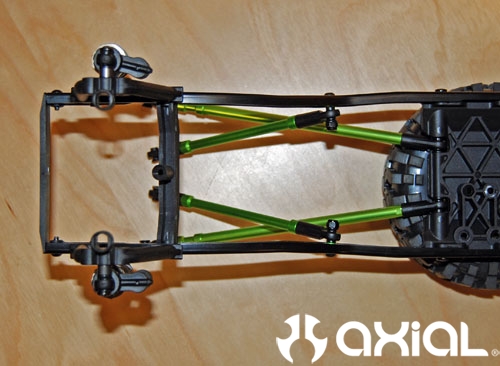
I copied my original FOFF's behind the axle steering for this build as well. Here you can see I shaved the axle housing a little to clear the steering tie rod.
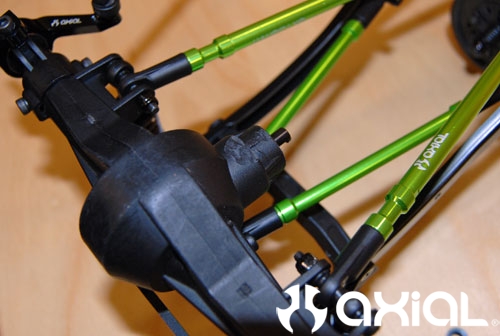
A few shots of the chassis mounted servo plate. Take your time with placement of the plate on the rails, to be sure to get a proper fit. Bolt your servo up to the servo plate. Then, hold it up against the chassis and scribe the profile of the plate on the rails to make sure your holes are drilled in the proper location.
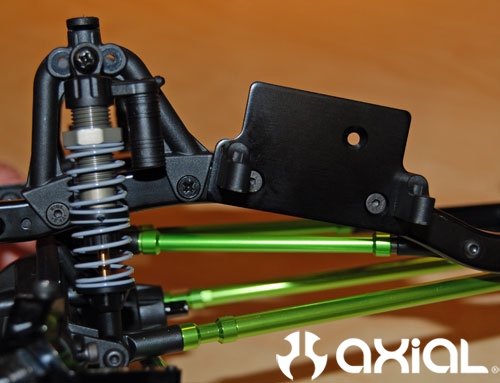
A few shots with the servo mounted. I used a stock SCX10 RTR servo for mock-up. I ordered a Futaba S9156 servo to handle the steering duties.
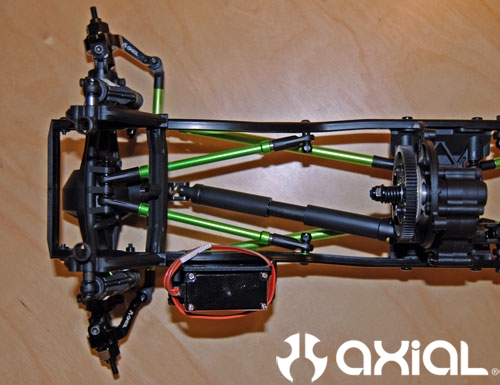
Here you can see the 6mm spacer (Part #AXA1306) I used on the servo horn to move the drag link away from the upper links. The size on this spacer may vary depending on the servo and servo horn used.
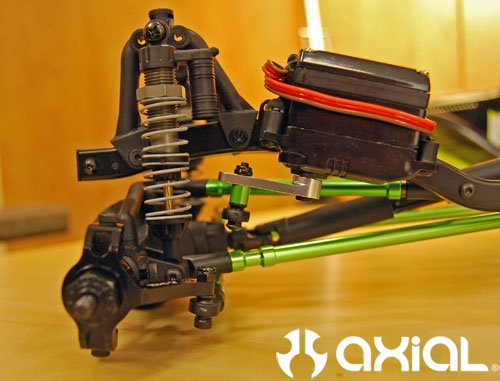
For the drag link I used our 91mm (Part #30524) link. I put a slight bend in the link at the steering knuckle with one of our curved upper link rod ends in order to put less stress on the steering knuckle. My original FOFF build used a standoff at the knuckle with a straight drag link and that set-up put too much stress on the knuckle arm, which left me with a few broken knuckles in really hard crashes. This set-up relieves a lot of that stress.
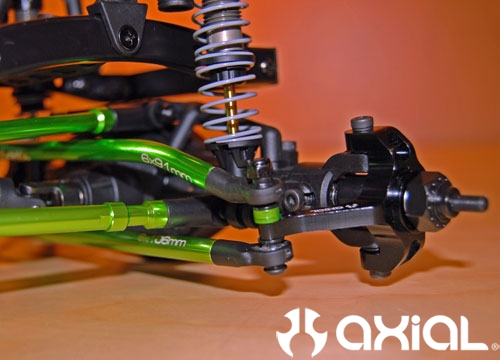
A few photos of the rear suspension set-up. Lower links are 98mm (Part #AX30443) with stock rod ends, the uppers are 91mm with stock rod ends.
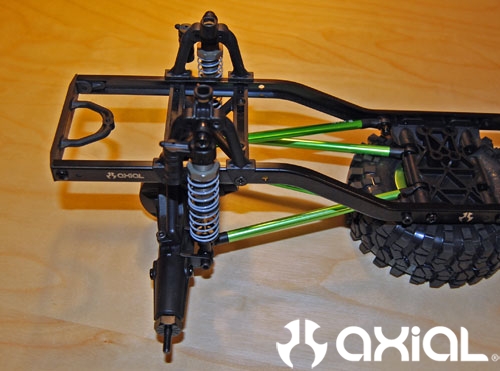
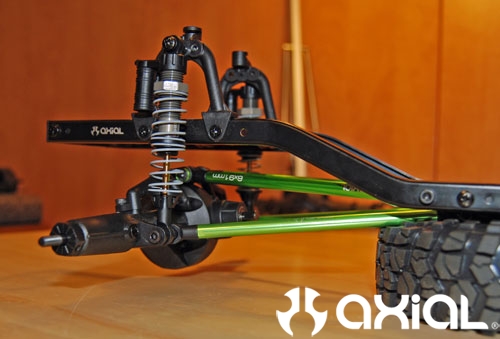
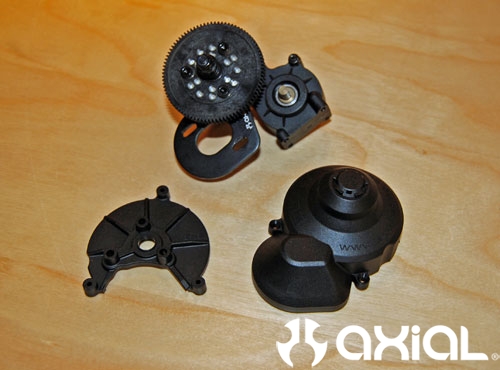
In order to keep the 48p gears in good working order, I installed Axial's spur gear cover (Part #AX80078) to keep debris out of the pinion and spur gear.
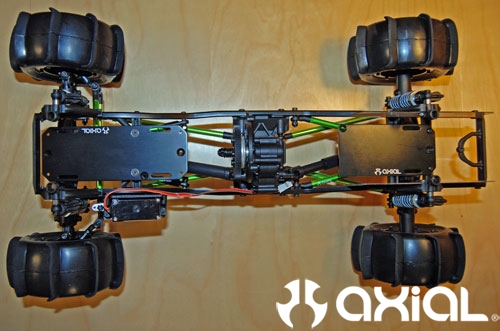
To mount the ESC, receiver and the battery I used two of our standard battery plates (Part #AX30483). For the electronics I cut about 1 1/4" off one end of the aluminum battery plate to shorten it up, then drilled and tapped into the stock rear frame cross member. In order to mount the battery plate I drilled and countersunk two holes to line up with the stock front frame cross member where the radio box normally sits.
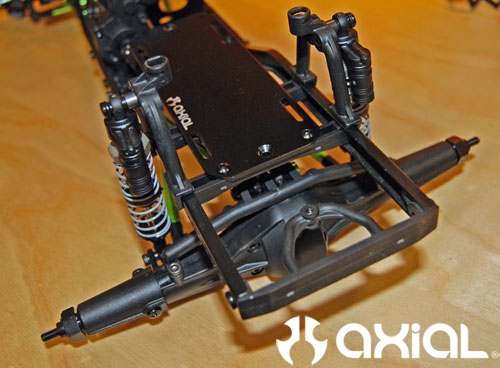
An overall shot of the chassis.
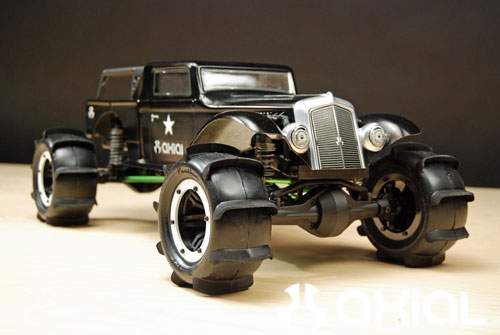
A few shots with the body mounted.
For the cage work I used a stock Dingo roll cage (Part #AX80042) cut to fit the width of the body.
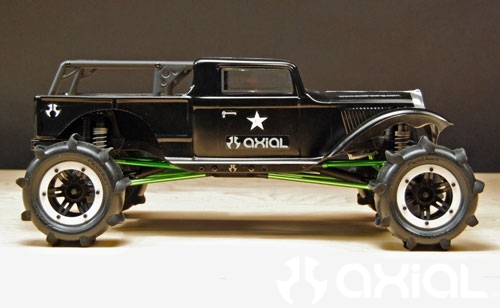
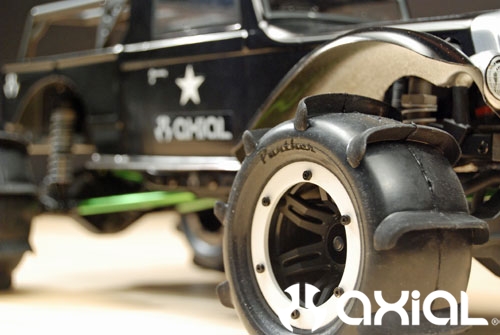
The 2.2 wheels I used on this build are now discontinued, but our black 8 hole beadlock wheels (Part #AX8097) are still readily available. The tires are Panther paddle tires. I sanded the stock rock rings with some fine sand paper, and spray painted them white for that old school look.
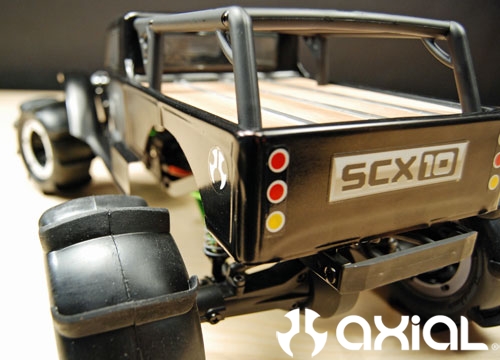
Here you can see the rear portion of the chassis protruded beyond the bed of the body. I eventually used a Dremel and cutoff wheel to trim the frame rails flush with the body, which gave it a lot cleaner look.
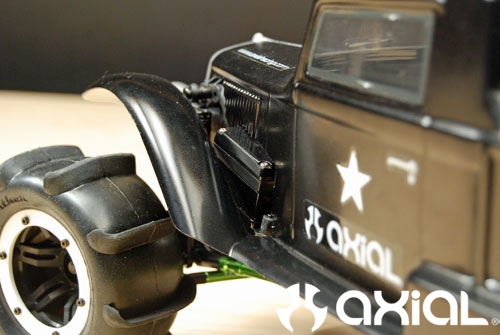
The front of the Rat Rod (Part #AX4016) body is very narrow. I had to cut the sides of the hood to clear the shock towers and servo. It was a little tedious to get the fit right, but 100% worth the time it took.
That covers a few of the custom build details on this Rat Rod FOFF. I will try to shoot some video soon. I will post up here on the blog when I am finished. Until then, I think it's time to charge a few batteries and go scout some locations.
To see more Formula Offroad builds be sure to check out the forums on www.rccrawler.com