Posted: 6/18/14
Maintenance
Axial shocks are built in a similar fashion to high performance off-road shocks and are engineered for extreme use on a variety of terrains. Being built to take abuse, you do not have to service them between runs. If your last run, however, included conditions such as fine dirt such as silt, sand or mud, it may be a good idea to remove the shocks, one at a time, from the vehicle.
After the shock is removed, clean the mounting hardware and mounting locations, on the chassis and shock, with a rag or paper towel soaked in WD-40. A non-abrasive pipe cleaner is useful for cleaning the shock ends. While they don’t move a lot, these are moving parts and the cleaner they are, the longer they will last.
Remove the springs to make cleaning the shock easier and to easily judge how the shock’s condition.
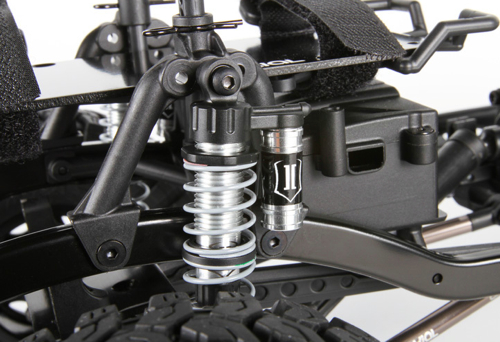
A cheap toothbrush is a great tool to have in your collection. One use that it’s perfect for is cleaning shocks. Between runs, use the toothbrush to clean the dirt that can accumulate at the bottom of the shock bottom and on top of the lower shock mount. Carefully brush dirt away from these parts. You especially don’t want to inadvertently force dirt in the shock or even closer to the seals. The brush is also perfect for cleaning threaded shock bodies.
After cleaning the exterior of the shock, check that the screw-on cap and lower body cap are properly tightened. Next, slowly cycle the shock by hand. If the shock does not feel smooth, if it catches or feel like it gets stuck, you should rebuild all four shocks. There should be smooth, consistent resistance. Inside the shock, a flat piston with tiny holes in it is moving through silicone shock fluid, so you should feel some resistance when compressing the shock. If there is no resistance, you should rebuild all four shocks.
Rebuilding Tips
Axial's manuals outline exactly how to build shocks, but the following tips will make the process easier and help you achieve perfectly build shocks.
Use a clean work surface. Clean your work area and then cover small area with paper towels.
Make sure the pistons are free of burrs. Check each piston carefully and remove any burrs or extra material with a sharp hobby knife.
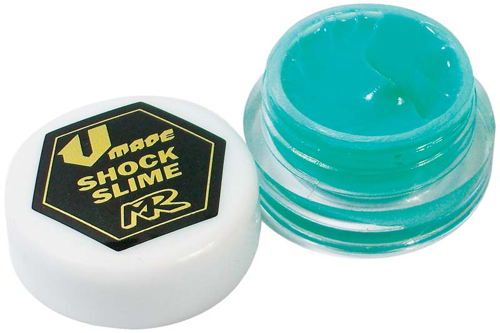
Use new O-rings in the lower part of the shock body and use O-rings specifically made for RC shocks and make sure you use the correct size O-rings. You can use silicone shock fluid to coat the O-rings, but RC specific O-ring lubricant is highly recommended. Use generous amount and make sure the O-rings are completely coated. Muchmore Racing’s Shock Slime (MMRC3523) is perfect for Axial shocks.
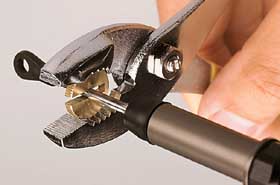
If you’re rebuilding the shocks, you shouldn’t need to remove the lower shock end, but if you do, great care must be taken to not scratch the shaft’s surface. Duratrax has a solid brass tool (DTXR1140) that allows you to tightly grip shock shafts with pliers without scratching the shafts.
Fill the shocks with silicone fluid about 2 mm from the top. To help trapped air escape from under the piston, cycle the shock slowly and without the piston breaking the surface of the fluid. Let the shocks sit upright for a few minutes to further allow air bubbles to rise and escape. Top off the fluid so that it just slightly domes.
Push the piston to the top and tighten down the top shock cap. If you place the cap in position and slightly rotate it counterclockwise, as if you were loosening it, this will let it drop onto the threads of the shock body and help prevent cross threading the cap. After this, slowly thread the cap on. Fluid should leak out as the cap is tightened, so have a paper towel wrapped around the shock.
A rag soaked with rubbing alcohol or denatured alcohol can be used to remove fluid from the shock body.
When reinstalling the shocks, make sure you do not over tighten the mounting hardware or the shocks will bind and not function properly.