Posted: 10/30/17
Starting your RC adventure is easy with any Axial ready to run kit. Here we’re going to show you just how easy it is. In only the time it takes to charge your battery, we’ll show you how to get an SCX10 Deadbolt from the box to the backyard.
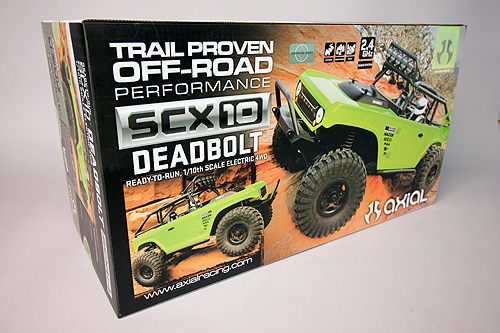
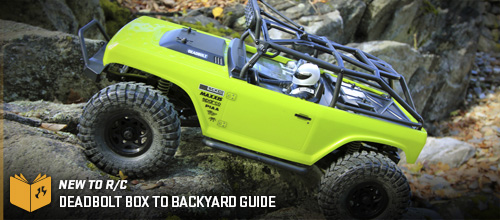
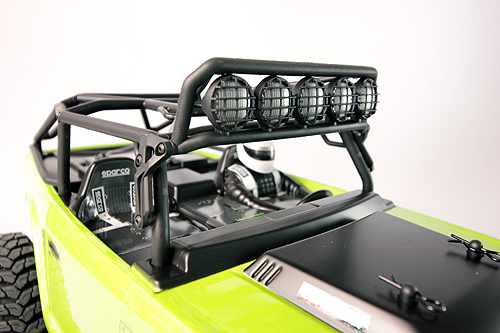
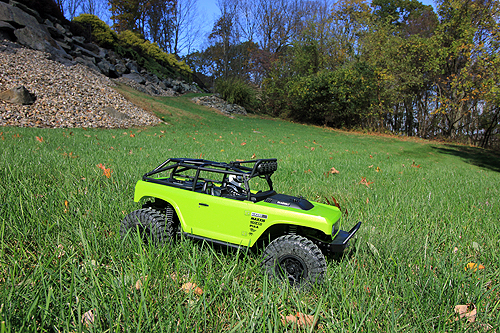
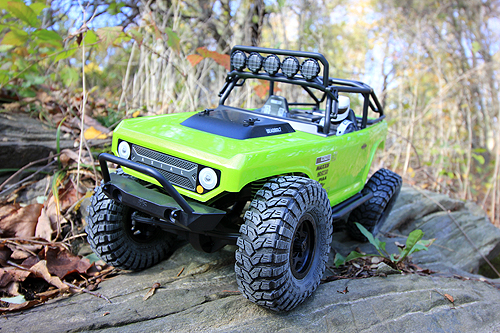
You’ve selected the SCX10 Deadbolt! What drew you in? The bright green body, the poise of the driver figure or perhaps it was the light bar on the roof? Whatever the reason, this radio control machine is based on one of the most popular chassis’ in radio control and it will deliver nonstop adventures wherever you take it.
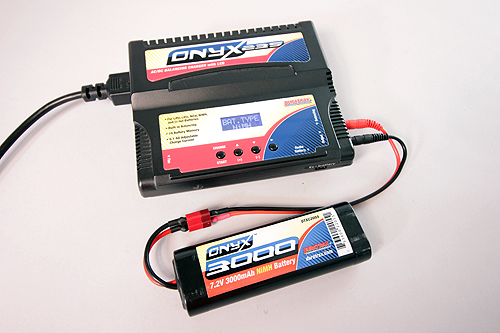
Before you tear into that box… well, you probably did already and we don’t blame you. But the first step in getting your adventure under-way should actually be directed towards your battery. During your purchase, you’ve selected a battery and charger for your Deadbolt. Now is a great time to read through your specific charger manual, setup and charge your new battery. It's going to take some time to charge, so get the process going while you get into your Deadbolt kit.
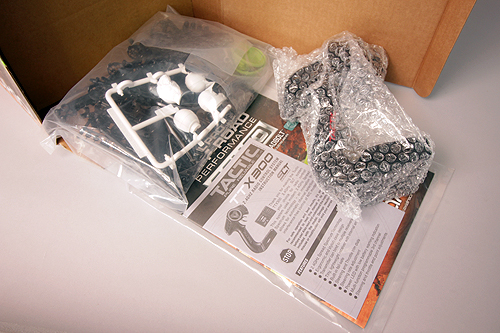
Now you can dive into the box and depending on which end you open first, you’ll most likely be greeted with some of the kit contents. Here is the included Tactic TTX300 radio in a protective bubble pack, the radio and kit manual, and a bag of parts. We’ll get into the parts bag later.
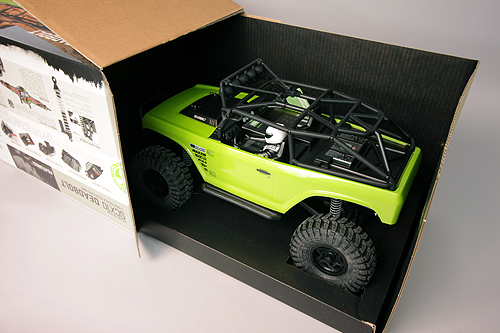
Next you can slide the Deadbolt out of the box. Get excited!
Like many boxed items, you’ll need a pair of strong scissors or cutters to cut the zip-ties holding the Deadbolt to the inner box.
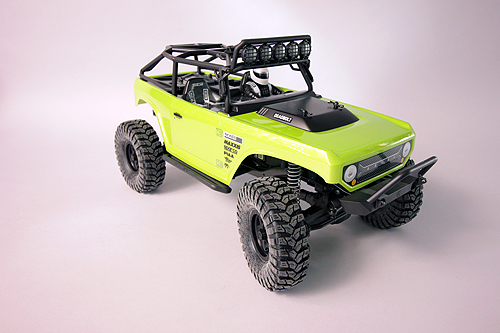
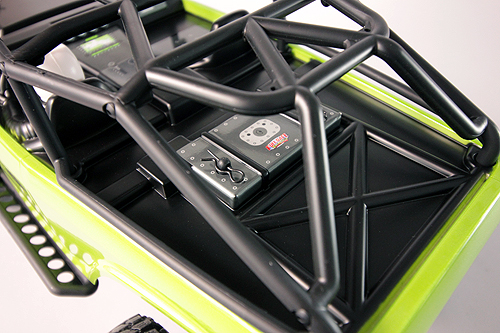
There it is, your new Deadbolt nearly ready for action, the rig comes assembled, body painted and electronics installed. There are only a few steps to get it ready for action.
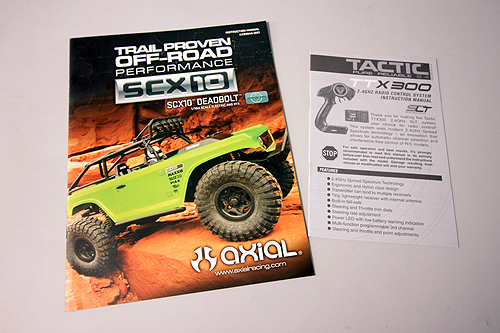
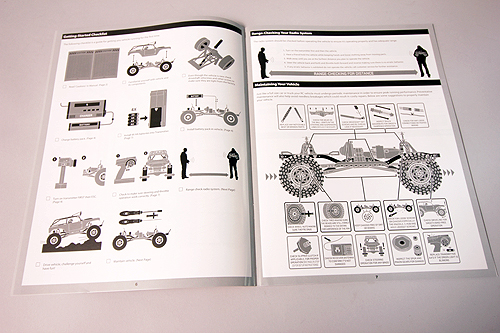
Wait! We know you want to dive in, but take a few moments to read through the included manuals. The Axial team spends a lot of time on the manual to explain everything you need to know about your new model.
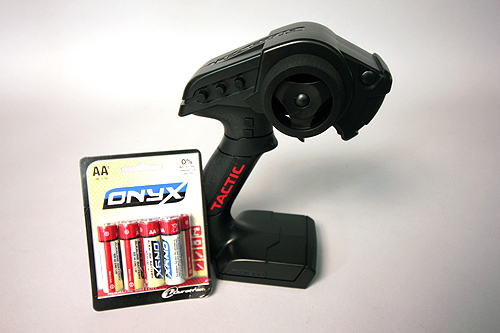
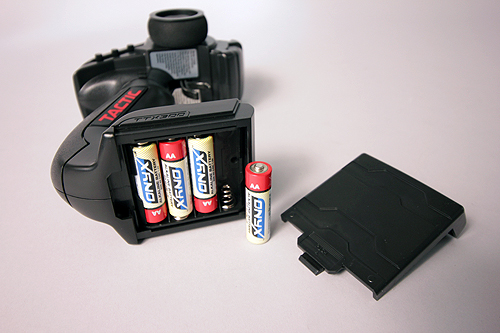
Batteries! Here we go, its time to install some fresh AA batteries in the Tactic TTX300 radio. The radio only requires 4 cells. To access the battery tray, slide the cover off the bottom of the radio. Next make certain you note how the cells are inserted. There will be a diagram in the battery tray that indicates how the batteries are installed.
Time to remove the body in order to install the battery to power your Deadbolt. There will be two body retaining clips in the front and two in the rear. Simply slide them out and set them aside.

Once the body is removed, you’ll notice a tag with some information. Yes, you should read it too. This is a quick start tag that gives you information on how the electronic speed control is set and how to turn your truck on and off.
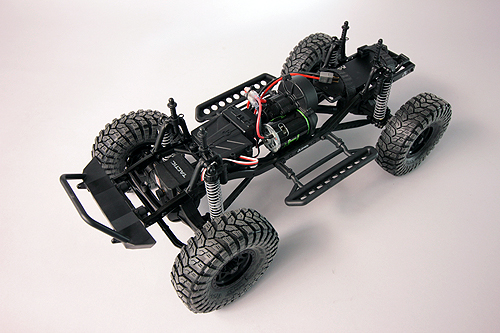
This is a good time to familiarize yourself with the SCX10. Your manual has a diagram of the trucks major components. It is a good idea to look at the diagram and the rig to get to know all of the parts.
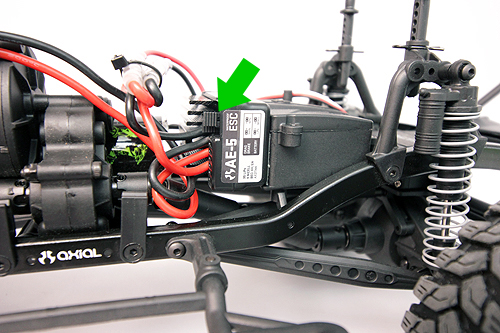
Each Axial kit comes with the electronic speed control set to LiPo mode for use with Lithium Polymer batteries. This is done as a safety measure so the battery does not go below a certain voltage that can damage the battery. If you chose to use a NiMh battery, it will work in LiPo mode, but not as efficiently as if it were in NiMh mode. Switching your ESC between modes isn very easy by simply moving the "jumper" to the mode that corresponds with your battery.
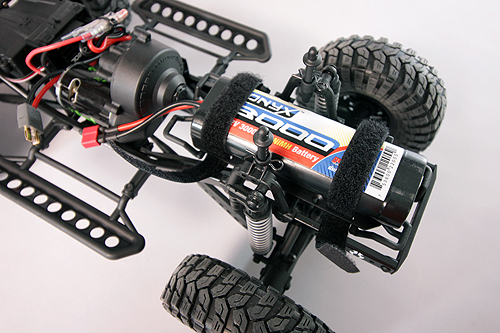
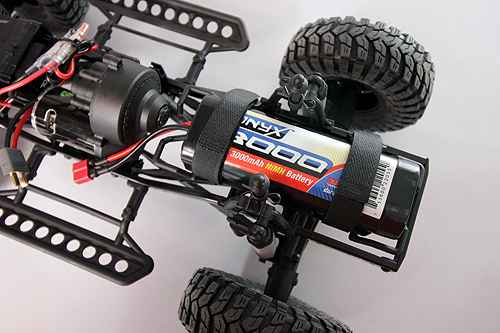
Once you’ve adjusted the jumper on the ESC if necessary, you can install your fully charged battery. Loosen the Velcro® straps on the battery plate and slide the battery in. Then pull the straps tight to secure the battery and firmly press the Velcro® together.
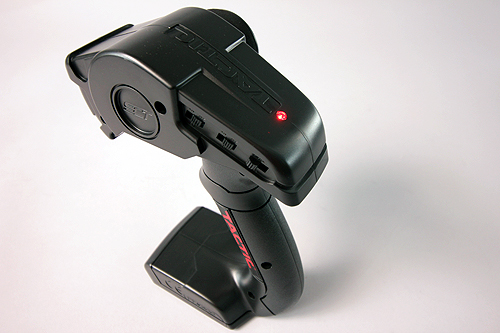
We’re getting close to running! Turn your attention to the radio and locate the On/Off switch on the back of the radio. Switch the radio "On" and make certain the power LED indicator is illuminated on the top of the radio.
TIP: Your radio should always be turned on first and off last to insure you always have control of your RC vehicle.
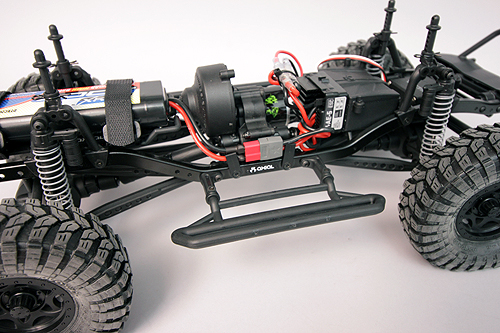
Now the Deadbolt is ready to be powered on. This is done by connecting the battery to the ESC. This is your On/Off switch. Use the plug connection to turn it on and unplug the battery to turn the model off.
TIP: Two wire guides are located on the chassis frame rail. These clips can be used to secure wires.
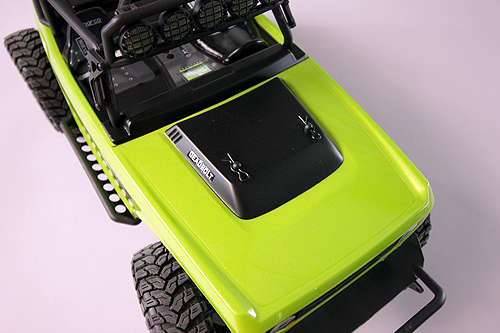
Almost ready to run; place the body back on the chassis and install the four body clips back on the posts to secure the body. Now you’re ready to head outside for your adventure!
If you’re completely New To RC, take some time to familiarize yourself with the radio functions and how the Deadbolt responds. Start with the steering, turn the wheel in both directions. Note when standing behind the vehicle, steering left will turn the truck left, but when the vehicle is coming at you, this will be reversed. Don’t worry, you’ll get used to it quickly. Now find an open space and try the throttle. The throttle is proportional, so just pull the trigger slightly so the truck rolls forward. While at a slow speed, make large right turn ovals. After a few right turn ovals, make a few left turn ovals. After your comfortable with ovals. Try figure 8’s. During this practice session, try various speeds and various amounts of steering to get used to your model. The ESC is equipped with reverse too, try it a few times before heading to the nearest pile of rocks or hiking trail.
Once you are used to how your model operates, you can start your off-road adventures!
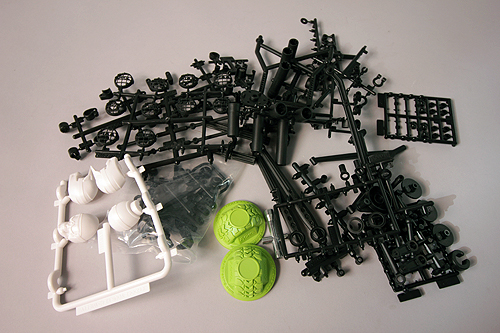
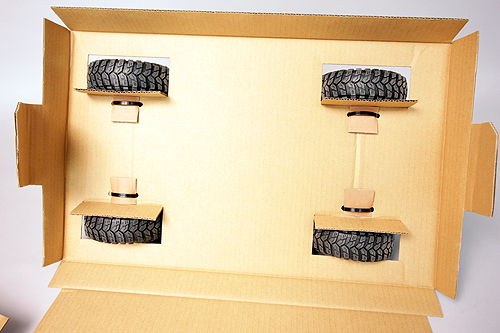
Whoa! What about all of those spare parts? You didn’t think we forgot about them did you? The bag of parts you find in the kit are the extras from the part trees used to build your specific kit. These are parts that are used in other variations of Axial kits. These parts can come in handy, so keep them on hand in case you start customizing your rig. You’ll also notice some additional driver heads, these can be glued together with model glue and painted to give your Deadbolt a unique look. You’ll also receive two green gate markers you can place on trail obstacles to make your challenge a bit more intense. And finally there will be a T-wrench used to remove various nuts on the chassis as well as the wheel nuts.