Posted: 9/8/16
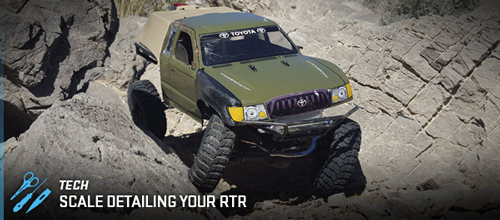
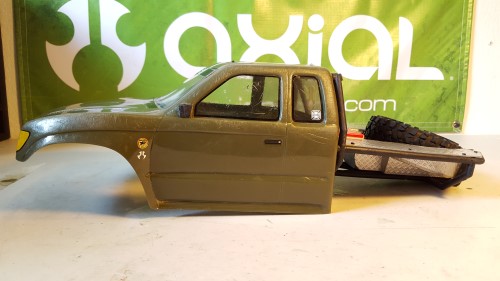
I am pretty sure you all have some old bodies sitting around. It seems like everyone who gets an Axial RTR tends to take the body off and change it out, just to be different. Hopefully this will help give you ideas to make your RTR body different. This is not really about being precise, its more about a complete look, so don't be afraid to mess up.
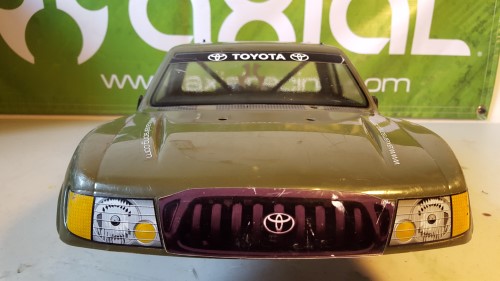
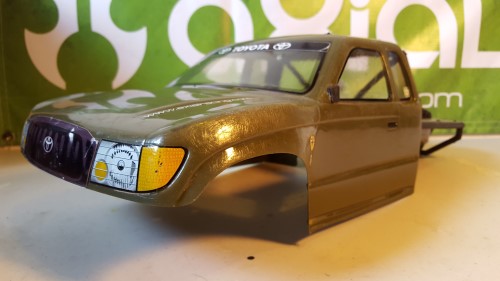
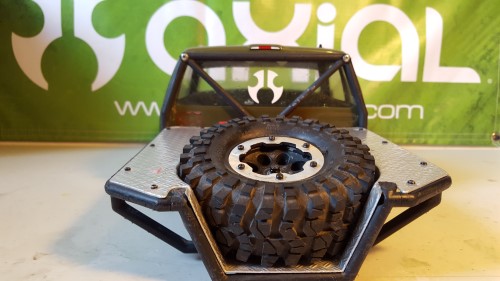
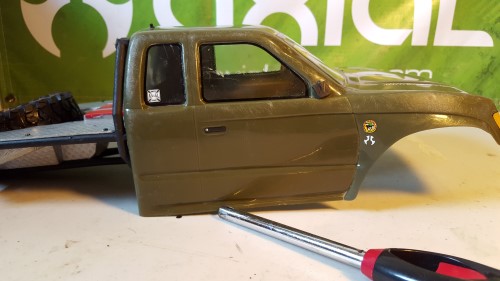
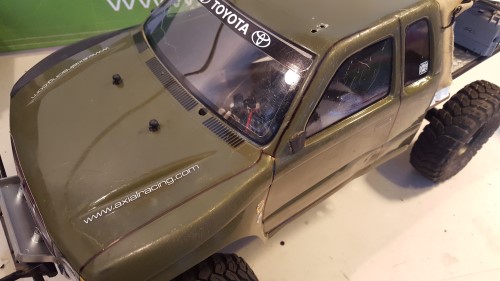
I put on different stickers to make mine look different, then I cut the rear cage just to change it up a bit. Now I am going to go back to running this body as I have always been a fan of the Axial Honcho.
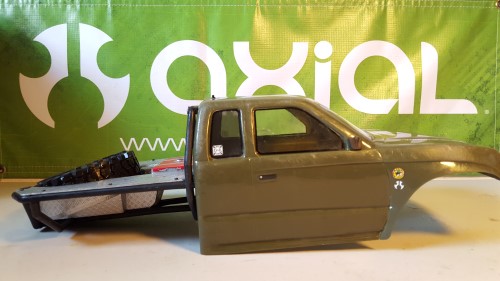
This is pretty stock other than a cut rear cage, a few stickers, and plenty of scratches.
There are definitely a few ways do this. You can use a heat gun, a hair dryer, a wood burning tool, and so on. Here I am going to use a lighter. I like scale, so I am not looking to make huge dents. You will see that lexan gets glass smooth when its hot. I just used the back of a wooden paint brush to create the dent below. Try not to use round objects; there are not too many dents with perfect shapes, so keep that in mind.
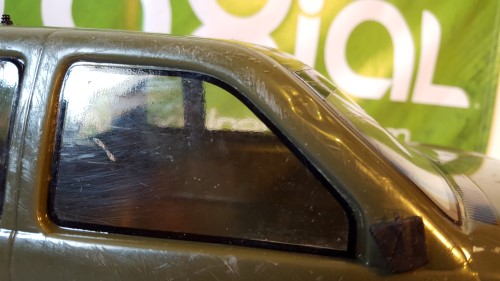
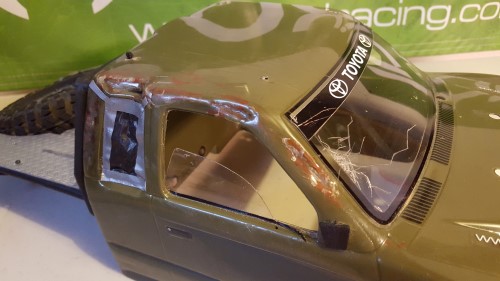
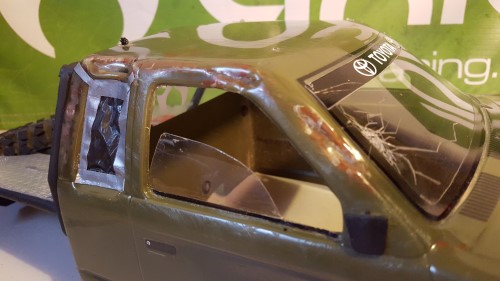
You can see where I dented the pillar. It's not a crushing blow, but a noticeable dent.
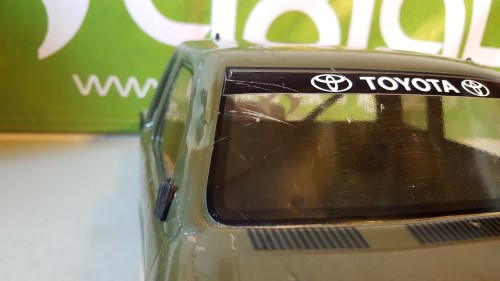
While looking at this I am going to do away with some of the scratches on the windshield. I cut along the black molding on the sticker and under windshield banner. You can also remove windshield banner if you like. You can use an exacto knife or razor blade.
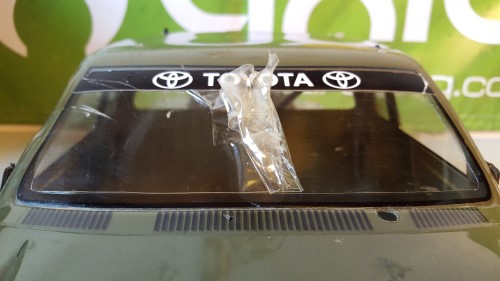
Simply peel away the clear sticker on windshield and here is what you get.
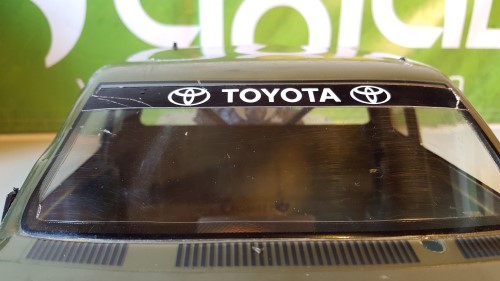
Some of the scratches are deep and went through the sticker, but that's fine. You can incorporate those scratches in this next step.
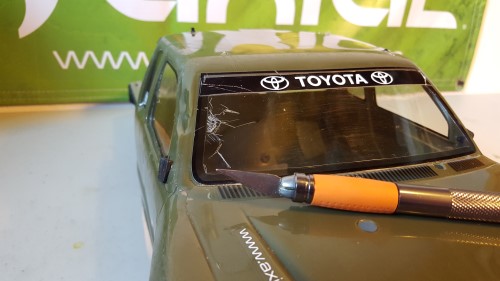
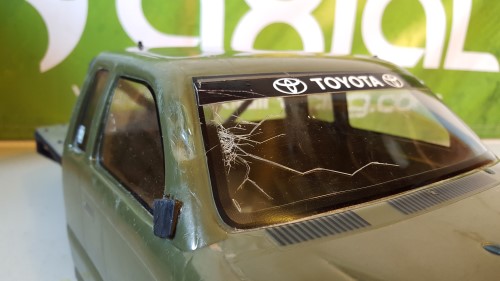
Take your exacto knife and start scratching some cracks in the lexan to give that broken glass appearance. For darker or bolder cracks just hit the same spot twice. I started a small and tight pattern before going into the bigger cracks.
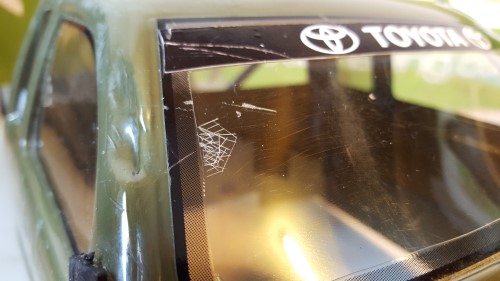
Pictured above is small pattern I started with, picture below is how it looks finished.
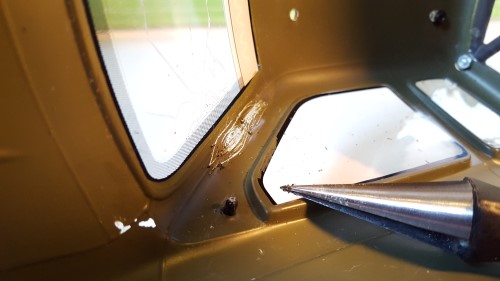
Going back to the dents, I am going to scratch off paint from the inside. Again, there are several ways to do this and there really isn't a wrong way to do this. Here I used a body reamer to start. try to leave some of your existing paint in the dented area.
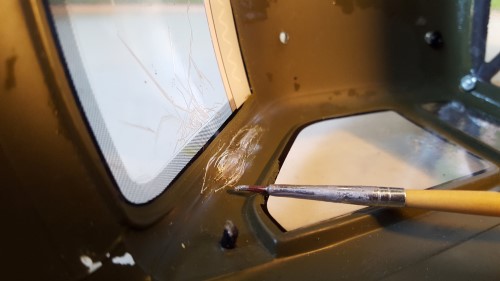
I am using some silver model paint. It may not look like it shows up too well, but after the next step you should be able to see it better. Try not to paint all of the scratched surface silver, you will need to add some brown for rust.
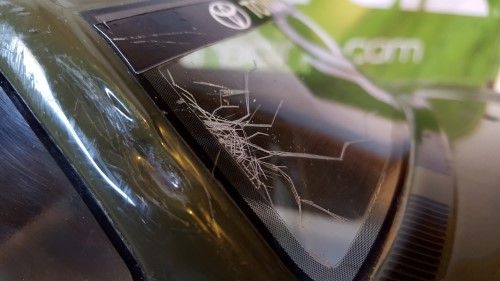
It may not look noticeable yet, but it will. You can also scratch the surface again if you feel like you want to add more.
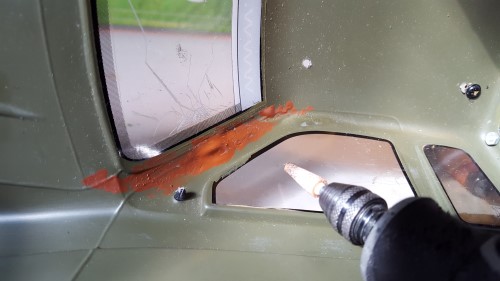
After the silver, I added a few new scratches with a dremel, then covered it all with brown paint.
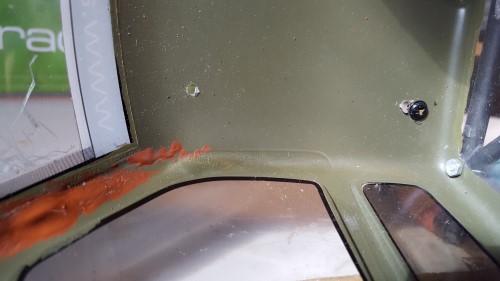
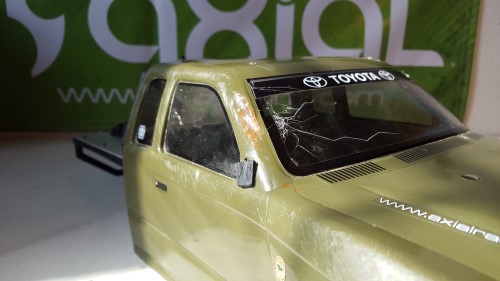
Now maybe you can see it a little better.
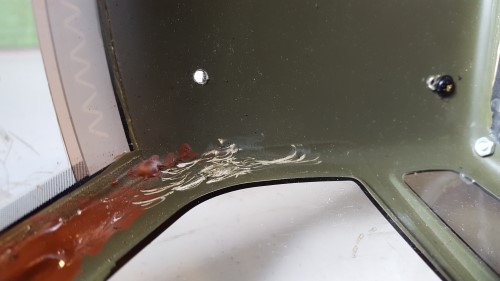
I added another dent, I went over this one with a Dremel. Same as before, I will add some silver, then cover it in brown. If you do not like how it looks don't be afraid to go back and hit it again.
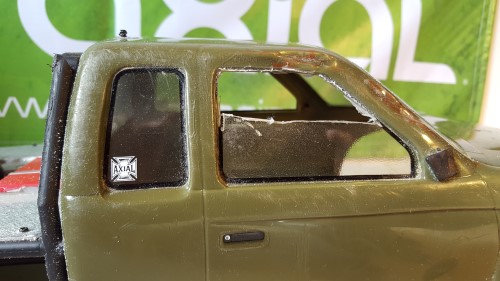
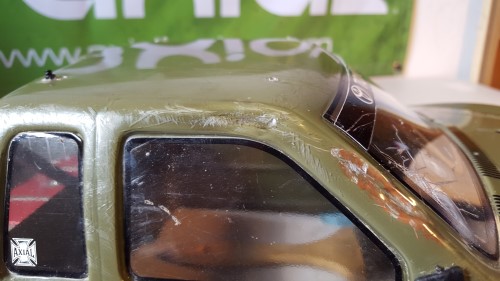
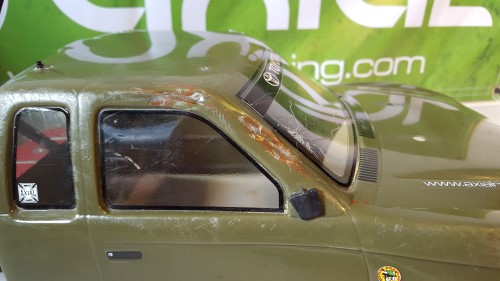
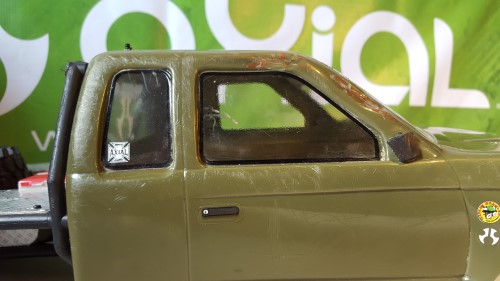
I am happy with the dents, but I don't think the window would look fine after hits like those. Time to put the cutting wheel on the dremel. You can also cut the windows with a body reamer and body scissors.
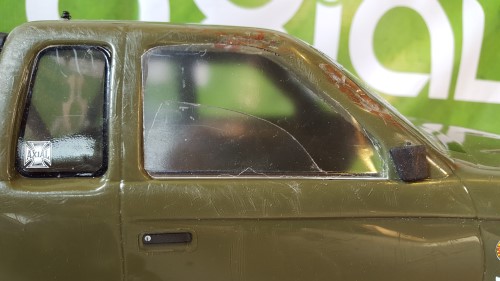
If you want you can use a scrap piece and make a template of your window. You can use the template to set it how you want the glass to look. I start by cutting it to the height I want.
I always just rough cut it to start and will clean it all up at the end.
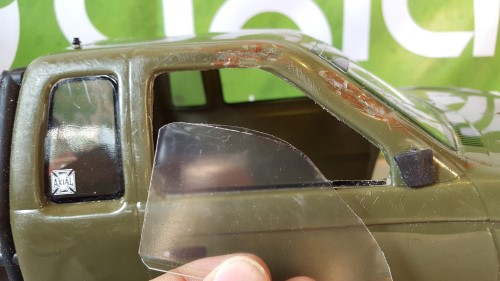
I want the window like its off the track, so this is an example of how you would use a template. Set the template next to the body like it's your window so you can get that scale look and keep the right shape.
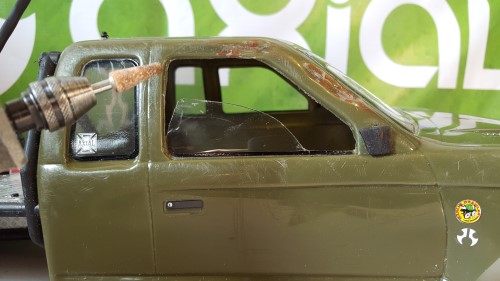
I clean it all up with a sanding wheel on a dremel and an exacto knife.
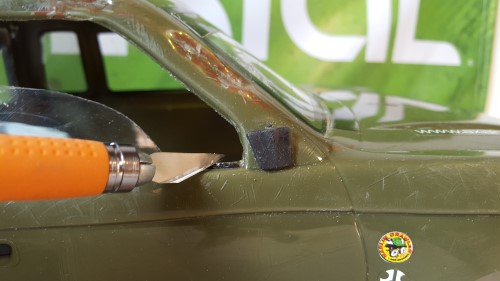
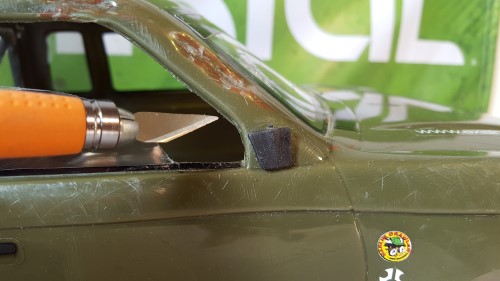
Don't forget to peel away the sticker on the side window.
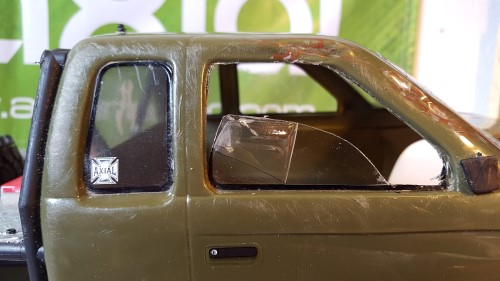
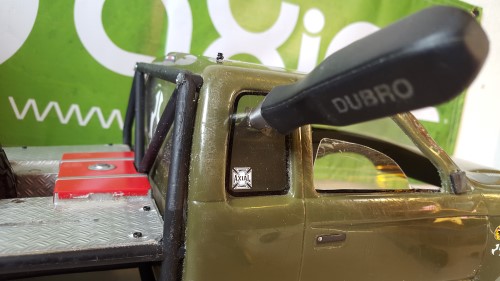
Here is the body reamer method of removing windows.
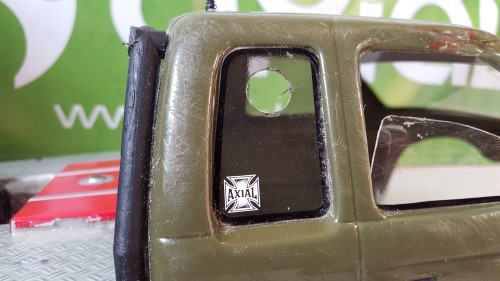
Ream a hole and then use your body scissors to cut it out. Again I will clean it up with a dremel, exacto, or razor blade.
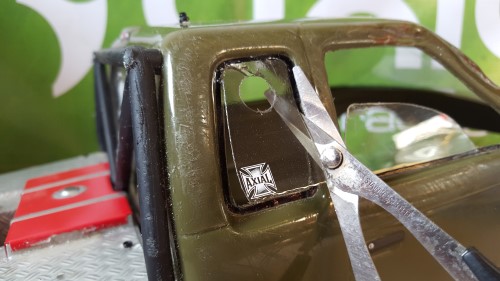
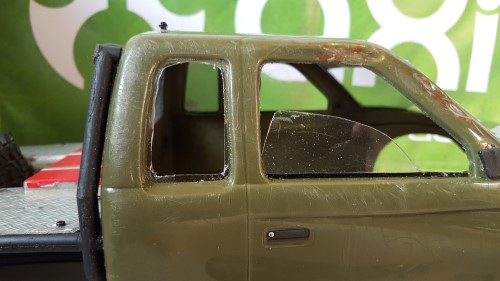
After looking at this, I feel it needs some dents showing what that would break out this window.
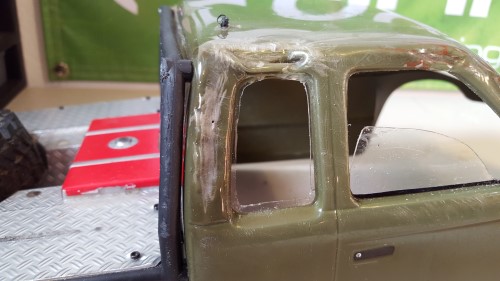
I dent it with the lighter and the handle of wooden paint brush. Then I Dremel some paint off like before, add silver paint, and then the brown.
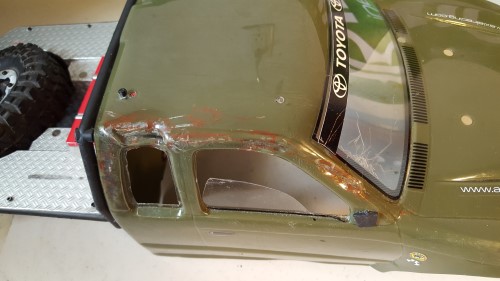
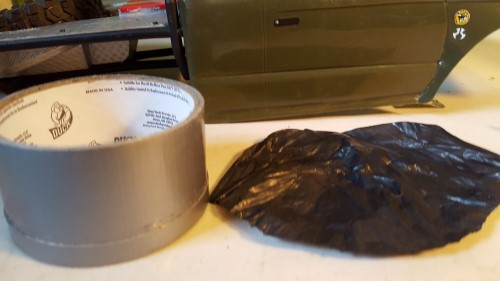
Now I get some duct tape and cut a corner off of a trash bag.
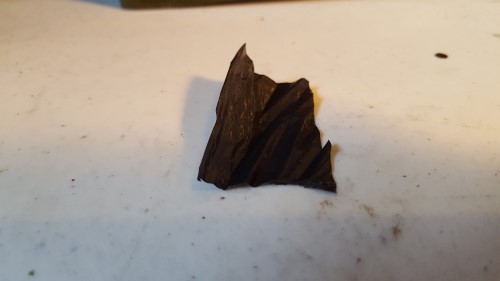
Rough cut the bag to the size of back window frame.
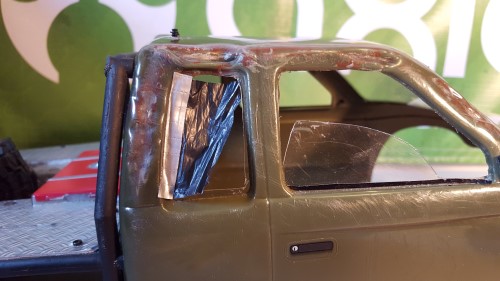
I cut the duct tape to a scale size and tape it inside and out for the look I want. This works on any body, so be creative and create the look you want.
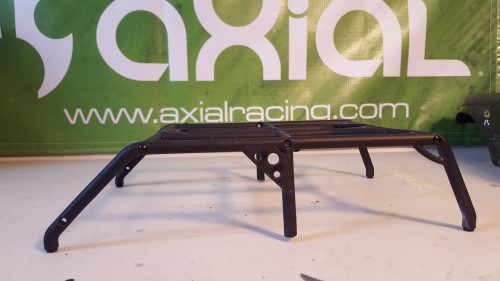
Now for the cage. I cut my cage down; I have this spare Axial Dingo cage so I am going to use it make a rear section for this Honcho.
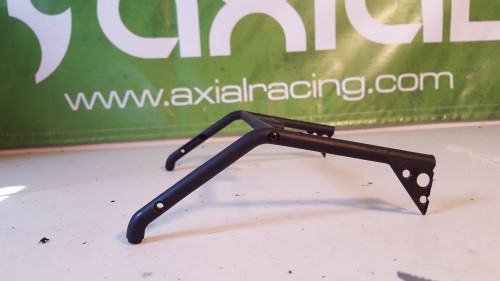
I start by cutting it down. I left the plastic gusset section for aesthetics.
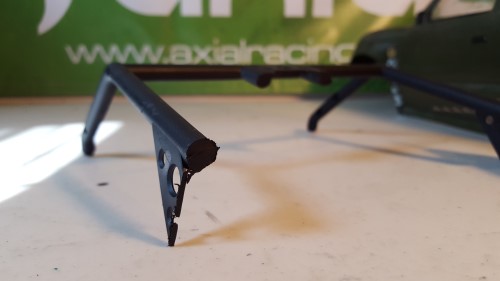
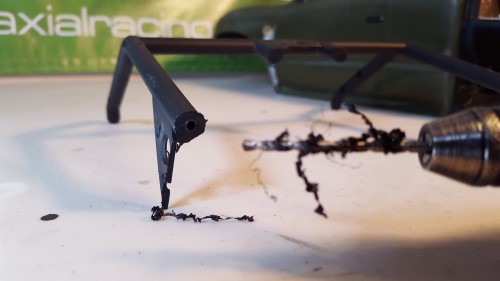
I drill some holes so I can attach this cage to my existing cage.
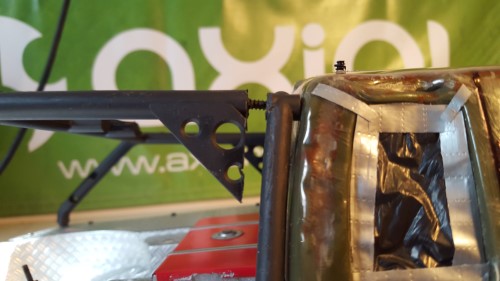
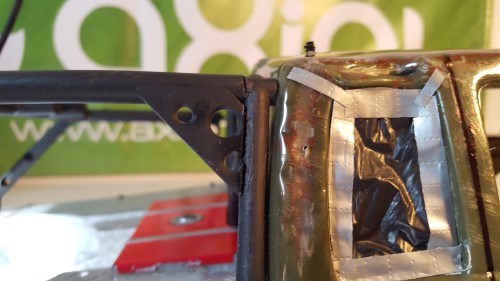
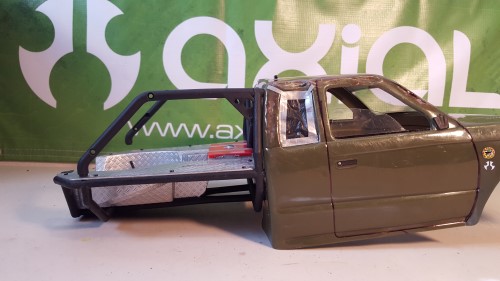
Once I attach the front section, I simply drill on the underside to attach the rear. I missed my mark the first time, but I don't think you will notice it when it's done.
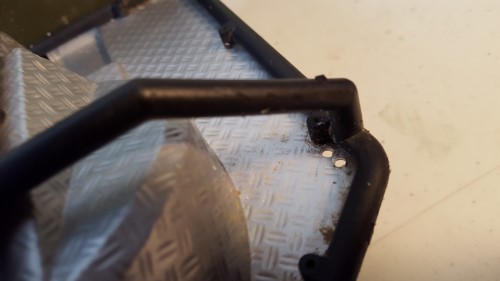
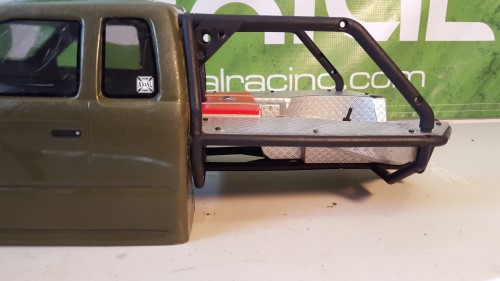
Once I attach the rear section, I am looking at the parts I have left from the Dingo cage. I have an idea...
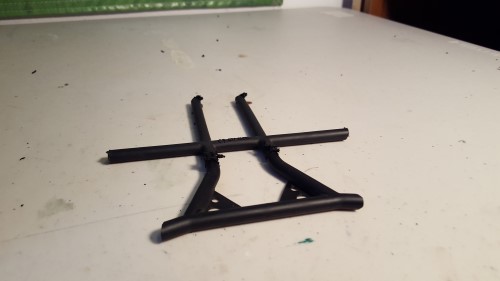
I like the look of this section so I am cutting it to use it.
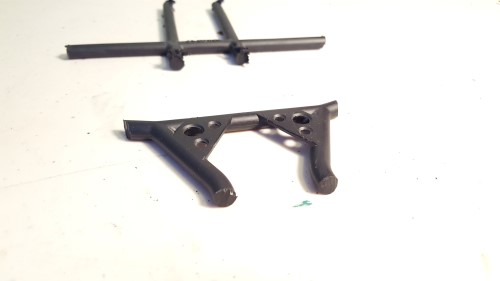
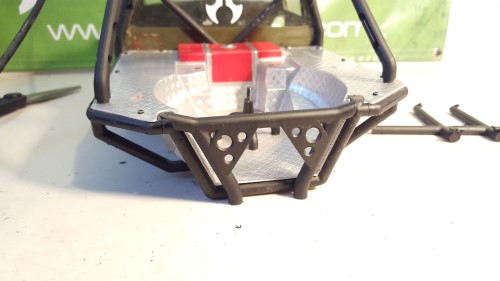
Looks good to me so I will just keep trimming it to fit. I am using a dremel with a cutting wheel.
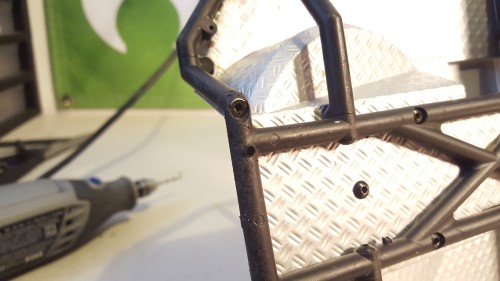
I have drilled a hole through the tubing to attach the new piece I will use.
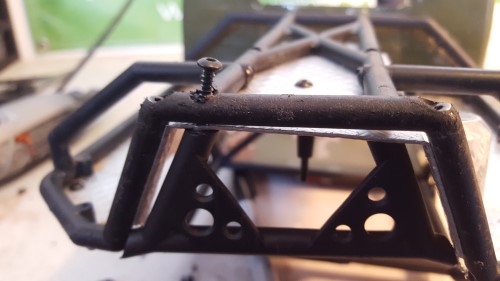
If you counter sink the screw, it will not stick out and it almost looks like it's made this way.
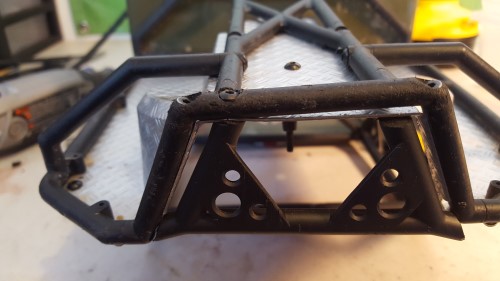
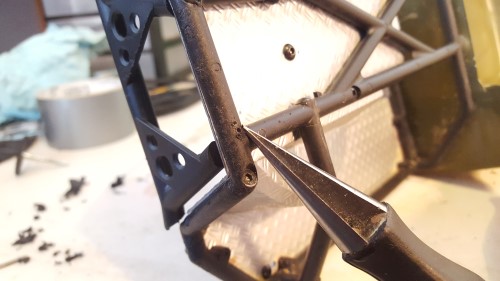
Here is a tip for you. It's very hard to drill into a round tube, so start it with a body reamer and you will find it's much easier.
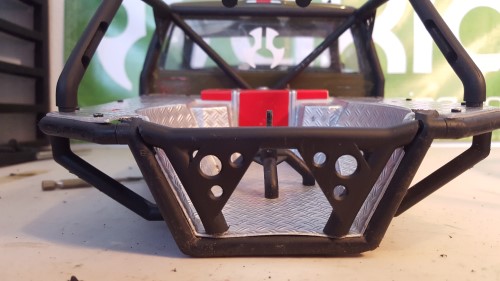
So I have my new piece in, held in place by screws in the bottom. I am not digging the old spare tire placement though. Maybe its overland meets racing.
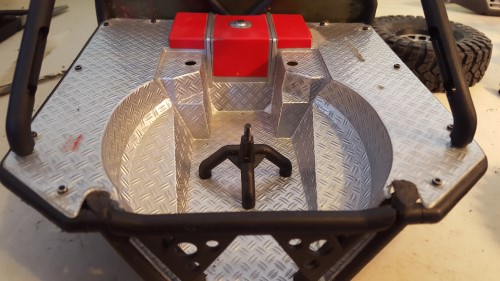
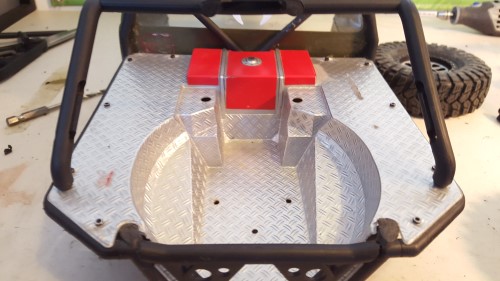
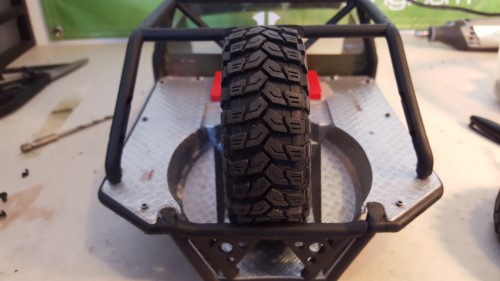
I like this look a lot better. On your build feel free to try new and different things. That is one of the great things about this hobby.
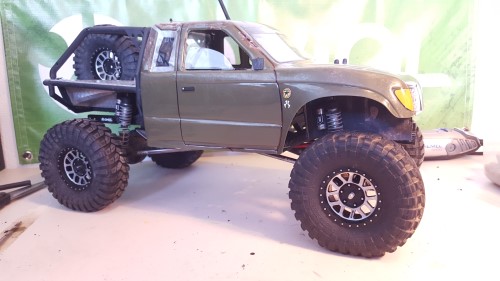
Even though I changed the cage and the way the spare tire sits, I feel it still needs more to be different.
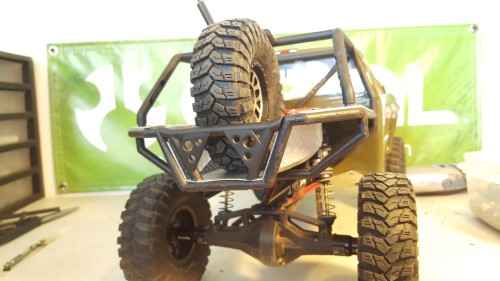
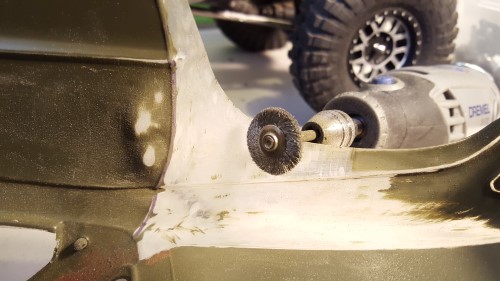
I break out the dremel once again. I am going to remove all the paint from one fender. I want to do it on the wrecked side.
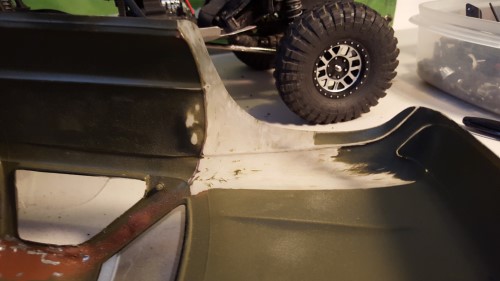
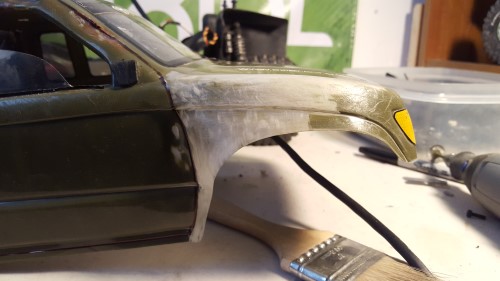
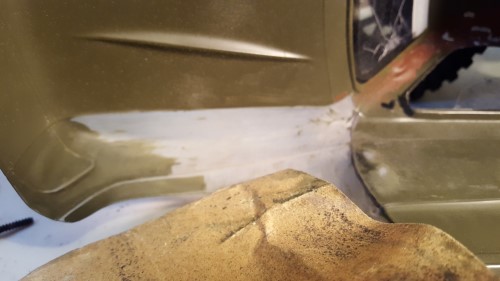
You can also do this with sand paper, or I know some people use chemicals like Nitro fuel or store bought products, but I want a rough look.
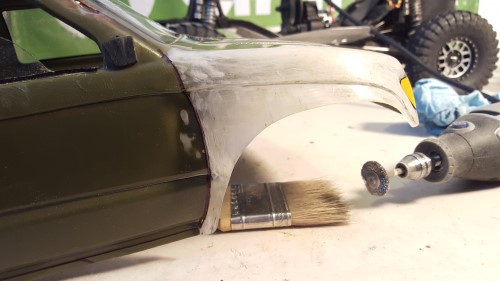
Once I have my paint removed, I will mask it off and paint it. Make sure you mask the windows too.
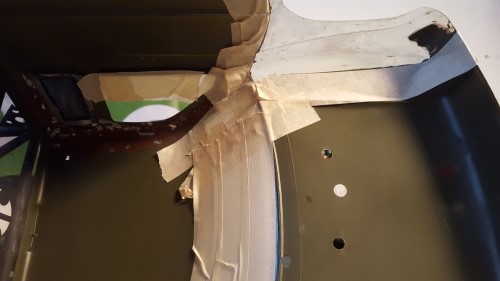
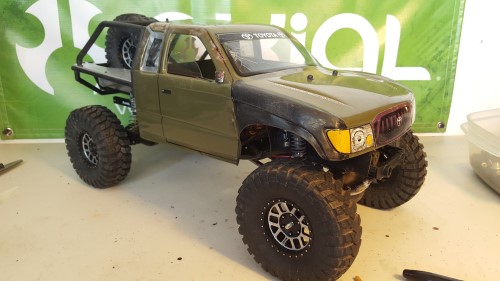
So here I have my black fender. It looks like its a flat black, almost like a replacement fender before the primer. You can do this on any body in any color. Pick any body panel or panels you want.
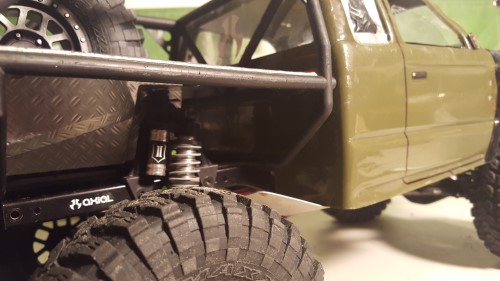
Looking at it more, I want to fill the voids under the bed towards the cab, so I'll put a couple of scale items there to fill it in.
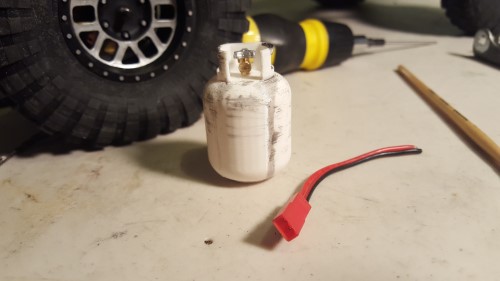
A scale propane tank and an old plug will work.
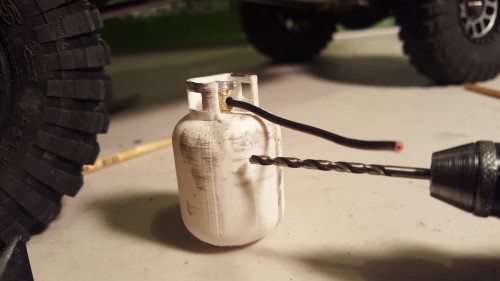
To secure it the propane tank, I drill a hole in the tank and run a screw through the top of the bed. You can use a spacer between the tank and bed for height adjustment.
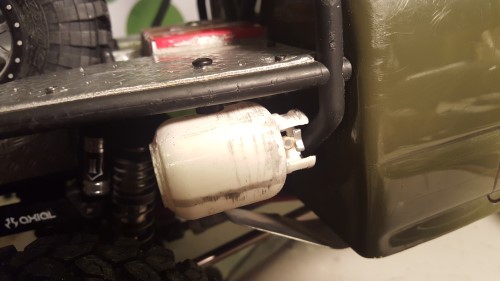
You can see the screw head on the top of the bed. Cut the plug off the plug and use Shoe Goo to hold together each end of the wire. I used the body reamer to put a hole in the bed for the propane wire to feed through.
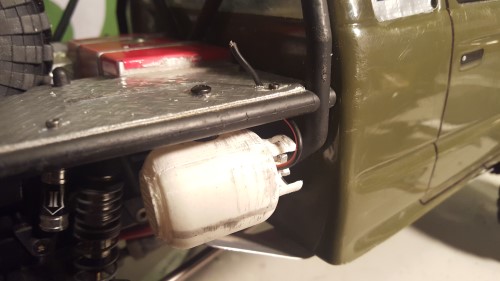
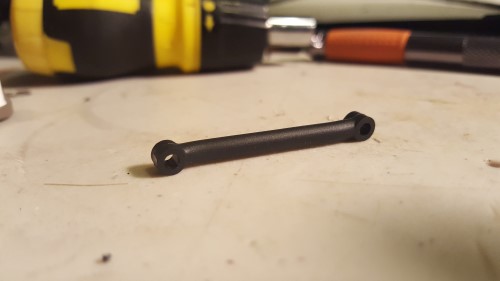
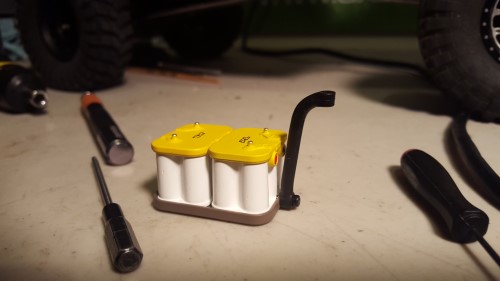
Next, I will put dual batteries in the other side to fill the void. This is a short light bar mount from an Axial parts tree.
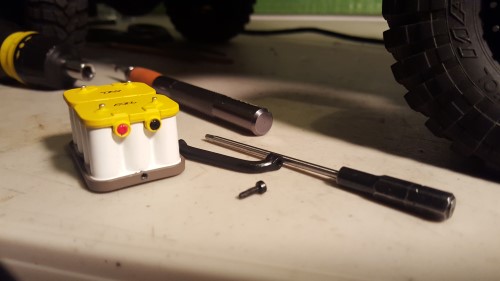
I heated the plastic and bent it. I will attach this the same way as the propane tank.
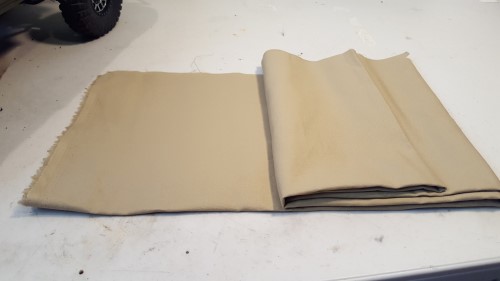
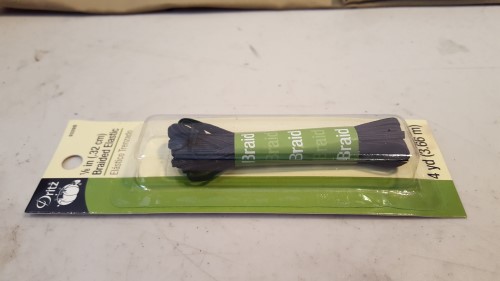
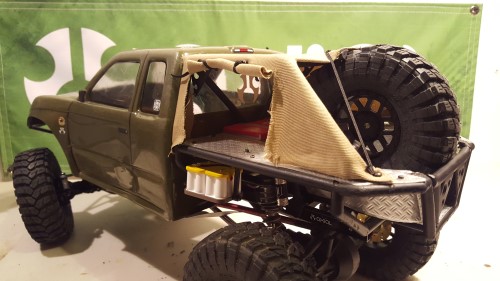
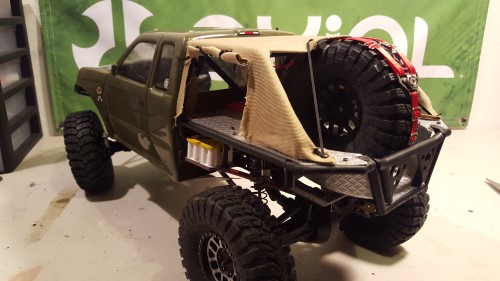
I want an expedition style look. I went to a local fabric store and bought this Tan cloth for a couple of dollars. I also bought some black elastic square chords.
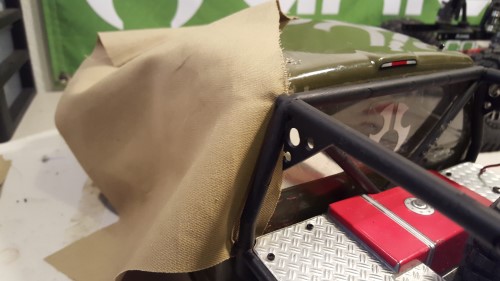
I pinch the fabric between the body and cab.
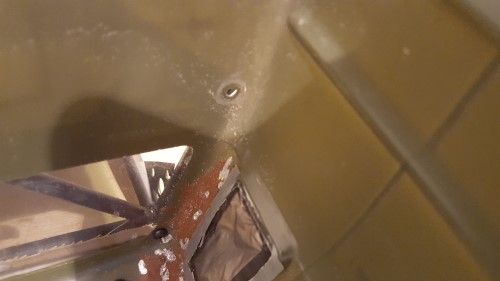
Simply remove the screw that attaches the body to the cage and you can pull the cage away enough to get fabric in. Just put the screw through the fabric and back into plastic.
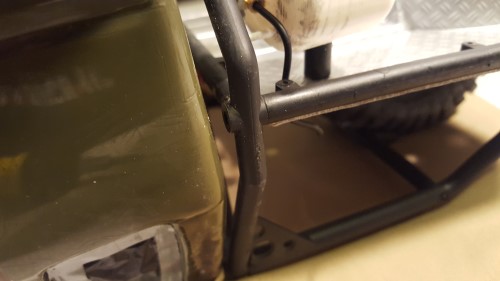
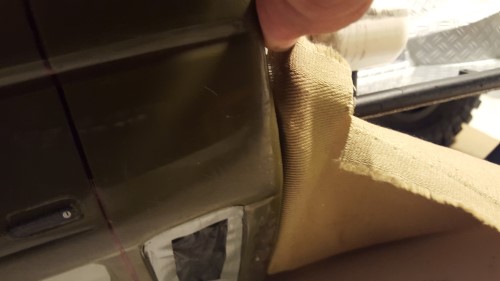
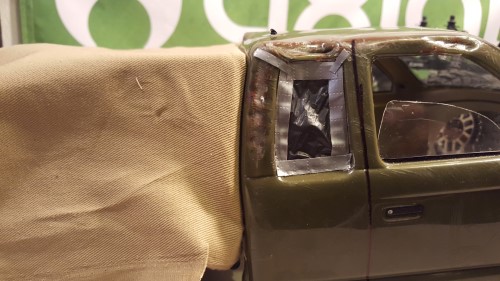
Pinch the fabric on all four points of the cab, just as the first one.
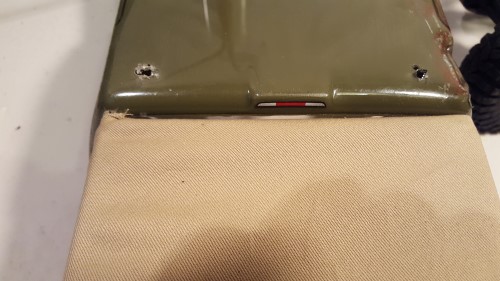
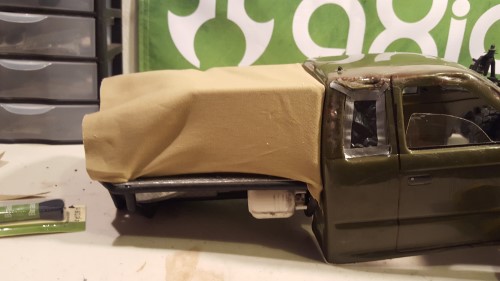
For the rear, I pinched the fabric under the rear portion of the new cage I added and the bed. I like the flat side look of the canvas, but I want the driver side to be different.
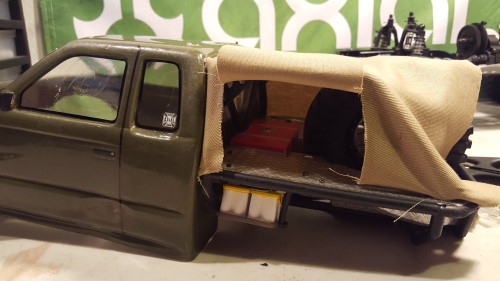
I simply cut the side so it looks rolled up.
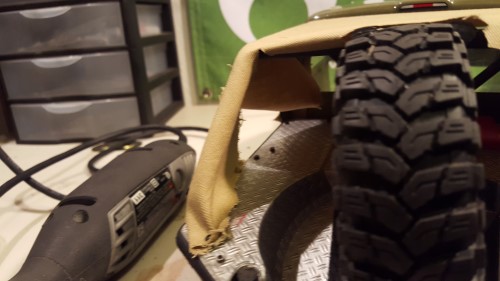
I am not going to sew this or anything. I'll just Shoe Goo the fabric together around the rear roll bar.
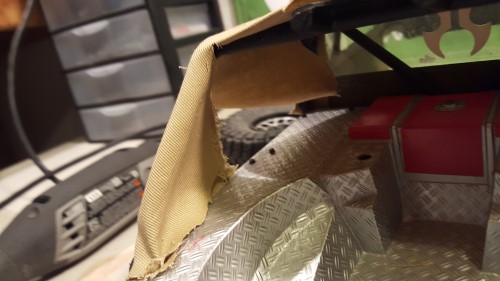
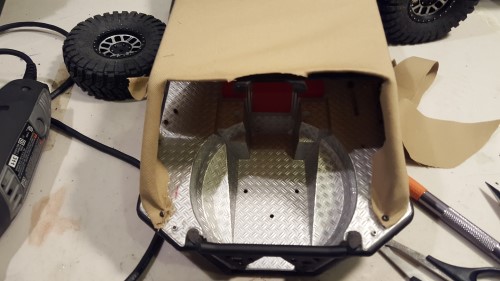
I trimmed off the access pieces from the rear to clean it up. Again, I used Shoe Goo to glue the fabric to itself.
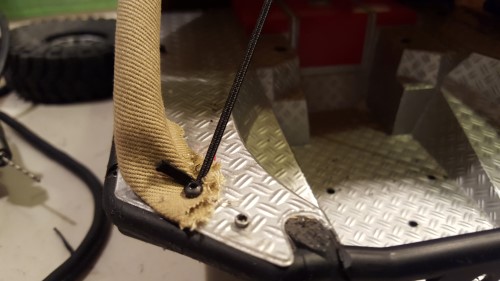
I am just screwing the fabric down on the rear, I am adding the flat elastic cord and pinching it down with a screw.
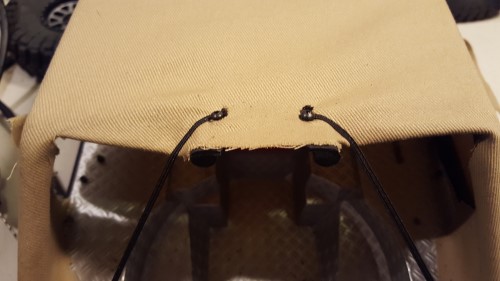
I drilled two holes and attached the elastic cords to the top. This does nothing; it's purely for looks.
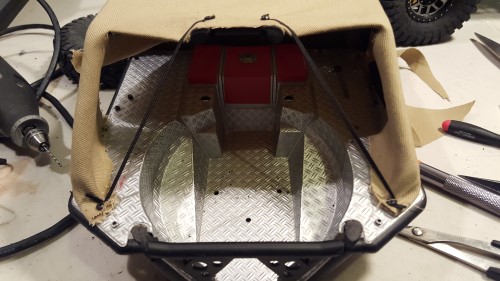
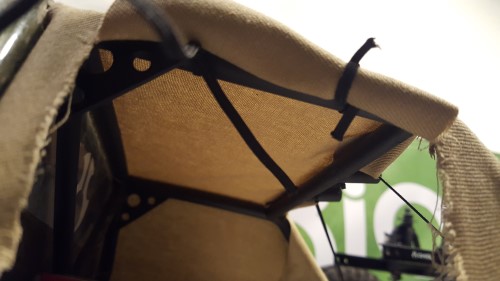
For the open side I am tying a knot to the roll bar on the bottom.
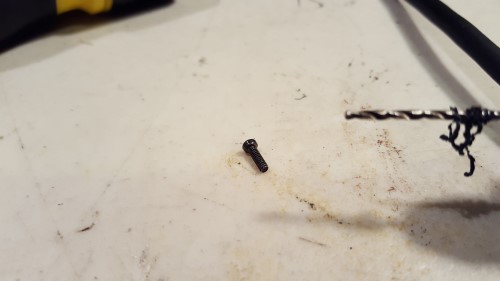
Next, I drill a hole (using a body reamer first) in the top roll bar for the elastic cords to attach to.
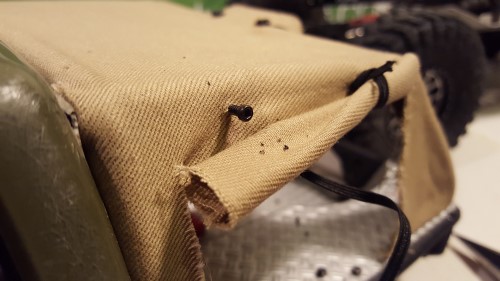
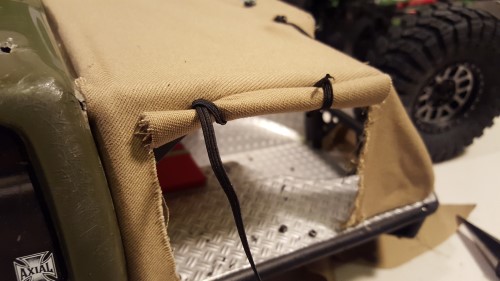
I tie the cords to screws and trim off access.
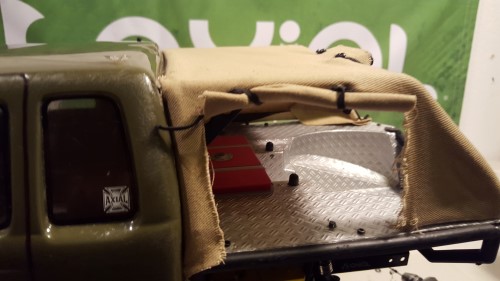
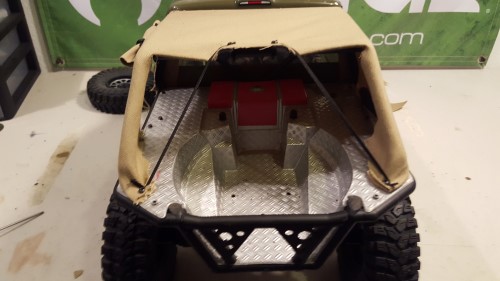
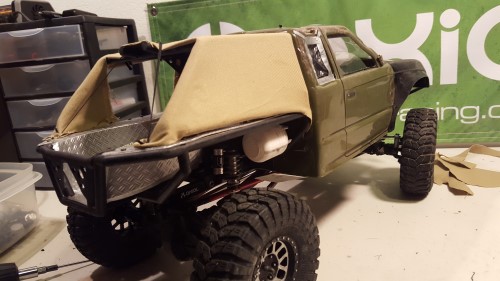
I'm satisfied with the overall look, but I need some contrast with the spare.
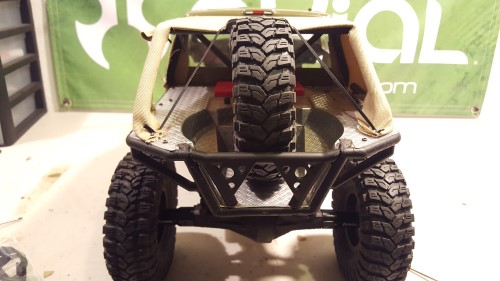
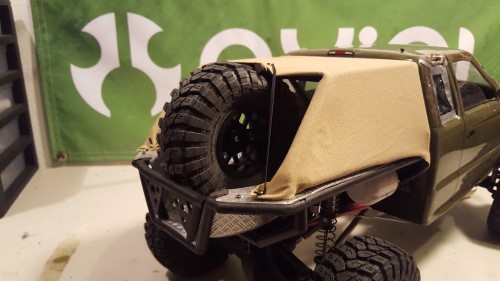
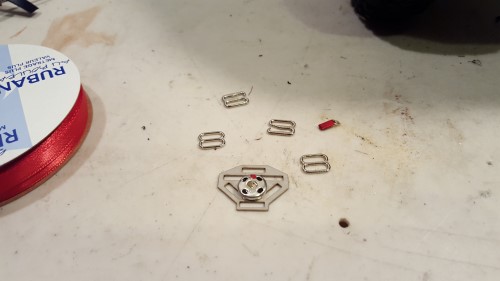
I have this mount I got from JRC (Judd Rummage Concepts) and I bought some red ribbon. I used this set up on my Axial SCX10 Chevy Baja build.
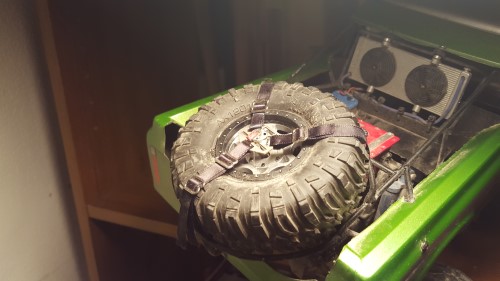
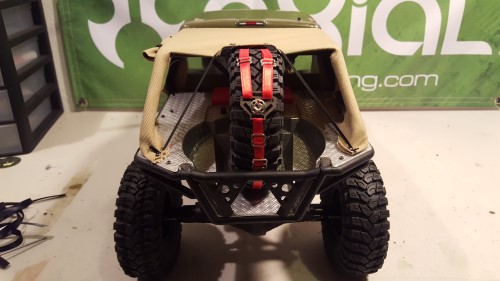
I like it. The spare is pinched in by the cage and it's pretty snug.
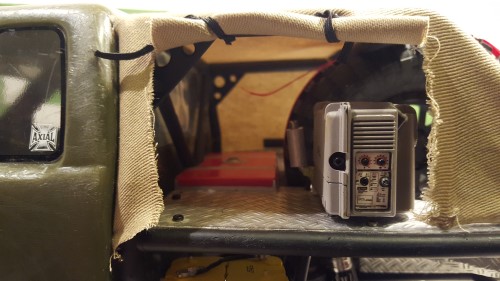
I can add some scale items or do whatever I want with this side.
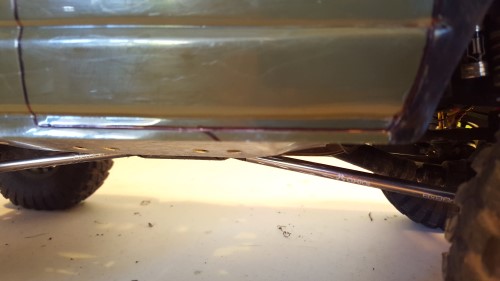
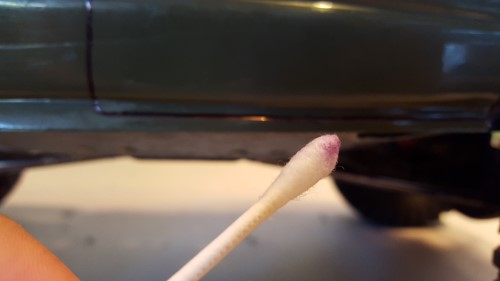
Here's another tip - if you use a sharpie to make the body lines, you know it's sometimes hard to stay exactly on the lines. Don't worry though, you can easily fix this. You can see where I went off the lines. Pictured above and below.
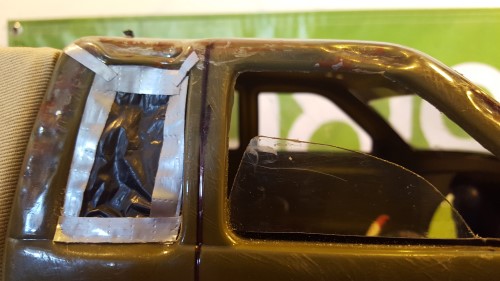
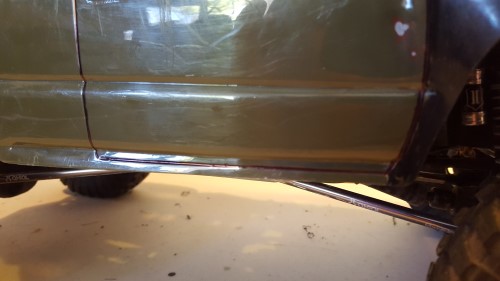
Now it's gone. Use some rubbing alcohol and a Q tip or rag and you can wipe it off. You can wipe it completely clean and try again or just remove the line you want gone.
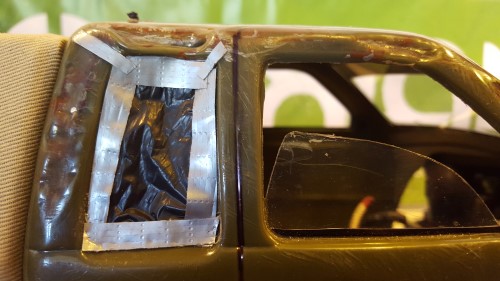
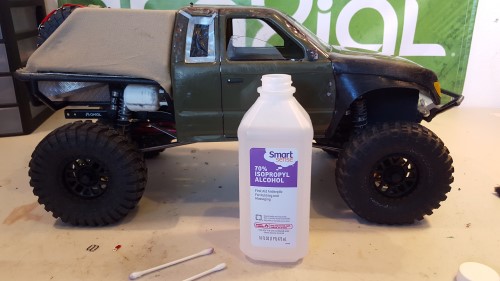
The lines just add to the overall look. It's your build so it's completely up to you. When it's all done you should end up with a transformed body.
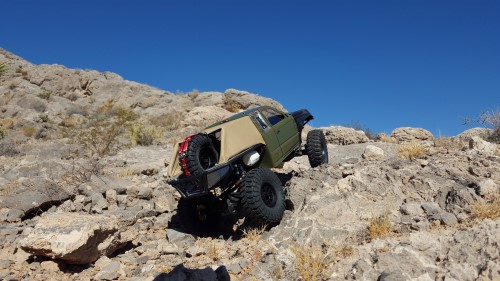
On Part 2 of this blog I will do a simple interior, driver, and some lights to complete this truck. Hopefully it was helpful or at least gives you some ideas. Don't be afraid to try new things. We all start somewhere. If you're new to the hobby or customizing, then you should know this is all about being creative and using anything that helps create what you envision.

