Posted: 8/1/12
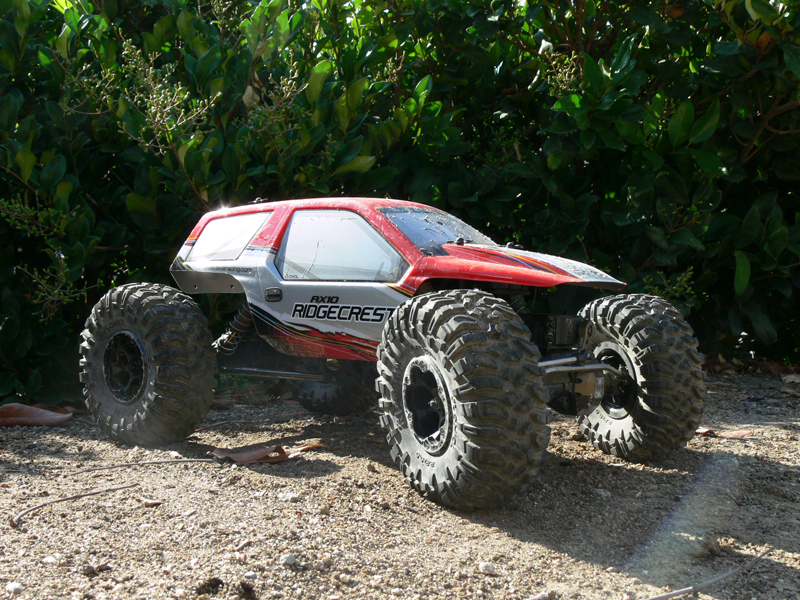
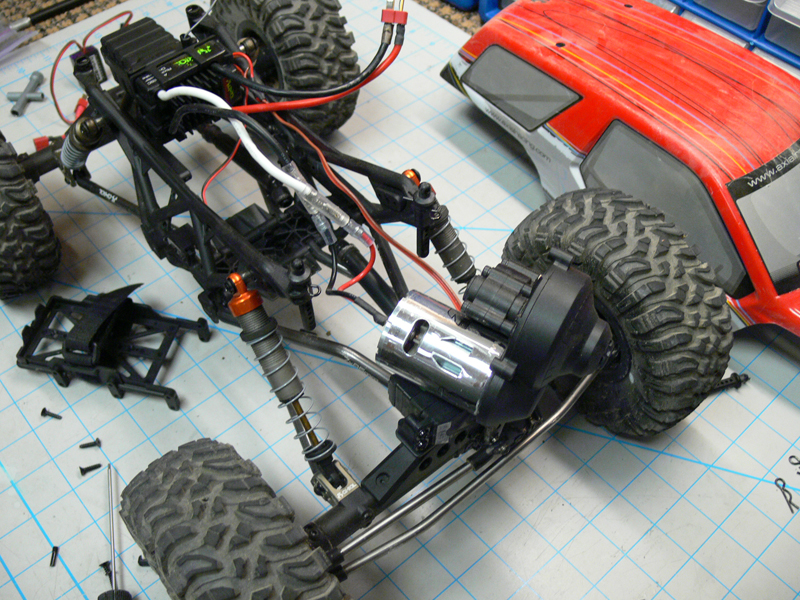
I know it's been awhile, but here's the Stage 3 build of my AX10 Ridgecrest. Don't get confused with Bender's build. He's working on a Ridgecrest too. If anyone needs a refresher on this build check out Stage 1 and Stage 2. In this final instalment of my build we'll be completing the drivetrain upgrades.Let's start out by replacing the stock 20T motor with a 27T and reduced gearing for improved low end torque. You can get the motor and transmission assembly out by removing the battery tray or receiver tray. You don't need to remove both.
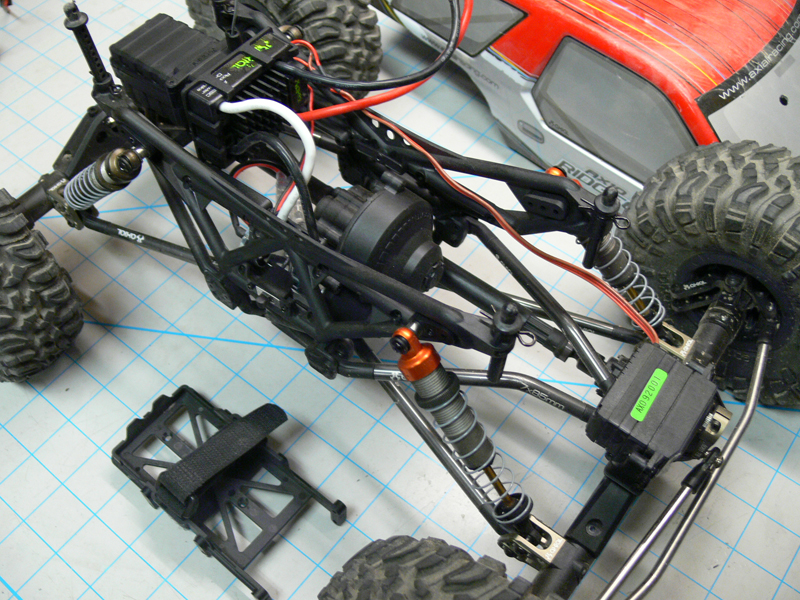
Then remove the set screws from the drive shafts and remove the drive shafts from the transmission outputs.
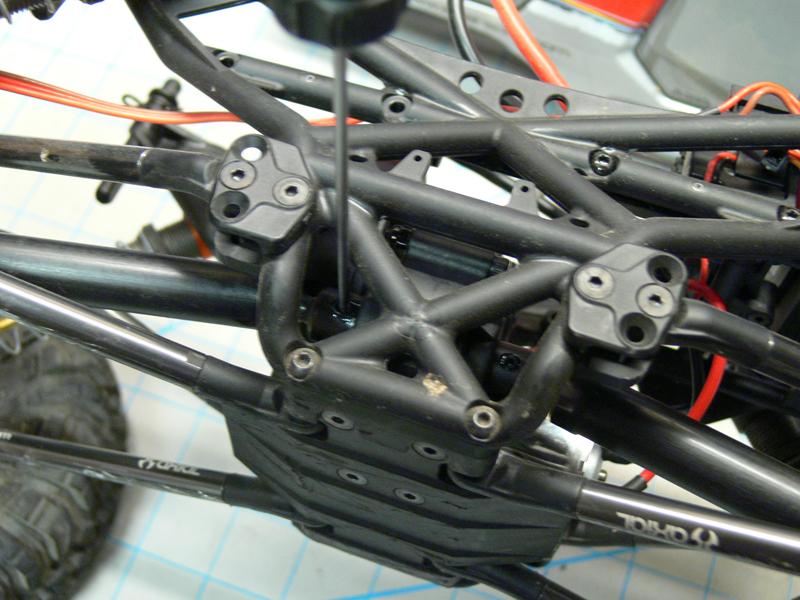
Then remove the 4 screws that hold the transmission to the skid plate.
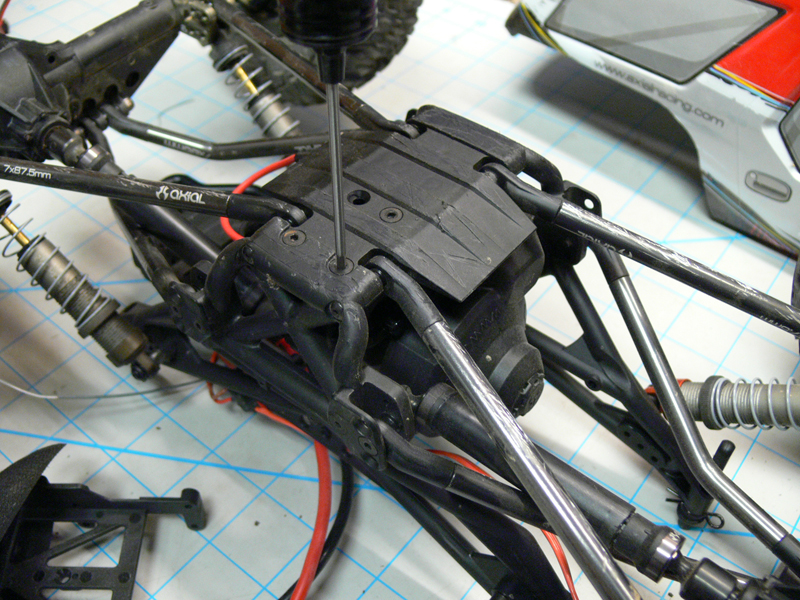
Then with a little finagling, the whole assembly can be worked out of the chassis.
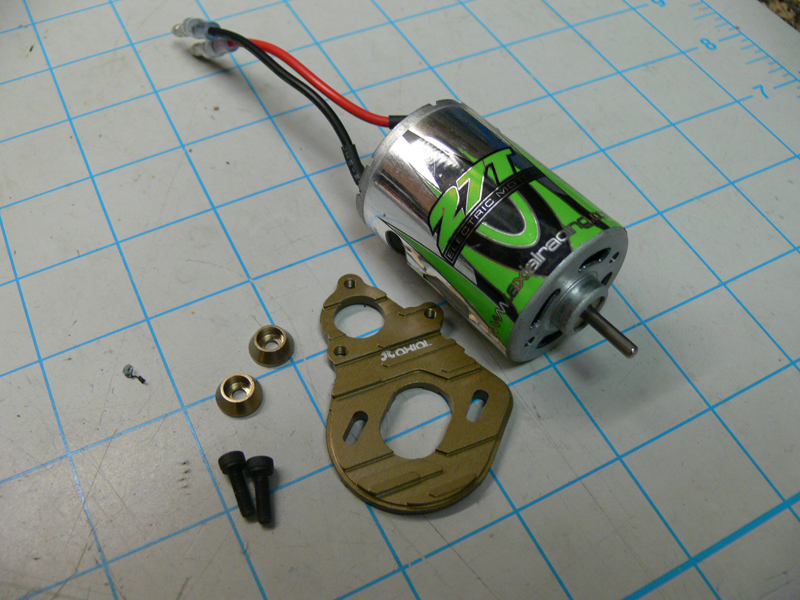
I'll be intsalling a 27T motor and new aluminum motor plate:
(1) AX24004 Axial 27T Electric Motor
(1) AX30860 Machined Motor Plate (Hard Anodized)
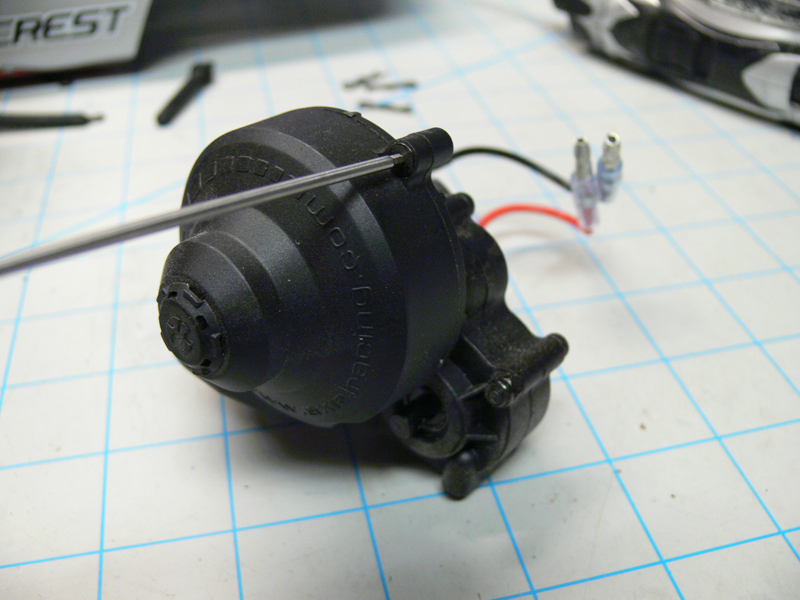
Remove the spur gear cover to access the motor bolts and spur gear.
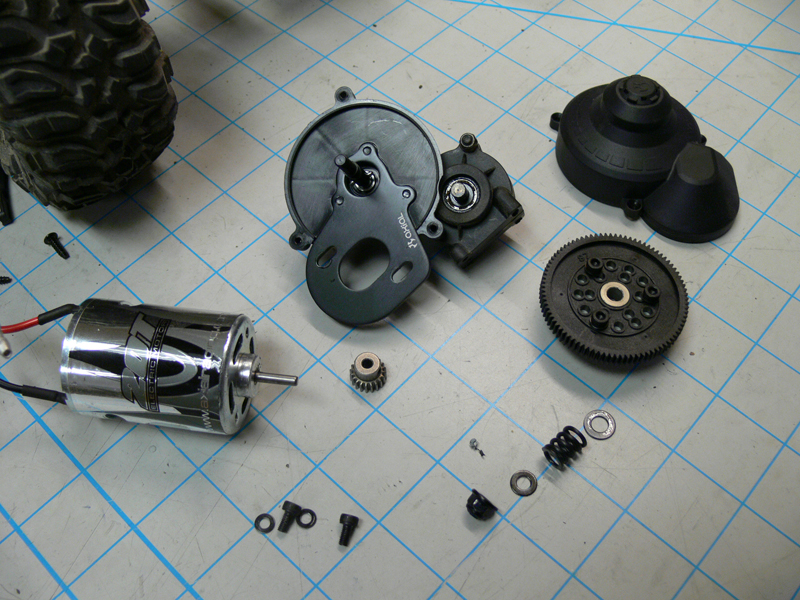
Loosen the 3 M4 caphead screws at the back to release the motor plate.
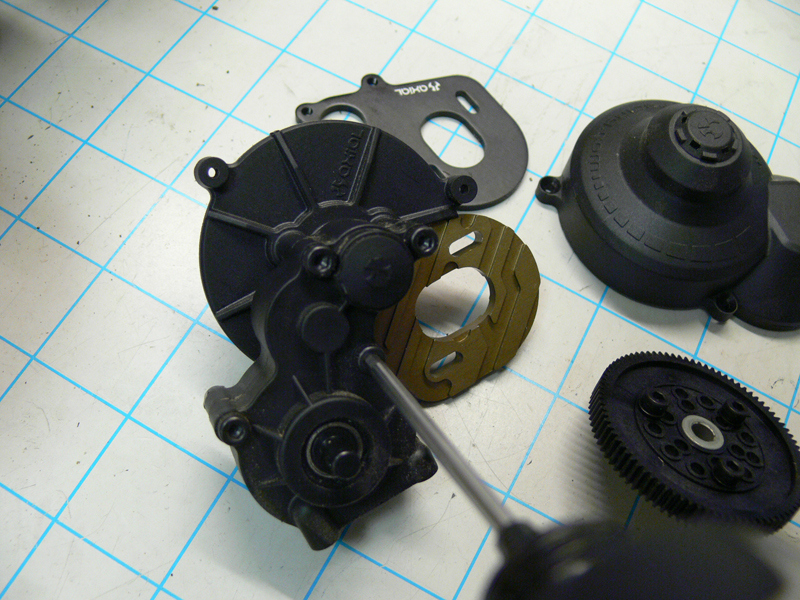
The AX10 Ridgecrest come with a 87 tooth spur and 20 tooth pinion. I'll be using the 87 tooth spur but with a 14 tooth pinion gear for even more low end torque.
(1) AX30569 Pinion 48P 14T - Steel
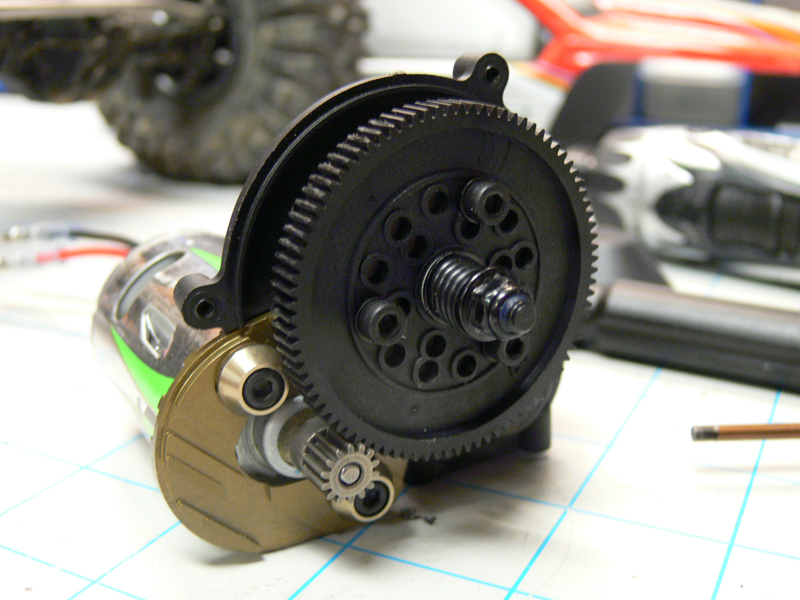
Then I re-installed the spur gear cover and dropped the assembly back into the chassis. Now on to the axle gearing.
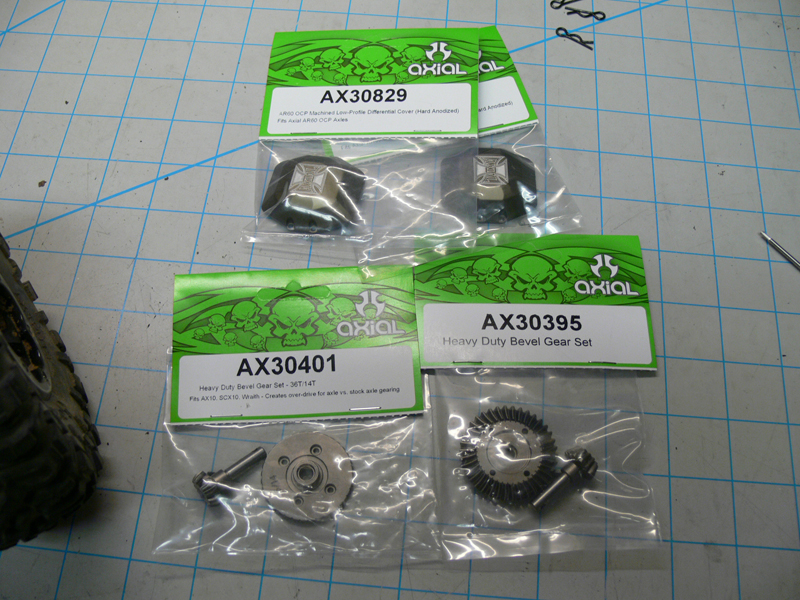
I ordered heavy duty gear sets and I will be using an over-drive gear set in the front axle to help the vehicle pull itself up steep climbs. And while here I 'm adding some machined aluminum differential covers. They look great, but being low profile and smooth have less chance of getting caught on the rocks.
(1) AX30395 Heavy Duty Bevel Gear Set
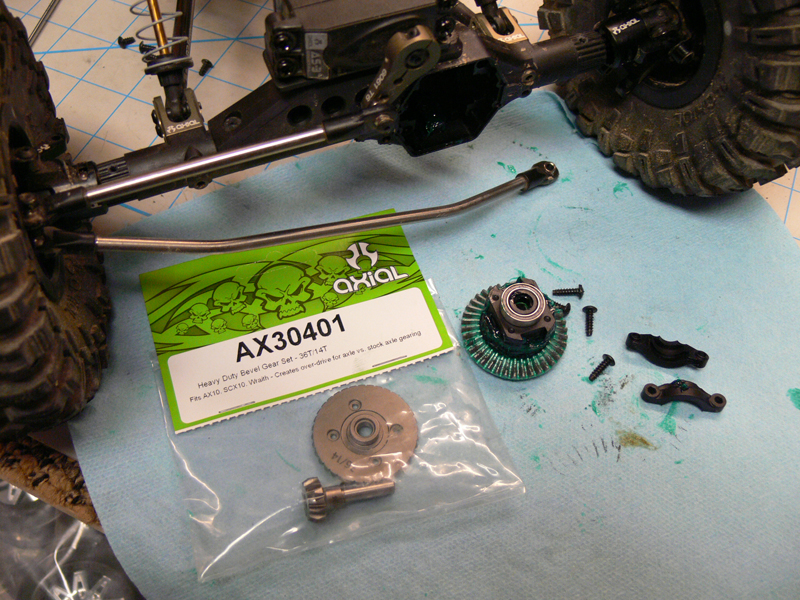
(1) AX30401 Heavy Duty Bevel Gear Set 36T/14T (over-drive)
(2) AX30829 AR60 OCP Machined Low-Profile Differential Cover (Hard Anodized)
Starting with the rear axle, remove the deferential cover and note the placement of the ring gear in the axle housing. You want to make sure the new ones go in the same direction!
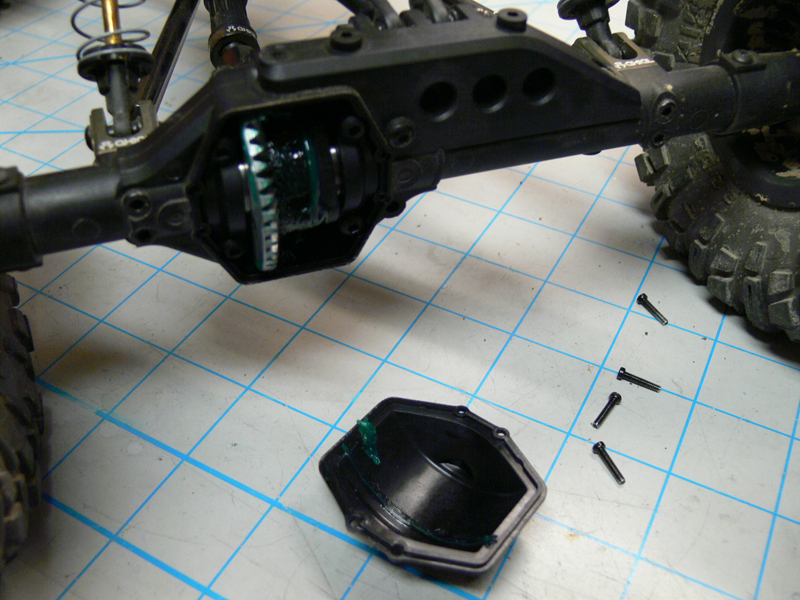
Remove the screws that retain the axle ends and slide the axle ends off enough to pull the axles from the differential. Then remove the 4 screws that retain the differential in the housing.
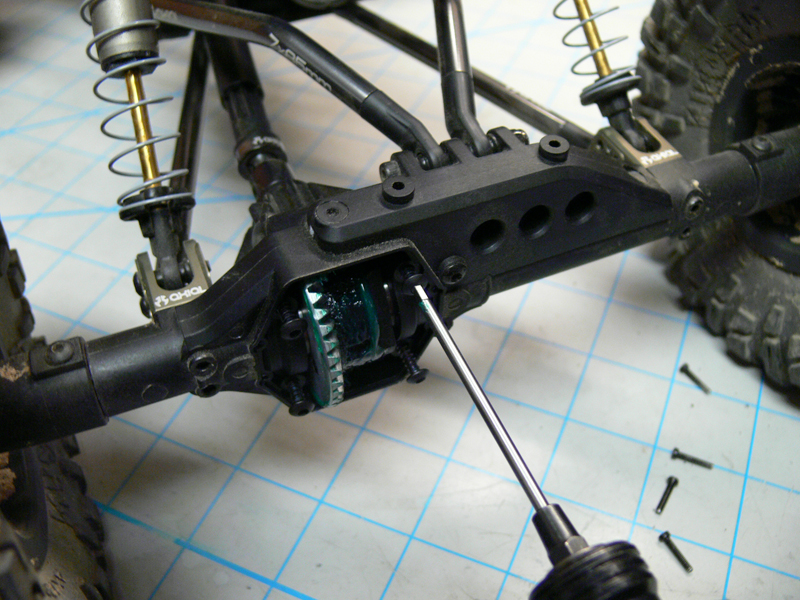
Remove your stock ring gear and install the heavy duty gear.
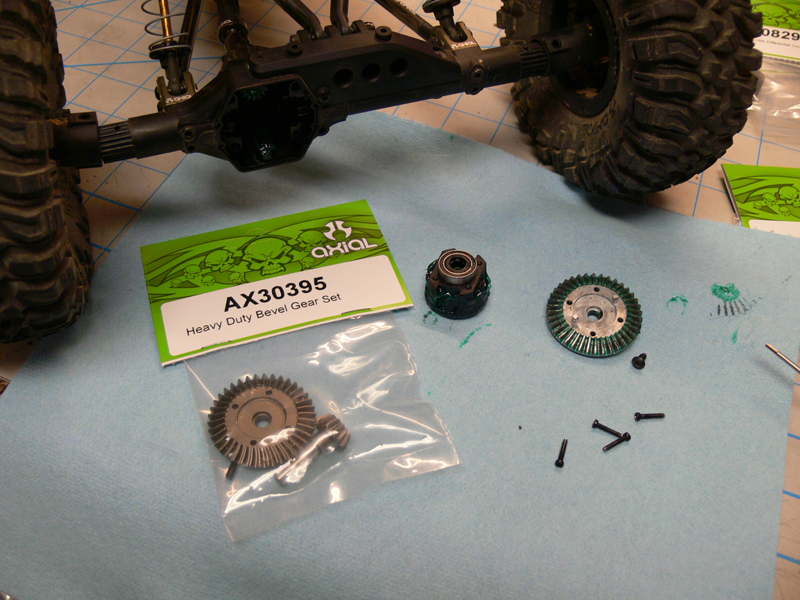
Removing the drive shaft from the pinion input you can simply slide the pinion out and replace it with the heavy duty unit.
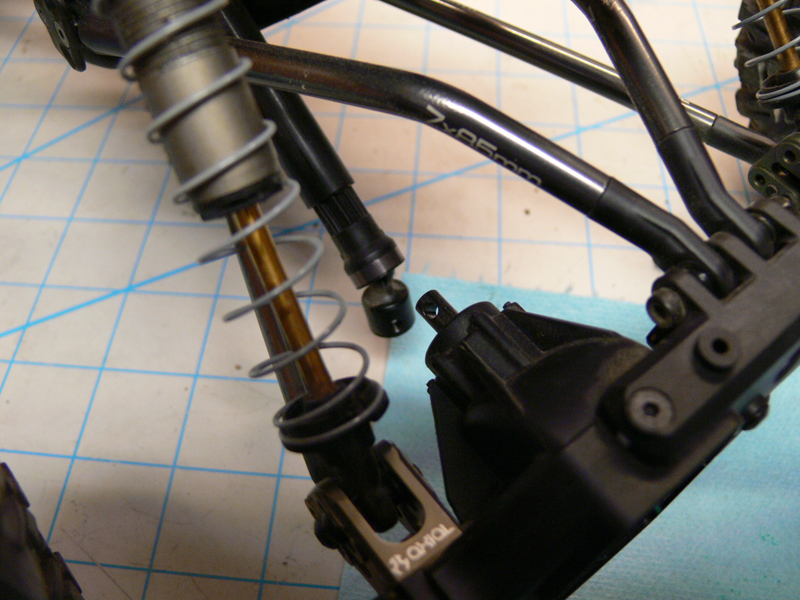
Grease up the gear and install the differential, making sure it's the same direction as factory installed. If the ring gear was on the left side of the differential when it came out, make sure it goes back in on the left side.
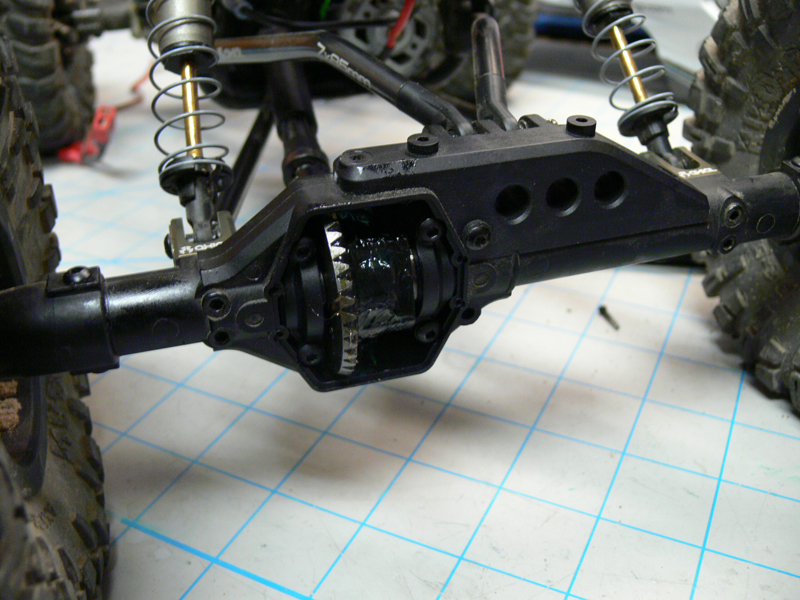
Then I installed the new machined differential cover. Looks sweet!
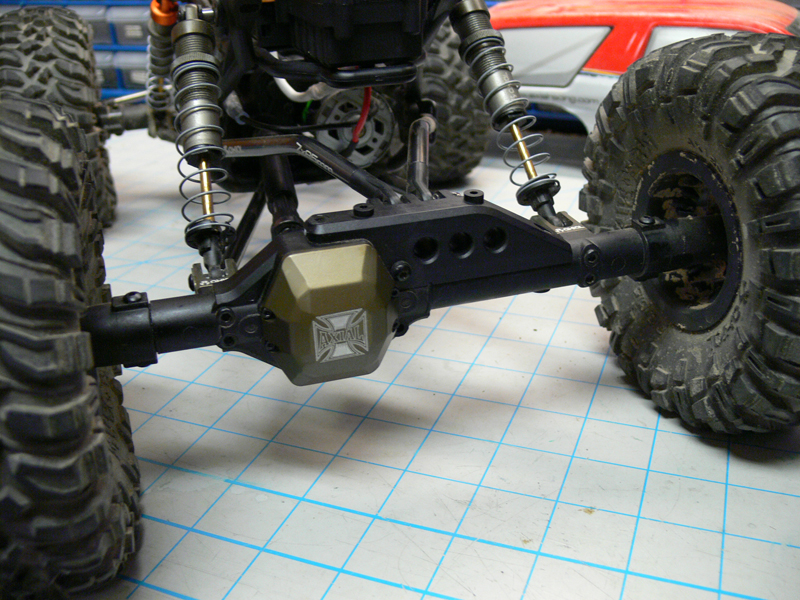
The front is all the same procedure except you'll have to get your steering link out of the way, plus I am using an over-drive gear set. This turns the front wheels just a bit faster than the rear and helps pull the vehicle up steep hills.
When finished, she looks about the same as Stage 2, but again crawls even better with the increased low end torque and has much more throttle control at low speeds. In this configuration I attended the OCRCRC Finals and I participated in a fun new event called King of the Park. Based on a King of the Hammers style race, SCX10s, Wraiths and my Ridgecrest battled for 4 long laps around a coarse of high speed dirt, sand, intense rock crawling and a small water crossings.
The AX10 Ridgecrest had enough speed to out run SCX10s, keep pace with Wraiths and crawled just as good as any vehicle out there. If not for the driver, and one horrible lap, I know the AX10 could have been in the top 5. I still had a blast! Over an hour of beating and abuse, you can see the scars to the window decal, nothing broke and impressed many. Check out Bender's video just after 5 minute mark to see the madness.
