Posted: 2/7/11
Lately there has been a surge in scale truck competitions. The competitions range from mild trail runs with gates, to full on "Top Truck Challenge" style events. No matter which style event you are into, there is probably going to be one common obstacle at most of these scale events.....................water. As most people know water and electric R/C's don't really mix well together. Most electronic R/C's can be very sensitive to moisture, let alone splashing water and/or snow. But, with some care and a little preventive maintenance driving your SCX10 in wet conditions can be done with no consequences to your electronics, or your wallet. This article is geared towards keeping your electronics dry, even if you completely submerse your SCX10 in water. There is something about driving scale R/C trucks in water, mud and snow that is unbelievably fun. I can't really put my finger on it, but for some reason it is an absolute blast. So, here are a few tips to help keep you splashing around in your local creek, instead of at the work bench replacing ruined electronics.For this article I will use a stock SCX10 TR Honcho, that has been modified to run 2.2 wheels and tires. Here's how it looks before I got started.
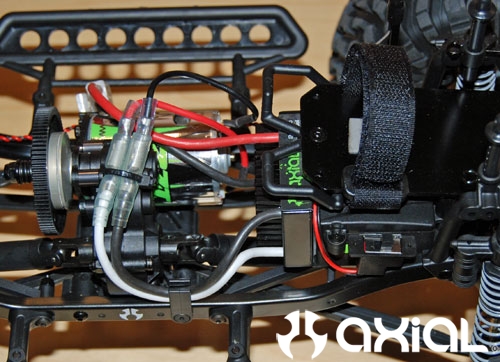
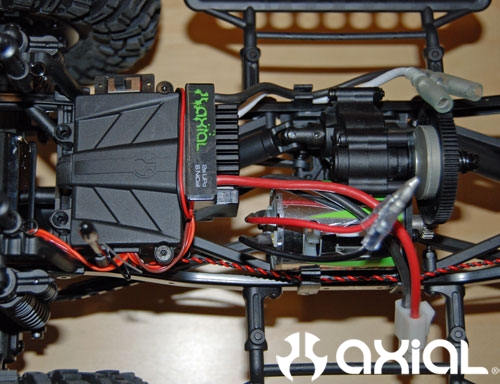
Here's how it looked after I removed the battery tray. Next I took the cover off the receiver box, then peeled the ESC off the box as well.
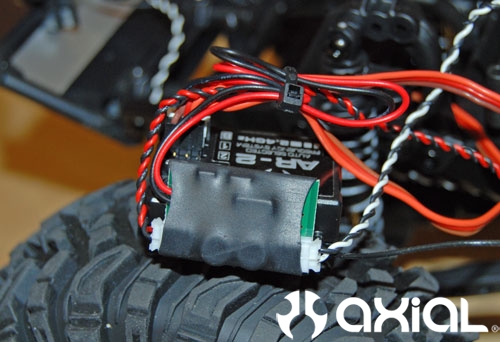
I started with the receiver and simple LED kit. First, I used a little double stick tape to attach the LED controller to the side of the receiver. With it configured like this I will still be able to put everything back inside the electronics box after the balloon treatment. Make sure your wires are somewhat organized too, and are all on one side of the receiver. The wires will exit the balloon through the opening.
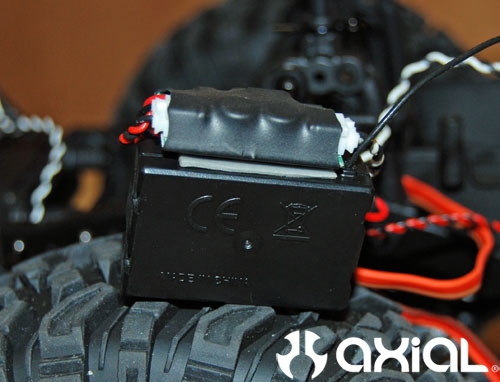
Now grab a balloon and stretch the open end up using both hands.
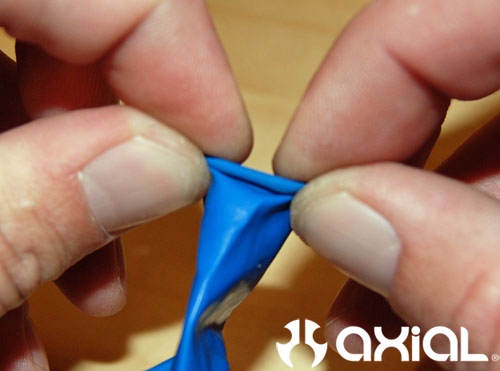
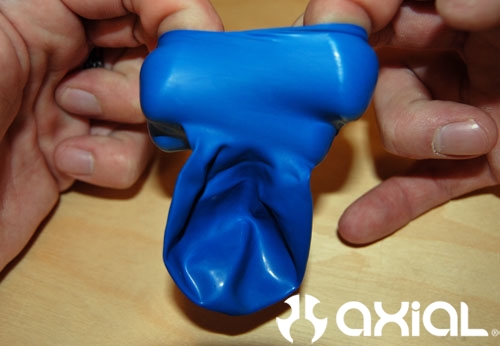
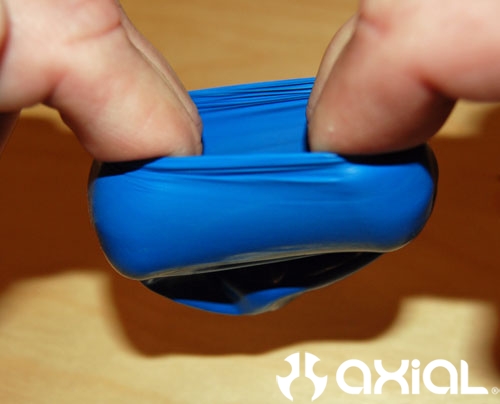
While holding the balloon open, use your left over fingers to guide the receiver and LED controller into place.
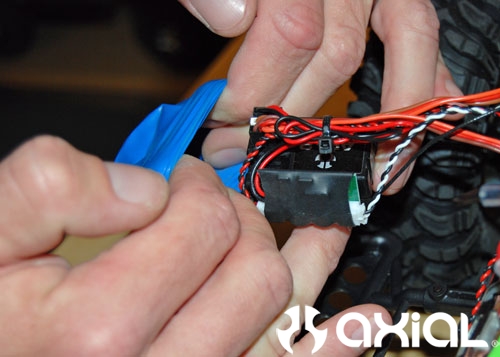
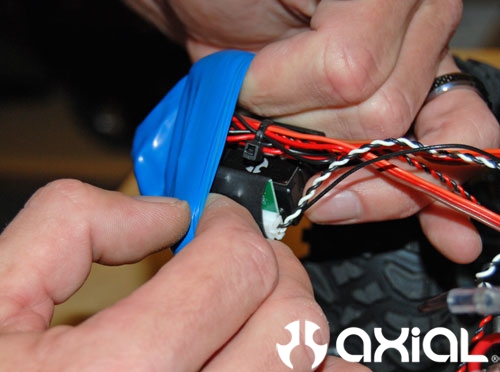
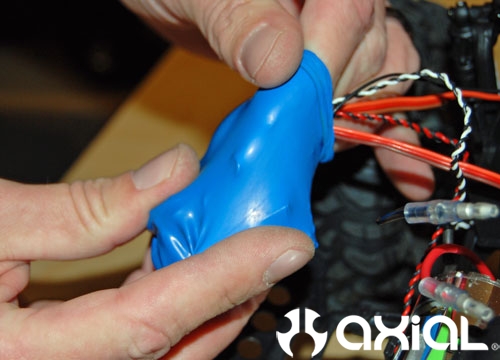
Here is how it will look after installing the first balloon.
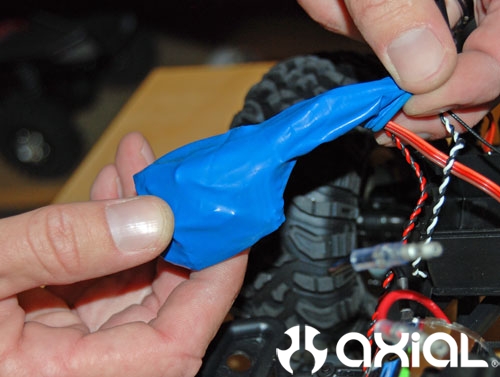
Now we will move onto the ESC. I marked the power switch on the ESC with a Sharpee, so I know where the "on" position is. We will be inserting the ESC inside another balloon, and access to the power switch may no longer be available. I personally would cut the switch off and solder the positive and negative leads together. So when you plug your battery in the ESC kicks on automatically. But, there are ways around that if you don't want to solder.
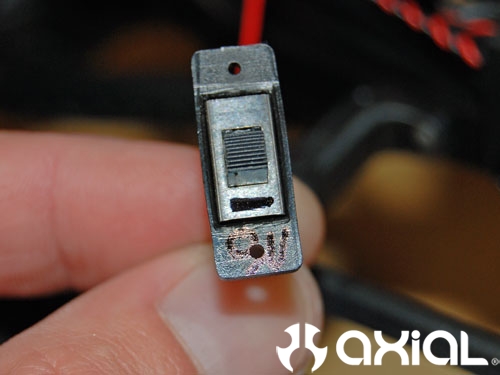
To avoid soldering the power switch leads, I just used a Ziptie to ensure the ESC remains on at all times. Depending on how it's set-up, you may be able to access the power switch right through the balloon.
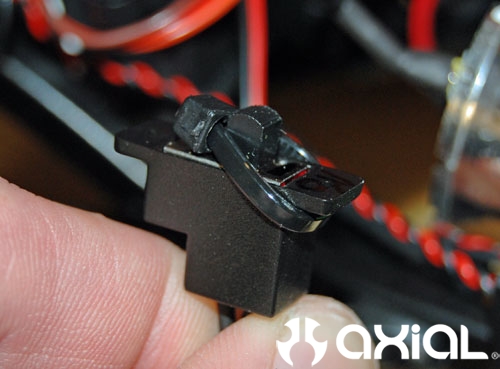
After prepping the power switch, I used a little double stick tape on it as well, and attached it to the side of the ESC.
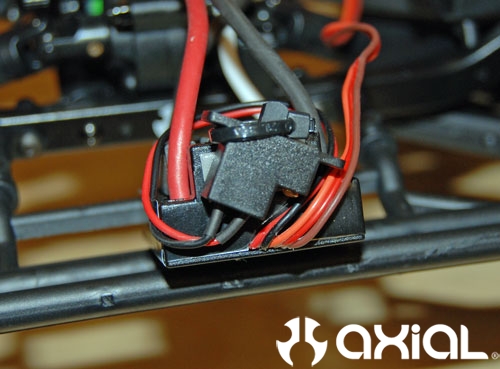
Here you can see the ESC is ready to be installed inside another balloon.
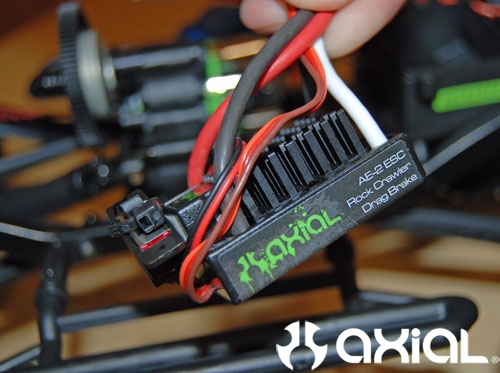
Stretch the balloon over the ESC just like you did for the receiver.
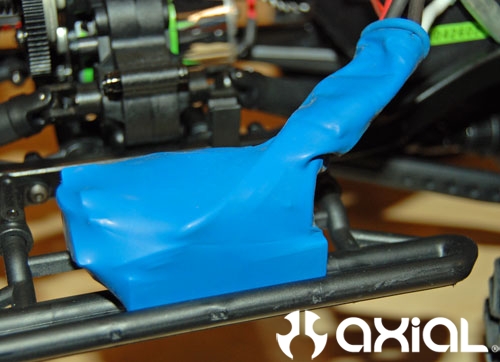
Now grab a second set of hands to help with this next step. Have your second set of hands hold the ballooned electronics at the base of the ESC/receiver and at the end of the balloon. While you grab the neck of the balloon in the center, pull up, and wrap it around itself as many times as you can.
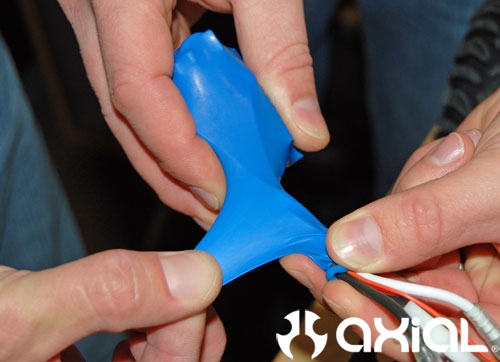
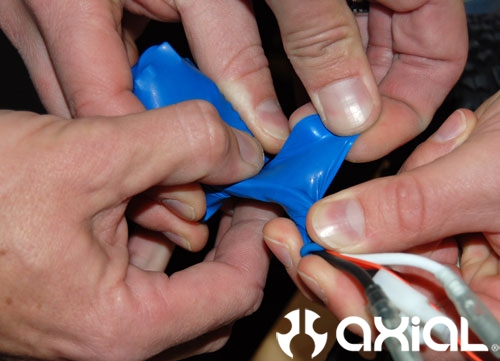
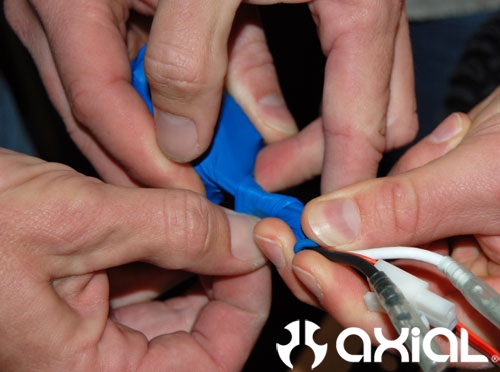
Now use a Ziptie to hold the neck of the balloon in it's wrapped state.
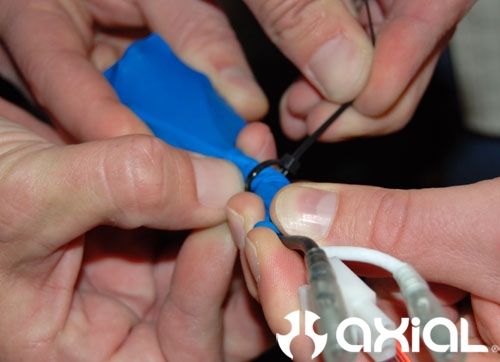
Add a couple more Zipties to either side of the first after, just for piece of mind. Also, we will be installing a second balloon over both the ESC and receiver, so try to keep the first set of Zipties that hold the neck of the balloon close to the actual ESC/receiver. Because the second balloon will be installed over the whole assembly, and you will have to wrap the neck of the second balloon just like you did the first.
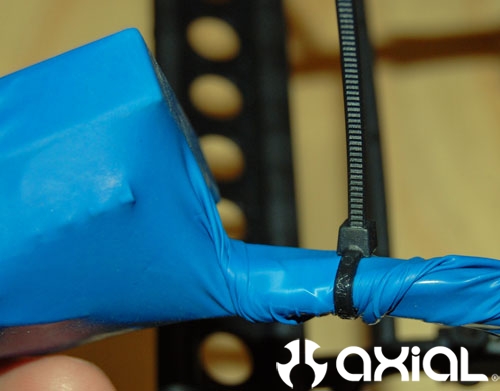
Now, as mentioned in the last step, double balloon the ESC and receiver using the same method. It may seem redundant to wrap the electronics in a second balloon. But, I will gladly spend the extra few minutes and .5 cents it takes to ensure my electronics are 100% safe from moisture. Please keep in mind that you will want to monitor your ESC temps for the first few runs to make sure nothing is going to overheat. If you are geared right, temps shouldn't be a problem at all. But, if your ESC gets hot under normal driving conditions, you may want to install a smaller pinion on the motor to help eliminate heat.
You can see the receiver fits nicely back into the stock location , after I installed the second balloon.
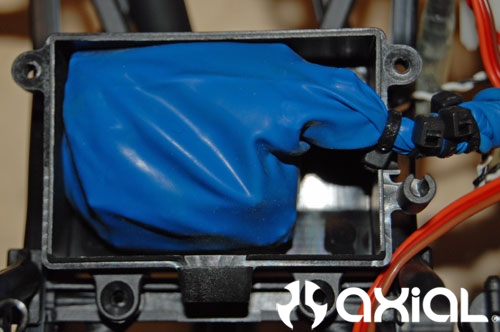
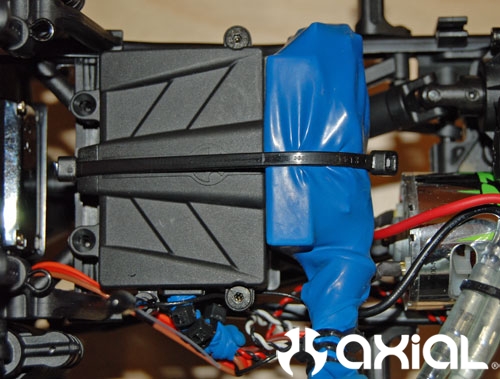
Here you can see everything is back together just like the stock set-up. I used double stick tape to re-attach the ESC to the radio box, then added a Ziptie around them both, just to make sure the ESC doesn't go anywhere.
Now it's time to prep the steering servo. Remove the servo horn, then remove the servo from the axle.
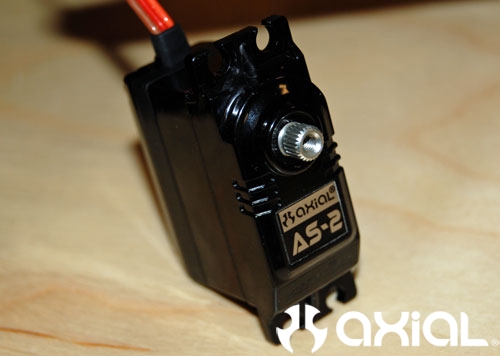
Now remove the 4 screws from the bottom of the servo.
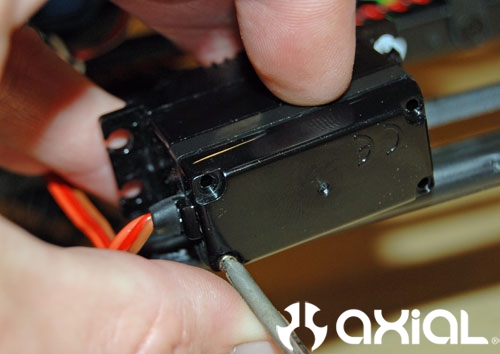
Remove the top and bottom caps.
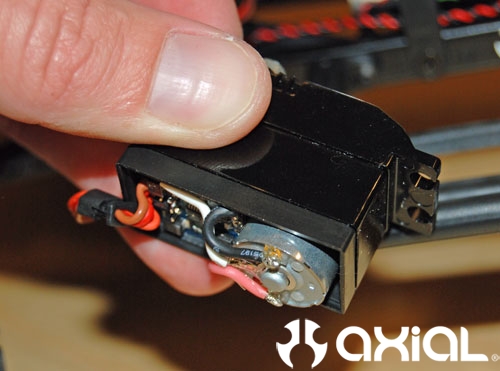
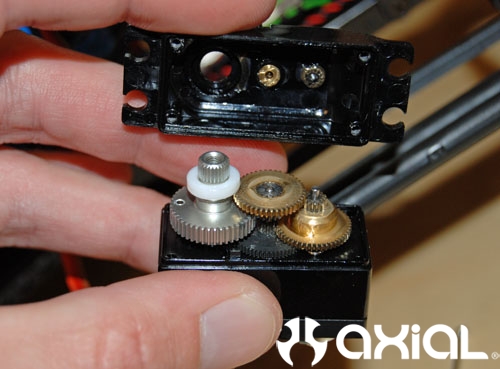
For this step we will use some dielectric grease to stop water from entering the servo through the hole in the top cap.
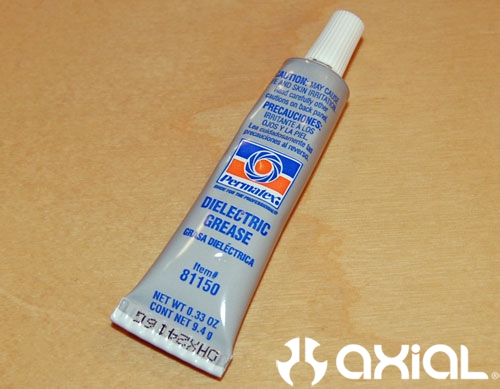
Add some of the dielectric grease around the servo's splined output shaft, on top of the bushing/bearing.
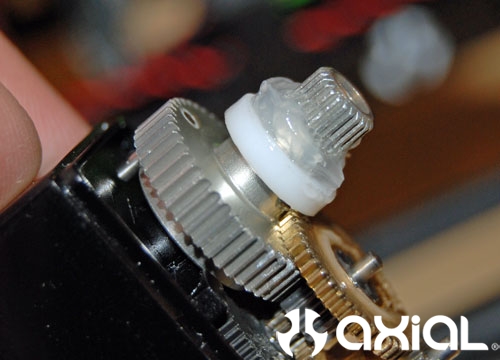
I also added a little more dielectric grease to the gears just to re-lube them.
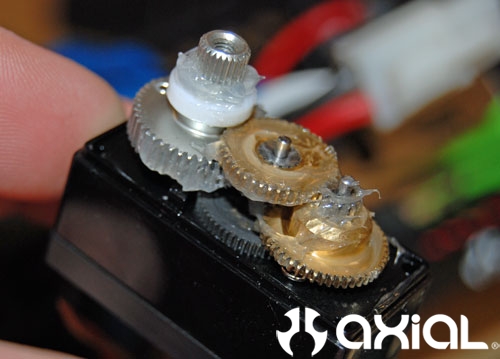
Then reassemble the servo, you should see the grease starting to push out around the servo's output shaft. Now reinstall the servo on the front axle.
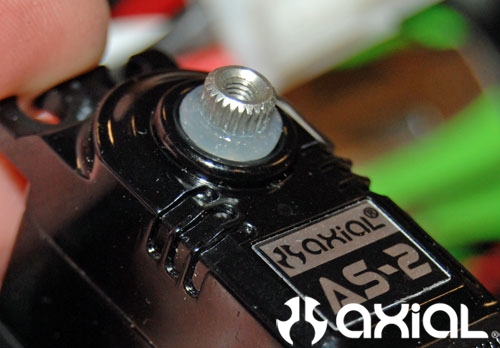
For an extra measure of protection you can dip the whole servo in Plasti-Dip. It's a liquid rubber compound that will coat the outside of the servo, and help stop water from penetrating the working internals. While no one here at the Axial headquarters has used this method, or can endorse the use of this product. There are video tutorials on YouTube that show the proper method for using the Plasti-Dip. Also keep in mind if you plan on submersing your SCX10 in water deeper then the center of your headlights, you should install a high quality snorkel first.
One last thing we should mention is that running your SCX10 in water will rust anything that is steel on your truck. Bearings, steel gears, axles shafts, etc will all develop rust if exposed to water. Proper maintenance will be required to keep rust down to a minimum.