Posted: 4/23/14
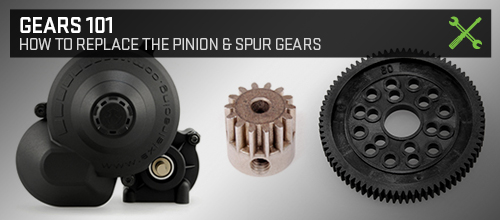
There are certain repairs or tasks that experienced hobbyists take for granted and newcomers to RC, in contrast, often find intimidating. A great example is replacing the primary gears, the pinion and spur. On Axial Racing vehicles, replacing these gears is extremely easy. Just follow these steps and you'll be well on your way to mastering an essential RC skill.
Clean
It may not be glamorous, but the first step is to get the area your going to be working clean. Axial's rock crawlers are equipped with a gear cover that protects the gears and keeps them clean, but you don't want to let that debris in when you start the dissasembly. Using either compressed air or brushes (tooth brush and stiff paintbrush), get the entire transmission clean. May special attention to the gear cover and the area around it. A rag with a mild cleaner may also be needed. The bottom line is the cleaner the better.
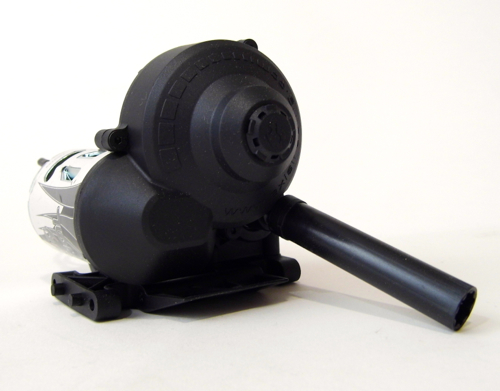
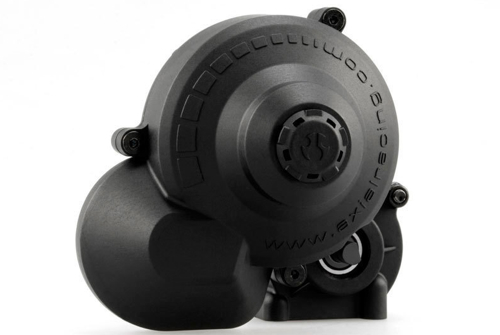
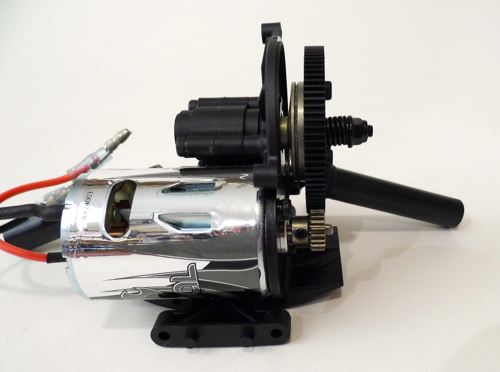
Drop The Tranny
While you can change the gears (especially the pinion) in an SCX10 or Ridgecrest without removing the transmission completely, dropping the transmission makes the process much easier. Removing the transmission from the SCX10 platform is easy. Using a 1.5 mm wrench, remove the set screws retaining the drive shafts to the transmission output shafts. Next, use a 2 mm wrench to remove the four screws on the bottom of the skid plate. You also have to unplug the two motor leads. The transmission and motor should now easily come right out. The Wraith is similar, but the entire skid plates needs to be dropped down. This requires only the extra step of removing the four screws on each side of the skid plate. On either Axial Racing platform, the process of removing the transmission only takes a few minutes.

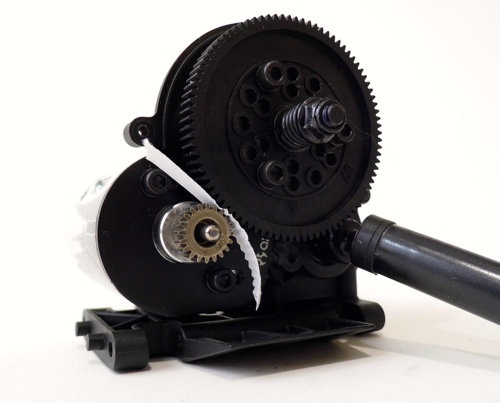
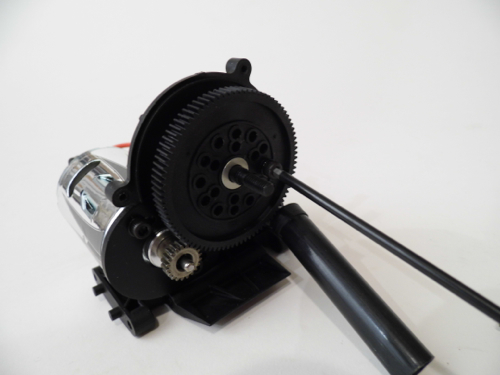
Remove the Gear Cover
The gear cover is retained by three small screws. It is easy to remove using a 1.5 mm wrench. When the cover is off, wipe it out to make sure it is clean and place the three screws inside it so they don't get lost.
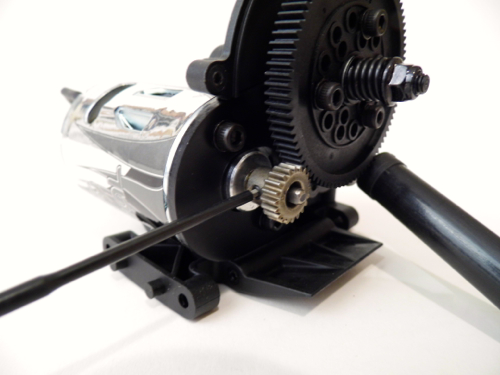
Replacing the Pinion
You will need the 1.5 mm wrench again to remove the pinion. Do not completely remove the small set screw. Just loosen the screw and slide the pinion off of the motor's output shaft. If you're replacing the pinion with the exact same size pinion, you do not technically have to loosen the two 2.5 mm motor mount screws, which adjust the motor position and gear mesh. If you wish to change the pinion size (tooth count), you will need to loosen (not remove), the two 2.5 mm motor mount screws. When installing a pinion there are two adjustments that need attention--pinion depth and gear mesh. Pinion depth is the position of the pinion of the motor shaft. The pinion must be position to have full, even engagement with the spur gear. Simply adjust how far down the pinion is on the motor shaft so that it perfectly matched with the spur.
Gear mesh is easy to do yet often done incorrectly. The tried and true method is to use a small piece of paper between the gears while tightening the motor up against the spur. The paper isn't needed as the amount of free play or backlash between the gears can be set by a mix of feel and eye. The gears shouldn't be too tight--fully engaged--or too loose--only the tips touching. Whatever method you use to set gear mesh, you need to check the mesh on more than one spot on the spur. Set the mesh and then rotate the spur a few times checking mesh as you go.
When you're done, double check that the motor and pinion screws are properly tightened. Do not over tighten the pinion's set screw.
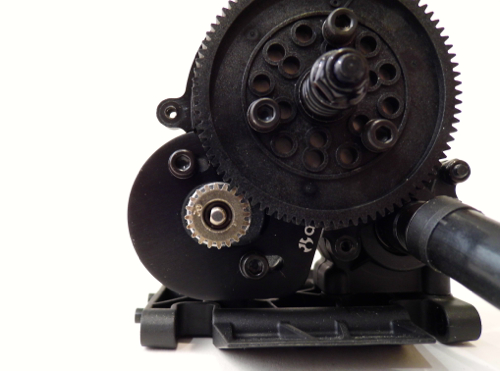
Replacing the Spur Gear
The first step in removing the spur gear is to remove the 7 mm nut that holds the slipper adjustment spring in place. The 7 mm nut must be removed while the spur gear's retaining screws are attached or the spur gear will just spin as you try to grip it to remove the 7 mm nut. With the 7 mm nut removed, slid off the spring and the two washers (the washers are slightly different sizes). The spur gear is attached to the slipper mechanism via three 2.5 mm screws. Removing the three screws and then the spur gear is easy--just don't lose the small washers on each screw. With the three screws removed, the spur gear will slide off the motor's input shaft.
When installing a new spur gear make sure it is fully and evenly seated against the mounting plate. Tighten the three 2.5 mm bolts a little at a time. Next, install the larger of the two washers and then the spring over the input shaft. Next, install the smaller washer and tighten down the 7 mm nut. To reiterate, it's large washer, spring, small washer and then retaining nut. Once all the parts are on the input shaft, tighten the nut until it bottoms out. Don't force it. Just tighten the nut down slowly until it stops. Loosen the nut two full turns.
After the spur gear is installed, adjust the motor for proper gear mesh as described above. Don't forget to check gear mesh at a few points while rotating the spur. The last step is to reinstall the gear cover and transmission if it was removed from the skid plate.