Posted: 8/10/18

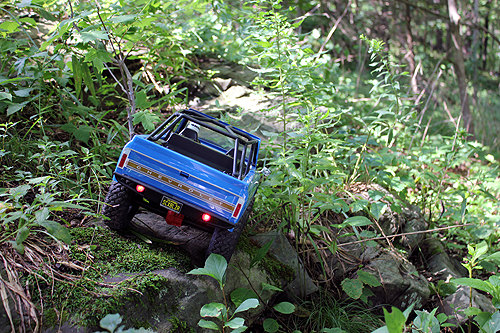
The AX90058 SCX10 II 1969 Chevrolet Blazer has become an instant hit since it’s release and drivers all over are already taking it out to explore new trails and others are already customizing it with incredible scale detail. A few of the features that many Blazer owners like is the included front LED lights and included AE-5L speed control to power the lights. If you haven’t noticed already, there is an open pigtail on the speed control that will allow you to install an additional set of LED lights. We’re going to show you how to take advantage of that open LED port by installing tail lights on your Blazer. All you'll need are the light pods included with the kit, some hardware you may already have and a light string you can pick up at your local hobby shop or favorite online retailer.
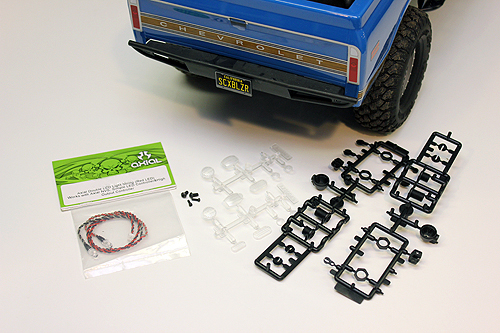
You remember that bag of extras that came with your kit? Time to dig it out from under your workbench. Inside you'll find some parts trees with light buckets and lenses. There are a number of light buckets included, but we're going to use the small round buckets found on the tree shown above.
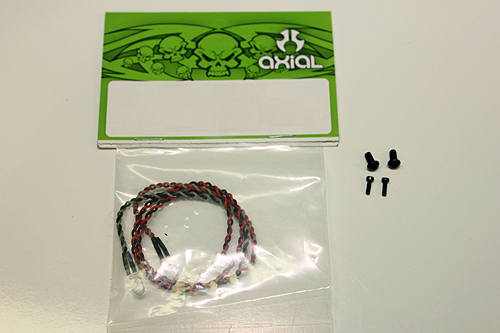
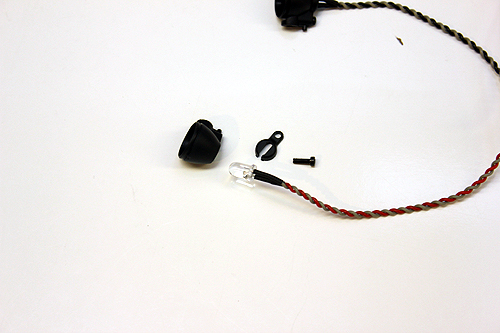
To add LED lights you'll need to pick up a pack of AX31481 lights that will look similar to the lights above. You'll also need just a few screws to complete the install. Two 3x6mm button head machine screws (AXA0113) and two 2x6mm cap head machine screws (AXA013.)
STEP 1
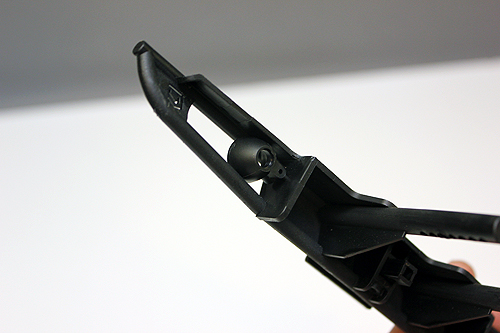
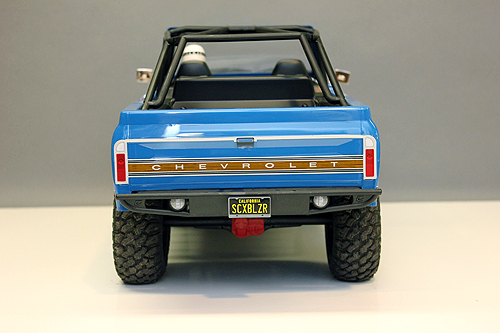
We're going to install the tail lights in the rear bumper. The first step is to test fit the lights so you know exactly where they are going. The two photos above show where the light buckets will be located on our Blazer.
STEP 2
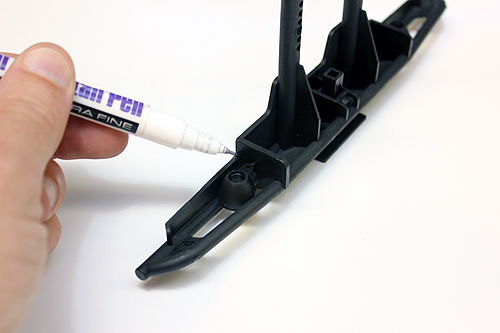
Using a marker, make a mark on the bumper where the indexing pin on the light bucket will go in the bumper.
STEP 3
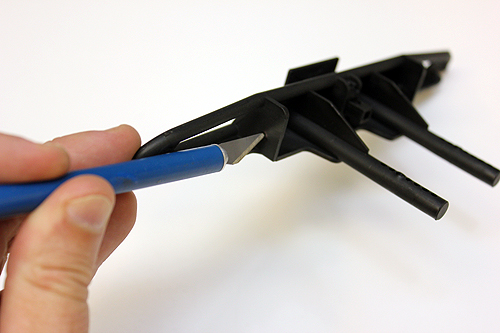
Now drill a small hole where you made your reference mark. We actually found that rotating a hobby knife around like a drill will make a nice small hole just right for the bucket pin.
STEP 4
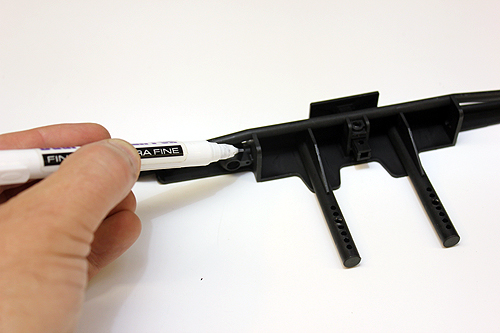
Now place the light bucket back into place on the bumper, the index pin should go right into the bumper. Make sure the bucket is square in the bumper and then use your marker to make a mark around the mounting boss of the bucket. This will give you an idea of where you need to drill the mounting hole.
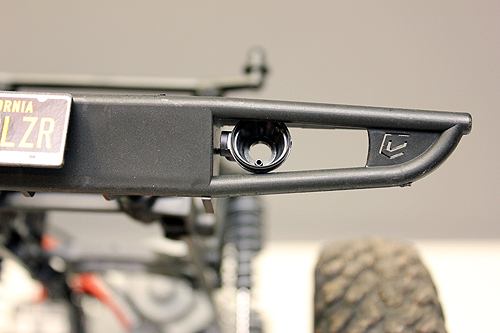
STEP 5
Drill a 3.5mm hole using your marks as a guide. When you're done, your hole pattern should look like this.
STEP 6
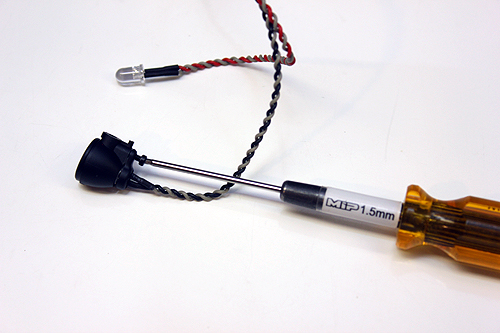
Time to assemble your light buckets. Slide the LED light in the bucket, followed by the LED clip over the back of the light and use the 2x6mm screw to secure the clip to the bucket.
STEP 7

Next press the lenses into the light buckets. TIP 1: Paint the lens red from the backside to give it more of a tail light look. TIP 2: Before pressing the lens into the bucket, use some clear model glue to help secure the lens.
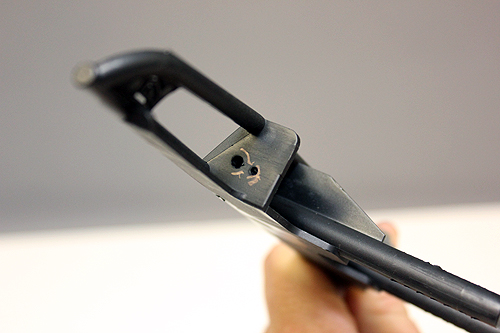
STEP 8
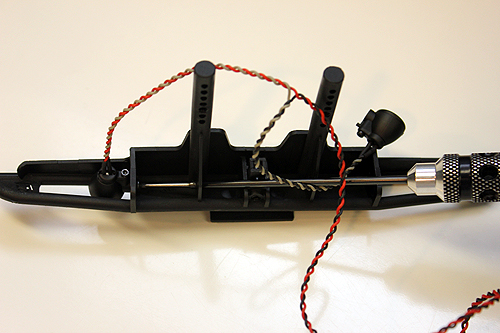
Here is the tricky part, screwing the light bucket to the bumper using the 3x6mm screw. To do this, we cheated and made an additional hole in the bumper bracket that allowed us to slip a long 2mm ball-end hex driver through the bumper to get to the screw. Screw your light pods to the bumper.
STEP 9
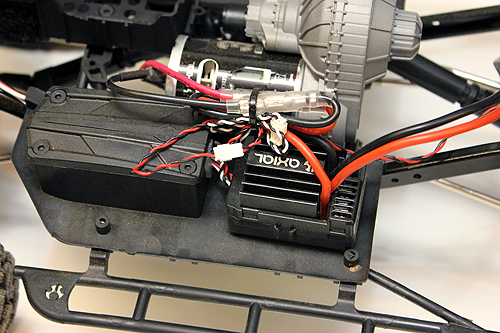
Things get simpler here. Plug your LED light string into the open port of the AE-5L speed control.
STEP 10

Use some zip-ties to secure the LED light wires to the chassis cross members.
FINISHED
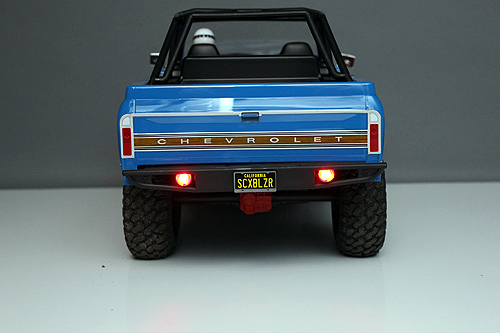
In about 10-15 minutes of time at your workbench, you should have working taillights. Head out to the trails and enjoy the new look of your Blazer on your Axial Adventures.