Posted: 10/22/18
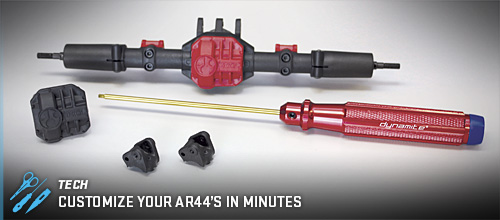
One of the best parts to owning an Axial SCX10 II is your ability to customize it to make it your own. There are plenty of performance and accessory parts to choose from and in this blog we're going to show you how to customize your SCX10 II's AR44 axles. This accessory swap should only take you minutes to perform and cost you under $10 for each axle. Here's what you need to know.
PARTS NEEDED
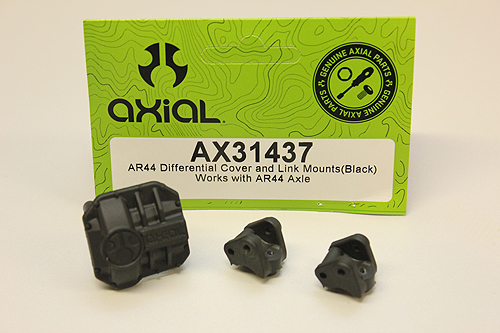
AR44 Black Differential Cover and Link Mounts- AX31437 (Quantity Needed: 2)
TOOLS NEEDED
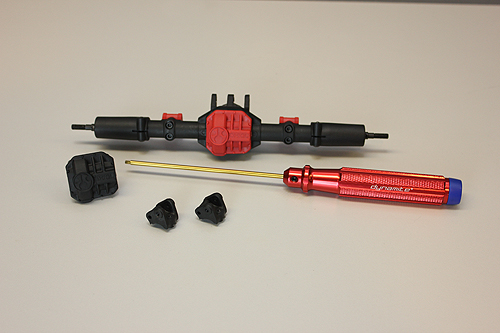
2mm Hex Driver
STEP 1
Swapping out the differential cover is simple and can even be done while the axle is on the truck if you have a ball head 2mm hex driver. You'll want to locate the four diff cover screw heads on the pinion out-put side of the axle and unscrew all four.
STEP 2
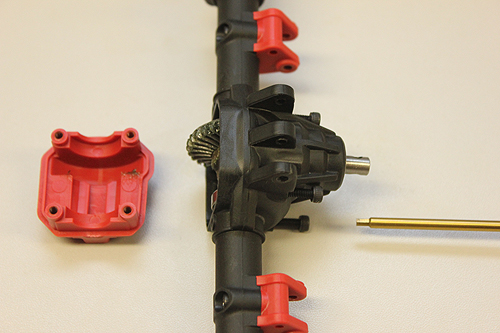
After removing the four cover screws, pull the differential cover off, it's in there pretty tight, so use some force to pull it from the axle housing.
STEP 3
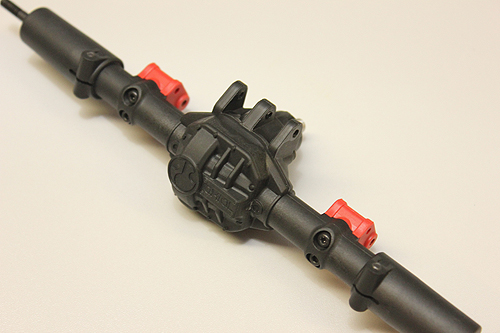
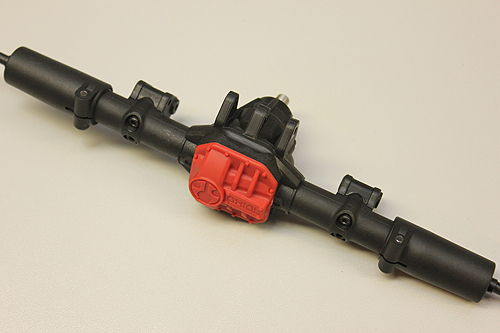
Break or cut the new black diff cover off of the parts tree in slip it into the axle. Make sure the indent on the cover faces the bevel gear side of the axle. Screw the four retaining screws back in and tighten them snug. This is how the axle looks with a black cover and red link mounts, a cool custom option.
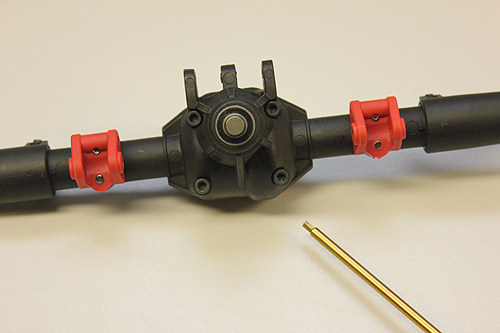
STEP 4
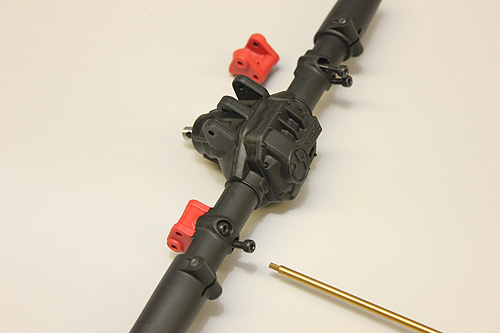
Want to swap the link mounts out too? First you'll need to remove the suspension links and shocks from the mount. Then unscrew the mounts from the axle as shown above.
STEP 5
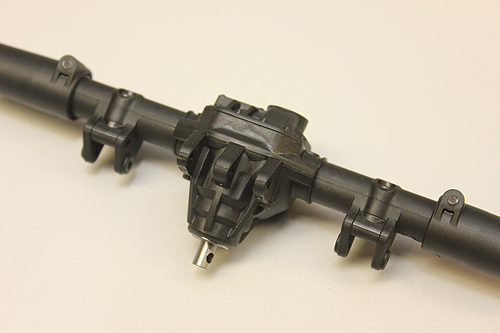
Once you've installed the red mounts, break the black mounts from the parts tree and install them on the axle the where the red mounts were, paying close attention to how the mount is positioned. The link mount with extra support faces the bottom. This is how an all-black AR44 Axle looks.
FINISHED
If you removed your axles from your rig, now is the time to reinstall them. Above is another option we wanted to show you. This axle is set up with black link mounts and a red diff cover. Build your axle the way you want it for a custom look!