Posted: 5/12/09
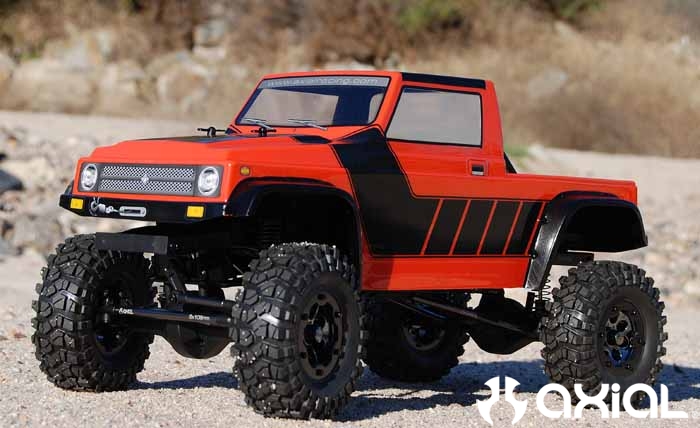
I decided to see how hard it would be to convert an AX10 to an SCX10. The transformation was relatively simple by just changing out some hardware here and there. Most of the stock AX10 M3 hardware can be used in the conversion to the more realistic SCX10 chassis. But, you will need to purchase a few screws and some new links depending on the direction you go and the wheelbase you are looking for. You can also make your own links as well. I decided to use Axial's new Trail Ranger body (Part #AX4009) for this build which has about an 11 5/8" wheelbase. It's important to decide what body you want to use before you get too far into the build. That way you can set your wheelbase and link lengths accordingly.Getting started:
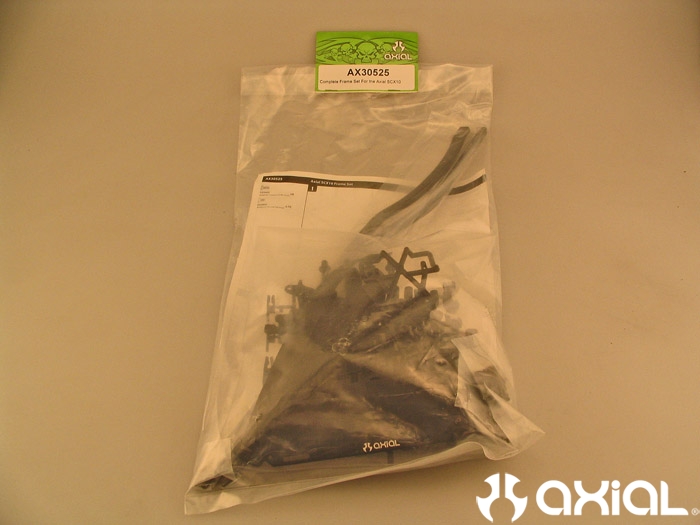
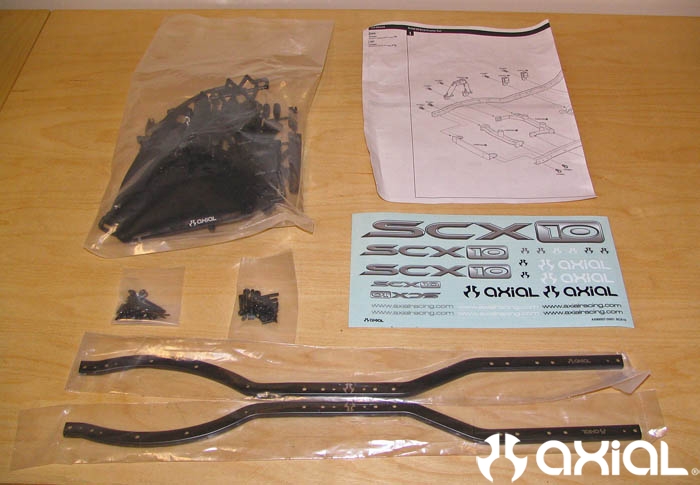
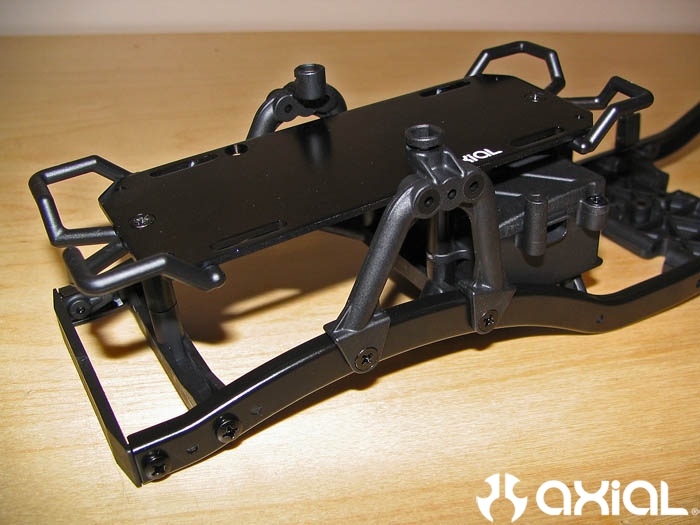
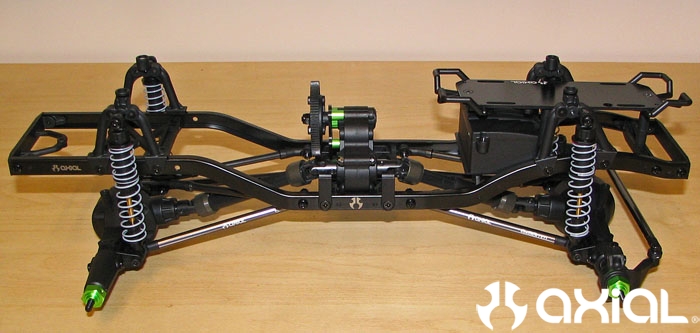
First thing I did was assemble the SCX10 frame. Start by bolting all the plastic cross members to one chassis rail then bolt the 2nd chassis rail up after that. I installed the battery tray out front to keep as much weight on the front wheels as possible. This will help when climbing steep obstacles.
SCX10 Chassis
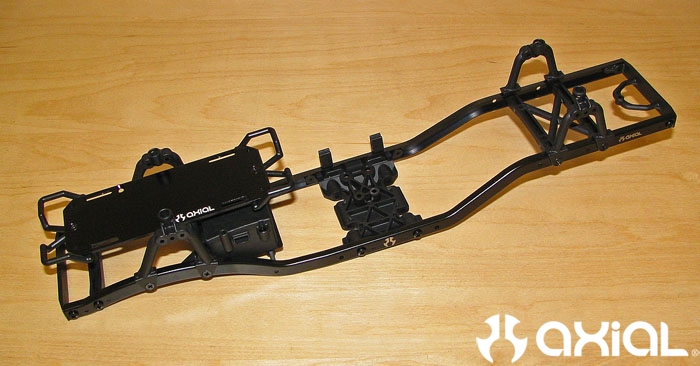
Optional front battery mount
The Tear Down:
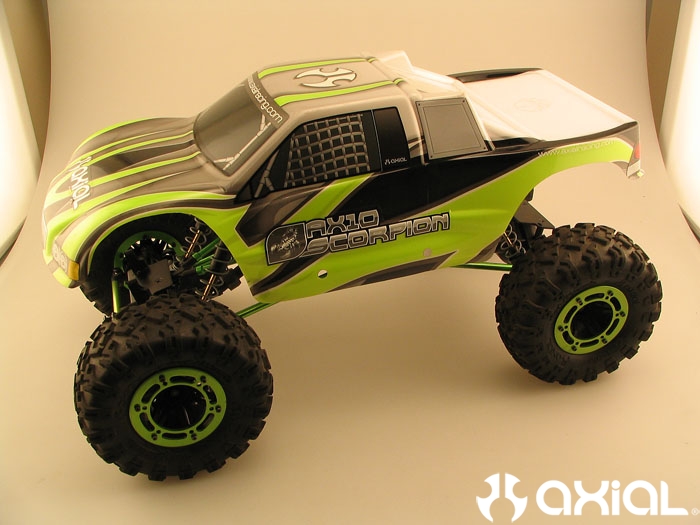
Start by removing the axles, transmission and links from the AX10 kit. I usually keep a bowl or small parts tray handy to drop all the hardware in as I remove it from the various components. This will help keep your hardware in one place instead of it being scattered around your workbench.
Here's what I started with, a fairly bone stock AX10 kit.
Transmission:
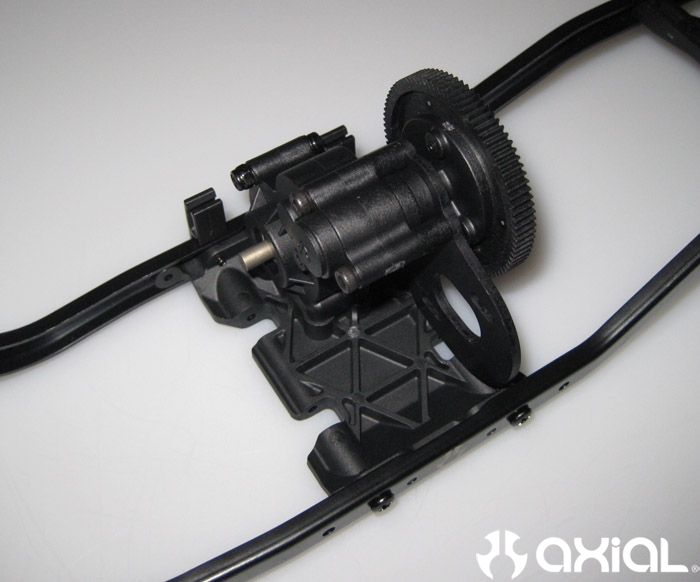
Installing the transmission was the first step in the conversion process. You can use the 2 long stock transmission screws in the holes closest to the right chassis rail, looking at the chassis from the back end. But, you'll need longer screws for the holes near the center of the skid plate. I used M3X12 screws (Part #AXA146) for this.
Rear Axle:
In order to maintain a relatively scale look to this build I installed a set of straight axles (Part #AX30421) out back with Axial's plastic lockouts (Part #AX80020).
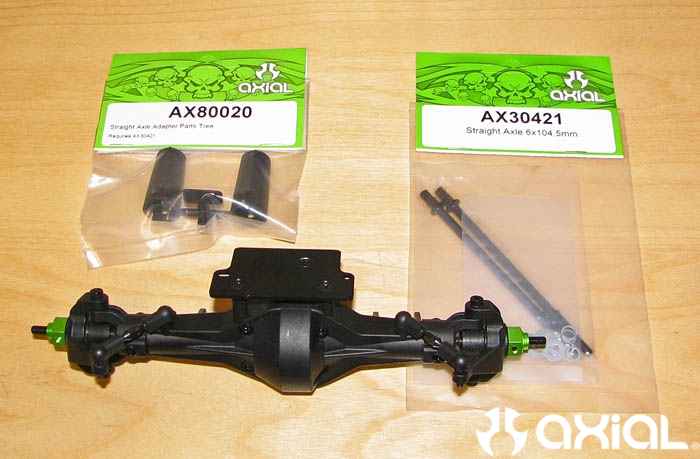
Remove the aluminum hexes, knuckles, outer axles, short tie rods, C hubs, and inner axles. Make sure you take the bearing out of the ends of the axle housing too, these bearings will now be installed into the ends of the plastic lockouts.
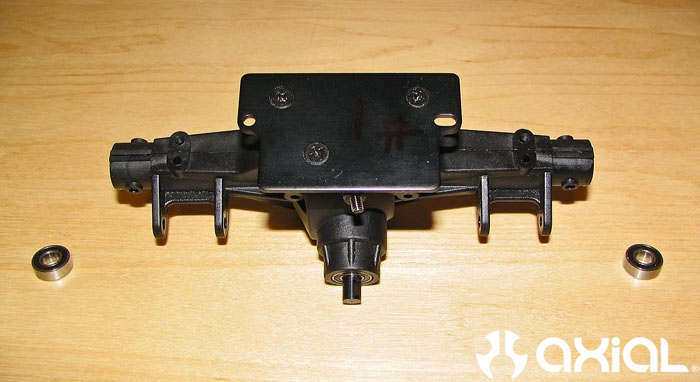
Now slide the new longer straight axles into the housing making sure the flats of the axles seat properly into the locker. Drop the bearings you removed earlier into the ends of the lockouts, and install the lockouts onto the axle housing. If you try to use the M3X8 screws you removed from the stock C hubs in the lockouts they'll hit the inner straight axles because they are a bit too long. I had to use shorter M3X6 screws (Part #AXA863) to remedy this problem.
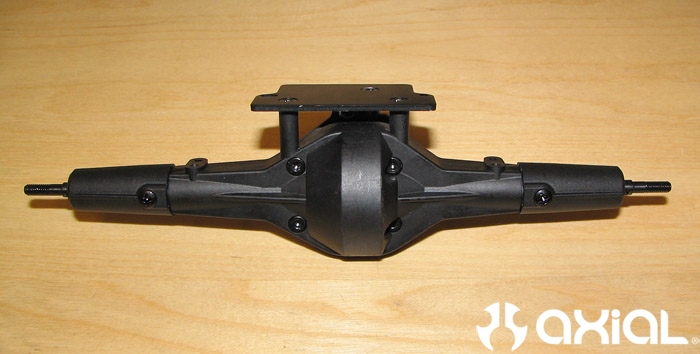
Front Axle:
I decided to go with grey links throughout on this build, instead of the standard Axial green. I picked up the short steering link in grey (Part #AX30517), and the longer steering tie rod in grey (Part #AX30516) as well. Start by removing the upper 3 link mount from the axle housing, and remove the steering links too if you decide to change them out like I did.
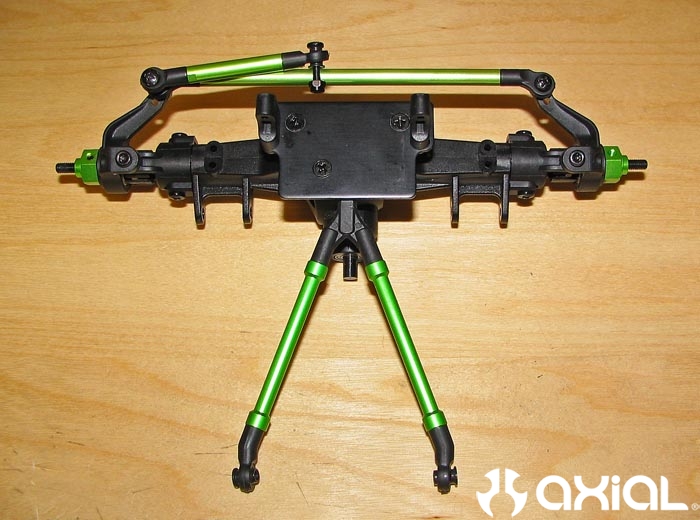
Install the old rod ends onto the new steering links, and bolt them back up to the front axle.
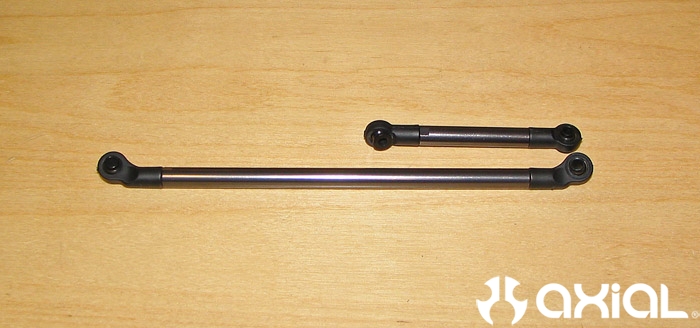
Lower Links:
Now remove all the rod ends from the old lower links. I decided to go with two packages of grey 98mm lower links (Part #AX30518) on this build because the wheelbase on the Trail Ranger body is slightly longer then the stock SCX10 body which uses 91mm lower links.
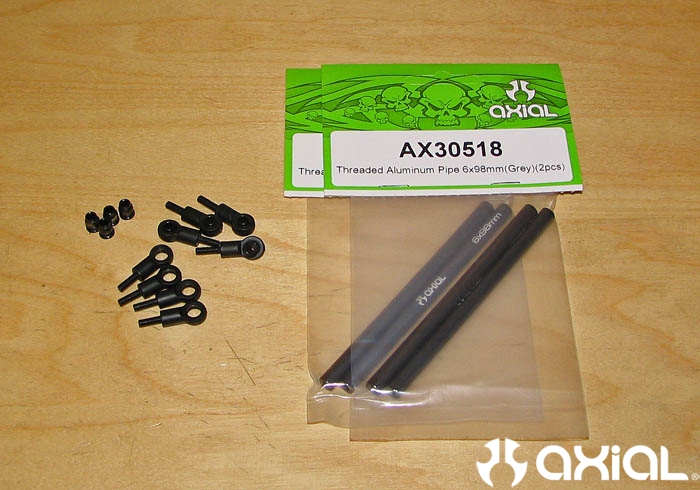
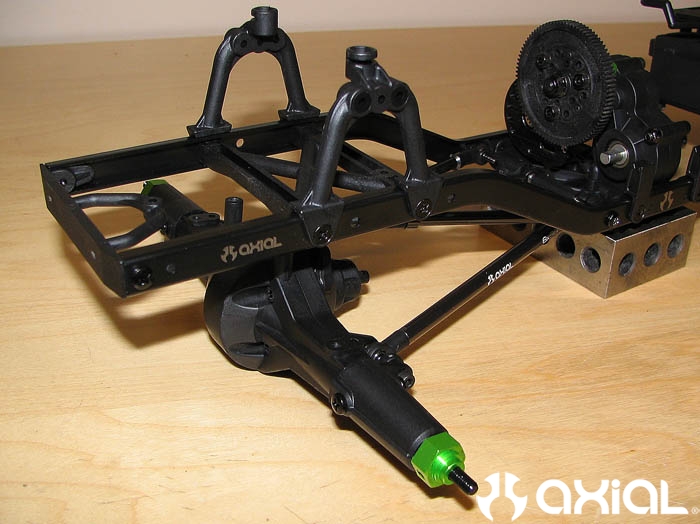
Using the supplied hardware that comes with the SCX10 chassis kit install the lower links to the chassis and axles. Then install the upper links as well. I used the grey 65mm threaded posts (Part #AXA1430) as upper links. I also had to use some small grey 6mm spacers (Part #AXA1418) at the upper 3 link mount on the axle to adjust the pinion and caster angles correctly. They come with 6 in each package, the remaining 4 can be used as upper shock mount spacers to move the top of the shocks away from the plastic shock hoops. I used the stock upper 3 link screws that tie the upper links to the chassis in the plastic 3 link connector on the axle side. Because of the extra 6mm spacers used, you'll need longer screws for that now.
Shocks:
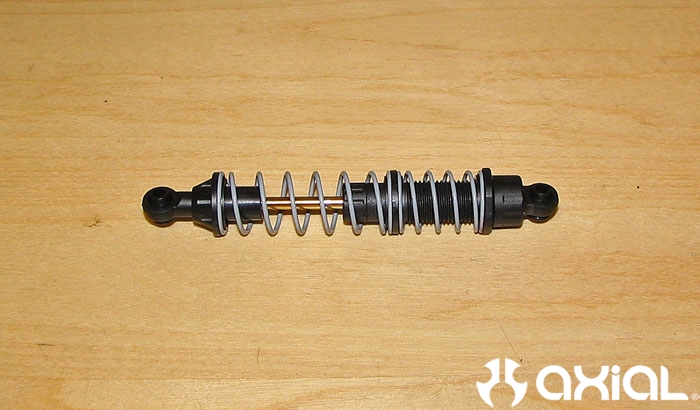
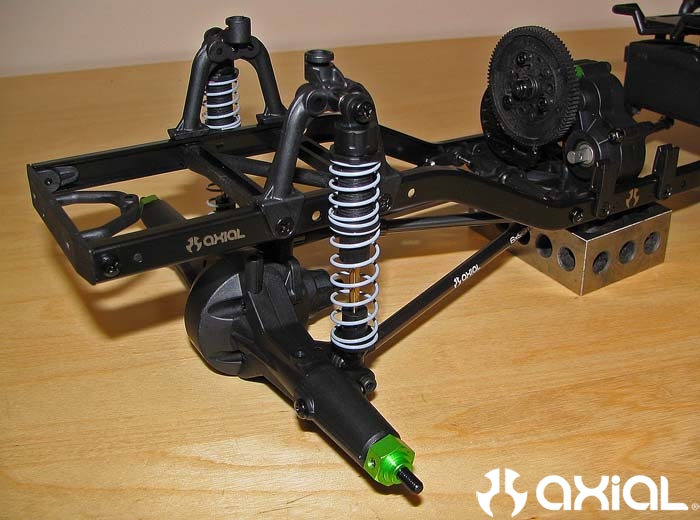
I grabbed a set of our scale shocks (Part #AX30090) and installed them onto the axles and chassis next, using the 6mm grey spacers on all 4 upper shock mounts. I used M3X18 Binder head screws (Part #AXA668) for the upper shock mounts on the chassis.
Tires, wheels and body:
I swapped the stock green AX10 rock rings out on the Rockster wheels for the gun metal colored rings (Part #AX8112). if you are converting an RTR you already have these beadlock rings as standard equipment. Then dropped the body posts into their mounts with the supplied body clips and set the orange Trail Ranger body I painted up in place until I get a chance to paint another TR body specifically for this build. As you can see the conversion is fairly simple and it's an easy way to get a more realistic/scale appearance out of your AX10.
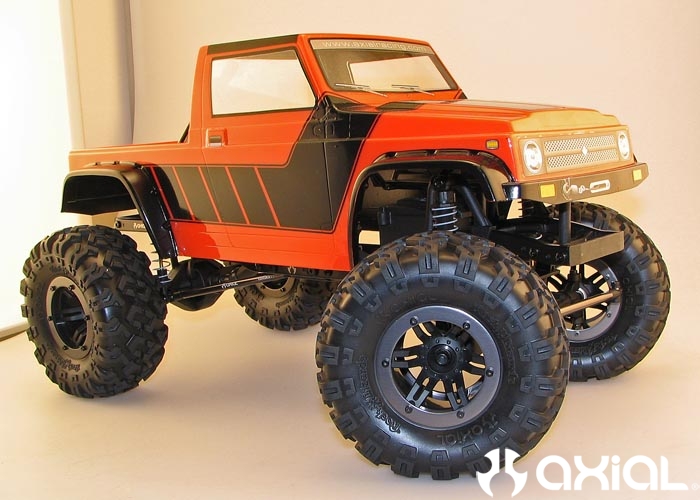
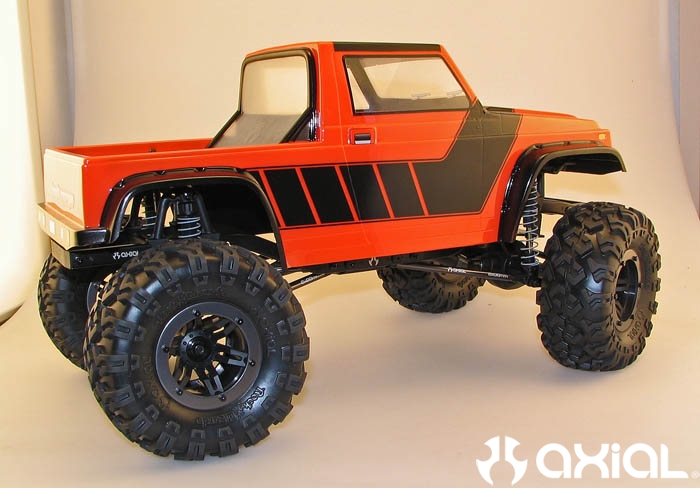
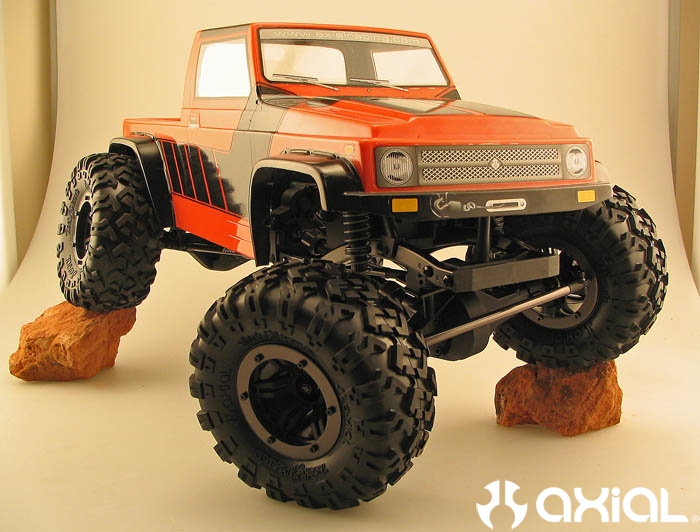
For a more scale appearance you can also go with Axial's 1.9 beadlock wheels and Pro-Line 1.9 Flatiron tires.
Part Numbers Used for Conversion:
SCX10 Chassis Kit AX30525
Trail Ranger Body AX4009
Rear Axle Lockouts AX80020
Rear Straight Axles AX30421
Short Steering Links AX30517
Long Steering Tie Rod AX30516
Scale Shocks AX30090 (X2)
98mm Grey Lower Links AX30518 (X2)
65mm Grey Upper Links AXA1430 (X2)
6mm Grey Spacers AXA1418
M3X12 Screws AXA146
M3X18 Screws AXA668
M3X6 Screws AXA863
Gun Metal 2.2 Beadlock Rings AX8112 (X4)