Posted: 9/7/18

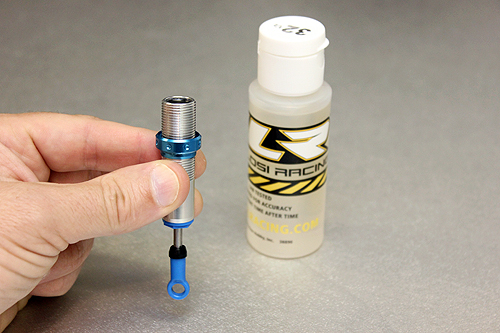
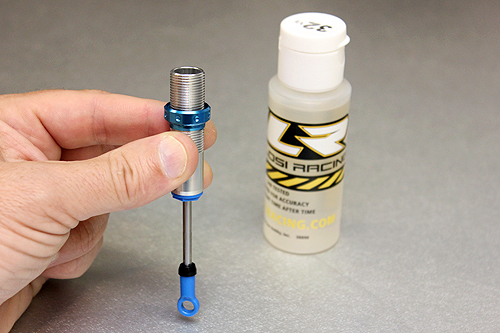
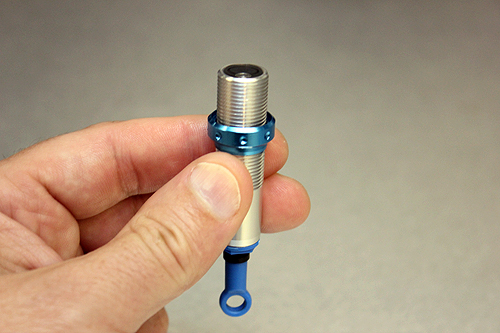
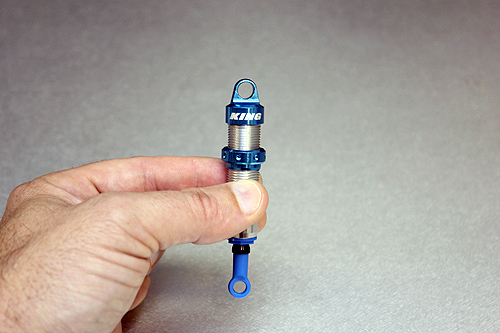
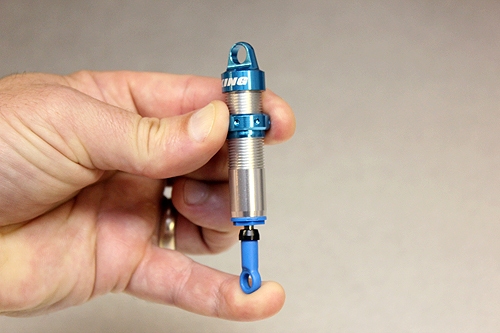
When it comes to building shocks on an RC kit, many builders start to cringe. It’s not a favorite task for many, however building your shocks properly is a must if you want your suspension to perform. We’re working on a RR10 Bomber for some future video action shoots and decided to take some extra time to take photos to show you just how to build the King aluminum shocks that come with the kit. Here we’ll show you all of our tips and tricks that will result in a high performance shock that will give your rig the best handling possible.
YOU’LL NEED
Shock Shaft Pliers (TLR99101)
5.0 Nut Driver (Set: DYNT2010)
Shock O-Ring Grease (TLR77002)
Competition Silicone Shock Oil (TLR74020)
Paper Towels
STEP 1
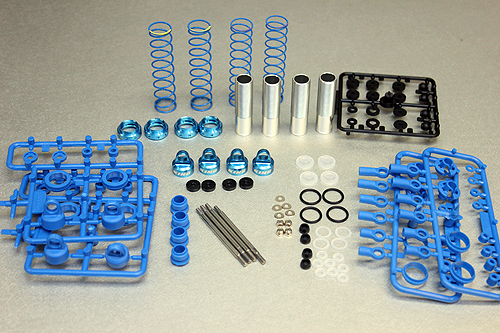
It’s best to take the time and lay out all of your shock components nice and neatly so you have everything in front of you and nothing is left out.
STEP 2
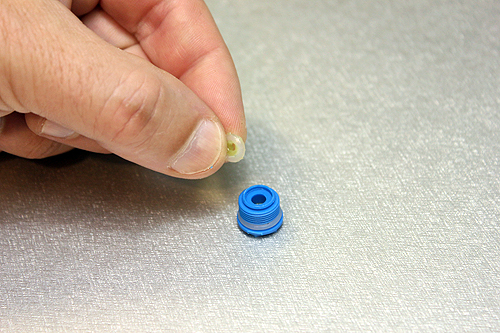
We're going to start with the cartirdge assembly. Carefully cut them from the parts trees and slip the clear o-ring over the threads and seat it in the lower slot.
STEP 3
Don't jump right into installing the shock o-rings in the cartridge. Before you do so, here's a tip. Use a shock o-ring grease such as TLR77002 to grease the o-rings. Place a small amount of grease in a plastic bag and then the o-rings. Work the grease onto the o-rings so they're well coated.
STEP 4
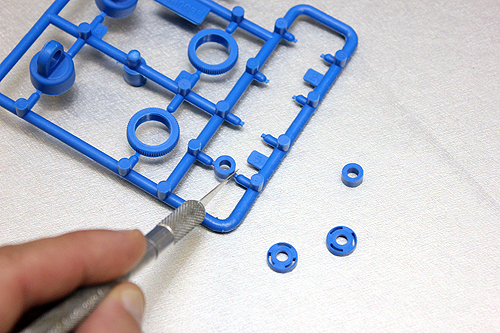
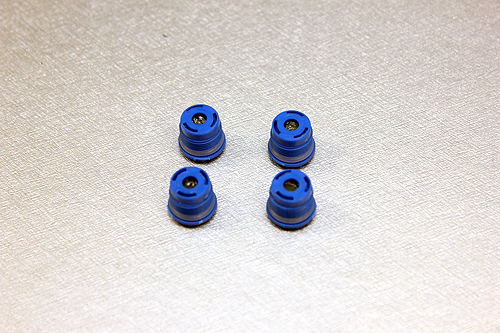
You'll also need the cartidge spacers and caps to finish the cartridge assembly. It's best to cut the parts off of the tree using a hobby knife. Cut as close as you can to the spacers so there isn't any extra material from the tree on the spacer. Extra material here could cause a binding in the cartridge.
STEP 5
Place a greased o-ring in the cartridge, followed by the spacer, followed by another o-ring.
STEP 6
Snap the cartridge cap on and make certian it is perfectly seated in place. If the cap isn't completely snapped on, it could possible come apart during use.
STEP 7

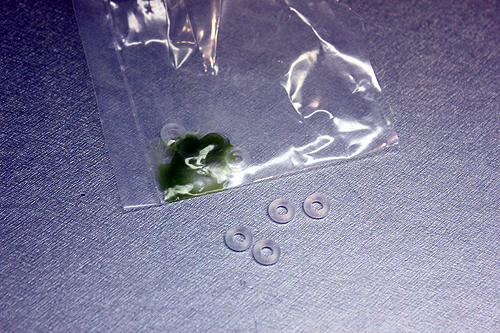
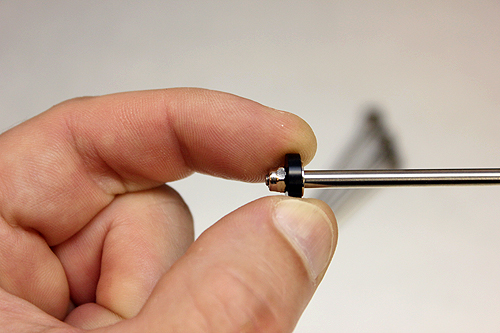
Now it's time to install the pistons on the shock shafts. In your RR10 kit, there will be delrin pistons in the bag. Use these. Place one washer on the shock shaft, followed by the piston, followed by another washer and then the retaining nut. Use shock shaft pleirs to hold the shaft and use the 5.0 nut driver to snug the nut into place.
STEP 8
Once you've tightened the nut, make certain the piston just barely spins on the shaft. If you tighten it too much to the point it can't move, you may have possibly "mushroomed" the piston and it could possibly bind in the shock body.
STEP 9
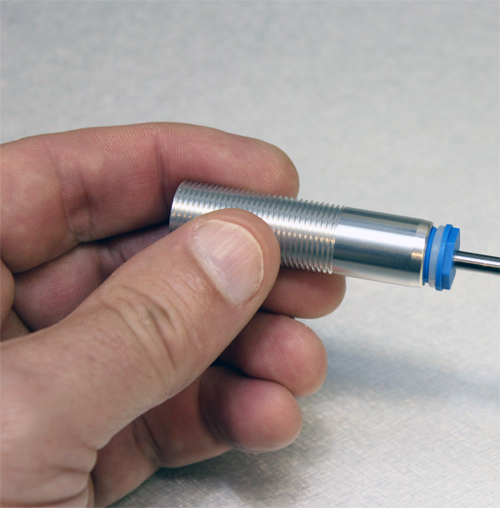
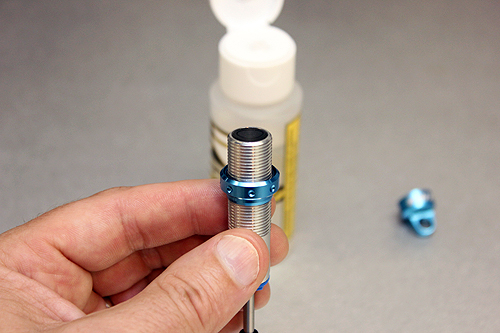
Slip the assembled shock shaft/ piston into the cartridge and thread it into the bottom of the shock body slowly. You'll want to completely screw the cartridge in slowly until the o-ring can no longer be seen and the cartridge is tight.
STEP 10
Slide the bump-stop on the shaft and screw the shock end onto the shaft until the top of the end meets the unthreaded portion of the shaft. Using shock shaft pliers here is a good idea.
STEP 11
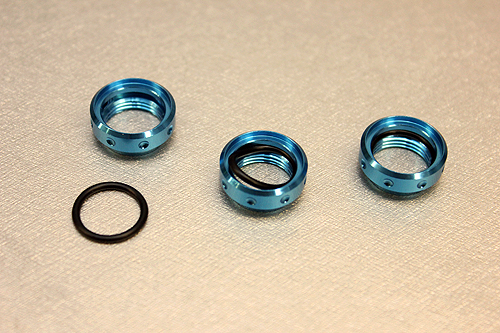
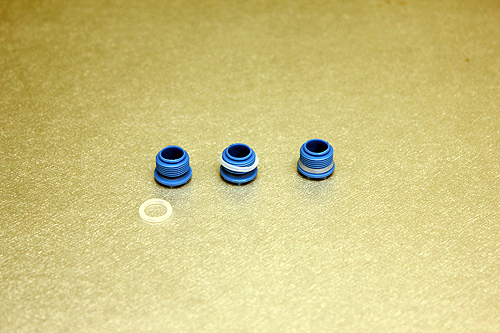
Time to install the pre-load collars, but first you need to slip the black o-rings into the slots inside the collars.
STEP 12
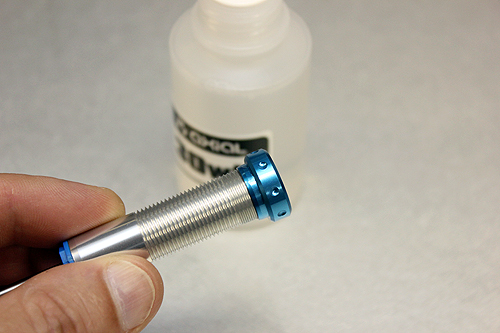
When threading the collars onto the shock body, it's a good idea to put a drop of oil at the top of the threads. This will allow the collars to screw on much easier.
STEP 13
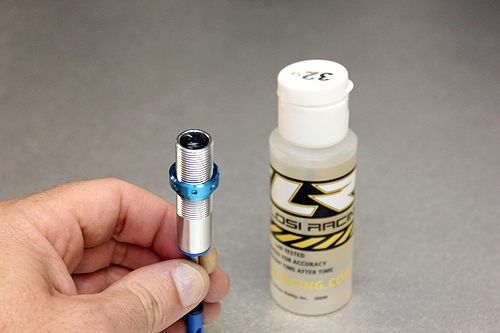
We're getting there. It's now time to fill the shock with oil. Instead of using the kit oil, we're going to use a competition grade oil from Team Losi Racing to fill the shock. With the piston at the bottom of the body, fill the shock body with oil to the top.
STEP 14
This is a critical step. We have to cycle out any air trapped under the piston. Slowly push the shock shaft up in the body. Don't let the piston go past the oil at the top. When the piston nears the top, pull the shock shaft back down and air bubbles should rise to the top. Continue this process until all of the trapped air is gone. If there are fine bubbles in the oil, set the shock aside and wait for the air bubble to come to the surface.
STEP 15
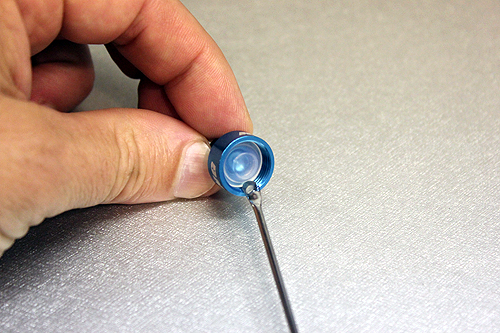
Seat the shock bladder into the cap. Slip the bladder in and using a fine blade screwdriver or similar object, make sure the bladder is seated perfectly in the top of the cap by pushing on the edges.
STEP 16
Top off the shock with oil if necessary. The oil should be near level with the top of the body.
STEP 17
Slowly push the shock shaft to the top.
STEP 18
Now screw the shock cap on. Some oil should seep out of the sides. Tighten the cap firmly.
STEP 19

Once the cap is tightented, the shaft should slide out a little bit. Cycle the shock shaft in and out several times to make sure it has a good feel and there isn't any binding.
STEP 20
If the shock is built correctly, you should be able to push the shock shaft all the way to the top. If there is a lot of shock shaft showing, you have what's called hydro-lock and this will cause handling problems. You may need to bleed some additional oil out of the shock. Loosen the cap, push the shock shaft in all the way and tighten the cap again. This should bleed out some oil. Repeat the process until the shaft goes all the way up.
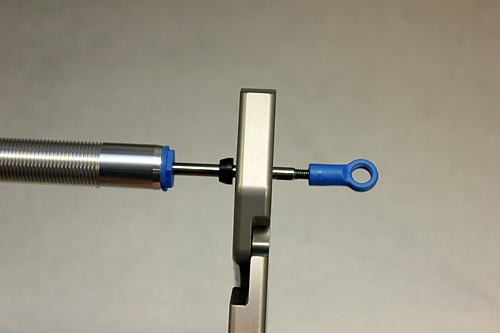
STEP 21
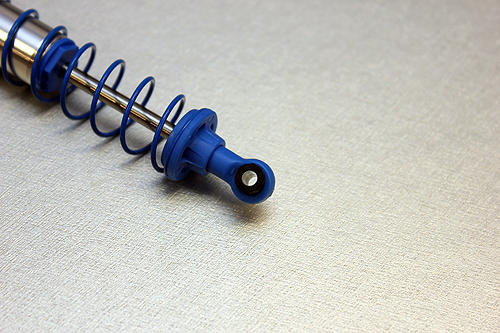
Almost done, slip the appropriate spring over the shock body and slip the lower shock perch into place. Pop the ball end into the shock eyelets and you're shock is assembled!
FINISHED
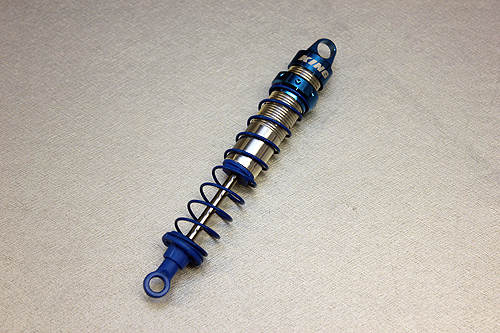
Your shocks should now be assembled and ready for installation on your rig. You're not done yet. You'll still need to adjust your pre-load collars to set your vehicles ride height. Use the suggested collar settings in the manual as a starting point. Because the weight of the equipment used in a rig may vary, small adjustments may need to be made to set your vehicle to a ride height that will work for you.