Posted: 5/6/11
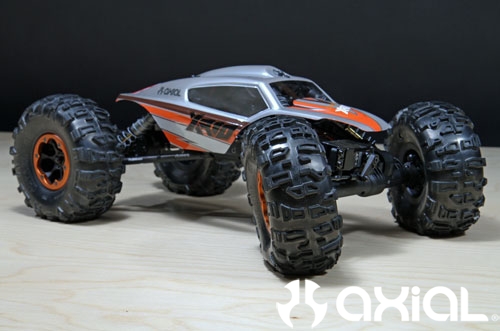
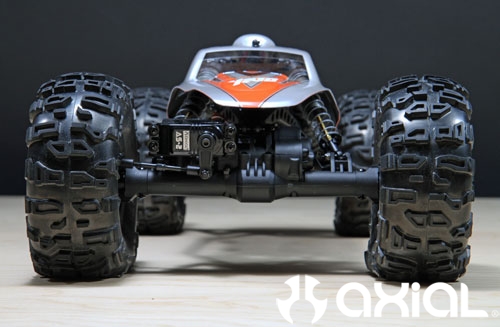
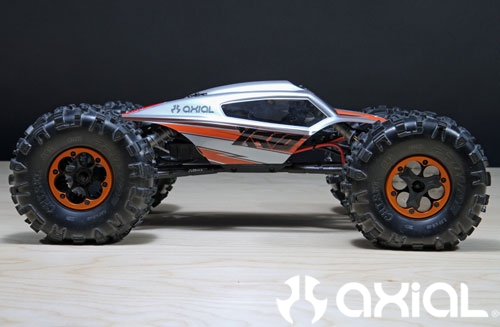
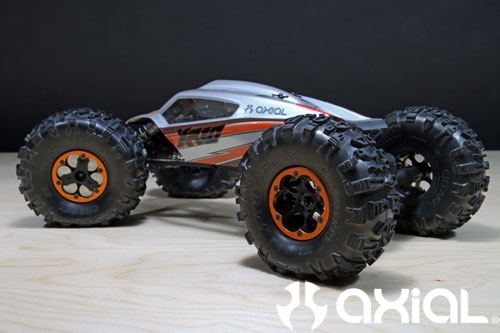
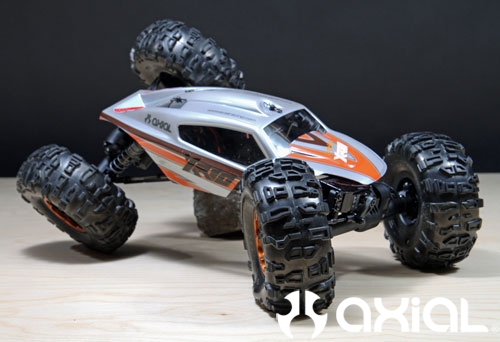
Most people know that the XR10 is meant to be a full on comp specific crawler. But, it can also be built up as a backyard/sportsman class crawler as well. I am going to guess that 95% of the XR10's that are out there are running front and rear dig, with a semi expensive 3 or 4 channel radio. For this article I wanted to build a basic XR10, with a single speed control and basic 2 channel radio to keep cost down. Then, I am going to go out and shoot some video of it running comp style lines just to see how capable I can make it.The basis for this build is the standard XR10 kit that I used in my 5 part step by step build a while back. A few pictures with the body mounted.
I wired our AE-2 ESC up to standard 55t motors. I ran the motor wire leads to the rear motor first, then tapped into those to the front motor with more wire. It can work fine wired the opposite way too, I went this route just because of how I positioned the ESC in the chassis. For batteries I am running my MaxAmps 1300mah 2s packs. They fit perfectly in the stock battery location, without interfering with the upper links. Plus, they are super light which helps keep my center of gravity low. I am running the stock 14t pinion gears on the motors. I may end up staggering the pinions by running a 14t out front and a 13t in the rear.
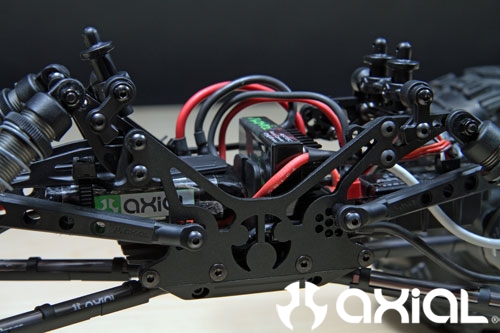
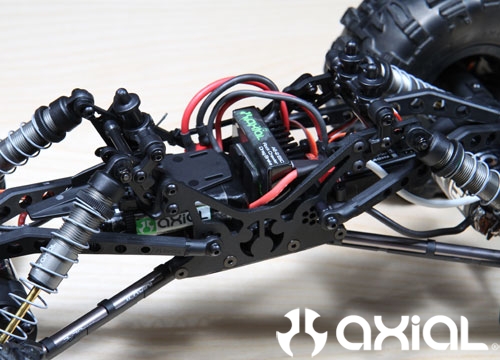
A few more shots with the body off.
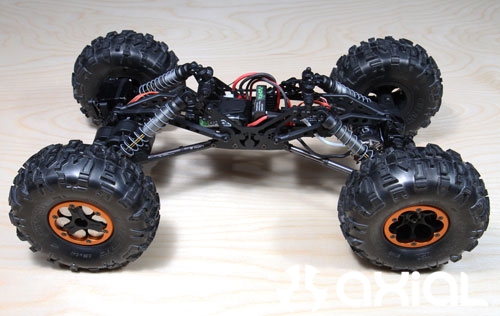
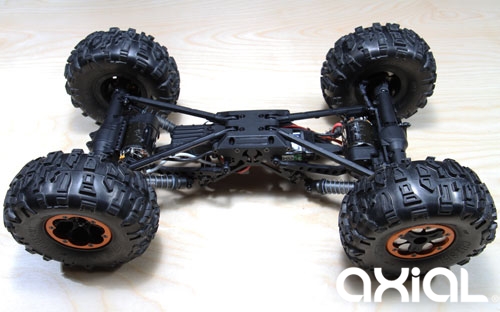
All wired up and ready to hit the rocks. I installed our weight rings that are included in the kit for the front wheels, then loaded the wheels up with Vanquish slugs to keep the bulk of the weight biased towards the front.
Now it's time to go test it out. Keep an eye out for the video, we will have some very soon.