Posted: 4/29/11
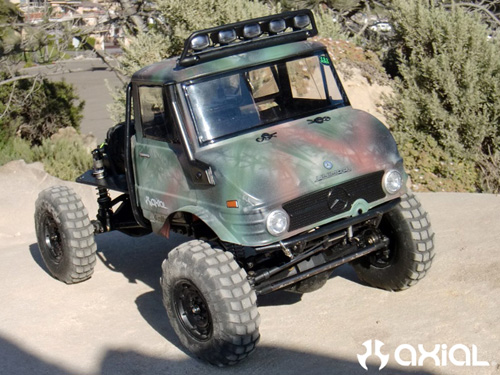
Mercedes UnimogsI have a fascination with Unimogs, these seemingly unstable and over sized trucks. The places they can go and terrain they are capable of traversing is incredible. Not to mention how cool they look when you see one out on the trail or even the streets.
I had the opportunity to pick up one of these Unimog 406 bodies from a friend of mine and I started planning a build using the SCX10 Dingo RTR as my starting platform.
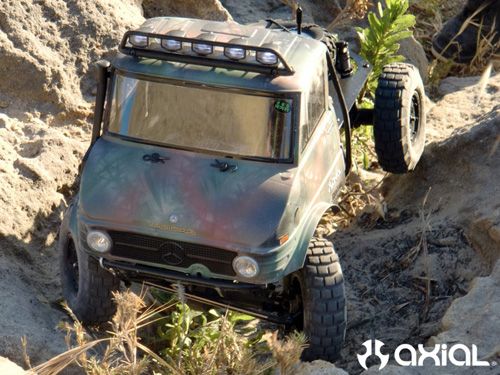
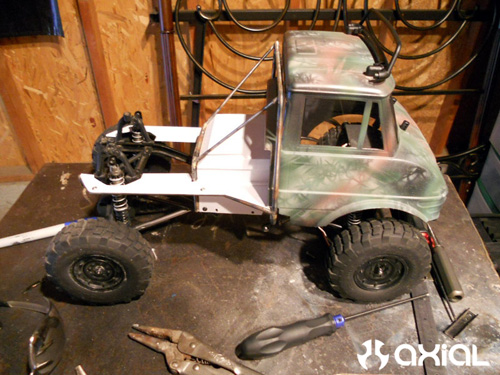
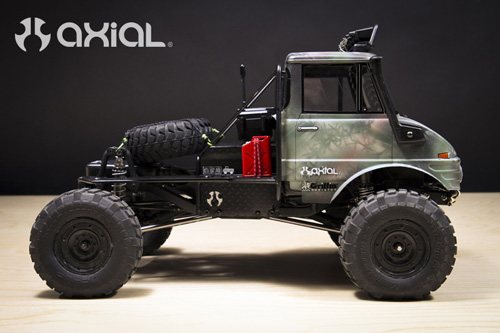
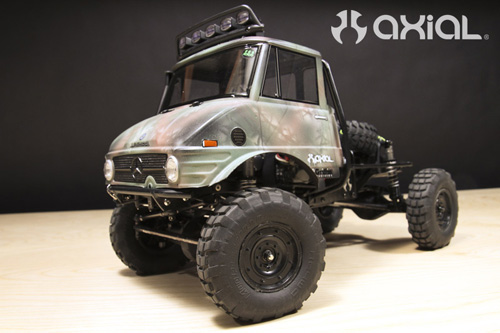
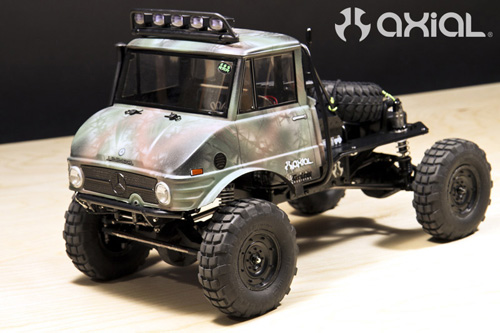
First thing I did was paint the body. I took some random shrubbery and mixed paint to create a scale camo paint scheme on the outside of the body. The inside of the body is painted rust and backed with black. Hopefully it wears well after some good use.
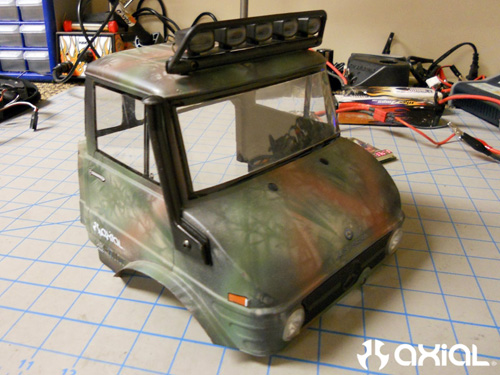
I also made a custom light bar using some parts from the new Axial Wraith AX90018. The locations to mount two outside lights were already there, all I had to do was add a the 3 middle lights. Axial's Simple LED system from the Dingo along with a new 5 LED string powers this light bar. I used the oval fog lights from the AX80045 Light bucket sets. To finish off the body I installed a snorkel that I had in my random box of scale goodies.
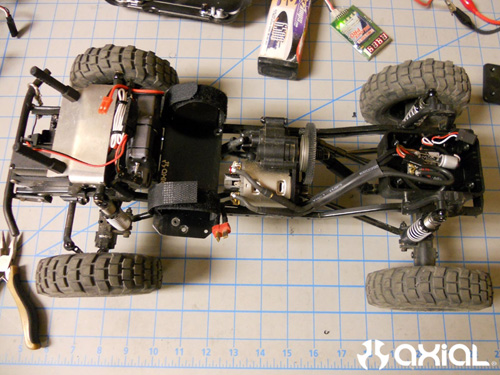
The Dingo Chassis was modified slightly. I cut about 1.25" off the back of the frame and shortened the rear wheelbase about0.25". The front suspension received a Hand Bros CMS kit. The factory shocks were replaced with a set of Pro-Line Scale shocks. All the original Dingo bumpers and rock sliders were removed. A Futaba S9156 handles the steering duties, with 300+ oz/in it should be more than enough. The front bumper was kept very simple, just a piece of 1/8" rectangle stock and 1/4" round steel brazed together and bolted on. I also installed a fair-lead that is recessed to keep it from getting too banged up.
The Dingo chassis also received the following Axial Option Parts:
AX30549 Aluminum links pack
AX30495 & AX30496 Aluminum C Hubs and Steering Knuckles
AX30464 Universal Set
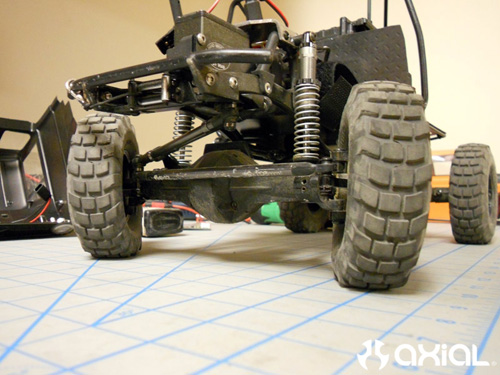
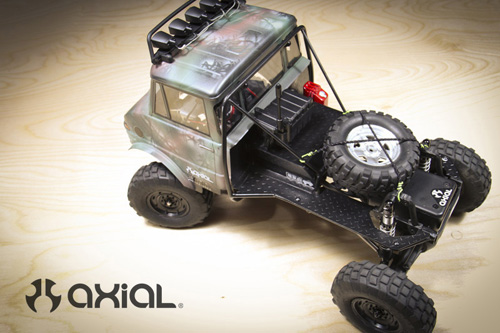
Next I started on the rear cage structure. I wanted to keep it as simple as possible and my main goal was to hide the transmission. The cage also has some diamond plate styrene integrated into it for the flatbed section and transmission cover. The finished cage received a coat of black paint and a waterproof receiver box from the AX90018 Wraith.
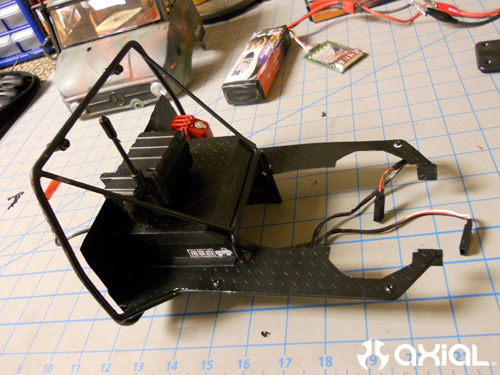
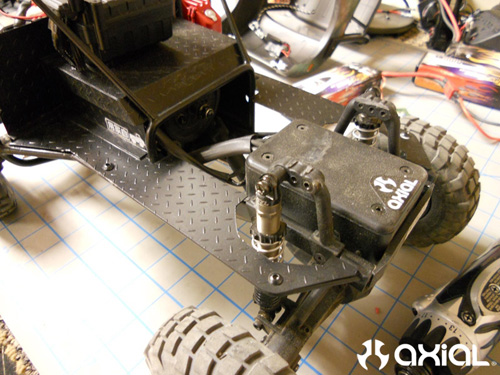
With the new rear cage/flat-bed installed I got everything wired up. The box on the rear between the shock towers holds a Tekin FXR. I also moved the Axial battery plate and mounted it perpendicular to the chassis and as low as I could get it without interfering with the Drive shaft. This allows me to run a very high capacity 2S or 3S lipo. My battery of choice is the MaxAmps 2S 6500mah LiPo.
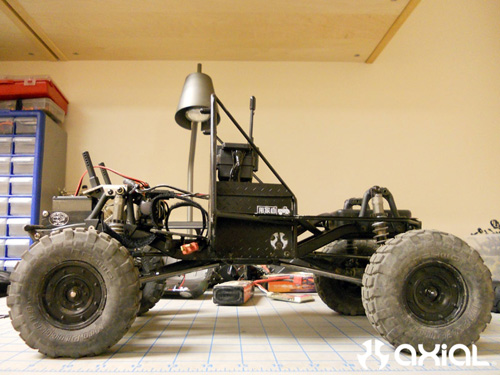
Final assembly required some custom front body mounts. The upper body mounts are integrated into the top bar of the rear cage and the front body mounts are shifted forward with a piece of bent aluminum stock (this will give me a good foundation for the interior in the future as well).
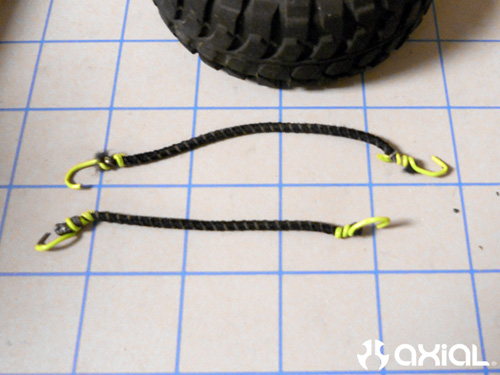
Cant forget the spare tire and tie downs! Made from the wife's hair ties and paperclips.
Final Pics, for now at least. Scale builds never really end ;) Thank you Axial Marketing for the awesome photo's.
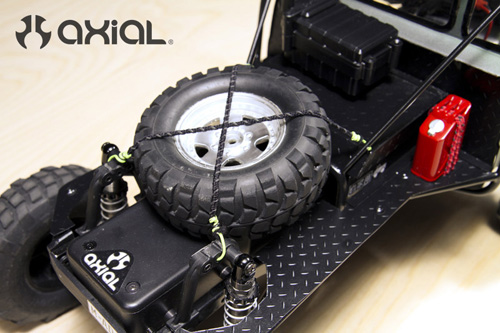
First run! Thank you HB_Crawler for posting the pictures on SoCalRCRC.
