Posted: 7/13/09
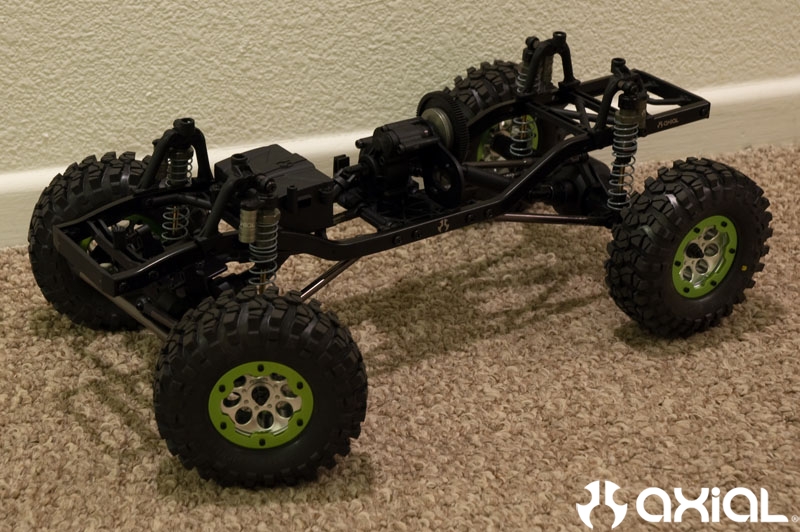
Starting with a SCX10 kit and Axial's Trail Ranger body; Axial Part #AX4009, I decided to take this one to the next level and add some more detail to the build. I have a lot of ideas for this SCX10, but first lets start with the kit and the body work.Option parts used are the Aluminum Shocks for the SCX10. Axial Part # AX30090.
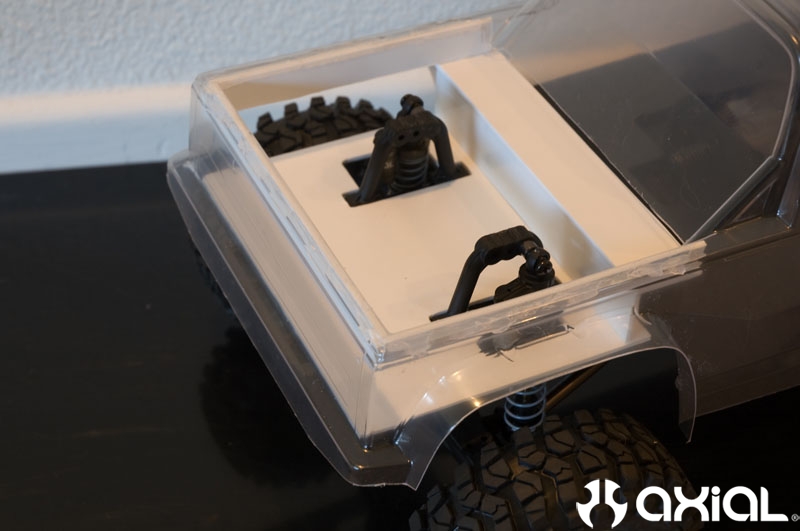
With the Trail Ranger body trimmed I set it on the SCX10 to get an idea of the height and overall size of the body. I prefer to keep the bodies as low as possible on my builds, I feel it gives a more scale appearance in the end. With the rear body posts removed the body height was about right. So I decided to cut out the lexan bed and do some styrene work.


I used an X-Acto knife to cut out the lexan bed.

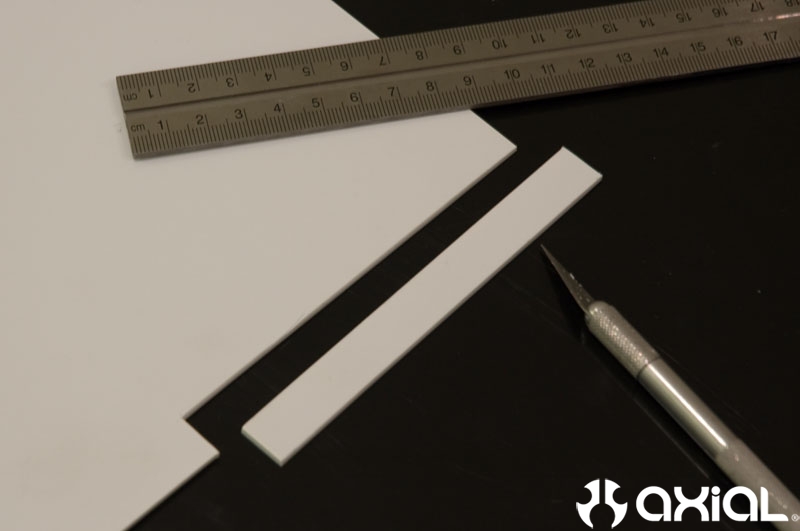
The base of the bed is made from .080" Styrene. I used my X-Acto blade to score the styrene and removed the piece. The first 3 pieces I made were for the back and sides of the bed.
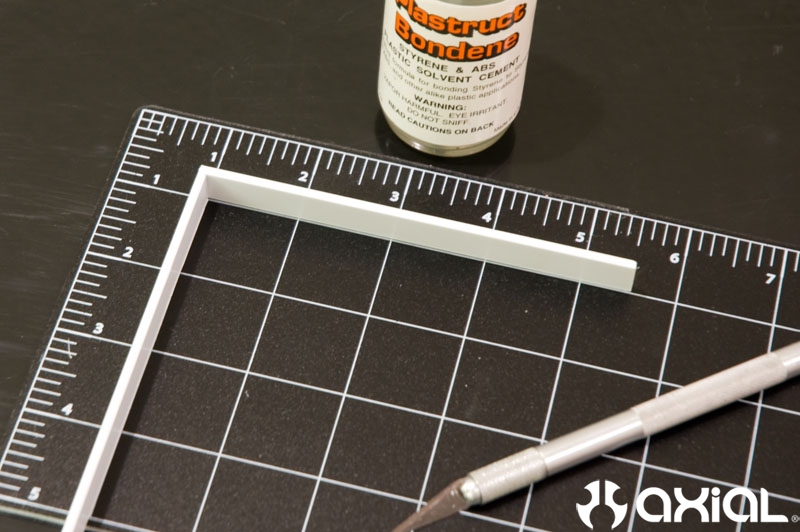
I used Plastruct Bondene to join the styrene and a silicon glue to adhere the styrene to the lexan body.

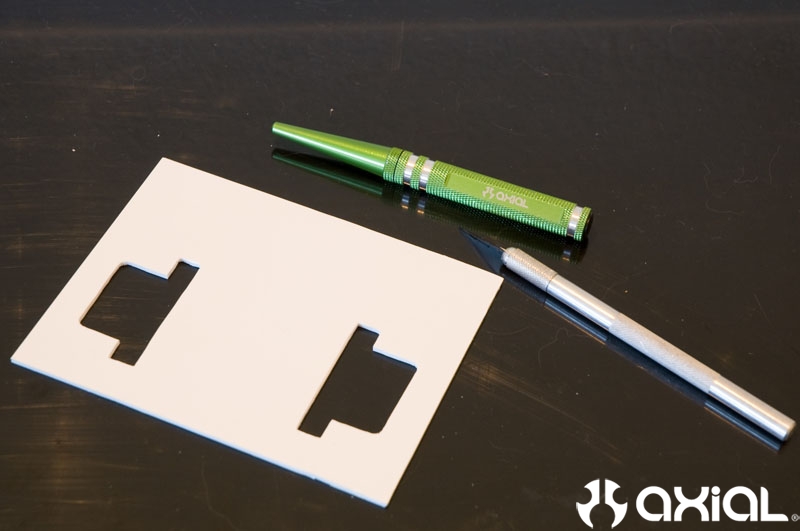
Next I started on the floor of the bed. I used my Axial reamer (Axial Part #AX20022) to mark the corners of each hoop and used the X-Acto to do the rest. It took some time on the thick .080" styrene but it comes out very clean in the end.

Next you can see where the silicon glue was used along the top edge of the bed inside the groove of the lexan body that I did not cut out. Also added the styrene between the top and the floor of the bed.
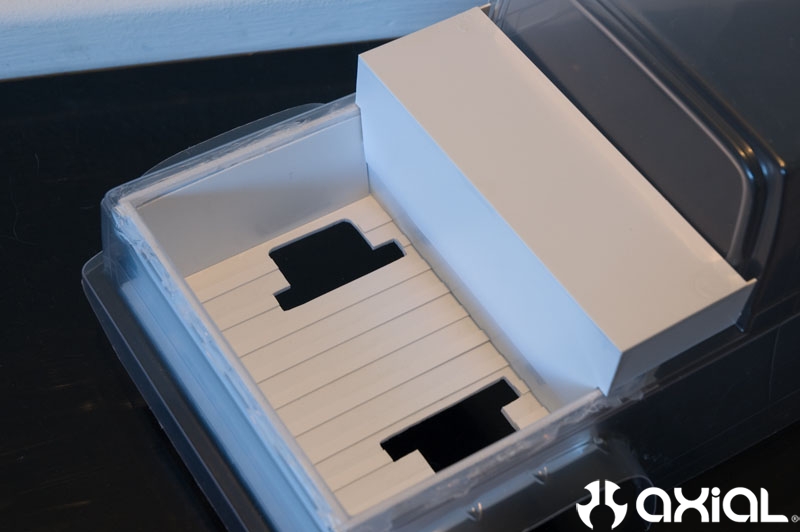
The next step was the sides of the bed to finish tying together the floor and upper section of styrene. I used .030" styrene for the sides.

Once I got the main section of the bed done I decided to add some more detail. In order to cover up the back section of the lexan body underneath the rear window I built a tool box. The floor of the bed also needed some work so I added some thin strips of styrene to give it some definition.
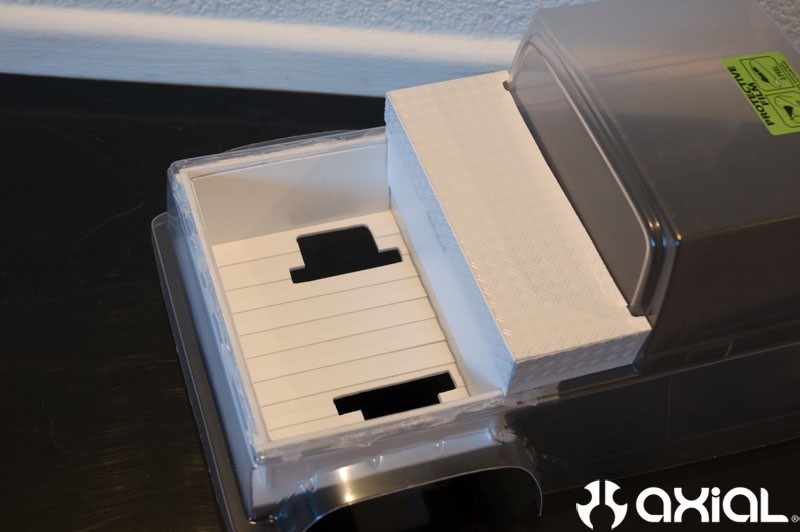
The final touch is some diamond plate styrene for the tool box and the trail ranger body is ready for paint!
Next week I will post up the pictures and details on the paint along with some more plans for this SCX10 build.