Posted: 1/16/13
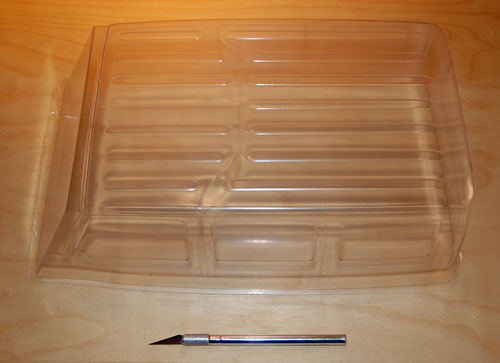
Now that the "kit version" of Axial's 2012 Jeep® Wrangler Unlimited Rubicon has been released I wanted to go over some tips on painting and assembling the body. This is Axial's most detailed body to date, with several plastic bolt on accessories. There are numerous holes to be drilled in specific locations for all the "bolt on" accessories. This post is meant to help show people what order to assemble / paint this new body to get the best results. So, let's get started!!For this body I wanted the cut lines to be really clean, so instead of using standard Lexan body scissors, I used a new X-acto knife to cut out the body and hardtop. This method works great, but you have to be very careful not to veer off your intended cut line. Take your time and you shouldn't have any issues. So, the first thing I did was use the knife to cut the hardtop lines.
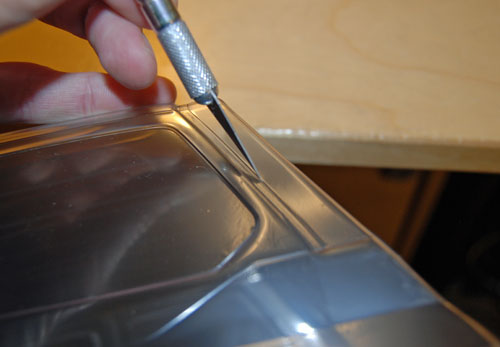
Slowly follow the cut lines on the hardtop with the X-acto. You don't have to push down very hard either. You are not trying to cut through the Lexan, you just want to score it with the blade.
After I have scored the body lines, I used Lexan scissors to rough the body out. Here you can see I stayed away from the finish cut lines with the scissors.
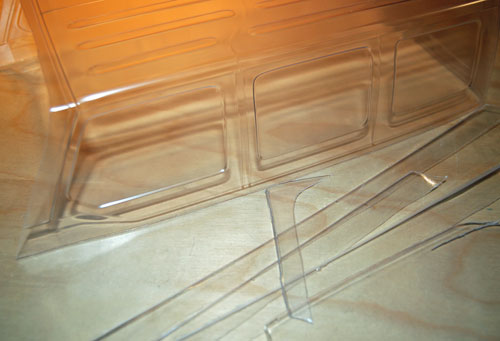
Once the excess Lexan is cut away you can start peeling the last bits of Lexan away from the body. You will basically be tearing the body on the score lines you created with the X-acto.
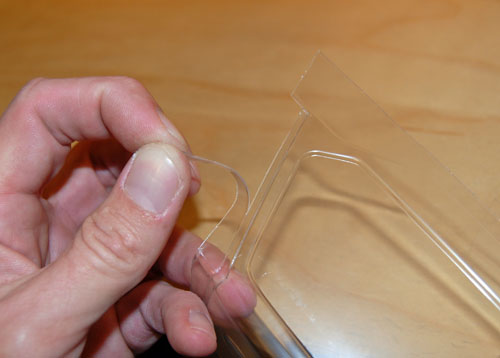
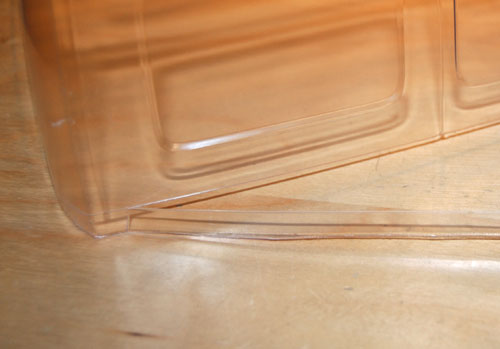
Here you can see the hardtop is cut out and ready for the next step.
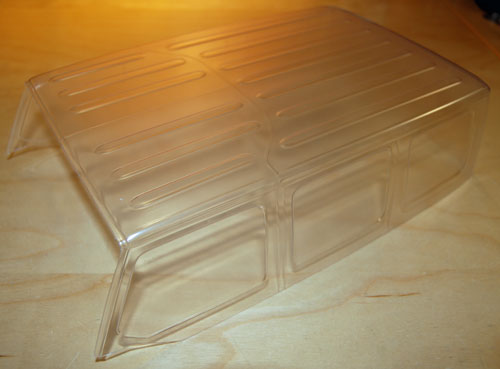
Now add your window masks, and label the paint scheme if needed. I am using white and black for this particular body.
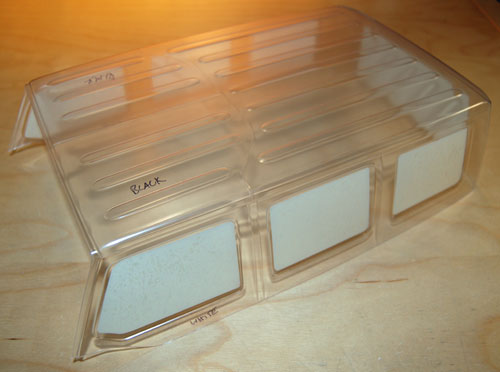
Next I cut the windshield out with scissors and applied the paint mask for the window.
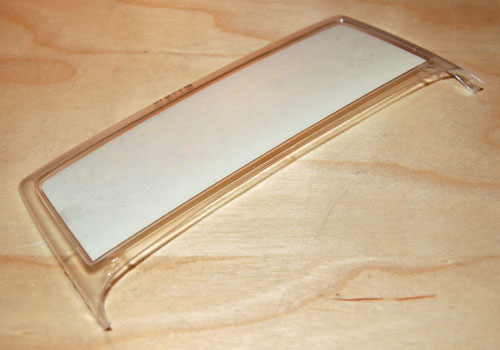
Using the X-acto method again, I cut the main body out as needed. Then, I applied the paint masks for the headlights and turn signals because I want to add lights down the road.
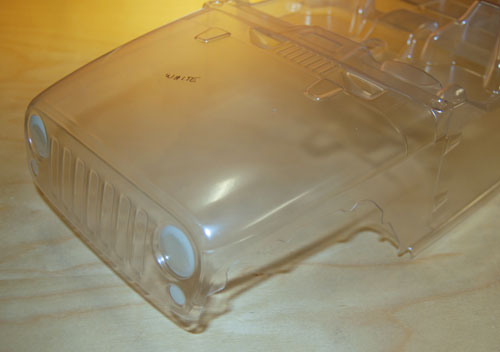
Using a body reamer go ahead and ream the roll cage mounting holes around the interior to fit 3mm hardware.
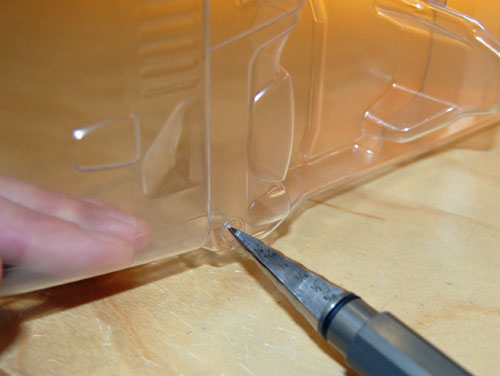
Now assemble the roll cage complete.
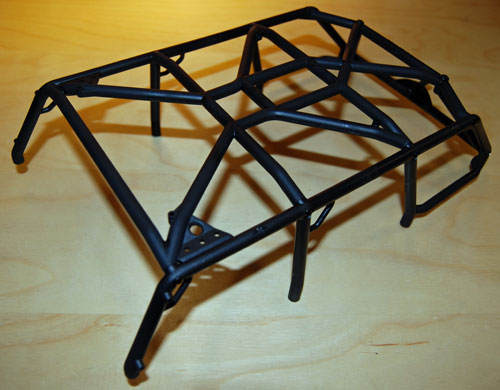
Go ahead and bolt the roll cage to the body.
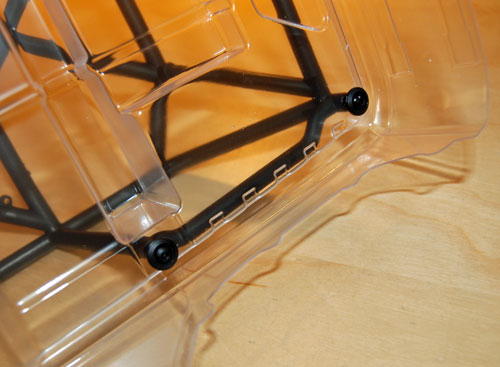
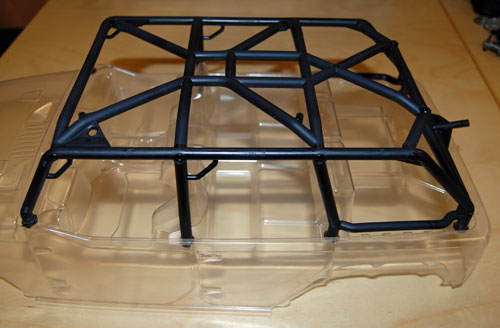
Out back the roll cage has a spare tire brace incorporated into the cage. Just loosen it up a little and flip it up and out of the way for now.
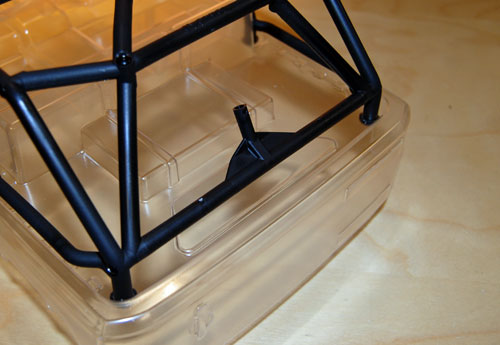
Now we will fit the hardtop to the body to mark the screw holes that hold the top into place. I used electrical tape on the sides of the body and hardtop to hold the top while I fine tuned it's fit on the body.
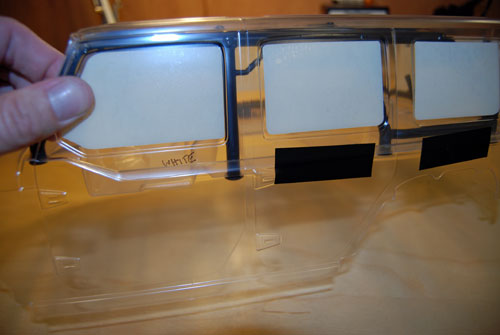
At this point I took the time to mark any areas that may interfere with final assembly with a marker. Here you can see the hardtop lines will need to be trimmed a bit to clear the screws that hold the windshield in place.
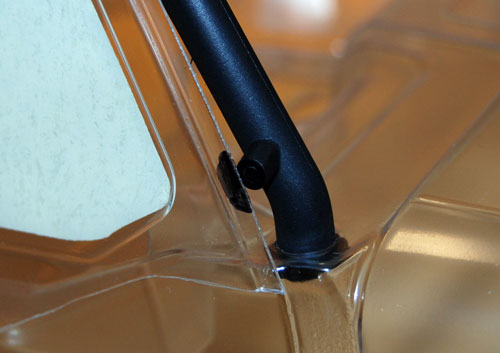
Before you mark any holes to be drilled in the top, make sure your body lines match up on both sides.
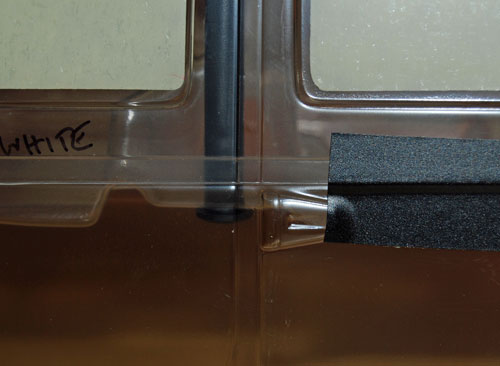
Once all the body lines are properly lined up, go ahead and tape the top down to the main body, and mark the holes for the hardtop with a marker.
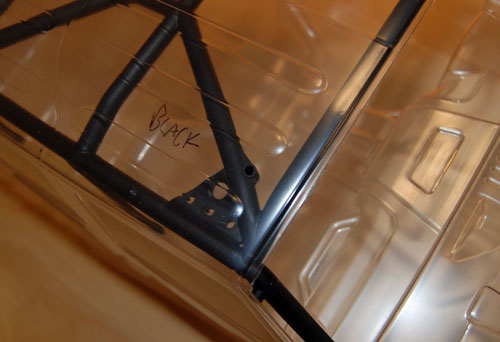
After the holes are all marked, remove the top and drill the holes as needed. Be careful not to go too big with these holes, as the screws for the top are smaller than the standard M3 hardware.
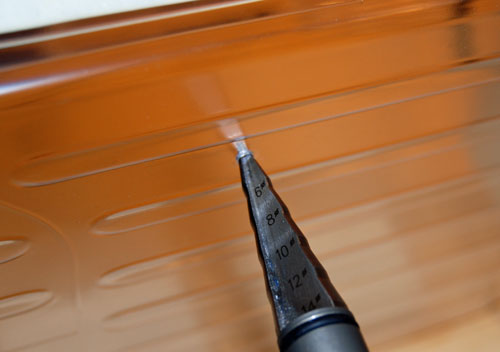
At this point I went ahead and notched the front of the hardtop to clear the windshield screws.
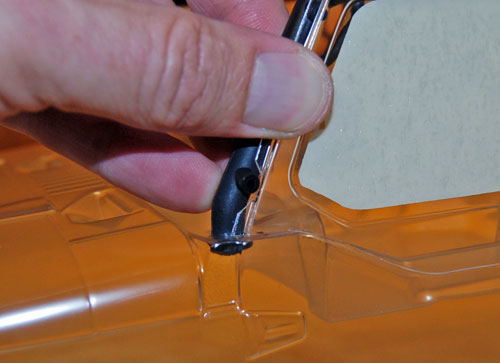
Now set your windshield in place and mark the holes to secure it to the roll cage.
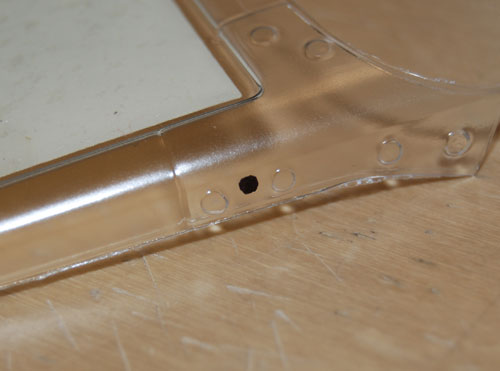
Be careful drilling these holes as well, since there isn't much excess material to work with. The hole should fall right between the molded studs in the windshield frame.
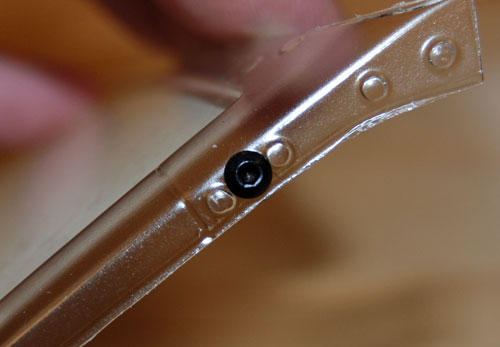
Now we can assemble the hard top, body and windshield to make sure everything fits properly.
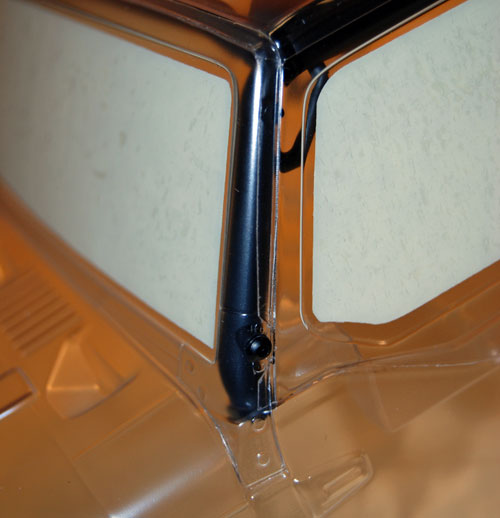
Looking good!! At this point you can remove the hardtop and flip the spare tire brace back down. Slide the hardtop back into place until the brace touches the rear window and mark the hole for the brace to come through. Then, ream your hole to size so it slides over the spare tire brace.
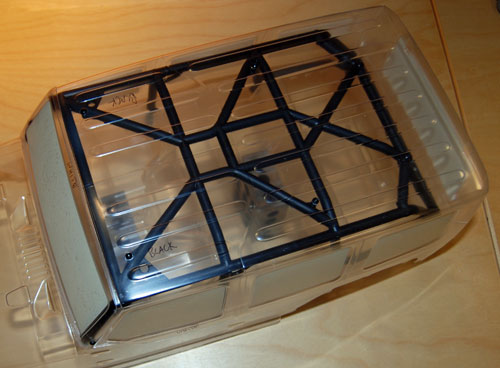
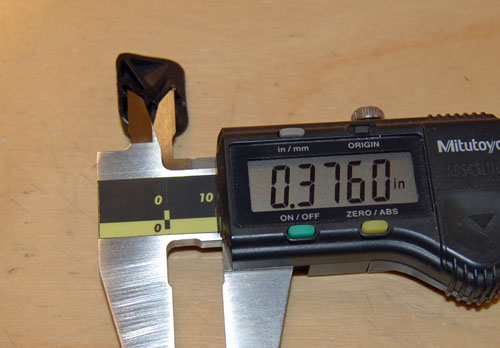
Now we can turn our attention to the smaller details like tail lights, mirrors, shifter, steering wheel, etc. I used calipers to measure the distance between the molded stud on the tail lights and the mounting hole.
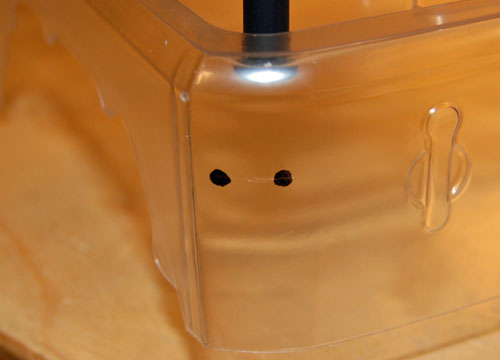
Next, I went ahead and marked the body with my calipers for where the tail lights should sit. We will drill our holes on that scribed line the proper distance apart.
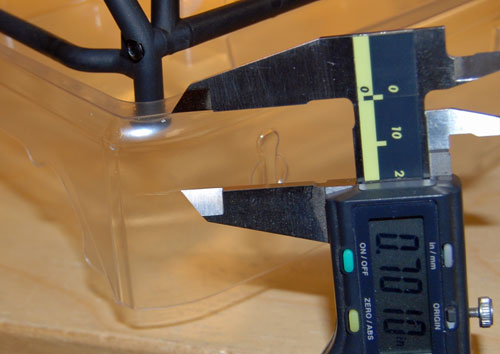
The side of the tail light should sit almost flush with the outside of the body, so mark your holes as needed.
Test fit parts as you go to ensure proper fit.
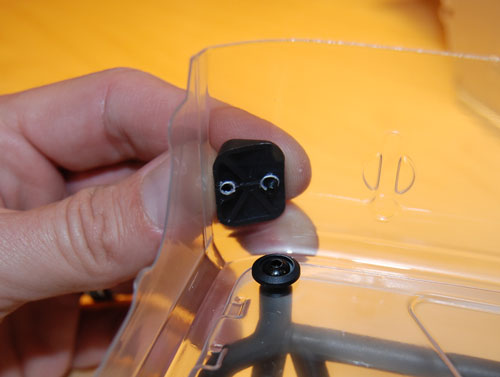
We will take the same steps to mount the mirrors as we did to mount the tail lights. Measure the spread between the molded stud and the mounting hole on the mirror.
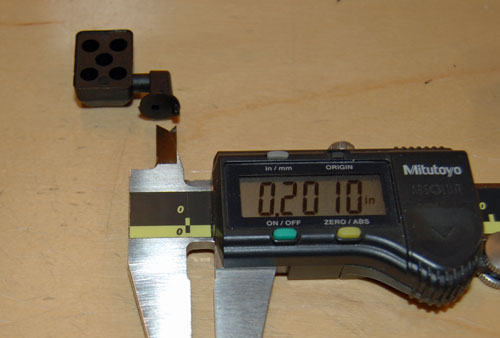
I measured from the top of the half door down .300, or just over a 1/4", to the first hole for the mirror. Then moved down another .200 per my measurement, so the bottom hole is 1/2" from the top of the door.
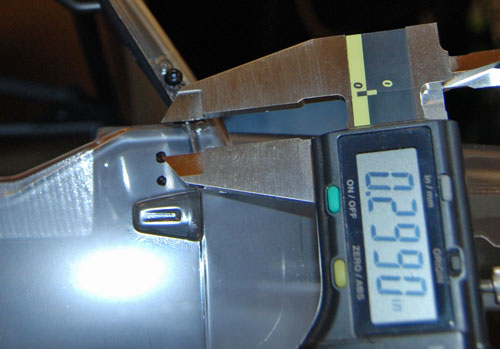
To keep the holes in line, I measure another .300 from the door seam to the mirror holes.
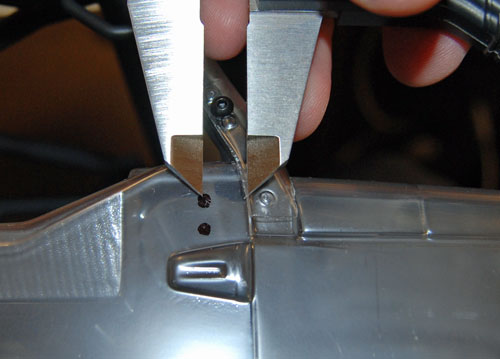
Ream your holes and double check the fit.
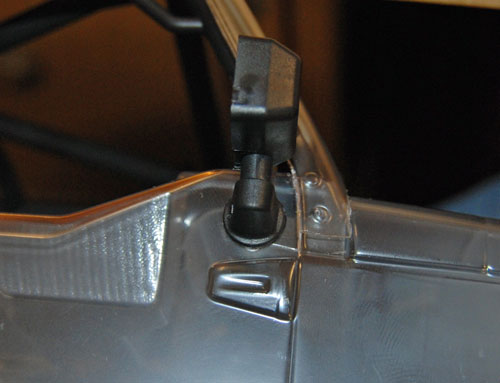
Now it's time to mark the holes for the Poison Spyder Crusher Flares. I found the best way to do this was to use the plastic backing for the flares as a template to mark the holes. Set the proper back plate in place on the inside of the body, line everything up, and carefully mark your hole locations. You can also tape them in place, then mark the holes, to ensure they don't move on you.
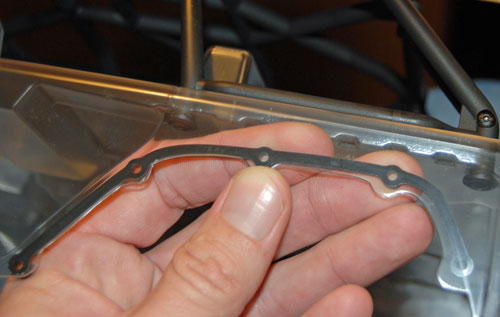
Holes marked........
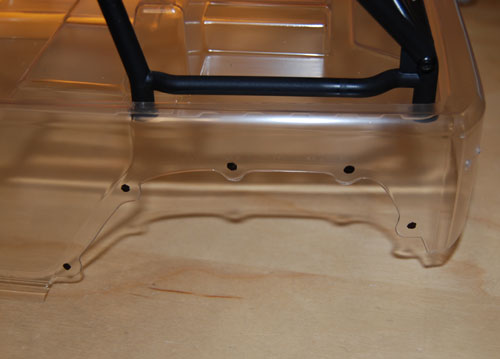
.........and drilled.
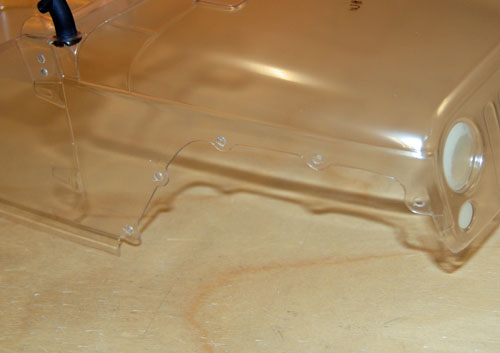
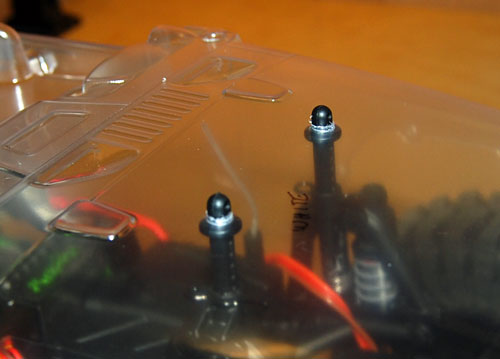
Next up are the body mount holes. Set your body in place on top of the body posts, and carefully line it up front to back, and side to side.
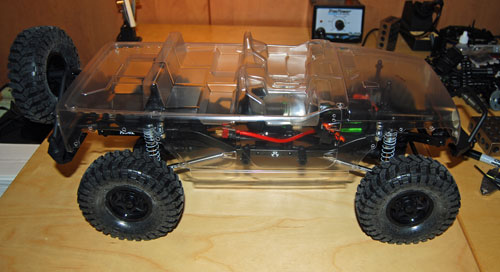
Mark the body mounts on the outside of the body with your marker.
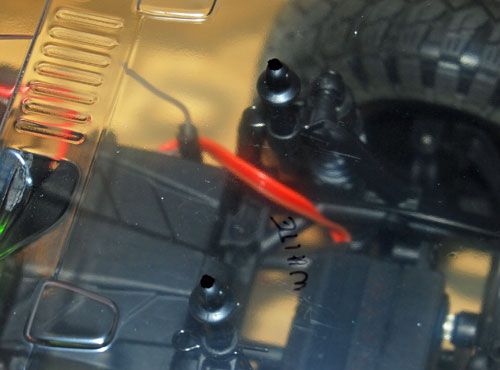
Partially ream the holes out and double check to make sure everything lines up properly.
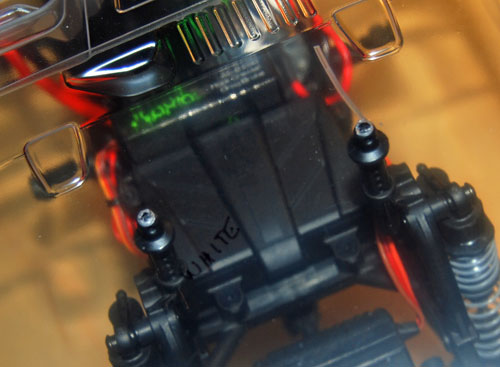
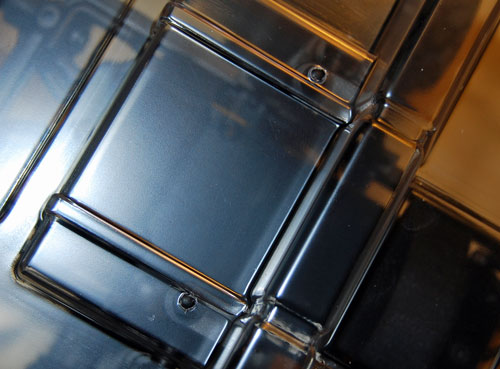
If everything looks good, drill the holes out to size.
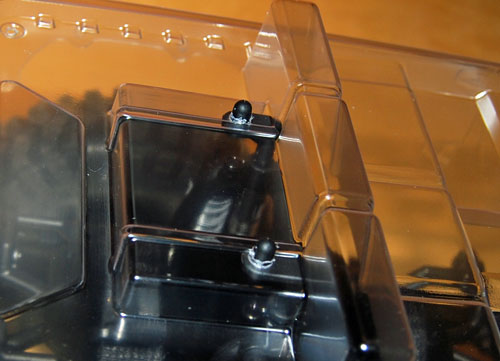
Last few items to take care of are the steering wheel, and shifter. To mark the steering wheel hole I just used my calipers to find the exact center of the panel the wheel mounts to, and marked it.
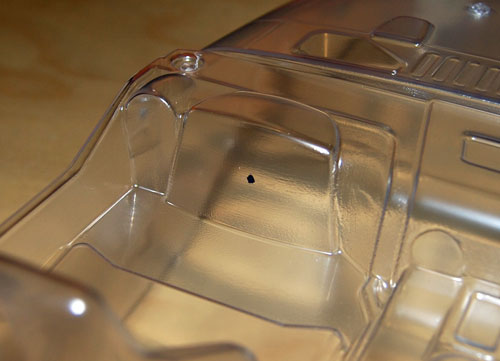
Drill your hole and double check the fit.
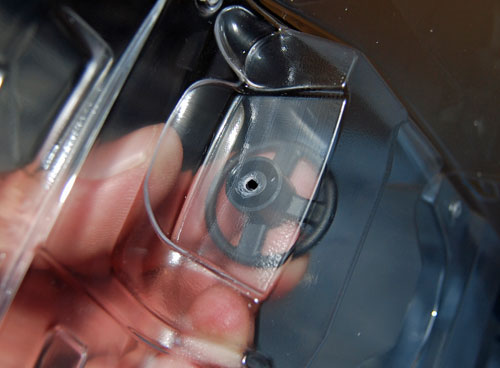
To mark the shifter holes, I held the shifter up to the inside of the body and marked the holes as needed.
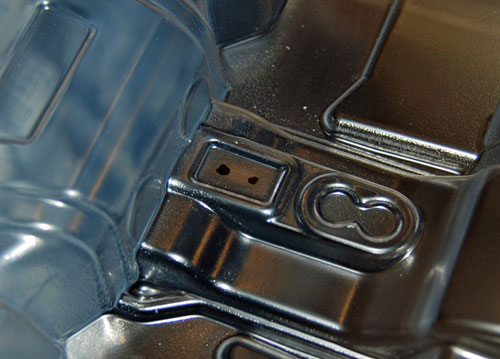
And done!!
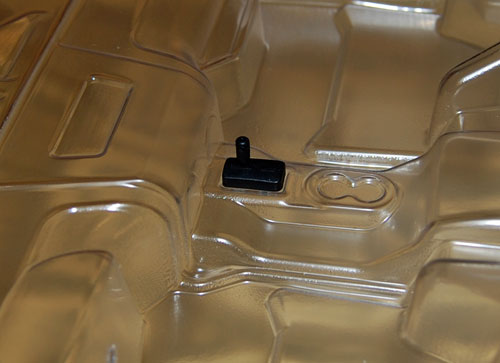
Now, we get to take the entire body apart, and remove all plastic accessories. Tedious yes, but needed to get a clean finished product. Now it is time to start painting. I chose white and black for the colors on this build to give it that "Stormtrooper" affect. I think Mr. Lucas would be proud!
I started by laying down a few good coats of rattle can white to the inside of the body, windshield and hardtop.
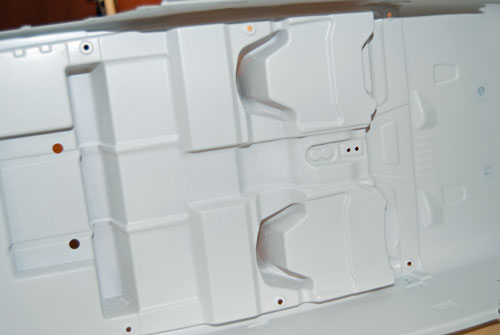
You will notice that some spots, like this seat, on the body aren't covered with white very well. Most of those areas will be painted flat black on the outside of the body later. So, I didn't worry about getting complete coverage in those areas.
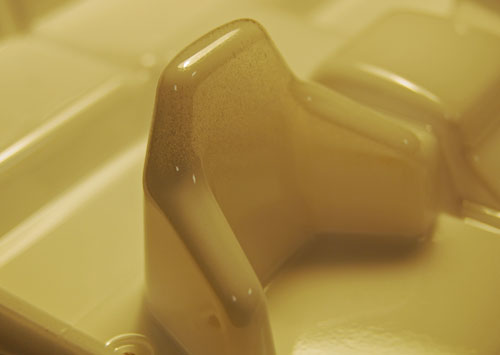
After the coats of white were dry, I backed everything in black, like I usually do.
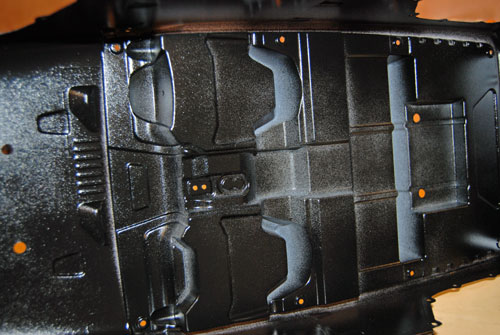
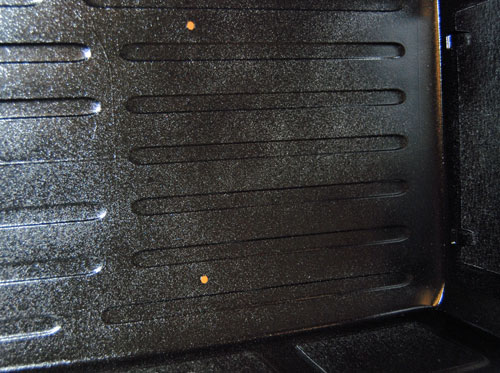
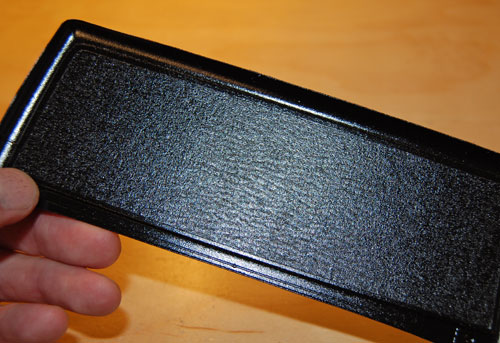
To paint the interior flat black, I cut the over spray film out of the interior area only with an X-acto. Then, carefully peeled it away so it didn't pull any areas I don't want painted away from the body. Take your time here as well. After you spray the interior, peel the rest of the over spray film off the body and it should look like this.
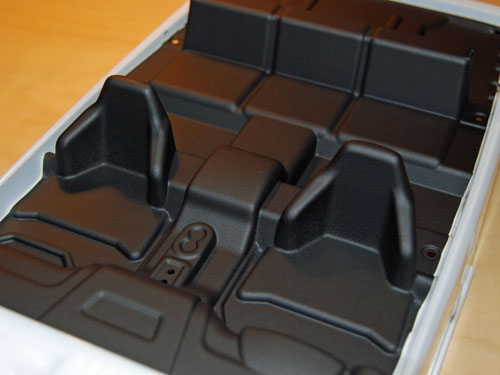
I followed the same procedure for the interior, as I did for the hard top. Cut the over spray film as needed, and peel it away before painting the flat black. I used a second set of window masks on the outside of the windows on the hardtop, so the windows will remain clear after paint. But, you can just leave the over spray film on the windows by cutting around it with your X-acto and use that as your paint mask.
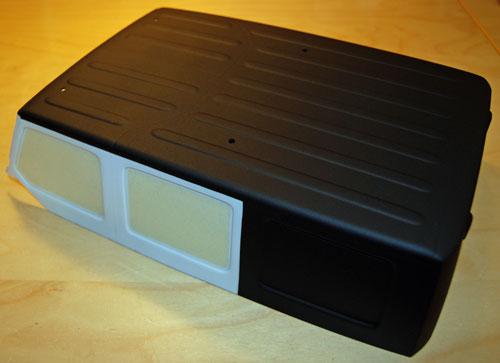
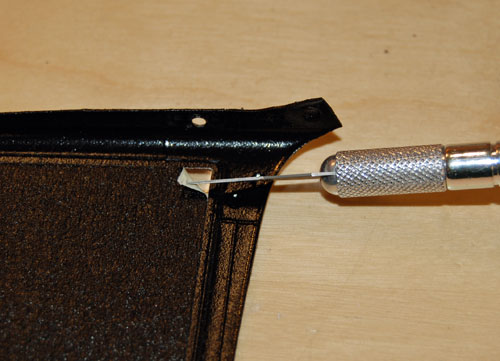
Remove all window masks at this time. I used the tip of my knife to peel a corner up enough to grab with my fingers.
Notice I have a little white bleeding through the rear windows.
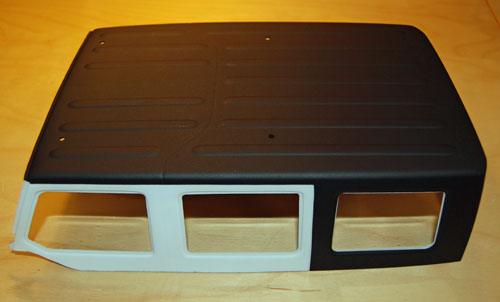
I used a marker to cover the paint, and once the window decal is in place it will still look pretty clean.
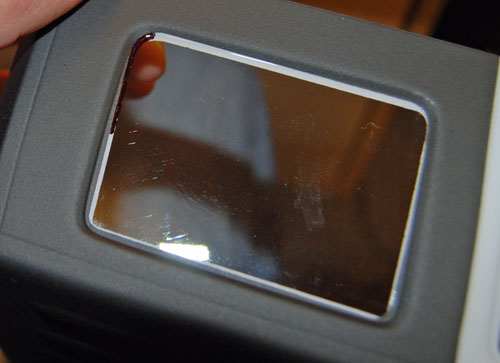
Apply the window decals.
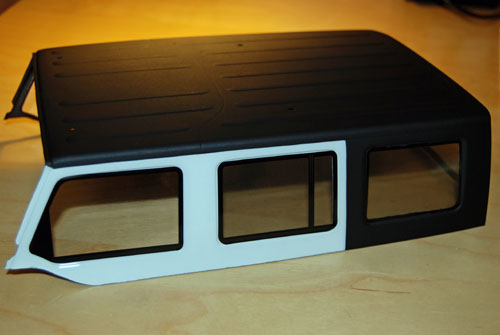
Next we will apply all interior decals.
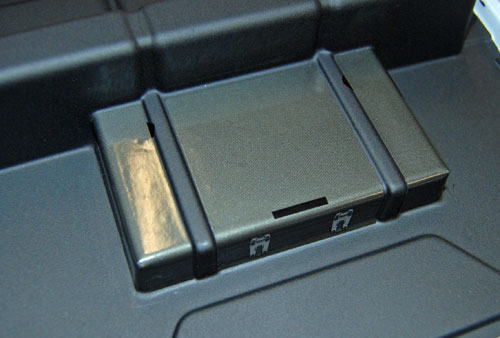
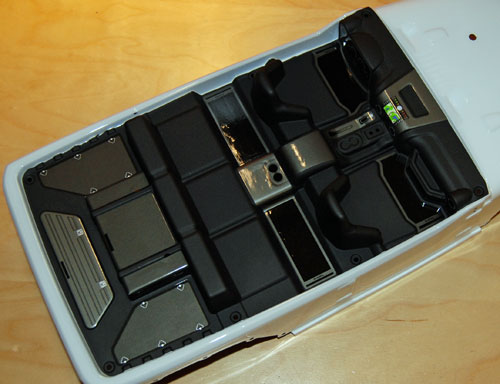
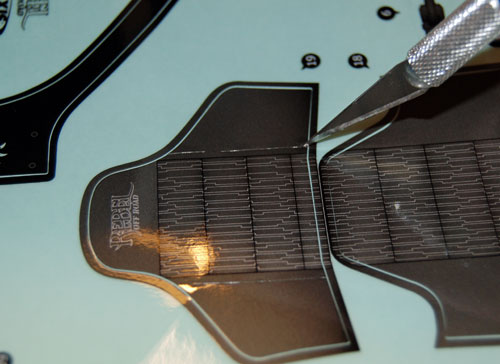
For the seats I tried something different. I only cut the center of the seat decals out with my knife and applied the center portion only.
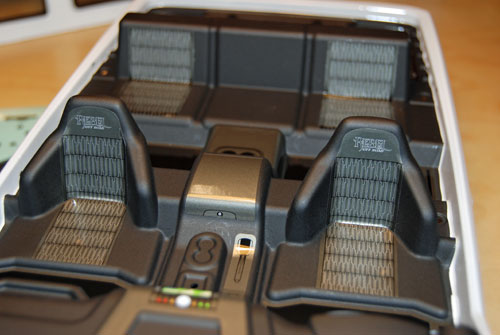
Apply the exterior decals next.
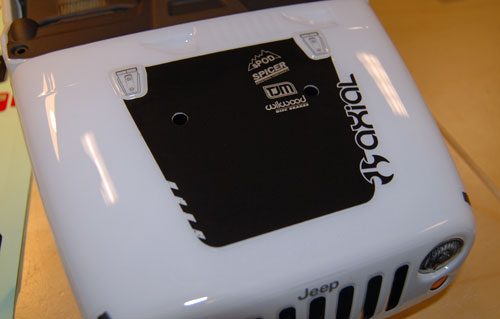
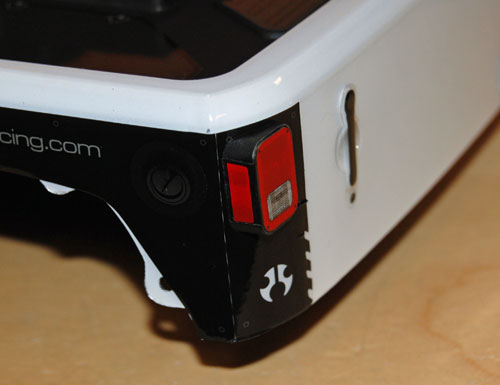
Don't forget your mirror and tail light decals.
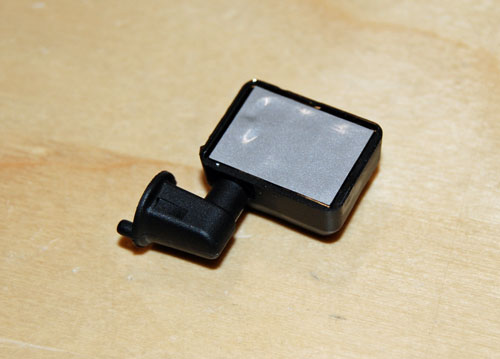
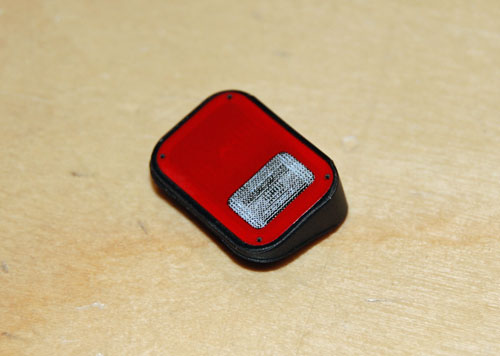
Attach the tail lights to the body.
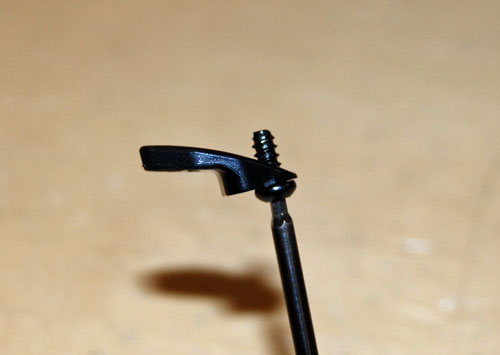
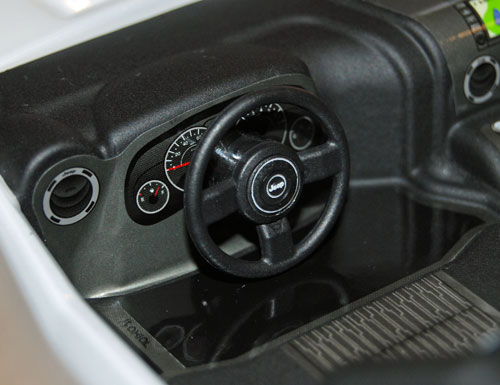
Install the steering wheel, don't forget the Jeep decal that goes in the center.
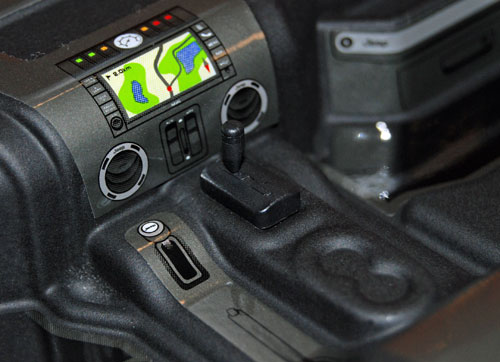
Shifter installed.
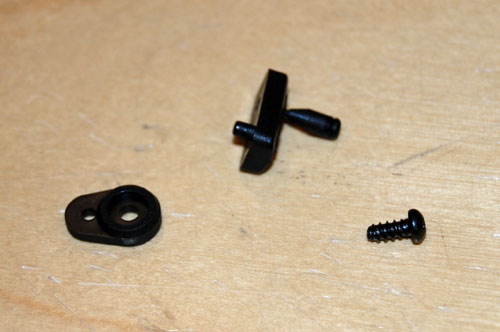
Apply the windshield decal.
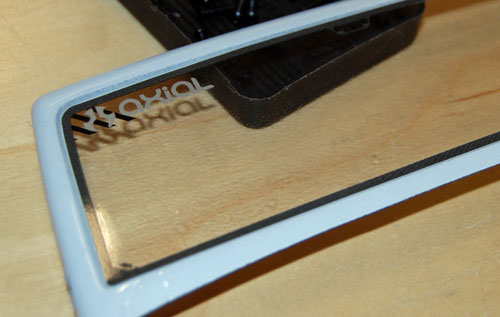
Before I bolted the Crusher Flares on I used my marker to color anything that will be inside the wheel well black, just for a cleaner look.
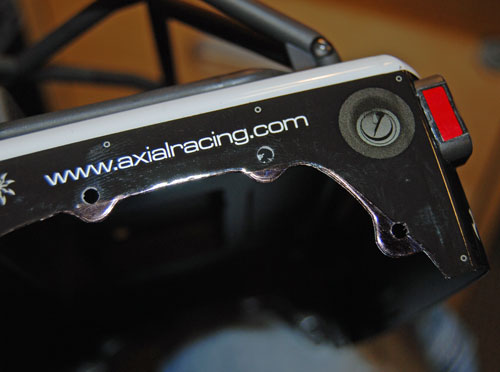
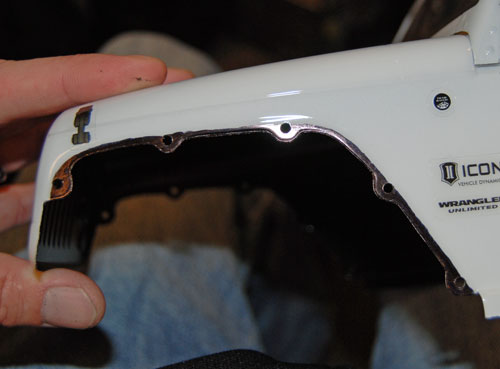
Now we can bolt the cage into place, add the windshield and install the hardtop. Notice there is a small white strip between the hardtop and the black rear quarter panel stickers. To fix this, I removed the top and broke out my trusty black marker and colored that strip of white in. You could also use vinyl, or electrical tape to cover it too.
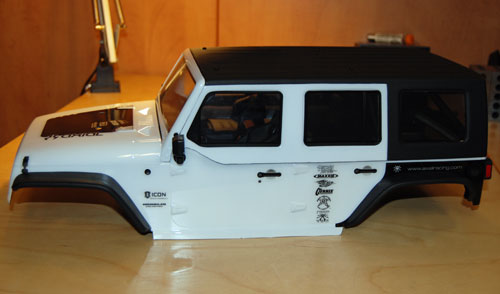
If you find the sides of the hardtop wanting to bow out away from the body, you can use double stick tape on the tops of the doors to hold them tight.
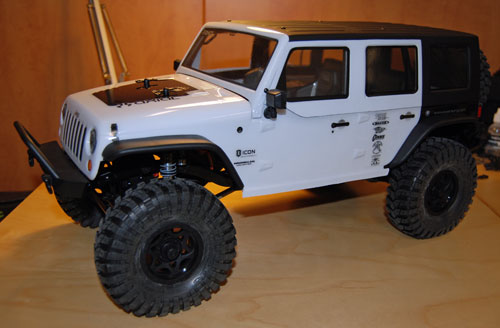
The finished product.
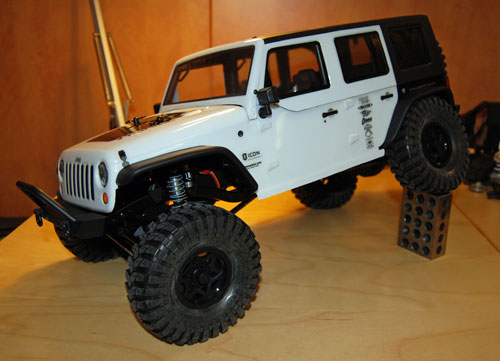
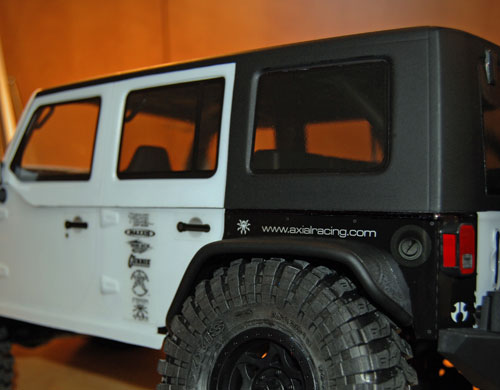
Whew! That covers detailing your new Axial SCX10 Jeep Wrangler Unlimited Rubicon kit body. A few things I would have done differently. One, make sure you get your base color of paint up inside the tops of the doors as best you can. This area's coverage was a little thinner than I expected it to be, and you can see some shading from the black paint at certain angles. Two, I would have left the sides of the hardtop a little longer and trimmed after paint. The black paint left a shadow along the bottom of the sides. Not critical stuff, but just a few things to keep in mind. Good luck with your build and post it up on our Facebook page when you are done, we would love to see it.
https://www.facebook.com/axialinc?ref=hl