Posted: 8/19/16
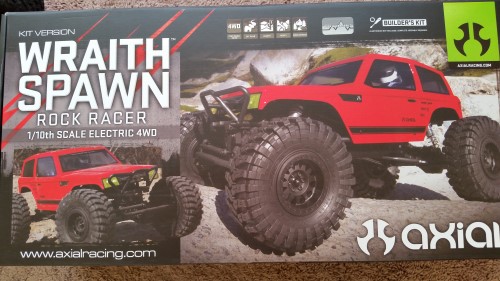
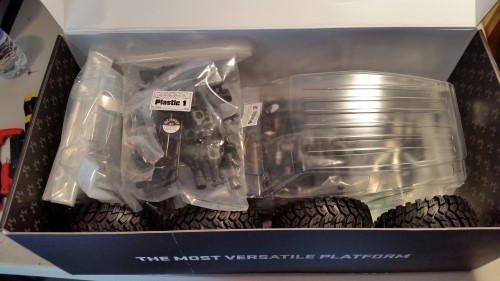
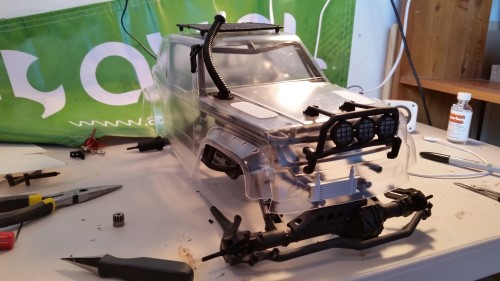
I started with the Axial Wraith Spawn Rock Racer KIT version. https://www.axialadventure.com/products/ax90056
Once you start building the KIT, everything will remain the same as per the instructions. The exception will be on the front bumper. I will show you why.
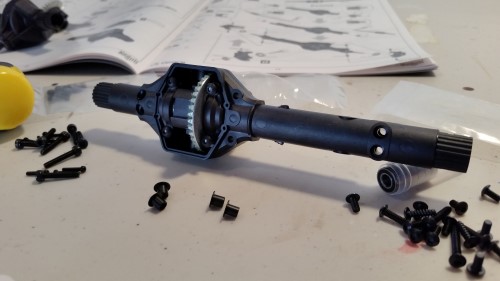
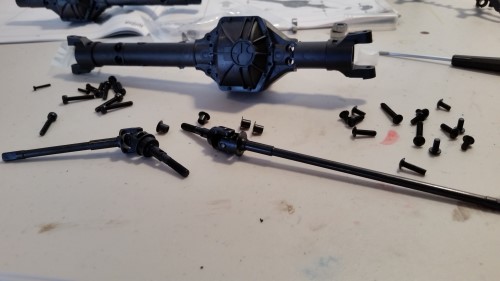
Axles are stock and built as instructed. I am running a stock drivetrain under this build, I wont use brushless or a fast turn motor. I plan on an Axial 27t with 3s.
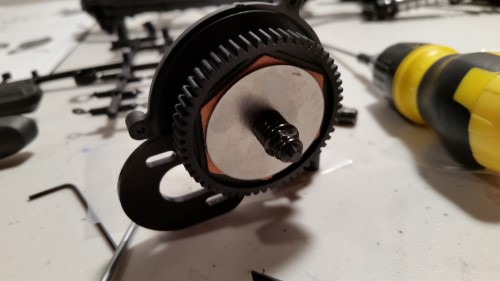
Just like the axles, the transmission is built stock per the instructions. To be honest the only real upgrade I have ever needed is the Axial metal gears. https://www.axialadventure.com/products/ax30708 that was with a brushless motor.
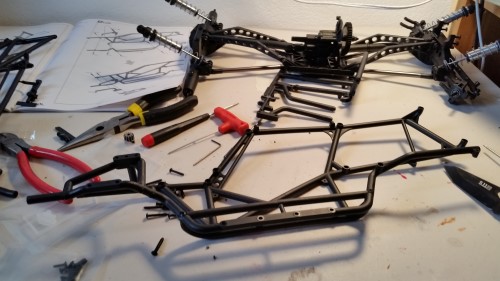
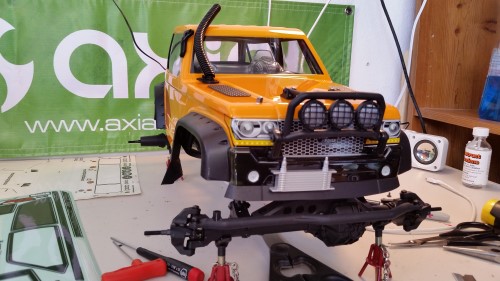
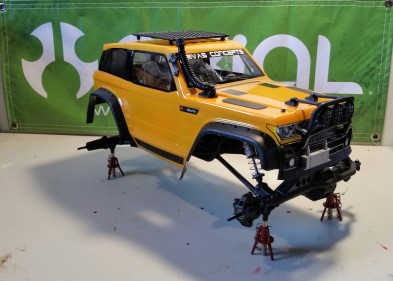
Onto the cage. Everything goes together as instructed except for the front bumper. I have a different plan so I built it up to that point.
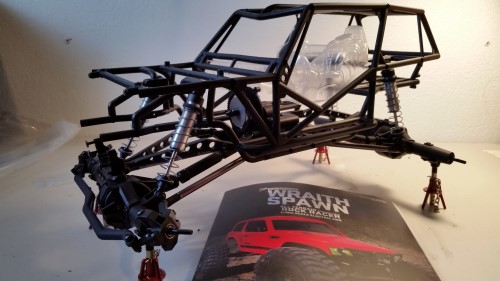
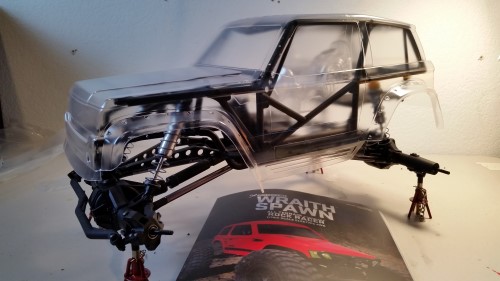
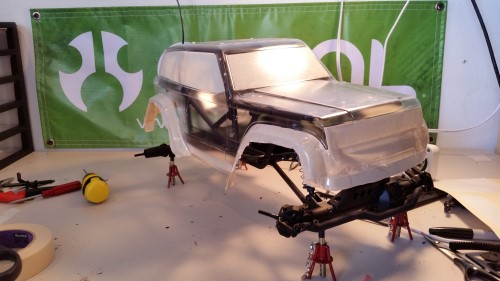
You can see why I don't want the normal front bumper. When trimming the body I left the fender flares on and even sections below to look like mud flaps. On the front section I left some lexan below the formed bumper like an air dam.
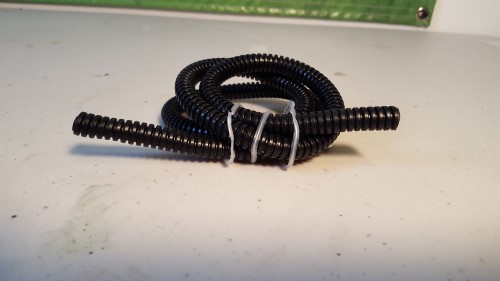
I bought some 1/4" conduit from a local auto parts store. I will use this for a snorkel.
![C24909[1]](https://www.axialadventure.com/on/demandware.static/-/Sites-axial-us-Library/default/dw268b3052/Blog/Archive/uploads/2016/08/C249091.jpg)
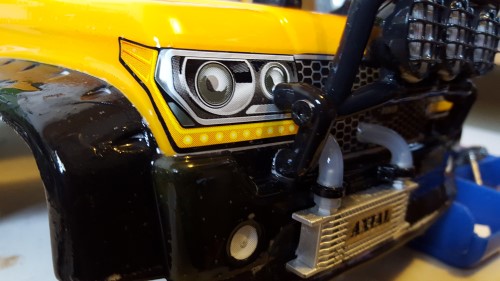
I ordered an Intercooler and an oil cooler for a drift car.
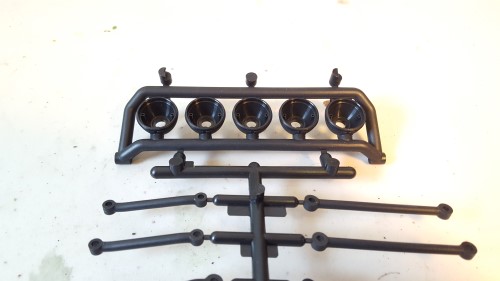
I also used the Axial universal 5 bucket light bar. https://www.axialadventure.com/products/ax30709
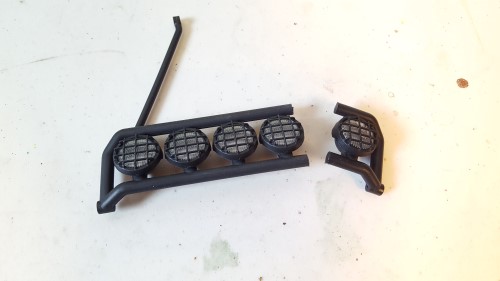
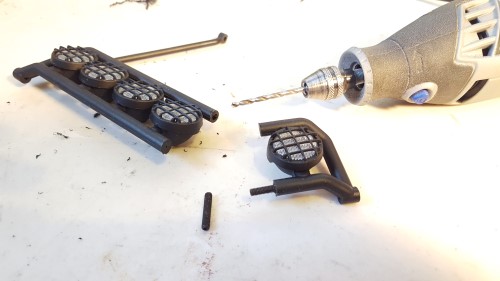
I want three lights, so I cut this bar down. I need the ends form both sides, so one light on one end piece, two lights on the other, giving me three. I put them back together with Axial M3x20mm set screws and a dab of shoe goo. I drilled a hole in both sides to be connected, threaded the set screws opposite sides, one top one bottom, then pushed them together with a dab of shoe goo in the center.
https://www.axialadventure.com/products/axa0187
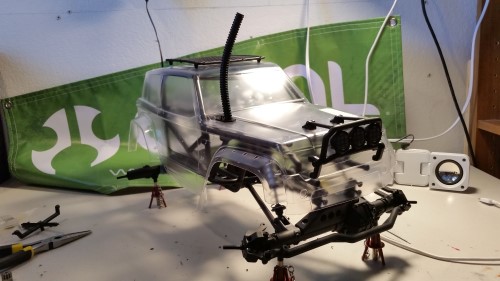
Simply line up all pieces where you want them to fit. Make sure to do this while body is clear, you can do it after painted, but it is much more difficult. On the snorkel you can use a body reamer, ream hole to the desired width and slide conduit in. You can hold it in place with Shoe Goo. The way I did it was use an Axial Gas tank accessory plate, put a spacer in conduit and fasten with a screw from the bottom.
Once everything is installed you can remove accessory pieces and mask it off for paint.
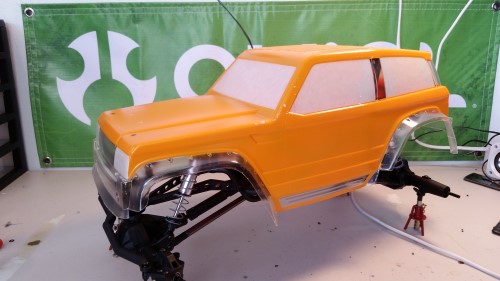
After painting underside black, I took an exacto knife and trimmed off the protective film from the outside, on fenders and air dam. I then painted it on the outside with flat black.
I left the lights clear, this KIT comes with lexan light buckets, so I can come back later and add working lights. I am in a bit of a hurry so I just put the stickers on for now.
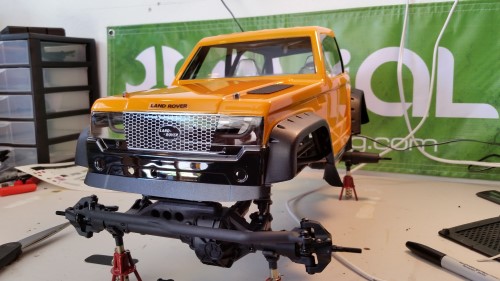
After all your paint work is done and you install your decals you can install your accessories once again.

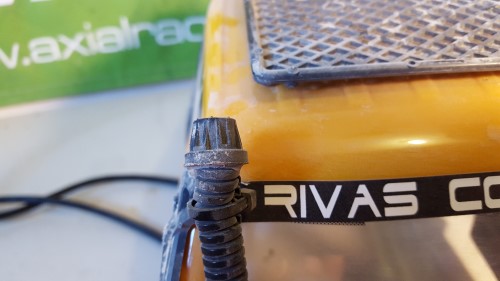
For the top of the snorkel I used an Axial wheel cap, held in place with Shoe Goo.
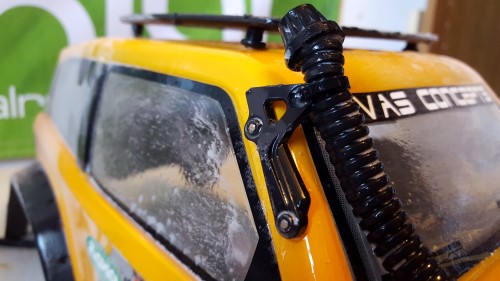
To keep the upper portion of snorkel in place, I used one side of the Axial pillar post from the light bar. Then fastened it in place with screws and a small black zip tie around the conduit. The pillar post mount is on parts Tree AX80130 https://www.axialadventure.com/products/ax80130
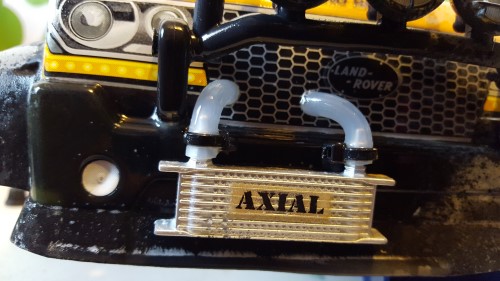
For the oil cooler lines I used fuel line for a Nitro RC and 2 small zip ties. I used one piece of fuel line and ran it through the body, fastening on both ends of oil cooler.
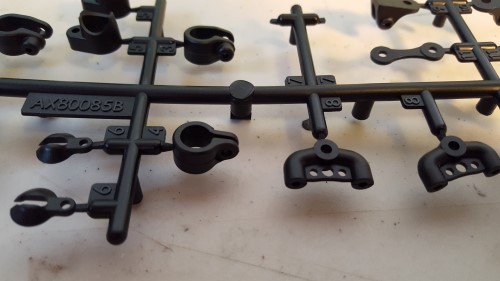
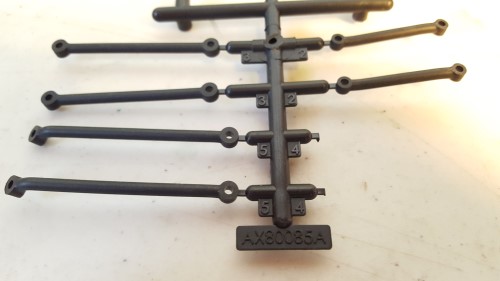
I mounted the light bar with brackets pictured below. Part #8 on parts on tree AX80085B
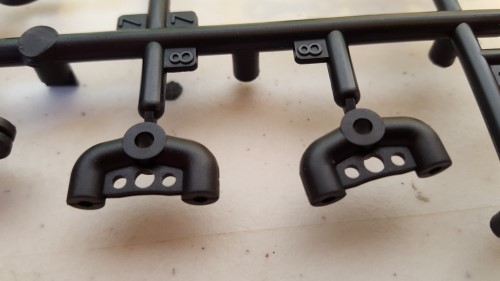
Part tree AX80085B
https://www.axialadventure.com/products/ax80085
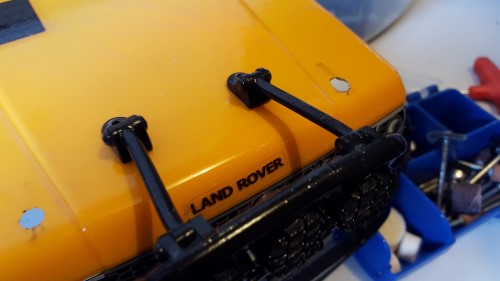
I mounted light bar to hood with the short arms pictured below.
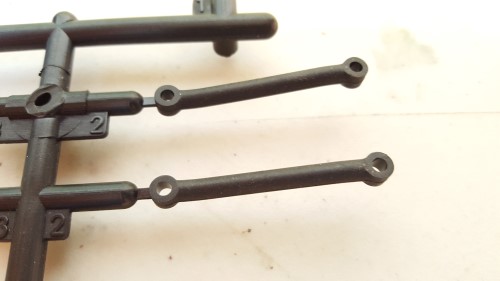
Part #2 on Axial part tree AX80085A https://www.axialadventure.com/products/ax80085
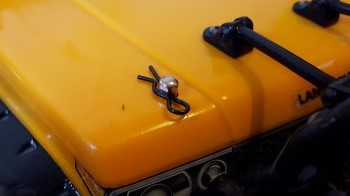
To mount the body I used the holes at front corners of the cage. Pictured below uou can see I found some pieces to thread in that accept body clips.

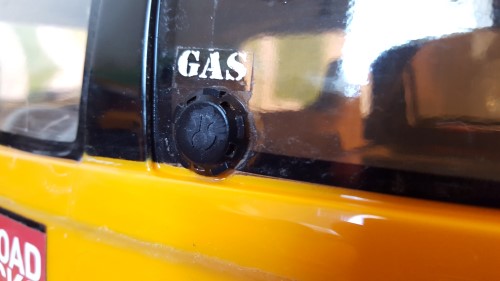
Another small detail touch. The gas decal is from an Axial Honcho bed sticker sheet. I also used an axial transmission bearing cover to act as a Fuel cap. Ream a hole into window and insert in transmission bear cover. Part tree AX80051 part #7. https://www.axialadventure.com/products/ax80051
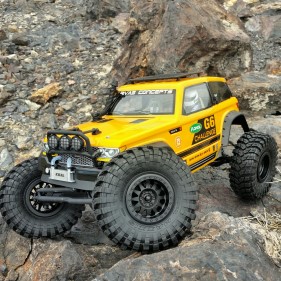
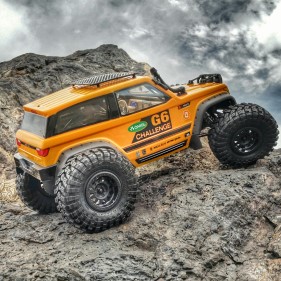
Add your wheels and when its done it should have a rally inspired look. The mud flaps are part of the lexan, when I trimmed the body I cut lexan to look like mud flaps.