Posted: 11/29/11
Now that the EXO Terra Buggy has officially been announced, I want to take some time and highlight a few of the features. For this post I want to cover how to swap the batteries and show a couple of the subtle but cool details on the EXO battery tray assembly. Our patent pending quick release battery tray makes swapping the battery in the EXO really easy to do, with minimal down time between runs.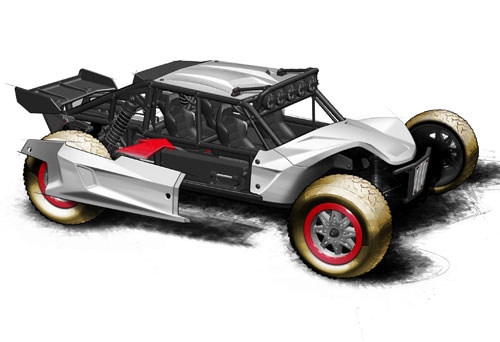
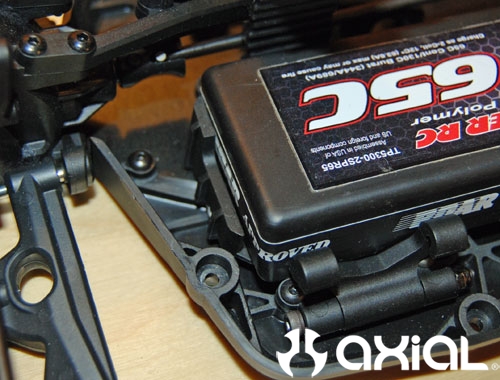
A few photos of the battery tray with the body and cage removed.
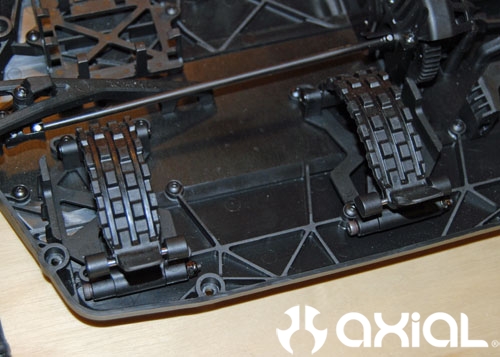
Here you can see the rubber battery straps lock into the battery tray tabs securely. The straps have steel pins pressed into the ends of them, the ends of the pins are what tie into the battery tray tabs.
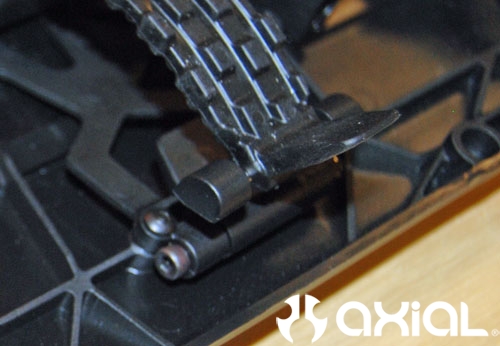
Grab the tab on the end of the rubber battery strap, pull down and release the pins from the battery tray tabs to remove the battery. No body clips or threaded nuts required. Notice the battery tray is two separate pieces too. I will explain why in a minute.
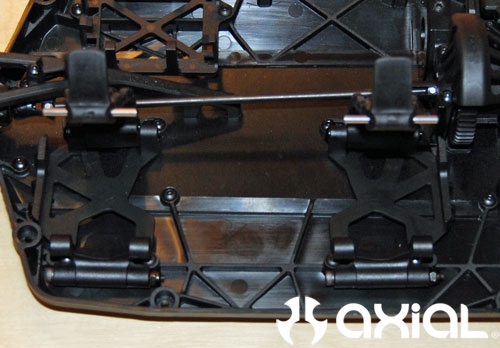
To aid in removing the battery, the battery tray tabs fold down out of the way. Once they are folded down, the opposite end of the tabs help lift the battery out of the tray too.
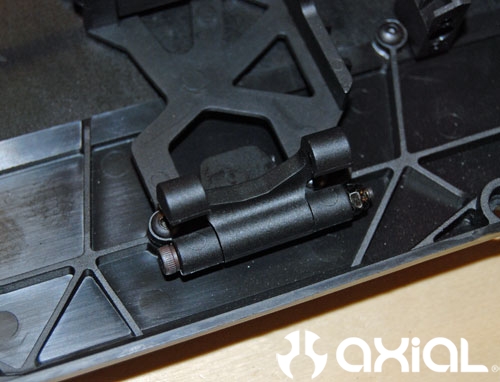
Notice the M3 screws and slots in the battery tray as well.
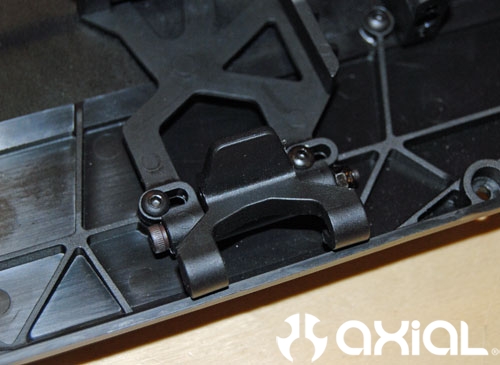
I grabbed one of our 2S lipos to show how easy it is to make adjustments to the battery tray. Here is where the two piece tray is key. I set the battery into place first to see where it sits.
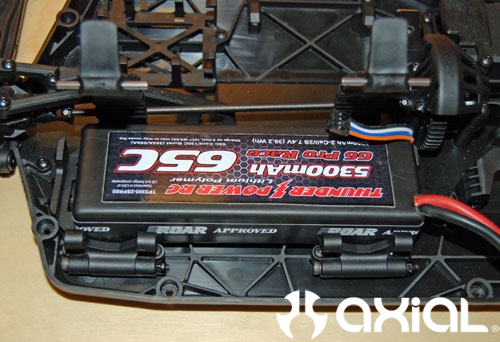
Once you install your battery into the tray you can adjust the two halves of the battery tray to fit the battery as needed. The two halves of the tray are mounted to the chassis with M3 screws as I mentioned earlier. Because the battery trays have slots built into the mounting tabs, you can adjust the size of the tray to fit most batteries. Here you can see that the tray is a little too long to hold this battery properly right now.
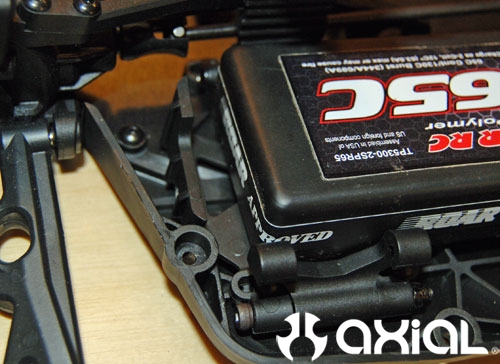
I backed the M3 screws off in the battery tray halves and snugged them up to the battery before tightening them up again. Now you can see the tray fits this battery like a glove.
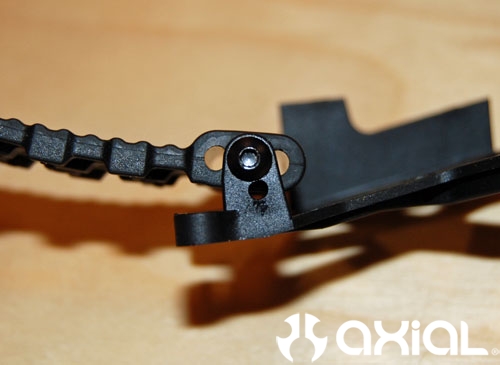
Another cool feature to this battery tray is the the rubber straps. There is adjustments built into those as well. You can fine tune the straps to fit different height battery packs if need be too. A close up shot of the stationary side of the battery strap, and it's different mounting options. Three holes in the strap and two holes in the battery tray give you a handful of options to fine tune the straps.
Here are a few more photos showing how to change the battery with the cage and body installed.

The passenger side of the EXO has 2 body posts and clips that hold the side panel on. Remove those 2 body clips, pop the side panel off and you have access to the battery.
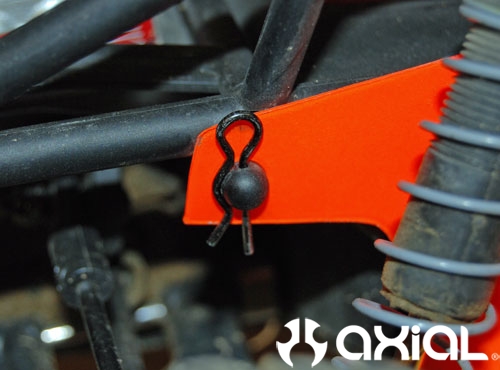
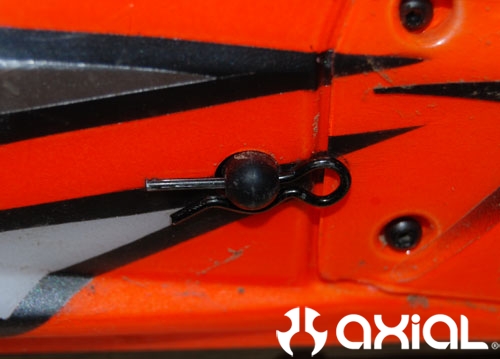
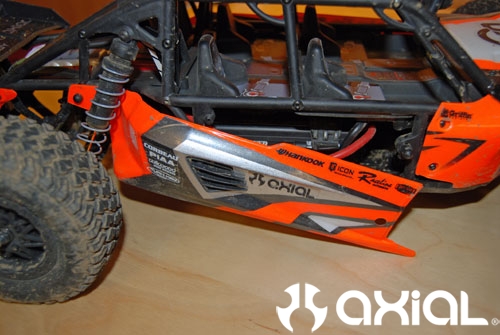
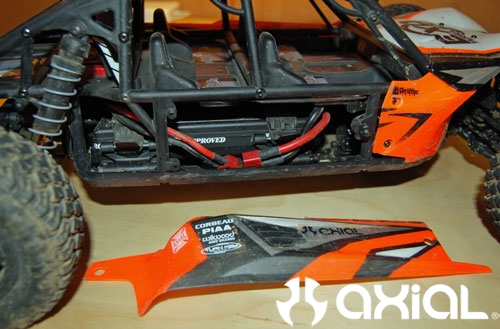
As I mentioned earlier, grab the tab on the end of the strap, pull down and release to remove the battery.
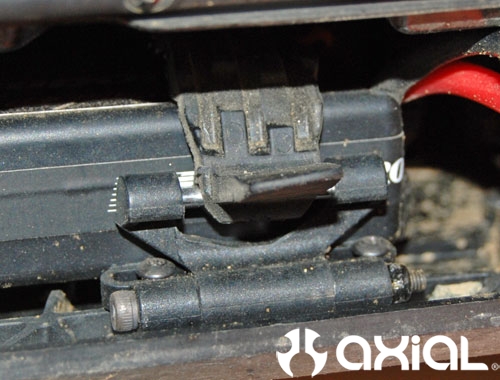
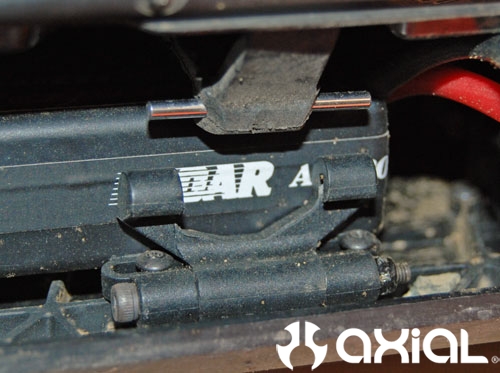
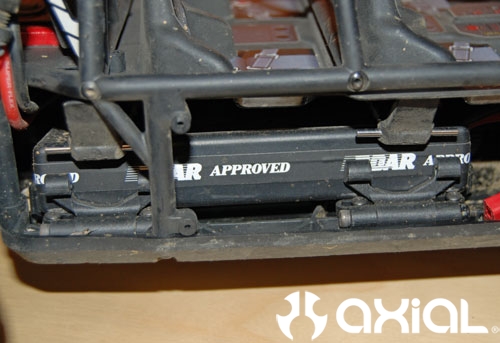
Fold the battery tabs back to pop the battery up out of the tray.
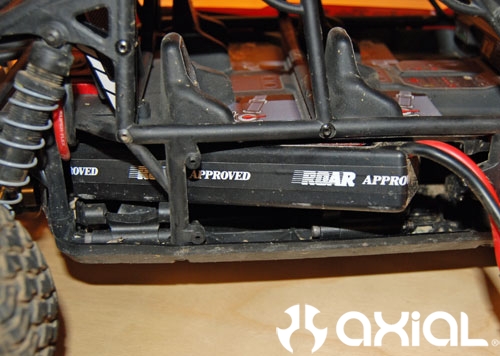
Then remove the battery.
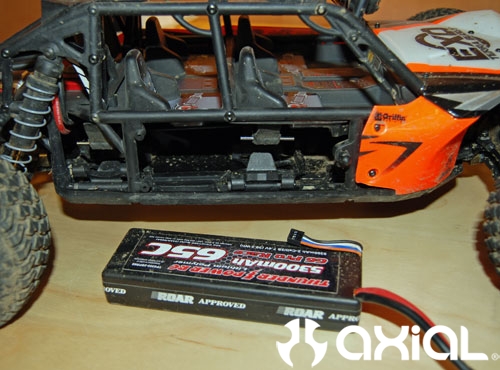
Grab a freshly charged battery.
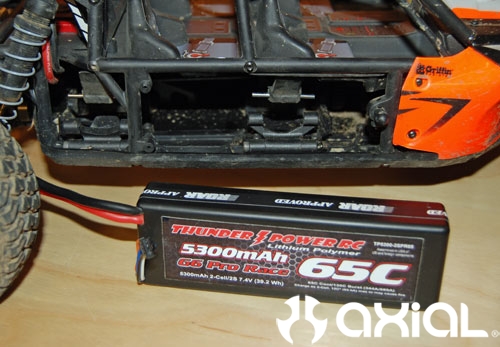
Slide the battery into place.
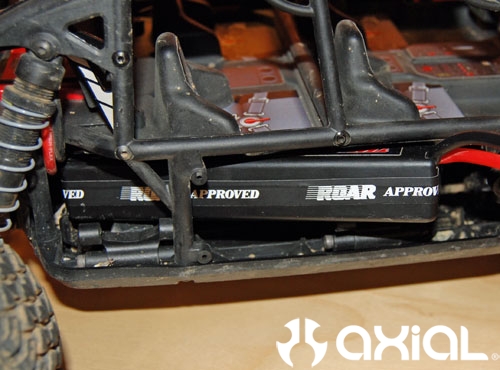
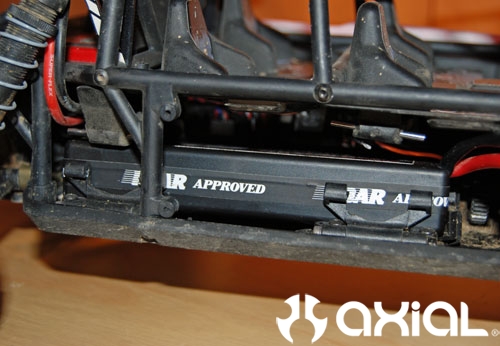
Secure the battery using the rubber straps.
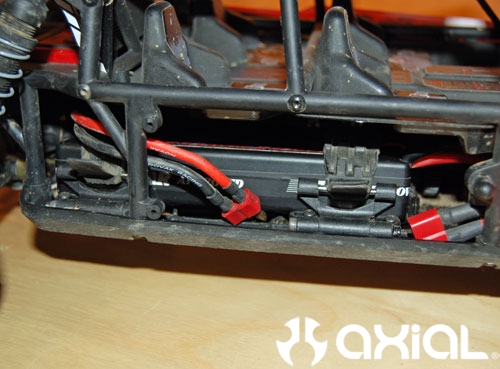
Then reinstall the passenger side body panel.
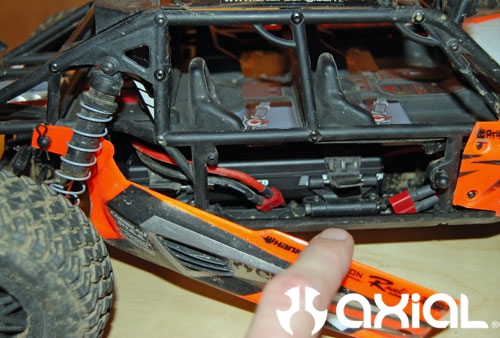
Time to go tear it up!!

That covers the EXO battery tray, and it's adjustments. Keep an eye out for more blog articles covering different features on the EXO in the near future too.