Posted: 6/8/18
As you continue to grow into your Axial SCX10 II and become more comfortable driving the rig, you'll want to progress your adventures beyond daily driving. When doing this, you'll start to think more about approach angles to obstacles and this is when things like the scale replica bumper on the truck may hold you back. Sure the bumper looks cool, but it's overhang may prevent you from getting over some tough terrain. When you reach this point, you might want to consider modifying your bumper. Here we're going to go over a CRC bumper modification that many seasoned scale drivers are already doing. You'll need a few basic tools you may already have on hand and just a little bit of time at your workbench. Let's get started.
TOOLS NEEDED
2.0mm Hex Driver
Lexan Scissors
Drill & 2.5mm drill bit
Dremel tool with sanding drum
BEFORE WE BEGIN
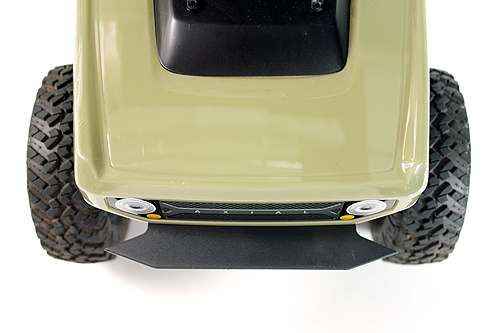
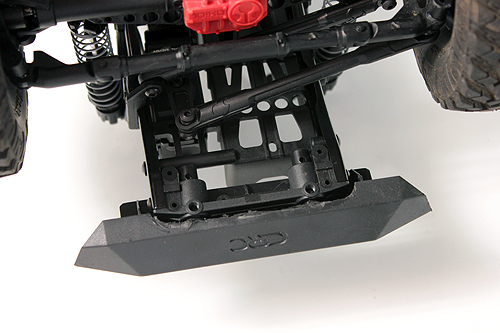
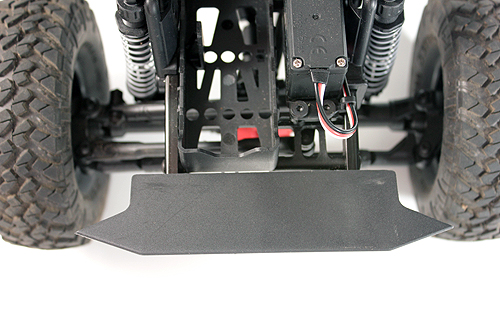
Before you jump right into your bumper modification, let's take a look at the stock bumpers position, just so you can see how much it has moved once the mod is complete.
STEP 1

Using a 2mm hex driver, remove the two screw pins that hold the bumper to its mount.
STEP 2
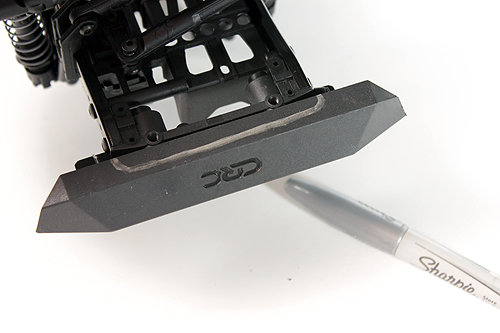
Using a marker, mark the area that will need to be cut away from the original bumper in order to move it farther back in the chassis. Note, you'll want to clear the chassis rails, so make sure you start your marks on the outside of the frame rails.
STEP 3
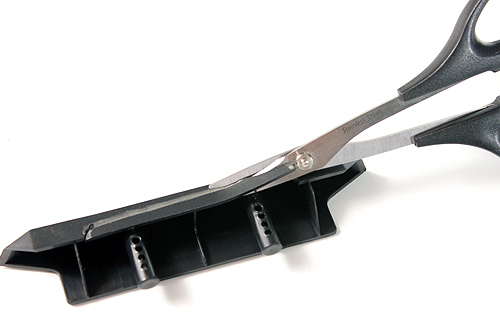
Using a pair of Lexan scissors, cut along the line you marked on the bumper. Be aware that there are thin support tabs in the bumper that will need to be cut as well.
STEP 4
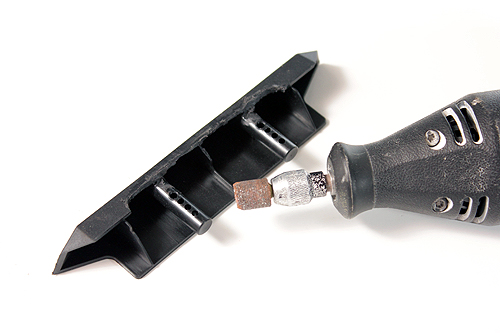
Toss scrap plastic and if you wish, clean up the cut edges on the bumper with a Dremel tool and sanding drum. Be sure to wear eye protection.
STEP 5
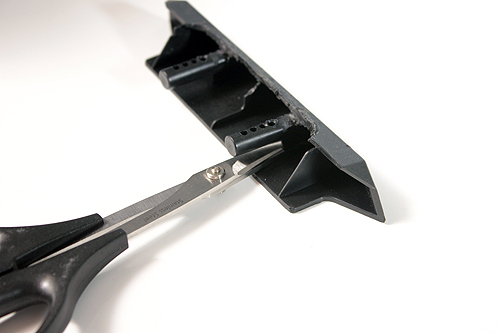
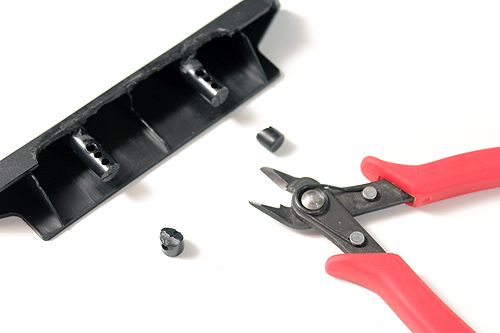
The thin support plastic tabs you cut through before are also located on the top side of the bumper posts. These will need to be cut away too, to allow the bumper to slide further into the mount. Using straight scissors, cut the tab close to the post and close to the bumper plate.
STEP 6
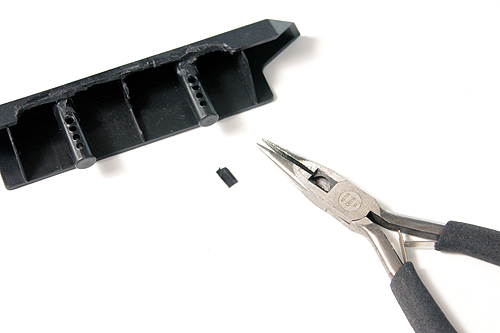
Now you can "rip" the rest of the little support tabs out with a pair of needle nose pliers.
CHECK YOUR WORK
With the bumper cut up and the tabs removed, insert the bumper to make sure your cuts were enough. We have plenty of room here to cut the ends of the mounting posts and move the bumper even farther back.
STEP 8
With a pair of side-cutters, cut the ends of the bumper posts off at the last hole.
STEP 9
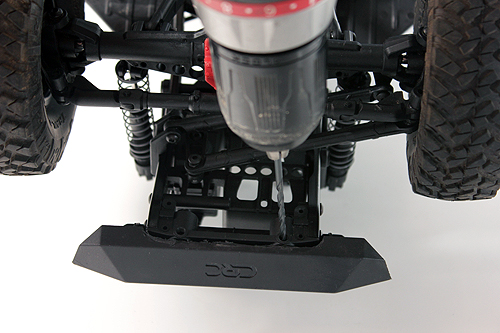
We're getting close to finishing. Insert the bumper as far back as it will go in the mount, making sure it's square to the chassis. Take your drill with 2.5mm bit and drill new holes into the bumper posts using the holes in the chassis mount as a guide.
STEP 10
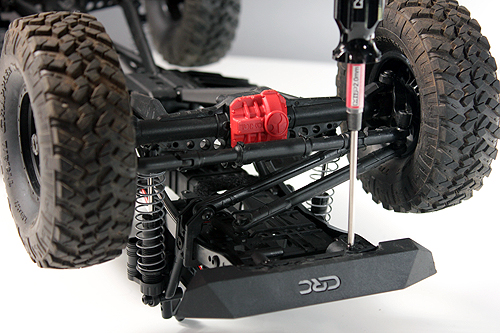
Grab the bumper mounting screw pins and screw your bumper back in place in the new set back location.
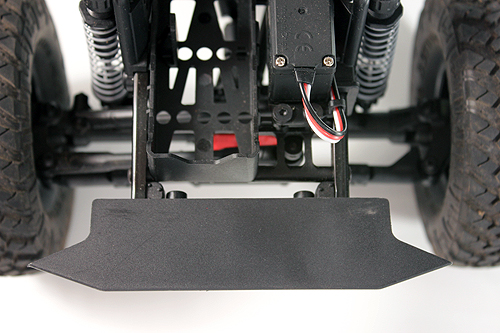
DONE
The bumper relocation is complete. See how much closer it is to the battery mount? You've now reduced the amount of front bumper overhang and should be able to approach steeper obstacles to conquer.