Posted: 12/31/18
Now it's finally time to personalize your Cherokee; it's time to paint it! Painting is a scarey process to some, but after reading this blog, you should be comfortable painting body shells for the rest of your RC future. Let's just get right into it.
STEP 1
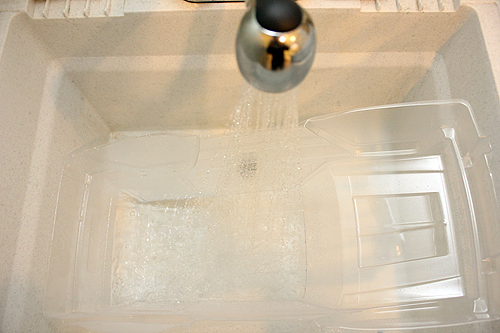
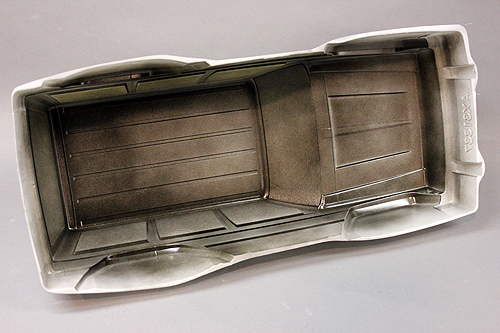
First thing first, we need to wash the body. Use a mild dish detergent, warm water and a paper towel to wash the inside of the body. You want to get rid of any oils that may have gotten on the body during the molding process. You also want to get out any finger prints, dirt or dust the may have come in contact with the body too.
STEP 2
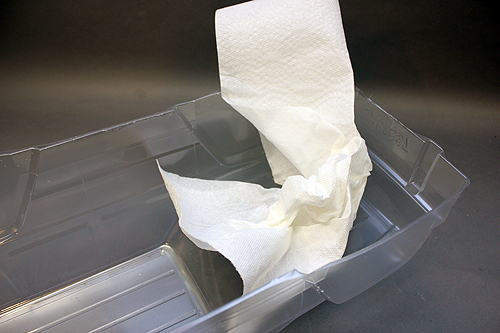
Once the body is washed, use a lint free paper towel to dry it completely.
STEP 3
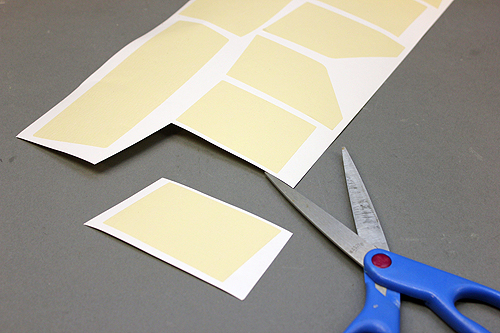
Time to apply the supplied window mask. We like to "weed" off the excess mask just leaving the windows on the backing. Then cut out each window.
STEP 4
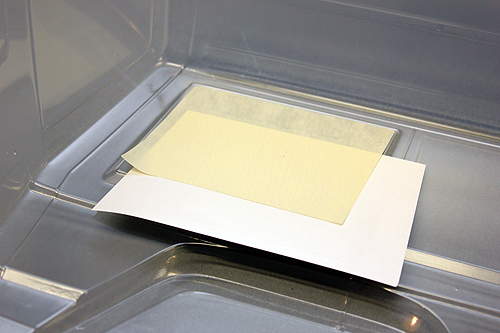
Pull the mask off the backing, shift it and apply it back on the glossy paper backing. This will allow you to handle and position the mask on the window area for a perfect application without getting your fingerprints all over the mask. Your fingers could have oils that get on the mask adhesive making less sticky and paint could possibly bleed under the mask.
STEP 5

Once the mask is applied, use the back of your finger nail to press on the edges. This will seal the mask adhesive to the body.
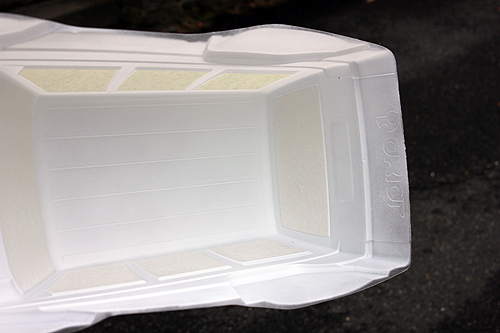
STEP 6
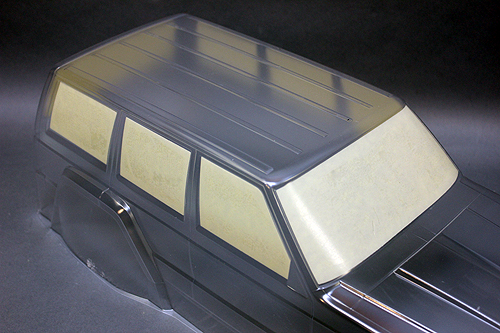
Here is the body with the window masks applied. If you look close, you can see how the edges of the mask are well applied and there are no air bubbles that could lead to paint bleeds.
STEP 7
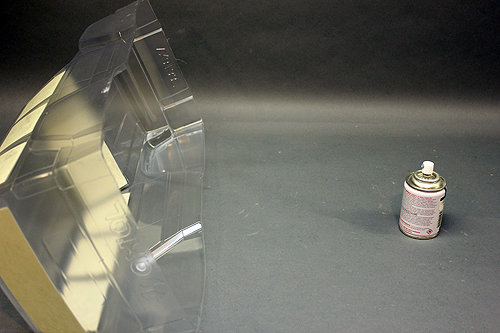
Let's paint! But wait. Make certain you shake the can well to mix the paint. It's also a good idea to warm up the can first in a bowl of warm water which will make the paint spray in a finer mist. Now, when you are ready to paint. You'll want the can to be 10-12 inches from the body. Start spraying outside the body and then cross the body. Stop spraying when the can is past the body. If you start and end inside the body, this can lead to drips or blobs of paint.
TIP
Here is an example on where to start your spray and where to release or stop the spray. Your next pass should slightly overlap your last pass as you move up or down the body.
STEP 8
You'll want to spray in light coats. Heavy coats will mean runs. Here is two coats of paint with 20 minutes of dry time between.
STEP 9
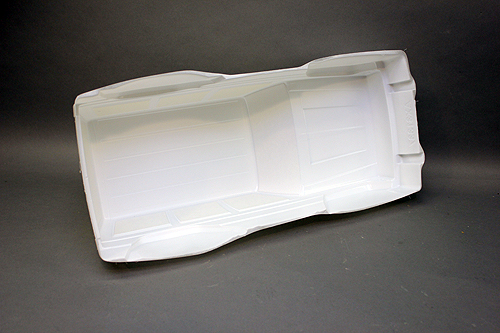
We've skipped ahead. Here are four coats applied to the body. To see if you've painted enough, hold the body up to a light. If you can see thin areas, concnetrate your next paint pass in that area.
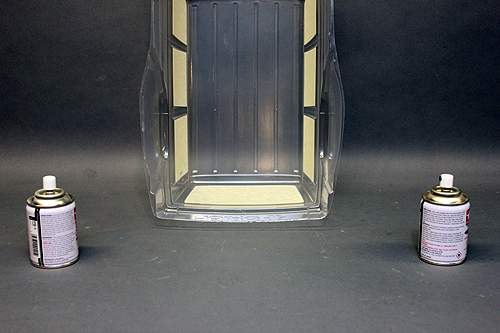
STEP 10
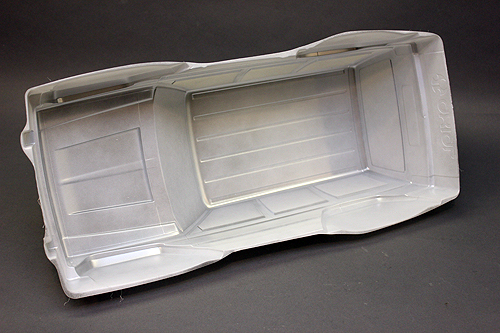
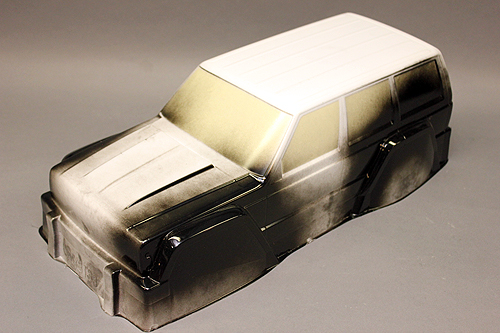
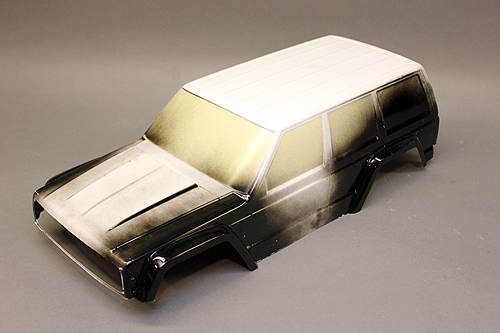
To give our body more of a scale look we want to paint the interior black. But black on white can bleed through a bit. To prevent that, we're applying a few coats of silver. This will keep the white, white and prevent the black from altering the tint of the white.
STEP 11
Now we can apply a few coats of black. When you look into the windows when it's done, you won't see a white interior.
STEP 12
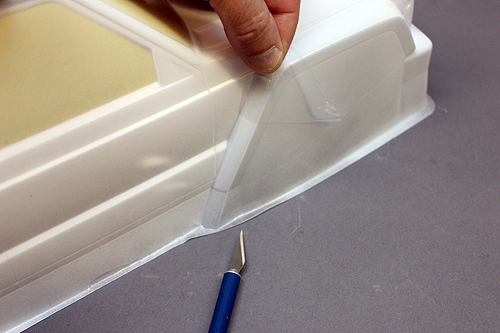
Want black fender flares? Here's the trick. Using a hobby knife, very gently cut the overspray film on the outside of the body around the flares. Pull off the film on the flares.
STEP 13
Again using the multiple coat method, spray the fender flares.
STEP 14
Let's start cutting out the body after it has had plenty of time to dry. Using a reamer, make four holes in the corners of the grille area. This will make nice round corners for the grille insert to fit into later.
STEP 15
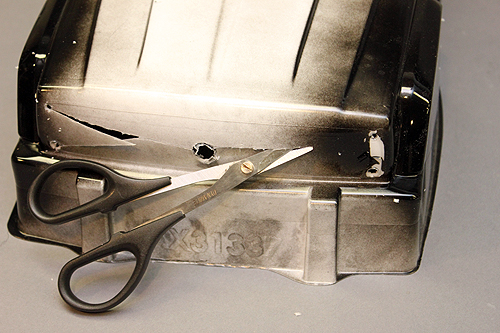
Next take your hobby knife and cut into the grille body lines connecting the tops of the circles at the ends. Then take lexan scissors and cut a big X connecting the circles on the inside. We're going to snap out the excess grille area lexan.
STEP 16
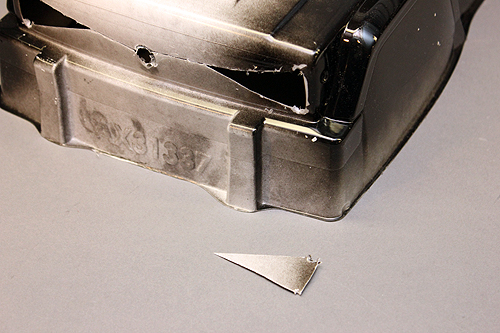
Here is a piece snapped out of the grille cutout. Snap out all four pieces.
STEP 17
After the grille area is snapped out, proceed to cut off the rest of the excess body lexan using lexan scissors on the mold lines. You can also use the hobby knife method to score the body and snap off the lexan.
STEP 18
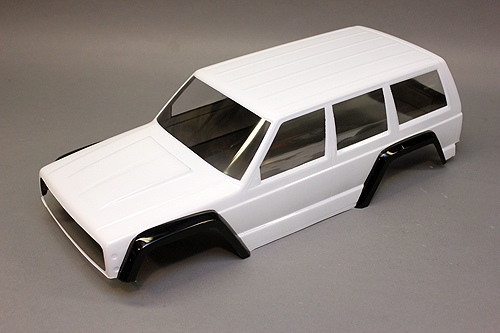
With the body cut out, now you can remove the overspray film and masks. How good does that look?!
STEP 19
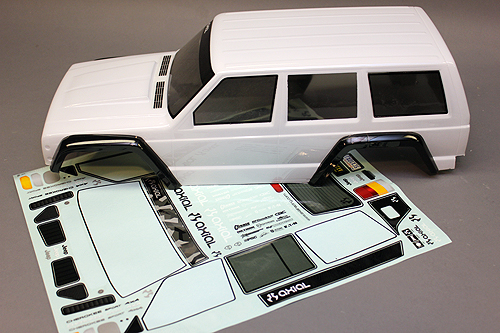
Oh it's getting good! Break out that sheet of decals and apply them to the body. You can use the shifted backing method mentioned above to position your decals before applying them.
STEP 20

With the decals applied, you can now drill the holes for all of the body accessories. Follow the manual carefully on what size holes to drill where. You'll see small dimples in the body which indicate where the holes need to be drilled.
STEP 21

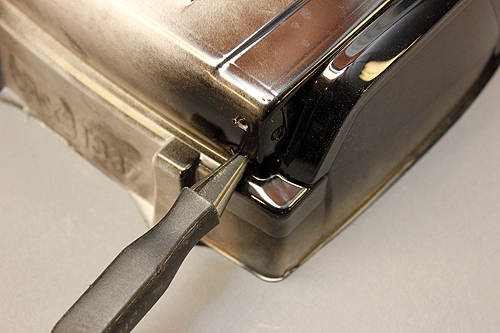
Install those accessories! Take special note of how the roof rack goes on and the door handles when looking at the manual.
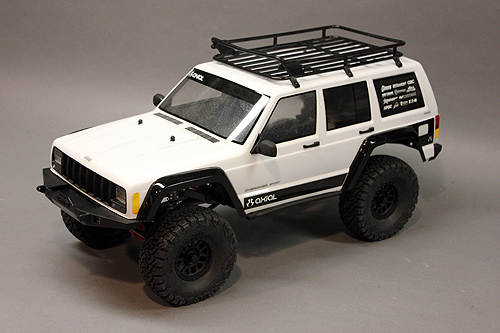
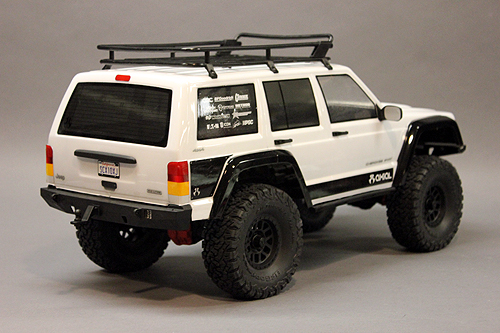
FINISHED
Your AX90046 SCX10 II Jeep Cherokee Kit is complete! Slap that body on the rig, install the body clips and head outside for some adventures! Remember to grab some photos along the way on the trail and share them to the Axial Racing social media pages. Use the hashtag #Axial #AxialRacing or #AxialAdventures so we can check out your work!