Posted: 12/7/18

We're getting very close to finishing the AX90046 build series and by the end of this particular blog, you should be able to drive your truck if you've been following this series as you build. Here some of the final electronic and detail peices will be added to the rig. Time to work.
STEP 1
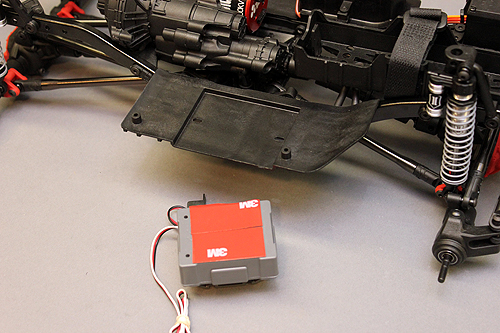
Let's get the electronics mounted to the chassis. In the kit you find servo tape to help install your purchased electronics. Before applying the tape, make certain the surfaces are free and clean of dirt and oil. Use motor spray or rubbing alcohol and a paper towel to clean the surfaces. Cut pieces of tape to install the ESC. Make sure you have enough tape left over for the switch and the receiver.
STEP 2
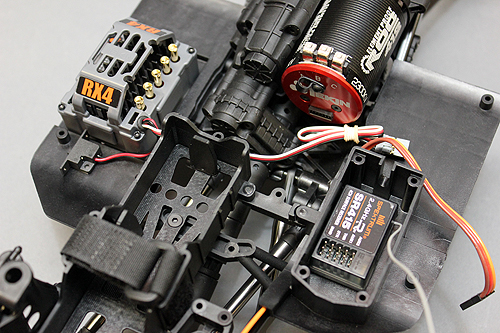
Stick you ESC to the side plates. The manual instructs you to place the ESC behind the radio box. We've decided to switch it up and place it on the right side plate since we won't be using the 2-speed conversion in this kit. Stick the receiver into the radio box too.
STEP 3
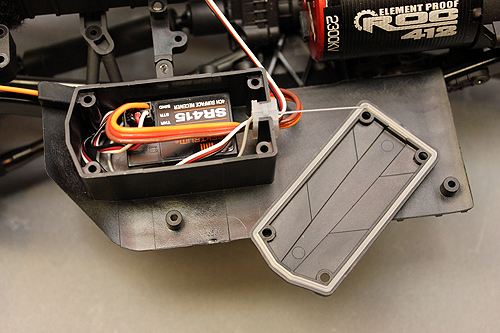
Next route the wires through the rubber radio box end seal. Place the wires in the seal and then slip it into the box. Apply a little grease here if the seal doesn't slide in. Next place the lid seal into the radio box lid and screw it to the top of the box.
STEP 4
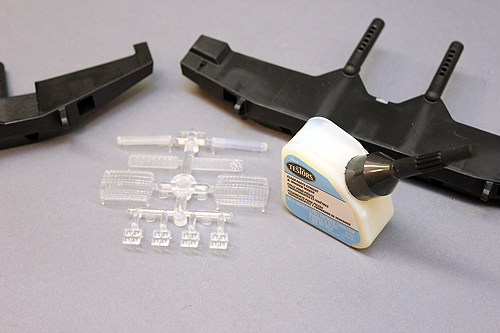
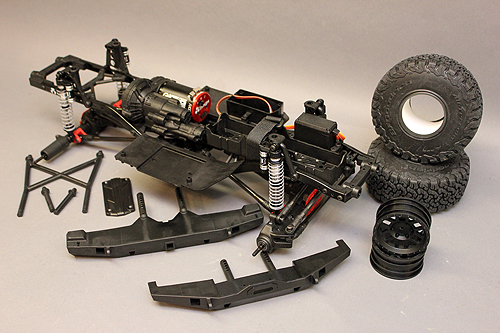
Next, a little modeling work. The light lenses need to be placed into the bumpers. Its a good idea to place a small dab of clear modeling cement on the lens pins to help keep them secure in the bumper.
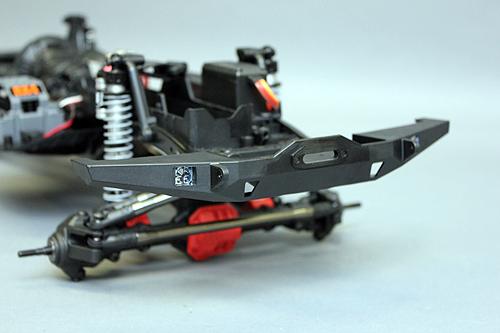
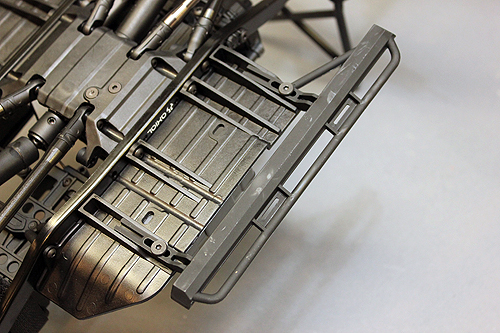
STEP 5
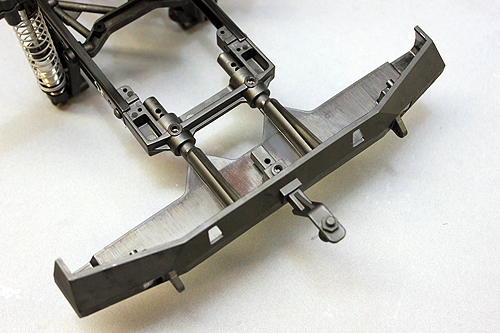
Using the screw pins, secure the bumpers to the mount. Here you can also slip the trailer hitch in and secure it. If you think you're going to tackle some serious approach angles, you might want to leave the trailer hitch off.
STEP 6
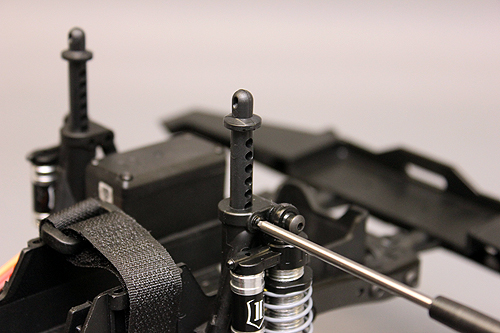
The body posts are placed into the shock towers next and secured with screw pins. Take note of what holes the screw pins go in so your body sits properly on the chassis.
STEP 7
The sliders get bolted to the side plates next. Note these are adjustable by sliding them in and out depending on what body you have.
STEP 8
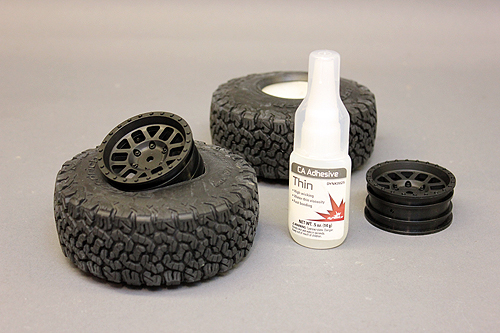
Now the tricky part. Glueing up tires! You need to spend the time and do this step properly so your tires don't come off on the trail. Make sure to use a good CA glue too. We suggest Dynamite Thin CA. Take a look at this blog if you need help with the glueing process HERE
STEP 9
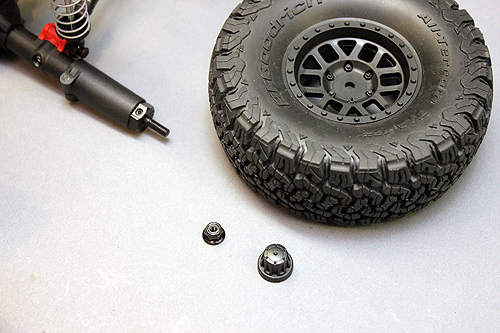
After the tires are glued and dry, install your hexes to the axles. It's a good idea to add a little bit of threadlock to the hex retaining set-screw. Bolt the wheels on with the supplied lock nuts followed by the covers.
FINISHED
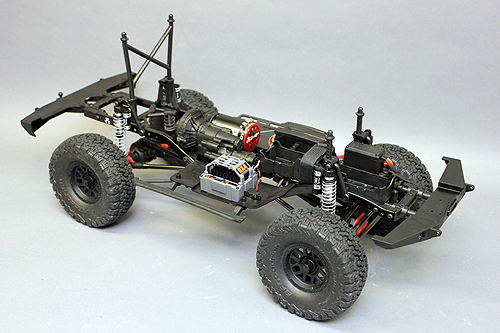
We didn't wire up our demo truck, but at this point wire up your speed controller if necessary and give your new rig a test run... you know, because you have to play ASAP! Body painting and finishing is up next. See you in the next blog.