Posted: 11/13/18
Assembling the Wild Boar Driveshafts is a fairly simple task and should only take you a few minutes to complete. There are however a few tips we're going to throw in to make sure the parts work well for those long treks on the trail. Ready, set, build!
TOOLS NEEDED
2mm Hex Driver
Side cutters
Supplied grease and threadlock also required
STEP 1
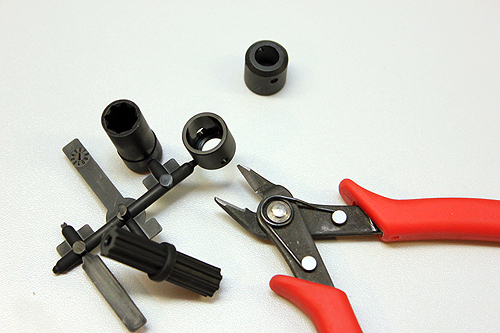
Start by cutting the driveshaft parts from the parts trees. The trees have various size driveshaft parts on them so reference the manual to see exactly which parts you need.
STEP 2
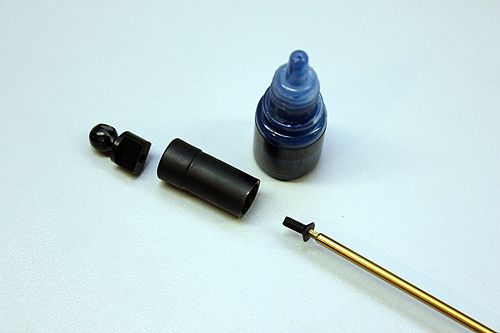
Here we start to assemble the driveshafts and it is extremely important to add thread lock to the screws before inserting them into the driveshaft and screwing it into the universal mounting boss.
STEP 3

After the end is screwed into the driveshaft, place a small dab of grease on the hex driver and use it to coat the inside of the driveshaft end.
STEP 4
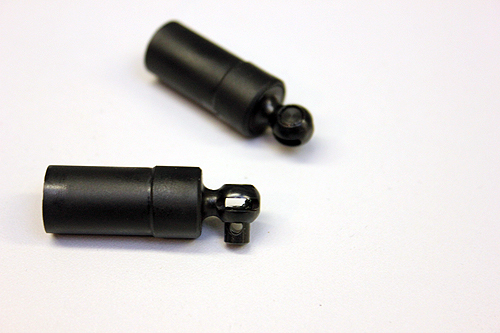
With the ends greased, you can slip the universal barrels into the ends.
STEP 5
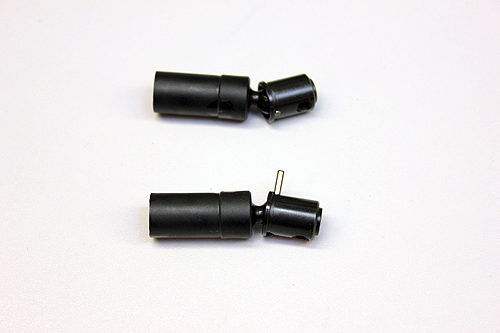
Slip the drive cup over the end and line-up the cross-pin holes. Once the holes are lined up, you can insert the pins.
STEP 6
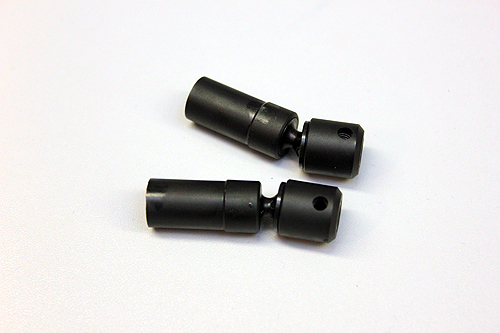
To secure the pins in place, you'll simply need to slide the plastic sleeve over the cups. Set-screws will hold these in place later.
STEP 7
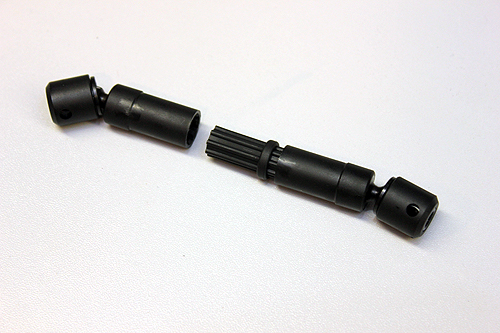
Assemble the rest of the driveshaft by inserting the appropriate slider into the Wild Boar shafts.
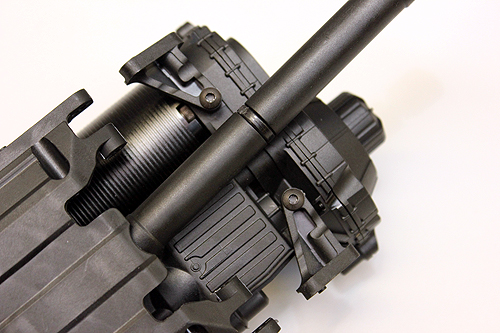
STEP 8
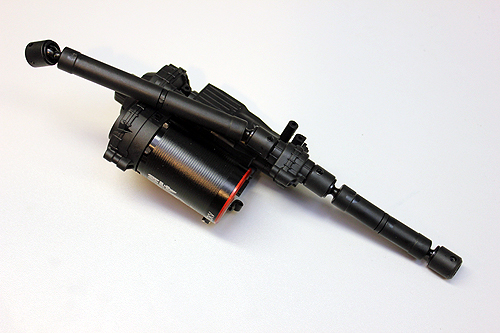
Now the shafts are attached to the transmission output shafts. Here you'll use the set-screw pins to secure the drive cups to the output shaft. You may use a dab of threadlock on the set-screws for extra security. Note, if the holes for the drive cup do not line up with the shaft, you may have installed the shaft incorrectly, go back and rebuild the gearcase if necessary.
STEP 9
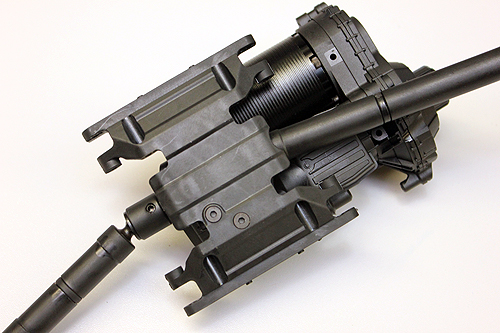
The skidplate is up next for installation. This is simple, secure it to the transmission case with the two provided flathead allen screws.
STEP 10
The transmission mounts are installed next. Pay close attention to the direction in which they are installed. Snug the two buttonhead screws that secure the mounts.
FINISHED
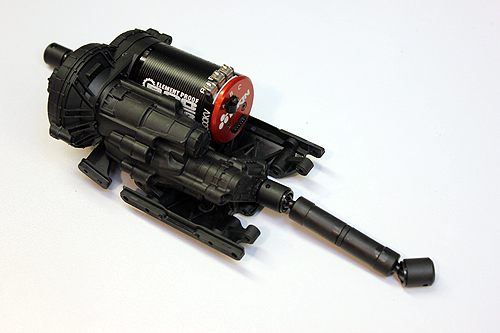
With several sections of the manual complete, the next steps will really start turning parts into an actual rig. Make sure you check back for the next part of our kit build!