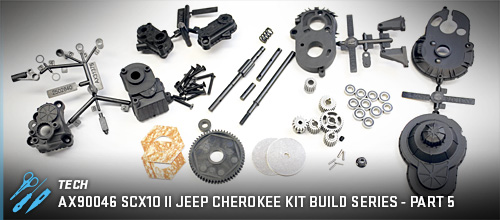
Posted: 11/5/18
We're getting into some fun territory here on our SCX10 Jeep Cherokee Kit Build, moving on to the transmission assembly. The build is fairly straight forward with a few notes that you need to know in order to build this important part of the vehicle properly. You'll only need a few tools here such as a 2mm hex driver, needle nose pliers and the kit box wrench. Let's build!
STEP 1
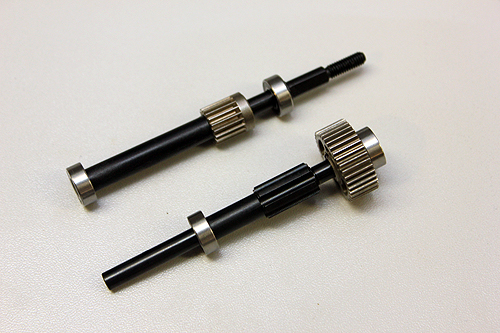
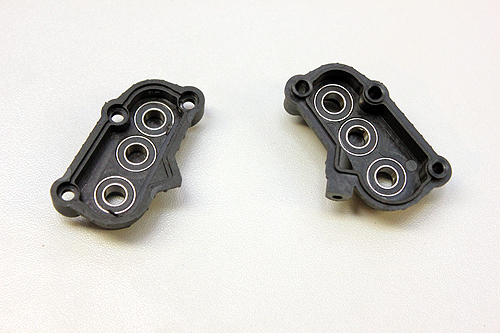
First up is building the gearshafts which is faily simple unless you jumped right into putting parts together and not reading the manual. Note, there are two bearing sizes in the parts bag. The larger bearings are used in this step. Also there are two types of cross pins used to support the gears. You'll need to use the larger pins here. And finally make sure you use the correct spacer tubes on the shafts shown here. Slide the parts together as shown.
STEP 2
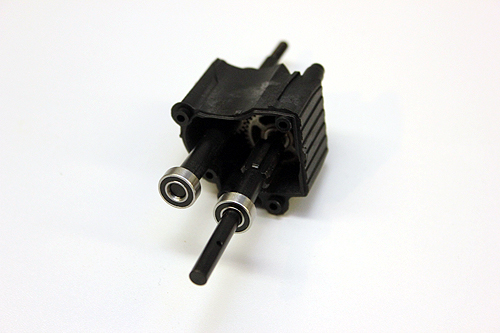
Now we can slip the assembled shafts into the transmission half. Before doing so, coat the gears in grease.
STEP 3
Slip the other half of the transmission case on the shafts and give them a little wiggle to help seat the bearings in the case. Screw the halves together and install the transmission support post.
STEP 4
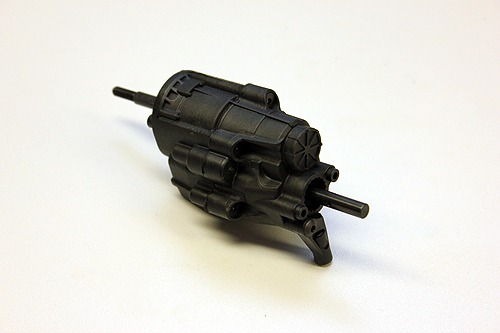
The transfer case is assembled next. Push the bearings into the case first.
STEP 5
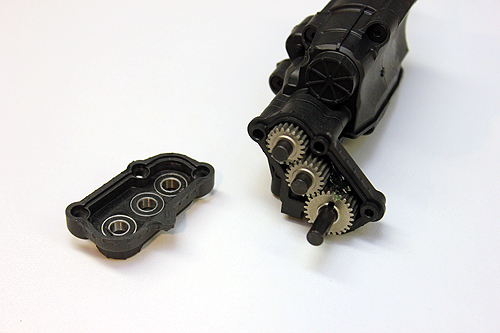
This is somewhat of a tricky step. You'll want to start by pushing the transfer case half on to the transmission over the output shaft. Then you'll need to use your pliers to install the small cross-pin that keys to the gear. Once that is done, you can install the rest of the gears, shafts and pins. Then place the outside transmission half on and bolt it together with the supplied hardware.
STEP 6
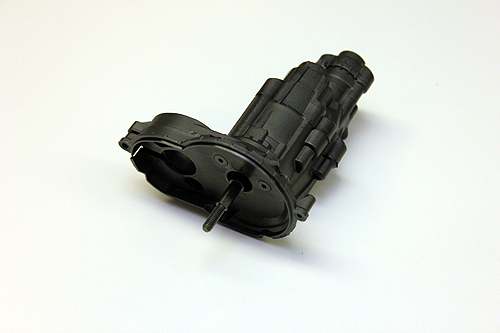
The motorplate and back half of the gearcover are up next. These are simply pressed together and bolted onto the transmission case with three screws.
STEP 7
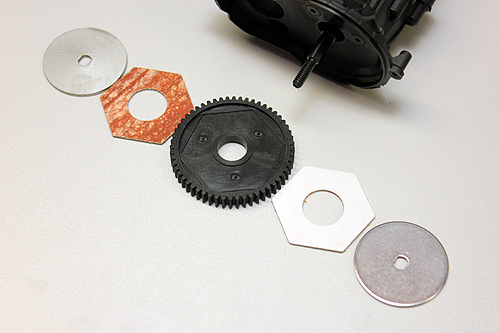
The slipper assembly gets a few notes too. Start by washing your hands. You don't want greasy fingers on the pads. Next remove the white paper from the pad revealing the adhesive. Carefully place the pad into the keyed spur gear. Do this for both sides. Now slip a metal plate on the top shaft, followed by the spur gear bushing, the spur and then the second metal plate. Follow this with the spring and retaining nut. Tighten the retaining nut until you see 2-3 threads of the top shaft. This is a good starting point until you adjust the slipper later.
STEP 8
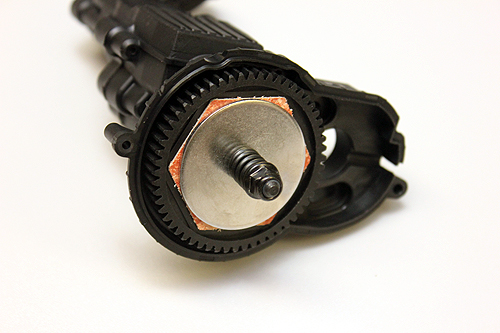
Finalize the slipper assembly by installing the spring and retaining nut. Tighten the retaining nut until you see 2-3 threads of the top shaft. This is a good starting point until you adjust the slipper later.
STEP 9
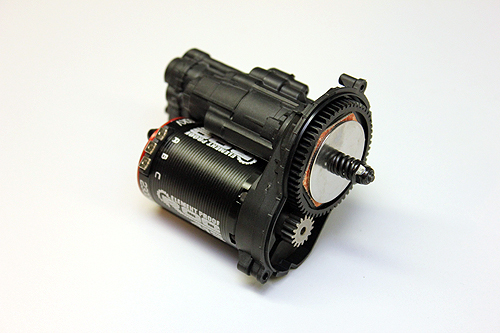
Now is the right time to install your motor and pinion gear. There is a slot in the side of the gear cover that will allow you to tighten the pinion gear with your 2mm hex driver. Take your time to set the gear lash properly so it doesn't bind, nor is too loose.
STEP 10
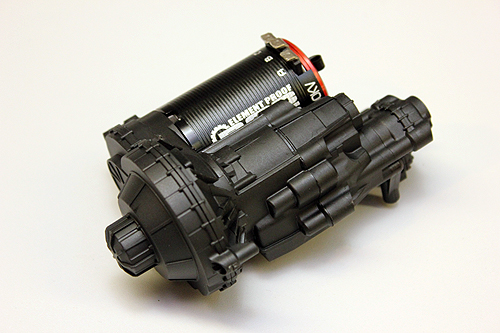
Button up this transmission build by installing the gear cover on the front. Just be sure to carefully slide it on so the tab covers the slot where your hex driver was used to install the pinion.