Posted: 10/12/18

Up next in the build series is assembling the links. Probably one of the best parts of the build, am I right guys?! Well, it might not be everyone's favorite because it is some repetitive work, but what brightens up this particular job is that this kit comes with aluminum links which is preferred over composite links. This is some simple work but there are a few tips and tricks we can pass along.
TOOLS NEEDED
2.0mm hex driver
Side cutters
STEP 1
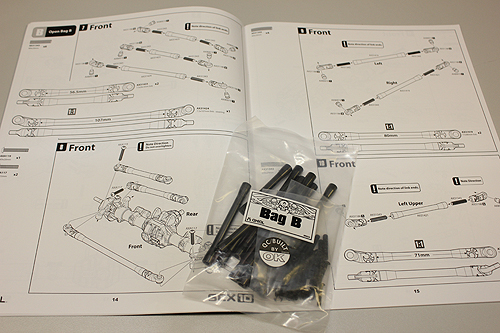
As always its best to gather the parts bags you'll need and run through the steps in the manual quickly to help identify any details that require extra attention.
STEP 2

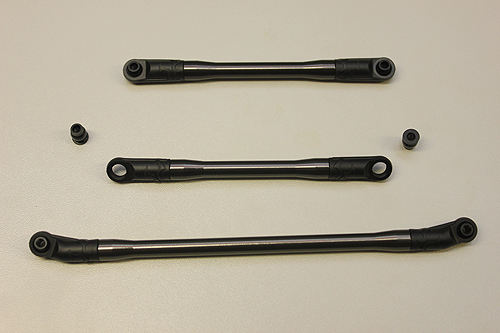
A little tip we like to pass along is to arrange the aluminum link tubes in size order so you identify them a bit easier as you go through the build steps.
STEP 3
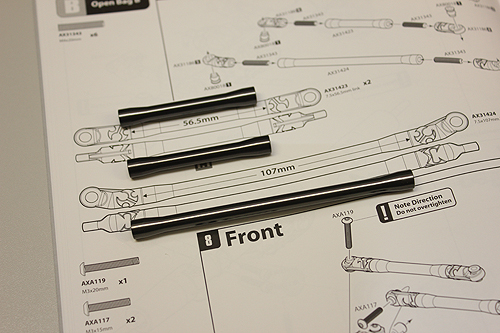
Find the aluminum tubes used for the first link assembly. If you're unsure of what size tube to use, you can place it on the 1:1 drawing to find the correct size.
STEP 4
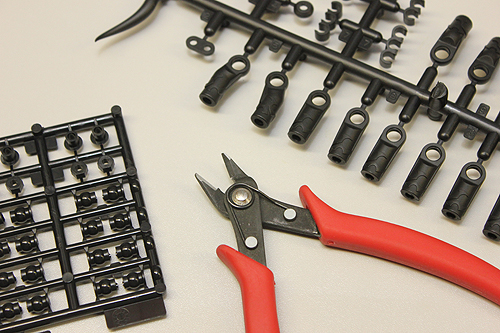
Take a close look at the instructions to identify what rod ends you'll need. There are a number of styles, some on angles and some are straight. You want to make sure the part number in the manual matches the rod end you use or there could be some suspension bind if you use the incorrect rod ends.
STEP 5
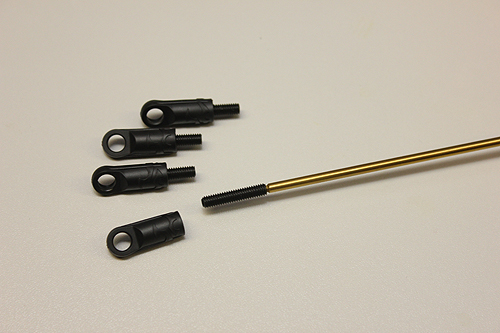
Using the 2mm hex driver, screw the set screws into the rod end until you just feel them bottom out.
STEP 6
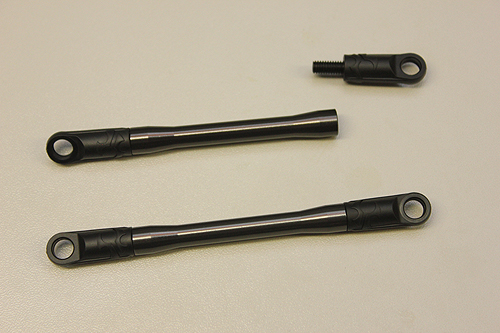
Screw the rod ends into the aluminum tubes. Make sure the final locations of the ends match the illustrations in the manual.
STEP 7
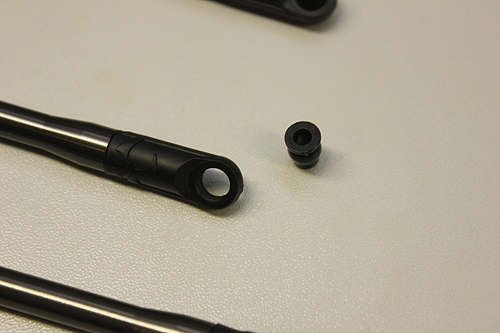
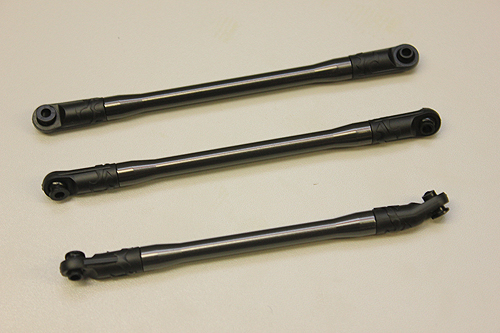
Next you'll need to insert the pivot balls into the rod ends. Note, the pivot balls have a large flanged end and a narrow end. Note the way they are installed as illustrated in the manual. Some links have both flanges face the same side while other links have an off-set installation.
STEP 8
The steering links and pan hard link should now be assembled. You can install them on the axle and steering knuckle with the hardware as indicated in the manual. Do not overtighten the screws. The pivot balls are plastic and can be crushed if you tighten the screws too much.
STEP 9
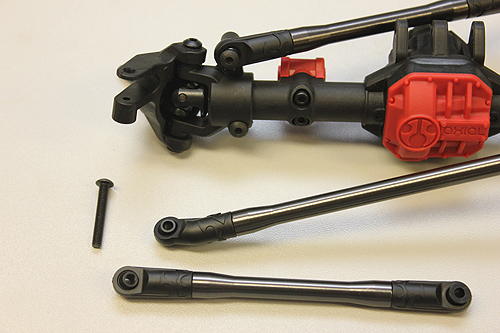
Next build the three links that will support the front axle and tie it to the chassis.
STEP 10
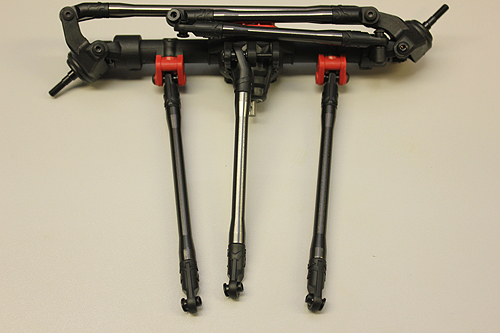
Screw the three links to the front axle, making sure the rod ends are facing the correct way as indicated by the illustrations.
STEP 11
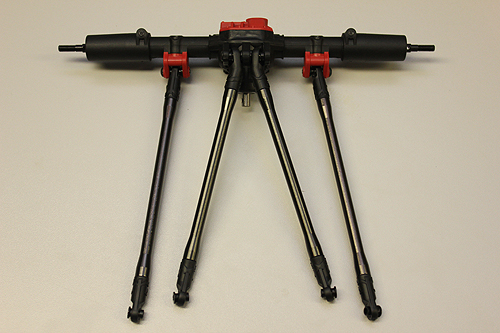
By now you should have a good understanding of how the links go together. Assemble the four remaining rear links and attach them to the rear axle.
FINISHED
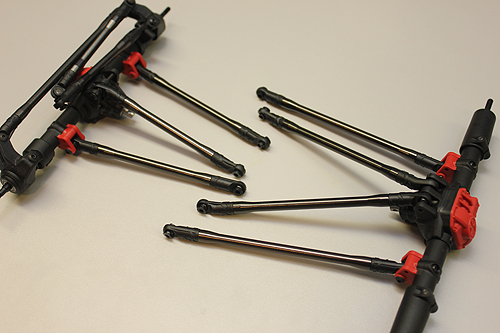
The link assembly is complete! If you used a hand tool, by now your wrist should be tires and your fingers sore from holding onto the rod ends. Congratulations you're fitting nicely into the model community. Keep an eye out for the next steps of our build series where we'll get into building the shocks.
Note: This How To Can Also be Used For Link Sets:
SCX10 II Front Links Set - AX31465
SCX10 II Rear Links Set - AX31466