Posted: 9/28/18

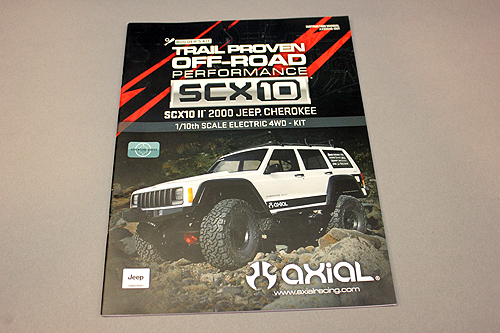
The debate over which style of RC kit is better, ready to run or build kit, may never be resolved, but one thing is for sure, Axial serves up both styles for either type that suits your style. Since Axial builds a lot of projects, the team tends to lean towards a kit to build and well there are some exciting build projects in the works. So while we're building up a new AX90046 SCX10 II™ 2000 Jeep® Cherokee 1/10th Scale Electric 4WD Kit to use as the base for a build, we charged up the camera to take some pictures along the way of a stock kit build. If you have any questions about building your SCX10 II kit, you'll be able to reference this build series to get you through any steps. In the first part of this series, we're going to go over the basics of the kit itself and things you'll need for the perfect build.
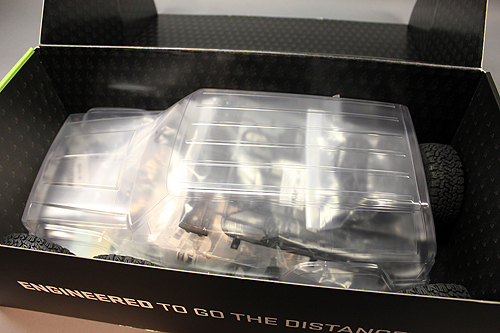
When you get your kit, the first thing you should do is? Anybody? Empty the box and roll around in the Axial goodness? No that's just too weird man. The first step is to go through the contents and familiarize yourself with what's in the box.
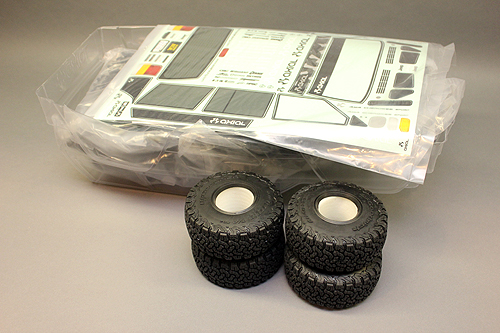
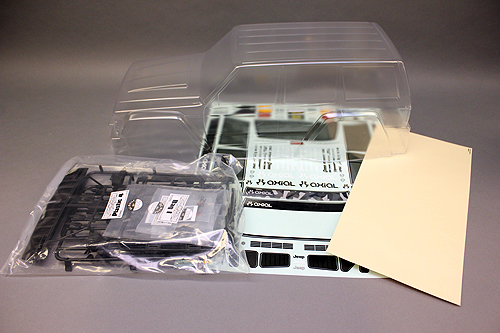
Put your hand on the body, flip the box over and viola! The kit contents all packed up in an XJ shell.
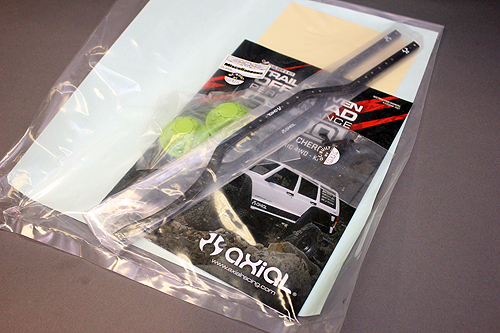
Here's the bag you should get into first. The bag with the manual.
If it's your first time building a kit, you should read through the manual first. Look at what you need. Take note of hardware sizes. Look at the types of parts. What parts bags go with what steps. A run through ahead of time will minimize miss steps or something else that may throw your build off track.
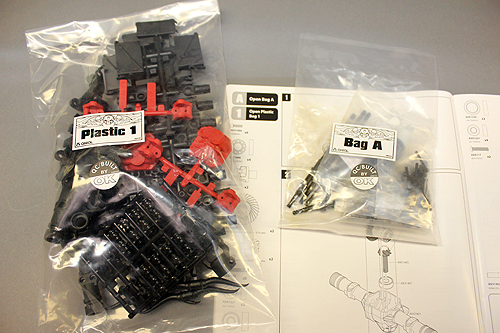
When going through the steps, take out some of the parts bags so you know what to look for when you get to that particular step later.

The need to open a new bag may come at any time.

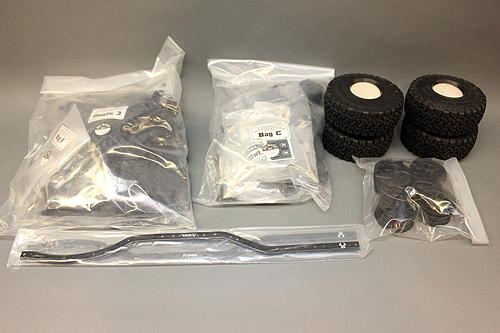
Sometimes it's a good idea to lay out the parts bags in the order you'll be assembling them.
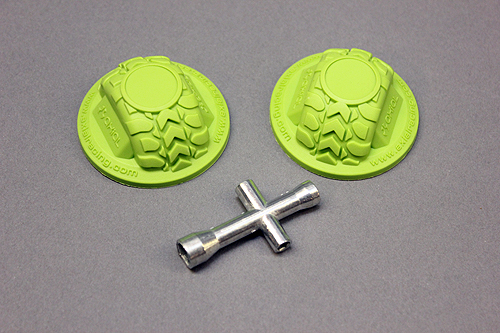
Wait! What are these green nubs and the religious item included in the kit? These green domes are course markers. They are put on the trail so you know where to drive your rig. If you get into competitions, you'll see more of these on the trail. The silver tool is a cross-wrench that will service most hardware nuts on the truck.
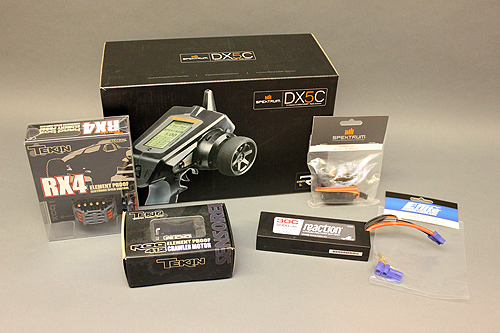
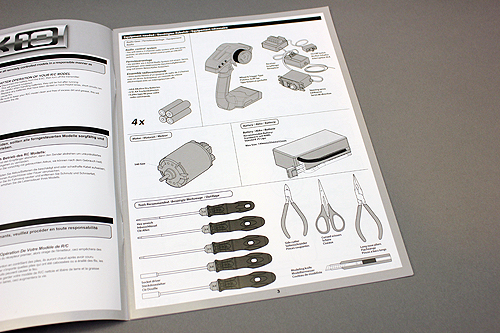
Now let's get into what you need. With most kits, you'll need electronics and you'll need to pick these items up at your local hobby retail store or your favorite online business; Horizon Hobby has all of the gear shown above. For the SCX10 II Kit, you'll need a radio with receiver, a steering servo, motor, speed control, battery, charger and possible connectors for your ESC.
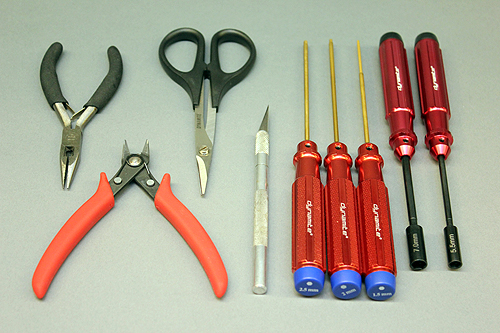
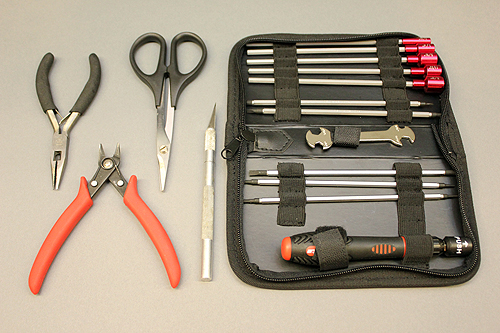
Next up on the you'll need list is tools. There are two examples above. The top is a bit more expensive tool set-up while the set below is a less expensive set that will get the job done too. You'll need cutters, pleirs, a hobby knife, scissors, hex drivers and even nut drivers to complete the assembly of your kit. Here are some links to the tools above:
Dynamite Metric Hex Driver Set- DYNT2030
Dynamite Nut Driver Set- DYNT2010
Dynamite Start-up Tool Set- DYN2835
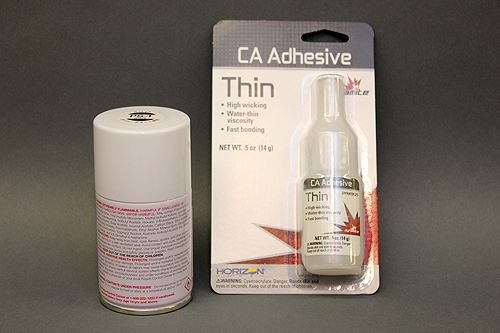
Finally the chemicals you'll need. Some CA glue such as the thin adhesive shown here from Dynamite for the tires and some paint for the body. Window masks are included with the kit, but if you want to spray your body more than one color, you may need some masking tape to use for your designs.
No seriously; did you read the manual? Do it, it helps. That wraps it up for the introduction of this build series. Make sure you follow the build each week while we get this truck ready for off-road action.