Posted: 5/23/12
Upgrades continue to the AX10 Ridgecrest transforming it into a mean rock crawling machine. If you followed the Stage 1 Upgrades, we moved the battery to the front, added beadlock wheels with weights, R35 tires, upgraded the shocks and lowered the ride height. After initial testing we had greatly improved rock crawling performance, but we has some tire rub on the body due to the lower ride height and we knew this vehicle has so much more potential. So it's time to address the tire rub and beef up the suspension as we move towards serious rock crawling performance.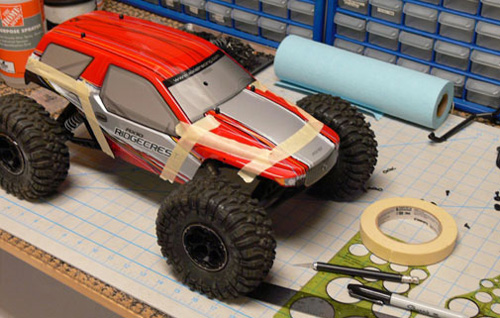
To start I marked the body where I would be cutting away. I use tape to create my cut edges. It's easy to lay down, keeps your lines straight and you can simply peel and re-apply until you like what you got, just like a painter would do. I use my circle templates to draw the radius of the corners. When you're happy, start cutting.
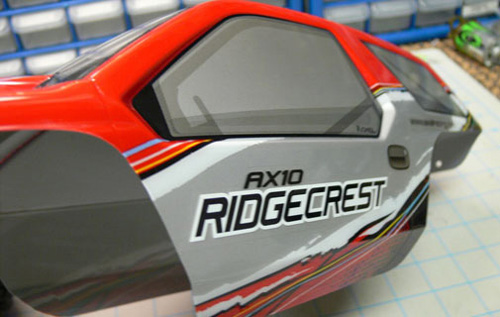
I opened up the wheel arches quite a bit, cut the front grill off, shortening the hood which reduces the front over hang and cut about 3/4" off the lower rockers because I'm going to want the body to sit as low as possible on the chassis. Then I marked a straight line and gave the lower rockers a fold so the body tucks into the chassis to prevent it from getting caught up on the rocks.
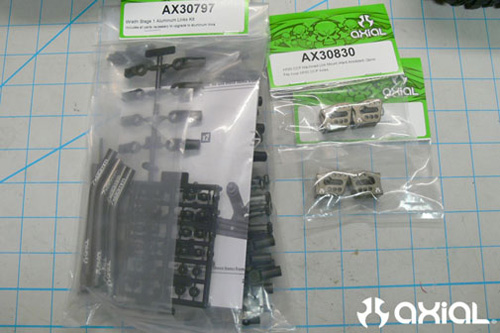
Now lets get to the suspension upgrades. The AX10 Ridgecrest uses Wraith links so it's easy to install a Wraith Stage 1 Aluminum Links Kit. I'm also adding Axial AR60 OCP Machined Link Mounts for their strength and adjust ability.
AX30797 - Wraith Stage 1 Aluminum Links Kit (1)
AX30830 - Axial AR60 OCP Machined Link Mounts (2)
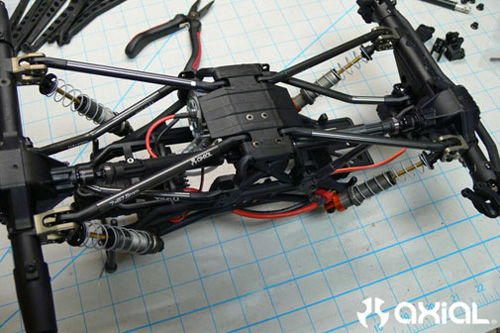
First I installed the aluminum link mounts to the axle housings, again up side down to help lower the center of gravity. The links include instructions and assemble easily. Once assembled you can install on the Ridgecrest. Install the lower links into the axle mounts and then to the skid plate. It's the same screw that hold the sid ecage to the skid plate. The upper links attach to the axle thrust and then to the cage side and have three attachment points which effect anti squat. I'm starting in the stock center position for all mounts and we can adjust after getting some rock time.
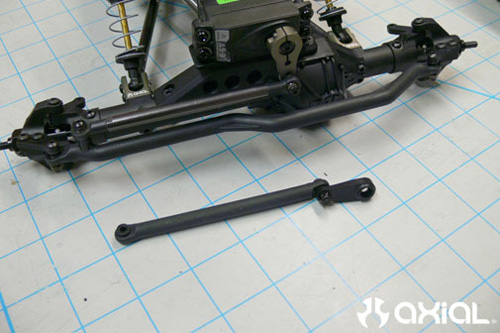
Then I added an aluminum servo horn.
AX30826 - Aluminum Servo Horn 25T (1)
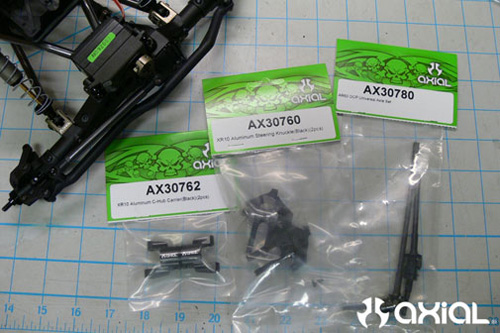
Next I added aluminum C-hubs and knuckles and upgraded the dog bones to hardened steel universals. The universals allow for 50° of steering which is 60% more than the stock dogbones, plus they operate smoother thus are more efficient. The hardened steel can handle all the torque we should throw at this vehicle in the future. The steering knuckles and C-Hub carrier are XR10 aluminum option parts so they are much stronger than the plastic and install easily.
AX30760 - XR10 Aluminum Steering Knuckle (1)
AX30762 - XR10 Aluminum C-Hub Carrier (1)
AX30780 - AR60 Universal Axle Set (1)
AXA115 - M3x10mm Hex Socket Button Head Machine Screws
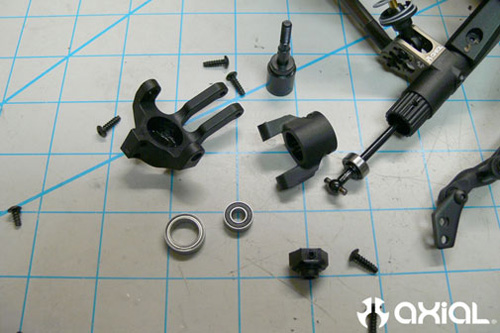
Disassemble the stock plastic knuckles and remove the C-hub from the axle. The dog bones should slide out. You may have to remove one of the link mount bolts that passes through the axle to get the dog bone out and install the universal.
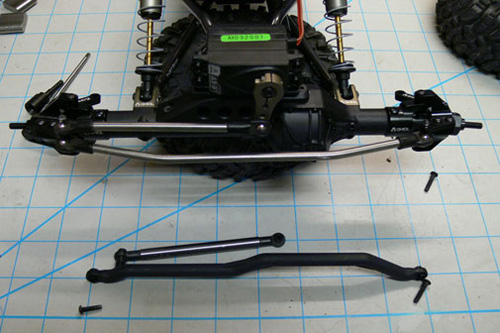
With the new parts, put your aluminum C-hub on first, then slide your universal into the axle with bearing installed. Then assemble the knuckle. All your bearings from the plastic parts transfer over. You will want to get some machined screws for attaching the knuckles to the C-hub and attaching the steering arms to the knuckles. Here's Bender's install post.
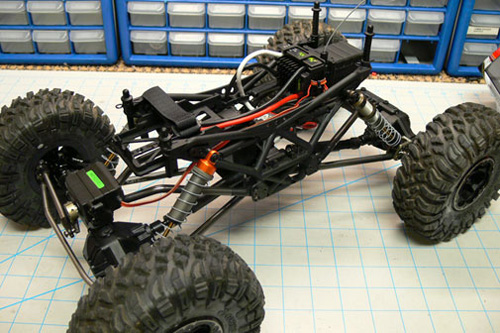
Once the front axle was assembled I knew that plastic steering tie rod wasn't going to cut it. Axial doesn't have an upgrade for this part but our good friends at Vanquish have the ultimate upgrade, Titanium Steering Links Kit.
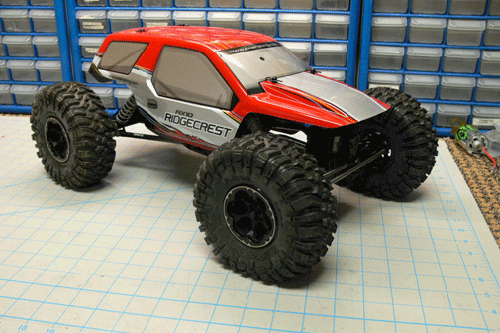
So here's the chassis with the upgrades so far.
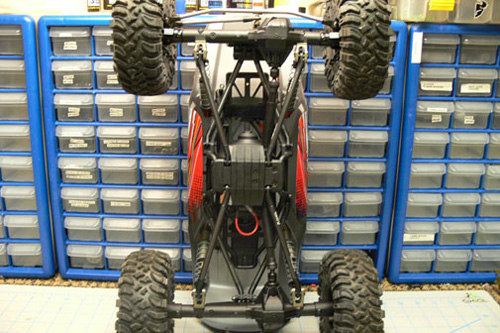
And the the body re-installed all trimmed up. I used shorter body posts to sit the body as low as possible on the chassis.
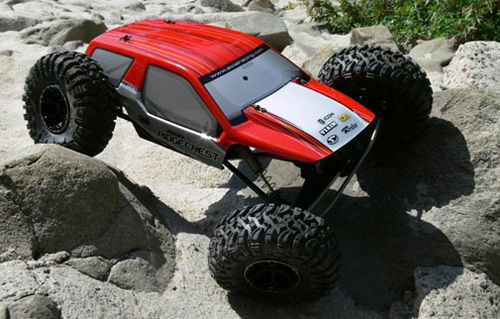
Crawling performance is again greatly improved on the rocks compared to the stock RTR, but if we really want to crawl, we are in need of a gearing change. So we still have some more to do in Stage 3, over/under drive hardened gears, a 27T motor and pinion and spur. And we'll see if we find anything else we can do to get this Ridgecrest ready for a shafty comp.