Posted: 4/23/12
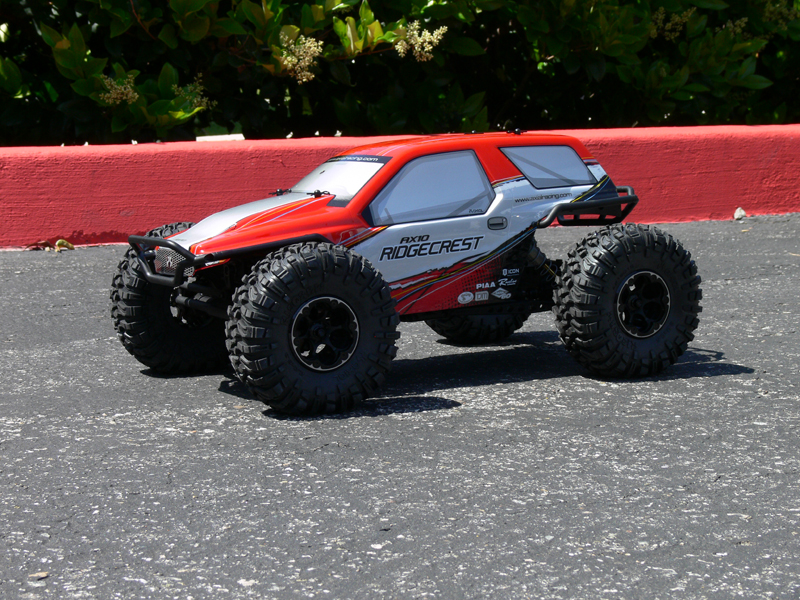
With the release of the AX10 Ridgecrest, there's been some chatter about it's capabilities as a crawler. Is it staying true to the AX10 name? Well as part of the Axial design team, I can tell you we worked hard to insure this. Though out of the box the Ridgecrest may have a bit more speed than a traditional crawler, wider axles and some exterior scale details, following in the tracks of it's rock racer big brother the Wraith, with a few simple mods, the Ridgecrest can easily be a strong rock crawler.Here's the AX10 Ridgecrest as it sits out of the box.
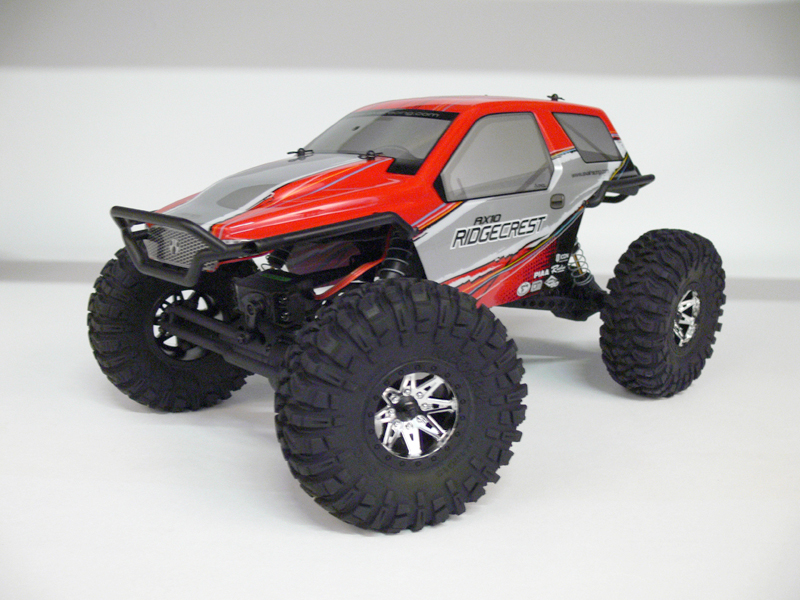
First things first, let's get the body off and move that battery to the front. The battery tray is held in place with 4 M3 cap head screws and it's the same with the electronics tray.
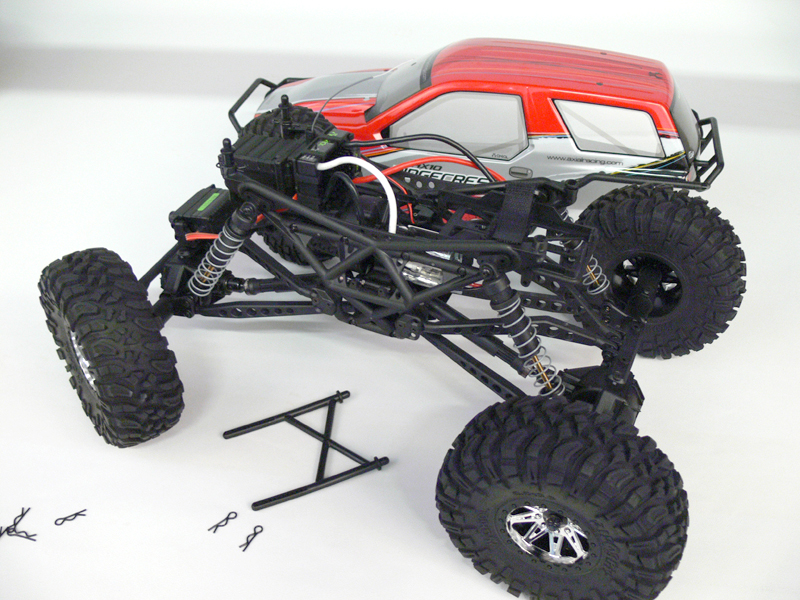
Simply remove all 8 screws and the trays are free. You'll have to open the radio box and unplug the steering servo as the servo wire is not quite long enough to reach the radio box when it's installed in the rear position of the chassis.
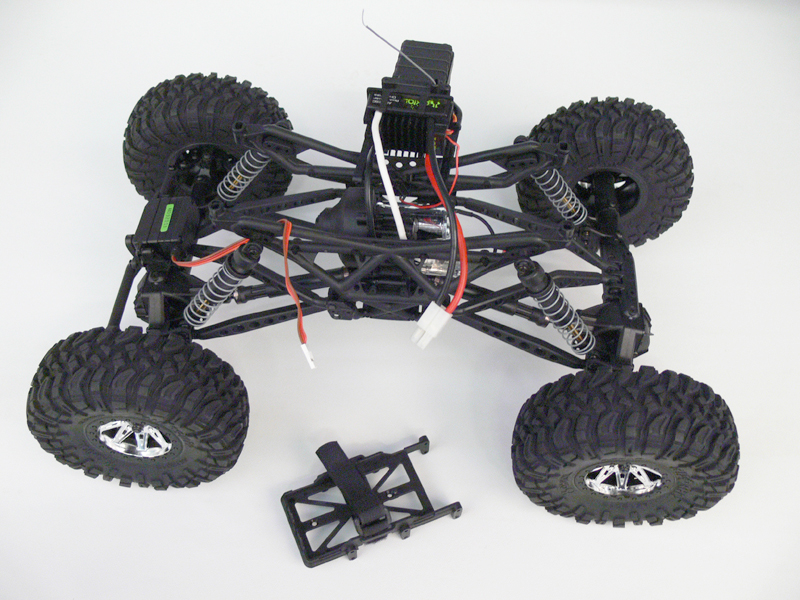
At this point you can install the battery tray up front and the electronics in the rear of the chassis. As for your servo wire you can purchase a servo wire extender for just a few dollars, or I had a junk servo, stole the wire and soldered the wires together to extend mine.
Next, lets get some weight in those wheels. Using Axial parts I got some interior wheel weight rings, weight inserts, 2.2 beadlock wheels and Ripsaw 2.2 tires in R35 compound.
AX30545 - 2.2 Internal Wheel Weight Ring (2)
AX30546 - 2.2 Internal Wheel Weight Inserts 21g/0.75lbs (2)
AX12015 - 2.2 Ripsaw Tires R35 Compound (2)
AX8061 - Axial 2.2 VWS Beadlock Wheels Set (Black) (2)
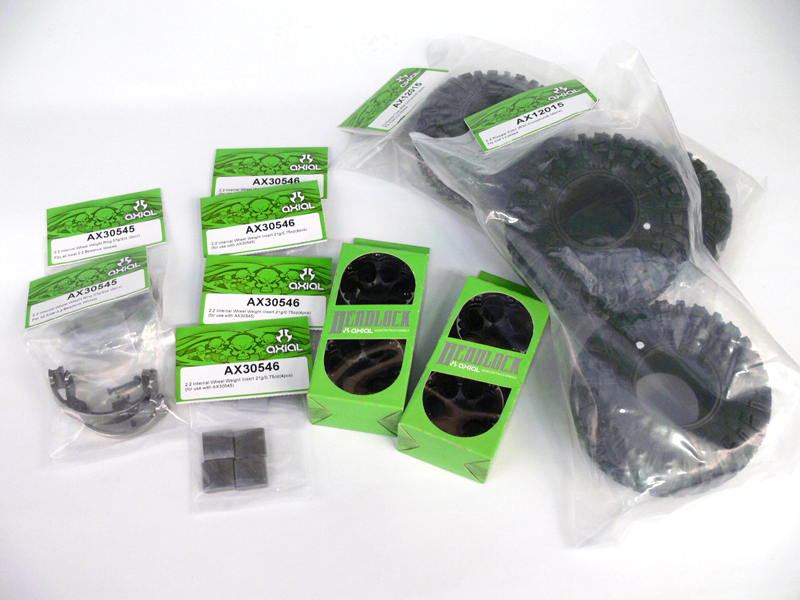
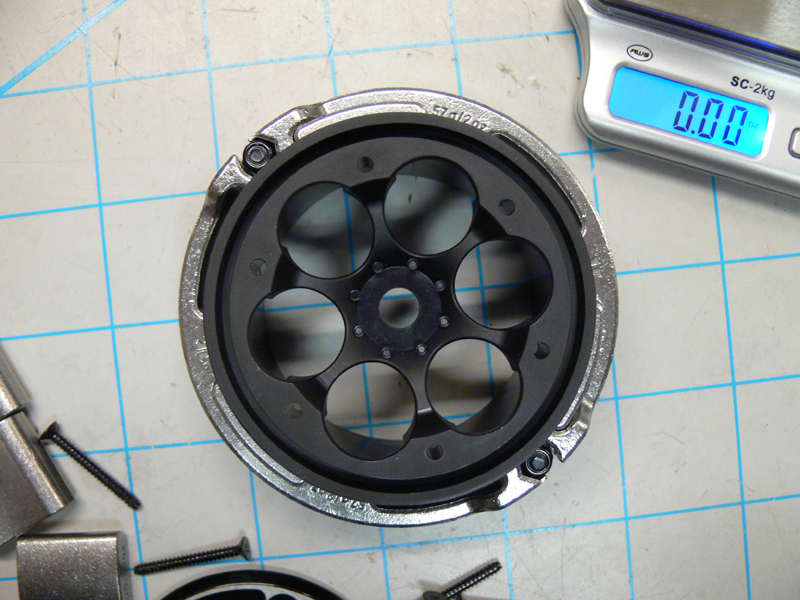
I added just three weights to each ring for the front wheels. Using all 6 weights would have made the wheels too heavy. We need just enough weight for good traction and stability.
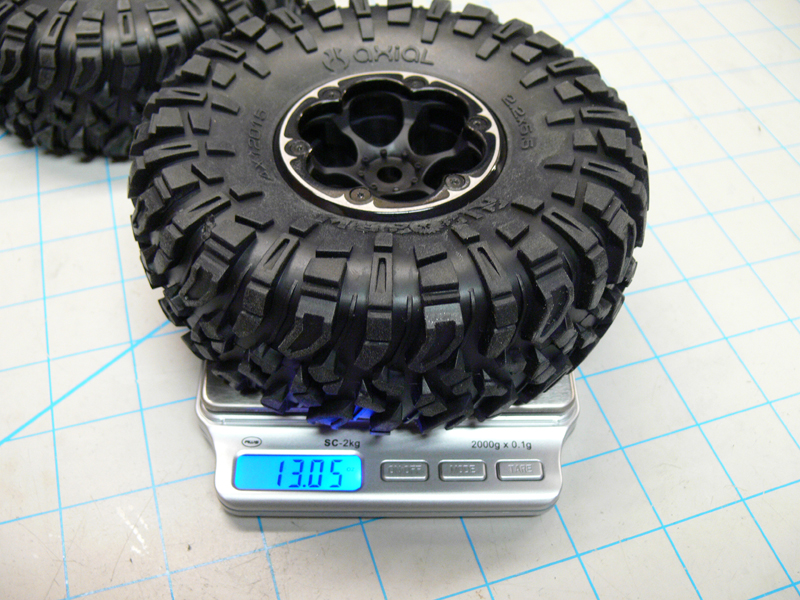
Each front wheel ended up weighing 13.05oz, as compared to a stock wheel weighing only 5.57oz.
Next it was time to work on the shocks and lower the center of gravity. A simple trick on AR60 OCP axles is to flip the link/shock mount to lower the chassis. Some additional tech.
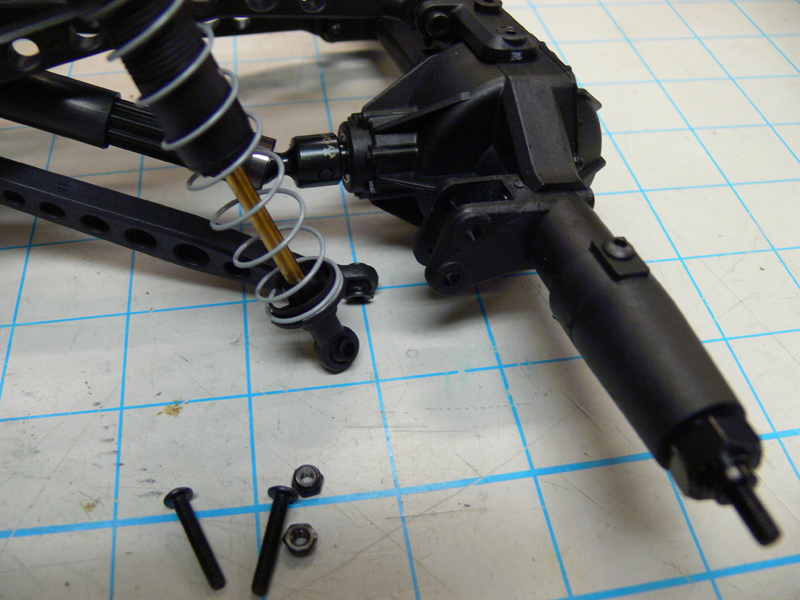
Utilizing the stock shocks, I disassembled and added aluminum bodies, aluminum caps, Delrin machined pistons and super soft springs. When reassembling I used 30wt shock oil.
AX30111 - Aluminum Shock Caps (2)
AX30120 - Aluminum Shock Body 12x47.5mm (2)
AX30438 - 10mm Machined Piston - 1.2 (1)
AX30223 - Spring 14x70mm 1.04lbs/in - Black (2)
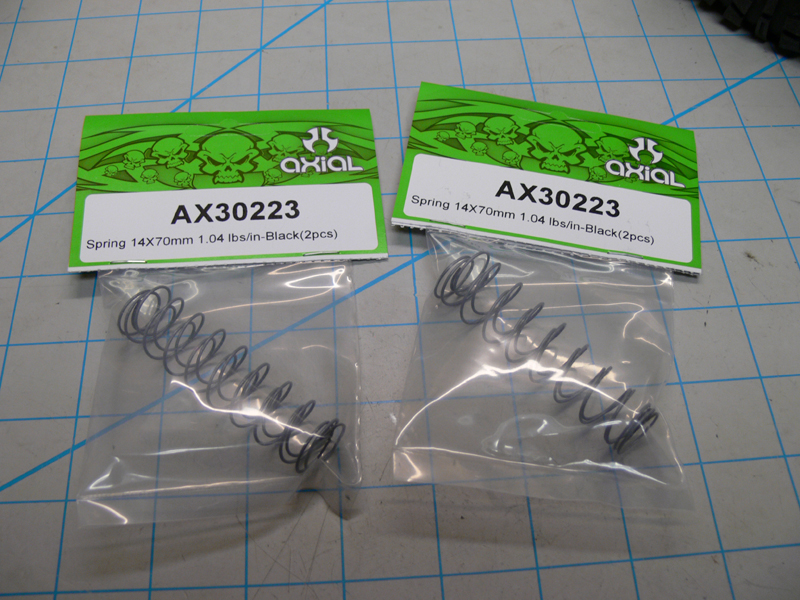
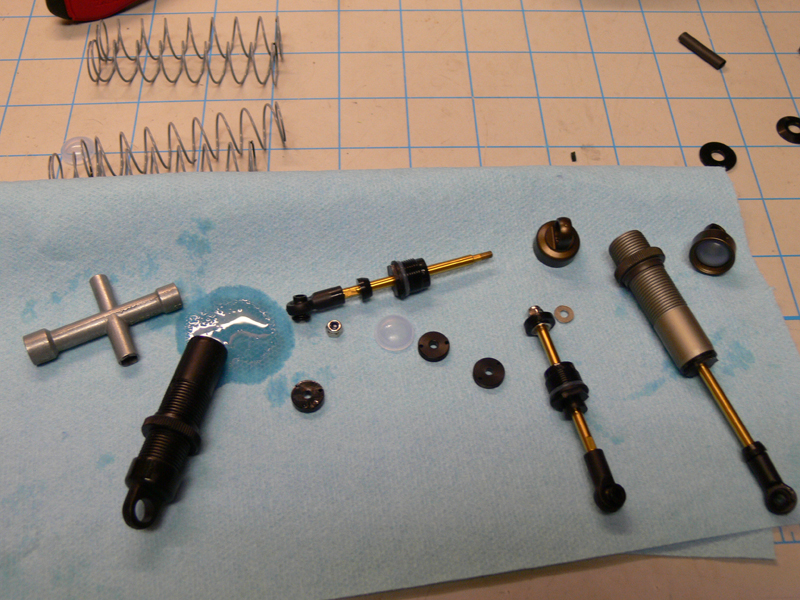
When installing the shocks, I used the upper mounting hole that lays the shocks back more, inward towards the center of the chassis.
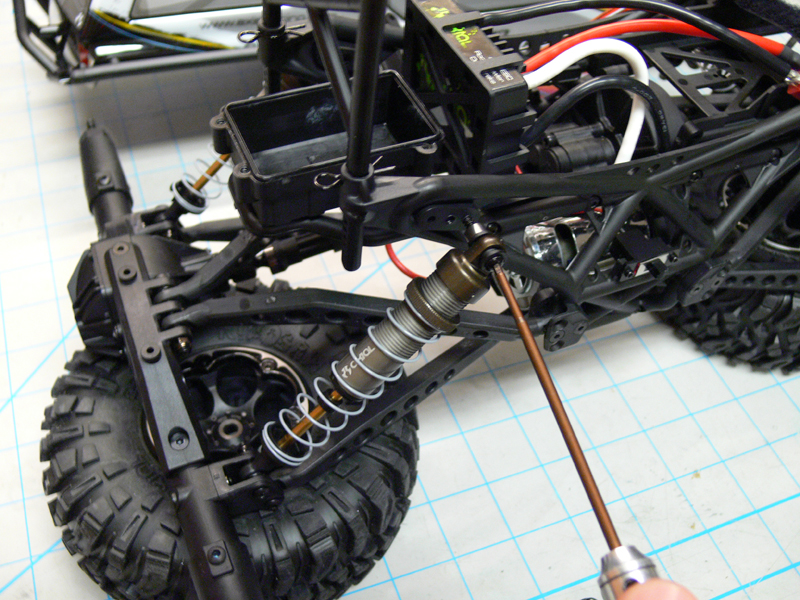
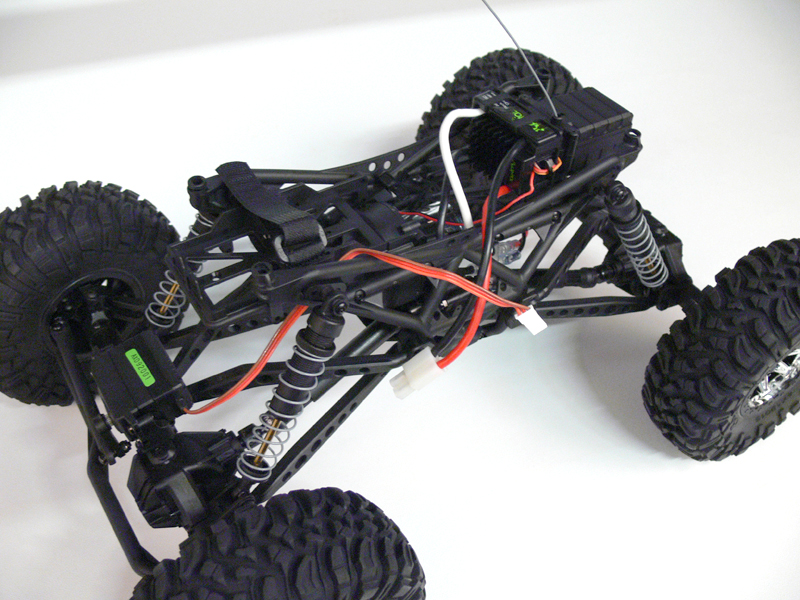
Back together with just a few hours of work and here's the modified chassis layout.
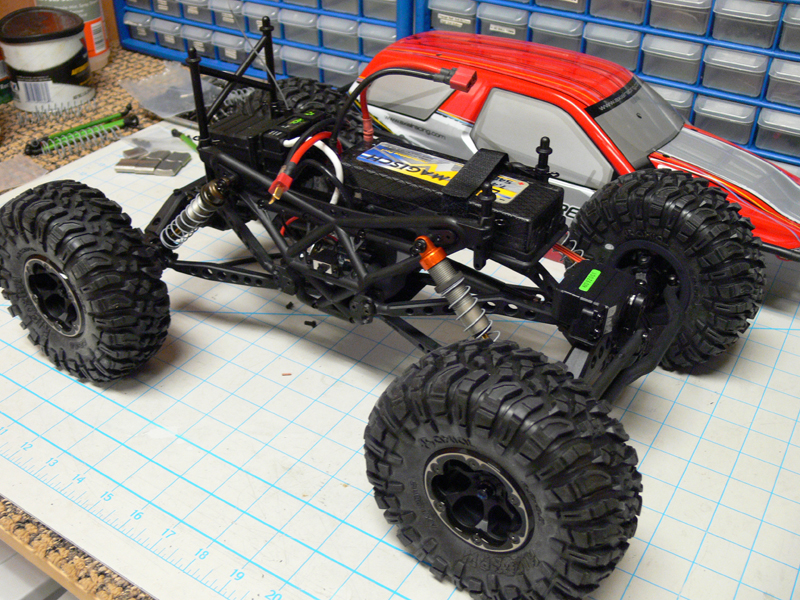
And here's the fruits of our labor. The Ridgecrest looks mean. Time to take it out for some quick testing to see the dramatic improvement in crawling capability.
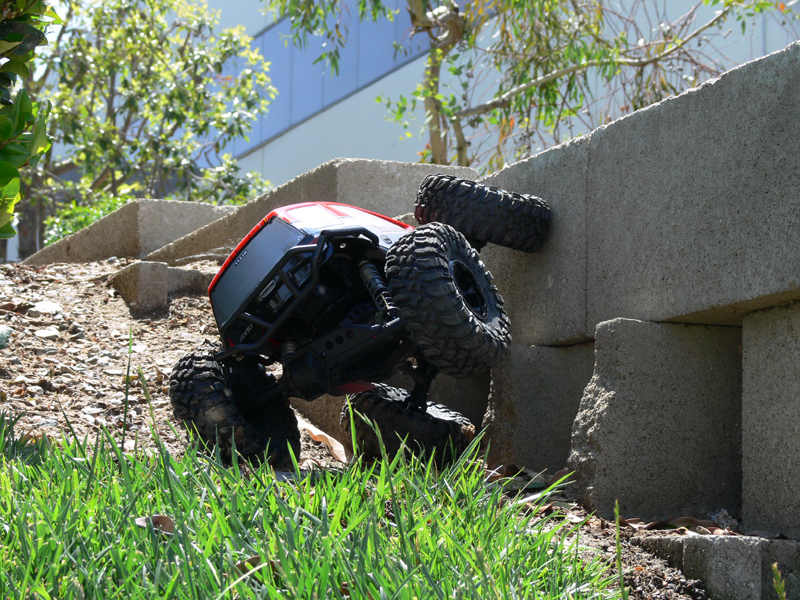
The front is planted. Traction and grab of the front tires is greatly improved and I can get the front way up, with less chance of roll over. Articulation is great and the suspension articulates smoothly with the new shock parts. This is only Stage 1. Next time we'll add aluminum links, create some more tire clearance and really get this thing crawling.