Posted: 4/7/14
We’ve all used stickers and have probably been doing so since we were kids. With so much practice why is it so hard to get good results when slapping stickers on an RC body? For some people, it’s easy, and yet for many others the end results—crooked logos, fingerprints and air bubbles—speak for themselves. Don’t let something like decals make your awesome rig look hack. Putting stickers on is easy if you follow these simple steps.
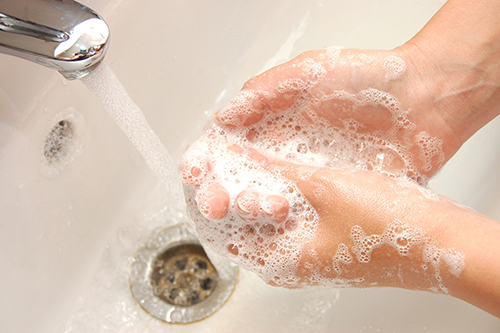
Wash Your Hands
As you probably know, your fingers are covered in natural oils. Thoroughly washing with warm soapy water right before you apply decals will help eliminate those oils (at least temporarily), and as a result, help prevent those fingerprints from getting under the clear parts of the stickers. Even with clean hand, you want to avoid touching decals as much as possible.
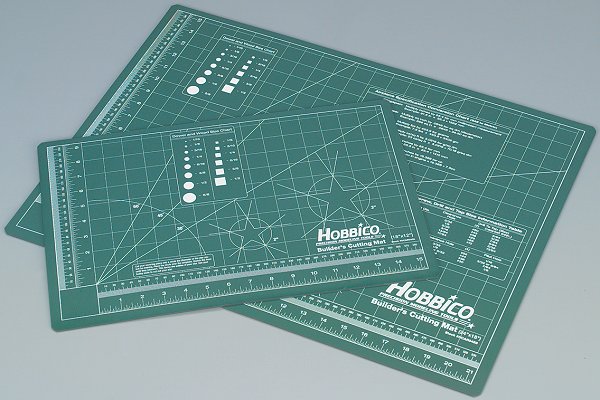
Making the Cut
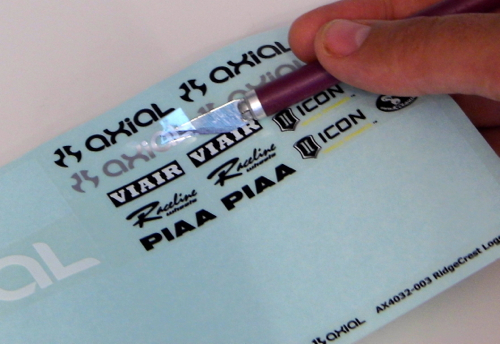
Axial Racing includes high quality decal sheets that are loaded with logos. To make your life easier, we have die-cut (sometimes called kiss cut) many of the decals. For the ones that aren’t precut, use a sharp hobby knife with a classic #11 blade. Hobbico has excellent knives, replacement blades and cutting mats. Using a knife will allow you to precisely cut out the desired logo and leaves the sheet intact instead of making a mangled mess out of it. Two tips to remember are to only cut deep enough to cut the vinyl decal material (you will lightly cut the backing and occasionally going through won’t hurt a thing other than your table if you aren’t using a cutting mat) and to cut as close to the logo as possible. The less clear you leave around the logo or image, the better the end results will look.
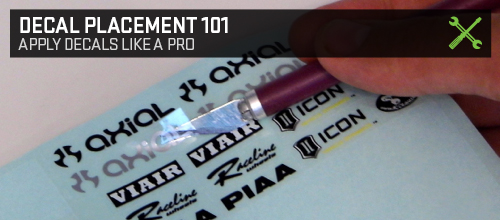
Want to really look like a pro? After you have applied a pre-cut decal, lightly and very carefully cut the extra clear material from around the logo or image.
Sticker Placement
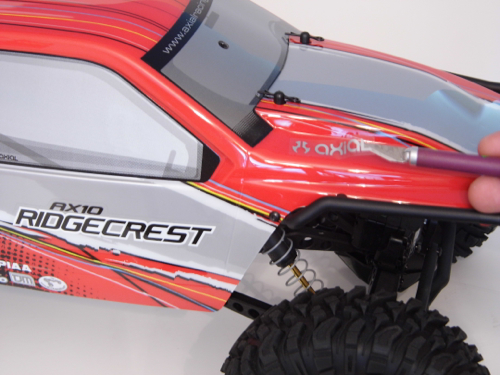
The best tool for sticker placement is the same hobby knife you are now cutting them out with. Using the tip of the knife will prevent you from getting your fingerprints on the back and it will allow you to carefully and precisely place the sticker. Make sure enough of the knife tip is behind the decal so that it doesn't flop down on the body and stick where you don't want it.
Big Stickers
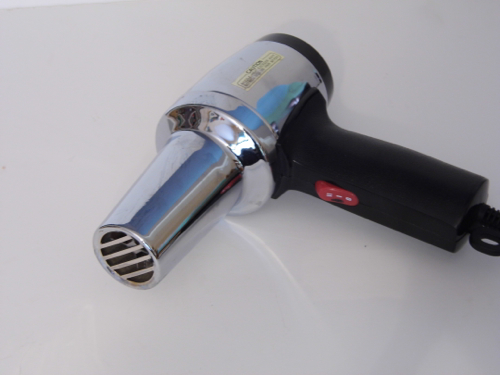
While some people have a hard time getting small stickers on straight, many more people completely blow it when applying big decals. One trick to try is to use a hairdryer or a heat gun (on low) to warm the decal material and make it more pliable. This will make the material floppy and a little clumsy to work with, but it will easily conform to the body. This trick is good for large decals that have to go around corners or curves or over uneven surfaces.
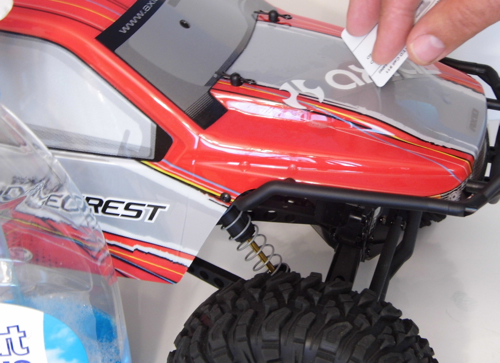
Another trick is to use spray window cleaner to slide the decal into position and then carefully squeegee the fluid out. This allows you to perfectly position the decal.
Burnishing
After you have all your decals placed, go back and carefully burnish (press) the vinyl. Pay close attention to all edges and stickers that go over ridges or indentations such as door panel lines. This will prevent dirt from getting under the decal.
Fixing Mistakes
Once again that hobby knife will come in handy. If you have an air bubble in a decal, you can gently make a small cut in it and then press it down. A long wrinkle may be impossible to completely fix, but cutting down the center of the wrinkle may allow you to press it down so that the goof isn't so unsightly.