Posted: 5/24/16
Words and photos by Tony Phalen
A couple weeks ago I showed you how to install headlights, taillights and a roof mounted light bar on your Yeti SCORE Retro Trophy Truck body. It was a pretty simple process - but what if you have a standard Yeti SCORE Trophy Truck body? Well, thankfully the procedure is the same with just a few minor tweaks.
You'll need a few tools to complete this job, listed here:
Tools
1. Body reamer or something similar to enlarge the holes in the plastic headlight/taillight parts.
2. Shoo Goo or something similar to secure the LEDs in place.
3. Hobby Knife.
4. Silver Sharpie. Optional, but great for that extra detail.
5. Tape. Black for securing wires to the cage, clear for securing wires to the inside of the body.
6. Y-connector for combining the front and rear light strings into one.
7. 6" (or longer) servo lead extension.
I've also included all the Axial parts needed at the bottom of the article.
Let's get started!
Step 1
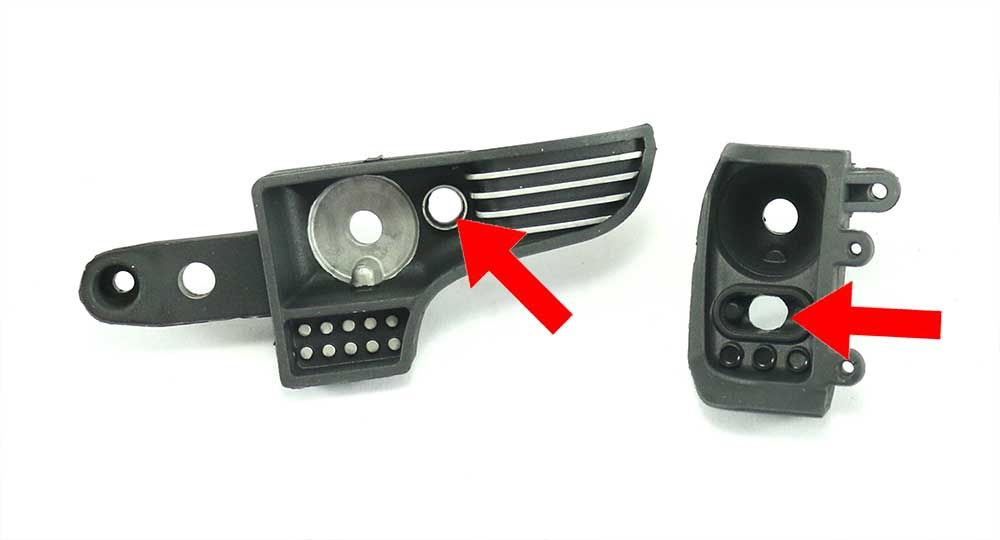
The first step will be to remove and modify the front and rear light buckets to accept a pair of LEDs a piece. The front bucket has only 1 hole - the left red arrow shows where you can ream out the hole to add a 2nd LED. Ream only a little at a time, test fitting the LED until it pushes in nice and snug. The rear bucket (on the right) has two holes, but you'll need to make the lower one a little bigger to accept the larger LED. Again, open the hole a little at a time until the LED sits nice and snug.
I added a little detail to the front light buckets using a silver Sharpie. It's not necessary by any means, but I do like the way it highlights the all-black buckets.
Step 2
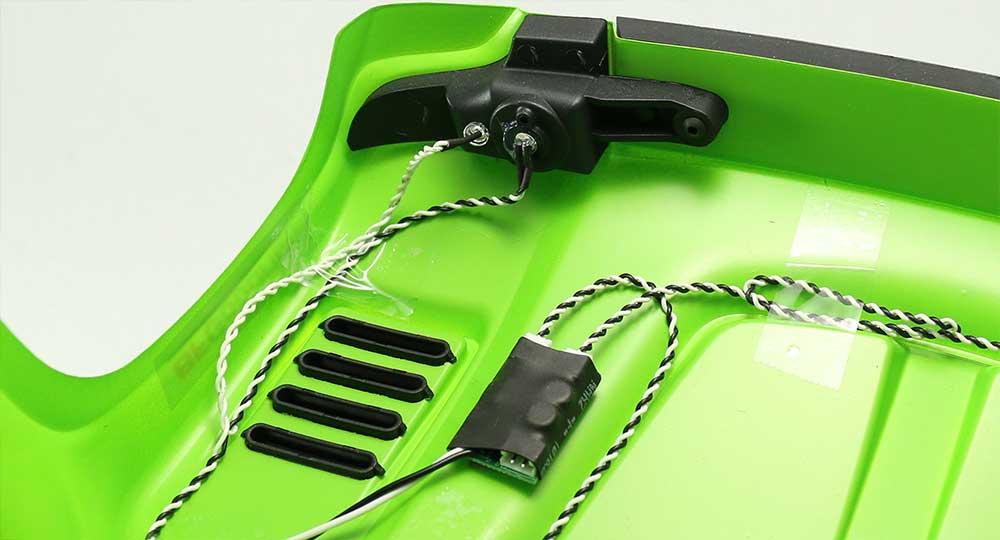 Re-install the front light buckets to the body and press the LEDs in place. Use a dab of Shoo Goo to hold the LEDs in place, letting it dry thoroughly. Route the wires as needed using clear tape to hold them down. Try to keep them in the raised sections of the body so the tires won't hit them when traveling through rough, rocky terrain. I've also installed one of the 3-Port High-Output LED Controllers on the front hood. Route the left and right headlight strings over and plug them into the side-by-side plugs.
Step 3
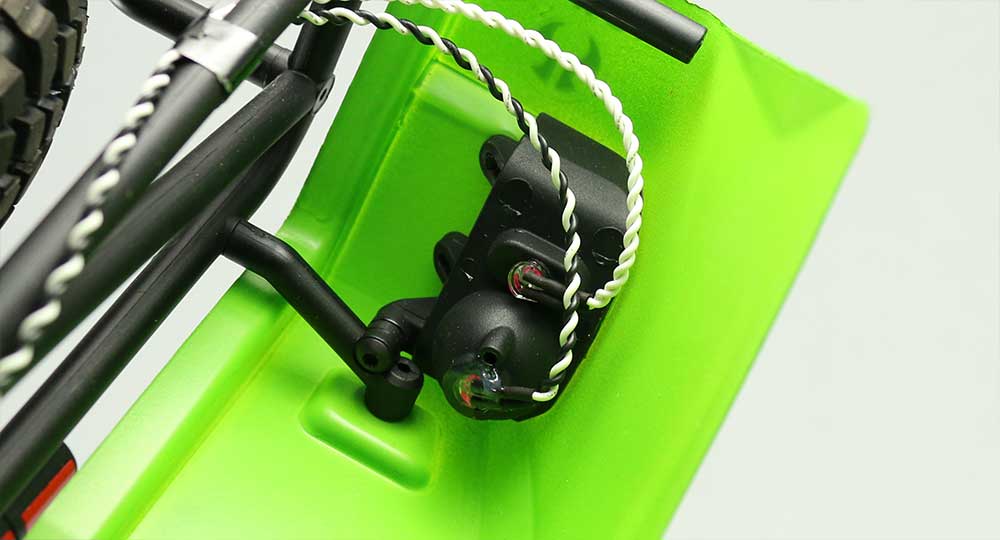
Using the same procedure as we used for the front, install the buckets and LEDs to the rear of the TT.
Step 4
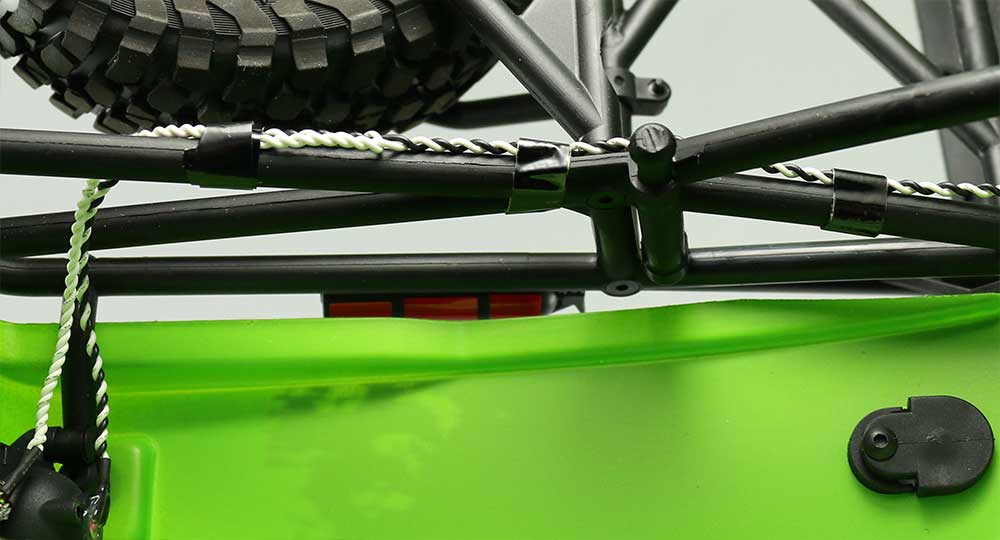
Run the LED power wires along the rear cage as shown, using the black tape to hold them in place. If you want to do a super trick, feed the wires through some black shrink tubing prior to attaching them.
Step 5
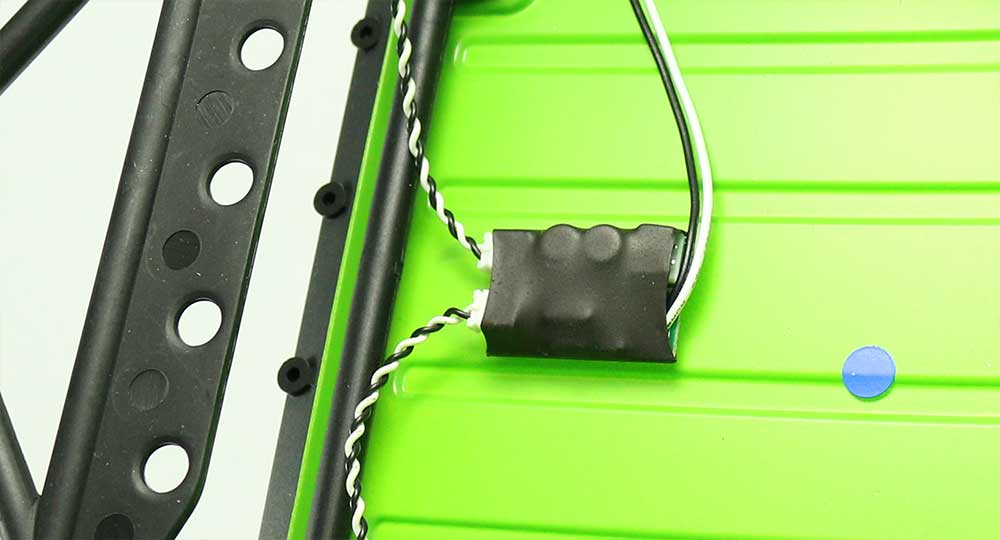
The 2nd 3-Port High-Output LED Controller is mounted to the underside of the roof. Route the left and right taillight strings along the cage and plug them into the side-by-side plugs in the controller. I would suggest mounting the controller so that side-by-side plugs face the rear; if you decide to install a roof-mounted lightbar, it can plug into the single high-output plug facing the front.
Step 6
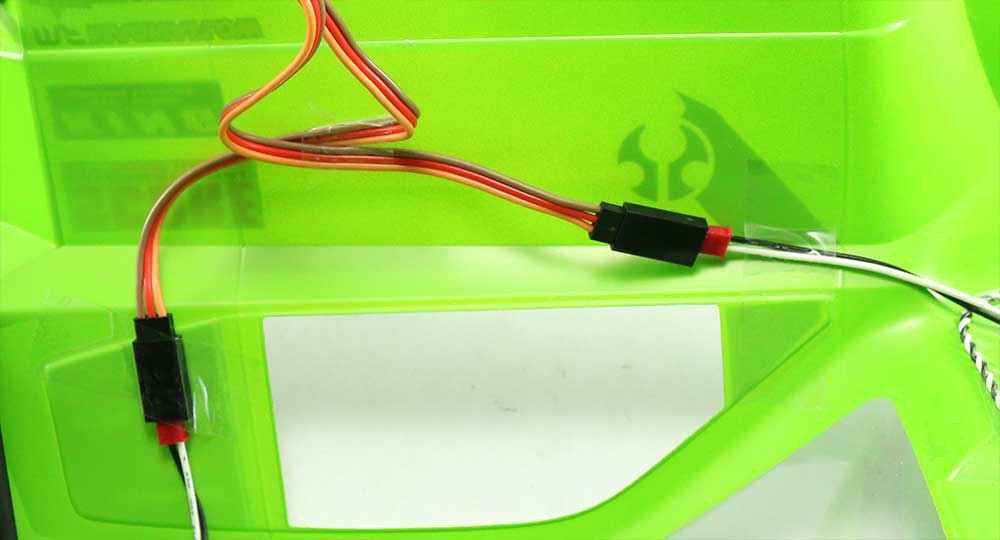
Take both leads from the 3-Port High-Output Controllers and run them to either side of the TT body, using the clear tape to keep them in place. You may notice that the leads use 2 wires (and a mini-JST plug) while the Y-connector uses a 3-wire plug. That's OK - just make sure that when you connect them, the black wire mates up to the black wire (or in this case, the brown wire).
Step 7
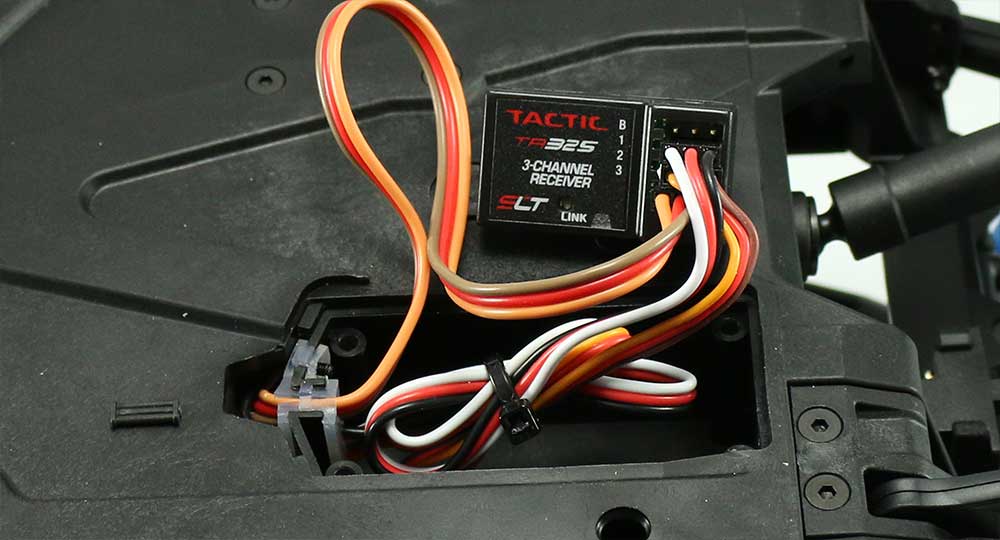
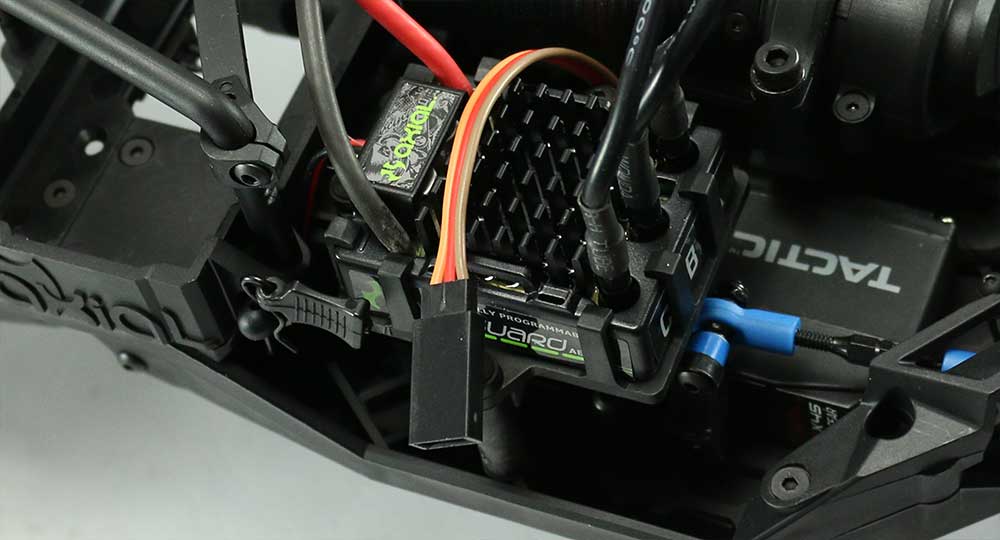
Flip your TT over and remove the little hatch on the bottom of the chassis. This reveals the receiver we'll need to plug the light string into. Pop the receiver off the tape and pull it out slightly, like the picture. You'll also, at this time, want to remove the top black spacer in the clear silicone plug (the spacer is shown just to the left of the receiver box). Now, carefully feed your 6" extension from the topside of the truck down to the receiver box. It's a little tricky and you might have to push some other wires out of the way, but it is possible - and I suggest doing it from the top down.
Once you have it through, plug the 6" extension into port #3, making sure the black wire (or brown wire) is facing the same way as the black wires already installed. Now, press the extension wire into the clear silicone plug, taking up the space of the black spacer you removed earlier.
Step 8
Flip the truck over and you should have about this much of the 6" extension left sticking out. Adjust how much of the extension is left (if necessary), flip the TT back over and press the receiver back into the box. Coil up any excess extension wire, push it into the receiver box and re-install the receiver box door.
Step 9

Set the driver interior back into place, mate the Y-connector on the body to the 6" extension and re-install the body.
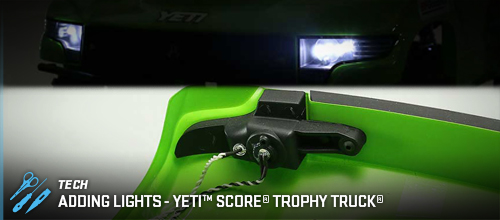
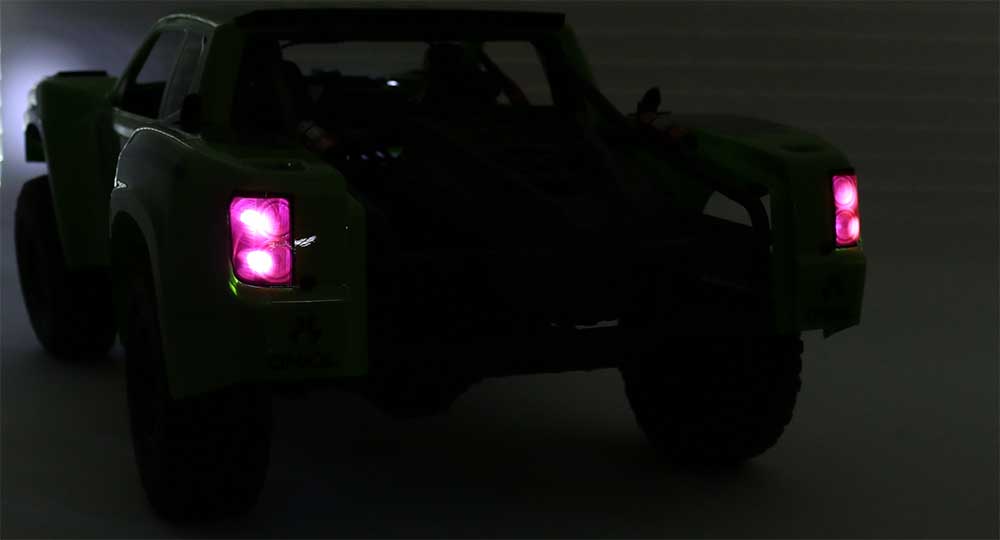
Our SCORE Trophy Truck body is now ready for some night time driving. Plug the battery in, flip the switch on and check out your fantastic work! Here's an example of how it should look when you're finished:

Here’s the list of the Axial parts used in this article:
AX31097 Axial 3-Port High Output LED Controller
AX24252 Axial Double LED Light String (White LED) - Qty 4