Posted: 1/8/10
Builder: Mike LohmannLocation: Long Island NY
Build: Custom Axial SCX10
After applying the first coat of filler on the roof, I allowed it to cure for 24 hours, sanded it, and applied another coat. I noticed that I had more filler than I wanted, so I sanded a lot of the filler back out and went back in with strips of .01 in. plastic styrene which is paper thin. I then sanded it all down and skim coated it with a regular car body filler (Bondo). The Bondo cures a lot faster than model putty and sands just as easy as the model putty filler.
At this point in the process I noticed that I was losing some definition in the drip rails - the body had a dip on each side of the rails where the two cabs joined together. The solution I came up with was to even out the rails by installing some .060 square stock in the low spots and then sanding it down to match the existing rails.

A piece of .060 square stock was then added down the entire length of the drip to build it back out and give it definition again.
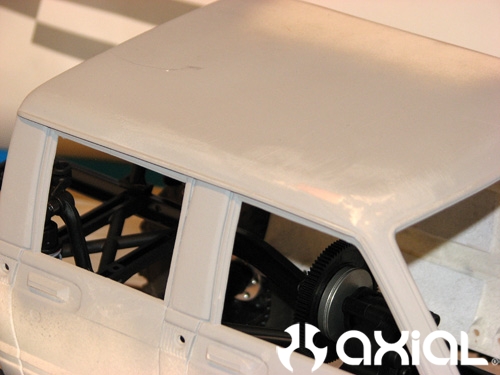
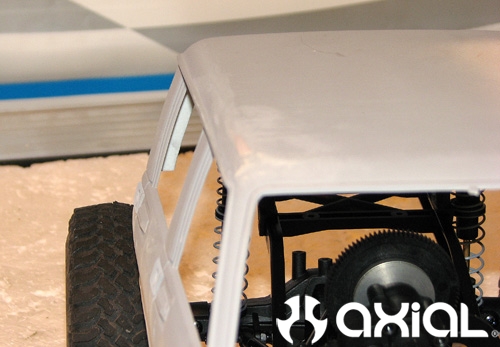
I then sanded the edges smooth and blended them into the existing drip rail. As you can see now the passengers side roof and drop rail is all smoothed out and is for the most part done.
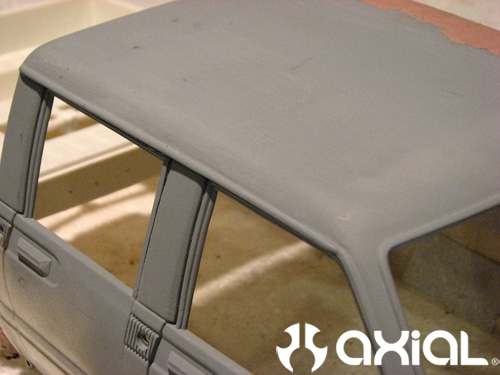
I dropped the cab onto the chassis to get an idea of where I was at, so far so good
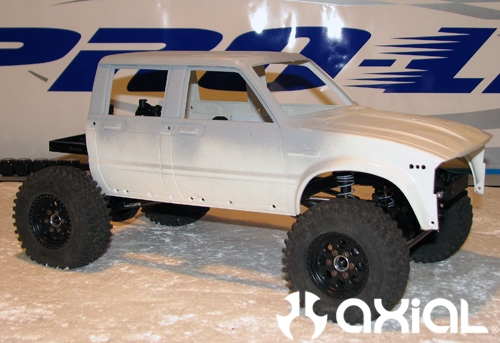
While the glue and filler was drying on the cab, I got started on the bed. I had to shorten the front half of the bed to make it resemble how the bed is on the 1:1 4 door Hiluxes. To shorten the bed, I made measurements and then taped it off using some blue painters tape (masking tape). I made the cuts using a small hack saw. I have used a hack saw in the past on the beds for doing bed bobs and have always had good results. After making the cuts I joined the beds together and reinforced it from the back side with .030 plastic styrene (just as I did the cab).
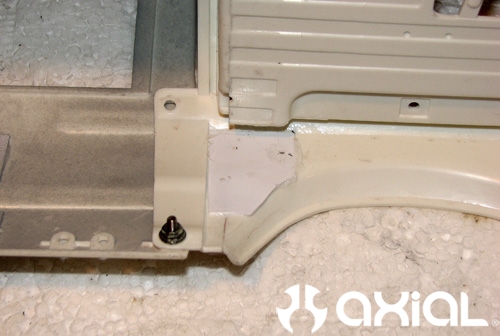
After the glue dried I filled in some of the gaps with styrene and then threw on a coat of filler.
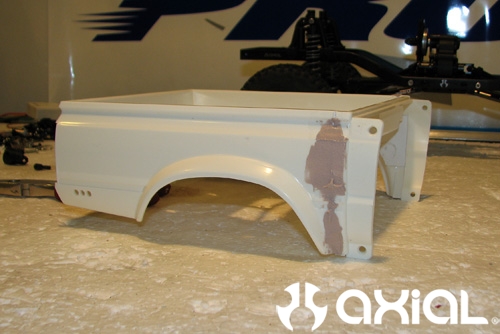
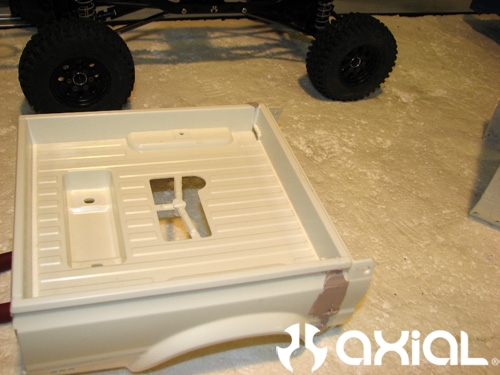
I started sanding excess filler off of the bed and smoothing the seam. As you can see the seam is slowly starting to disappear
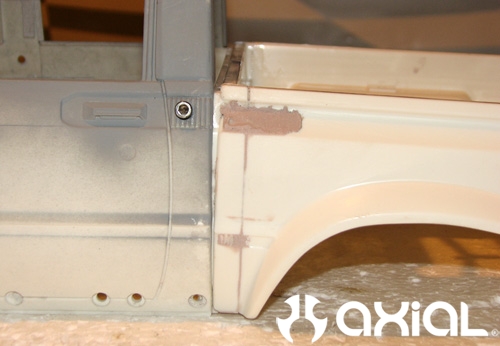
Quick mock-up shot showing the bed and cab together
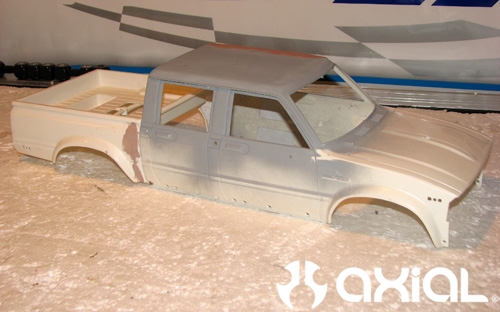
After I get the front of the bed done, I plan to bob the back of the bed to help with the departure angle since this rig is going to have a lengthy wheel base.